
When your outdated kitchen faucet shows signs of wear or you’re ready for a kitchen refresh, replacing it with a new 4-hole configuration can dramatically improve both functionality and aesthetics. Unlike single-handle models, 4-hole kitchen faucets provide dedicated openings for the main spout, separate hot and cold handles, and an additional space for a side spray or soap dispenser—giving you more control and convenience during meal prep and cleanup. The installation process might seem intimidating if you’ve never tackled plumbing before, but with proper preparation and this step-by-step guide, you can complete this project in under two hours without calling a professional.
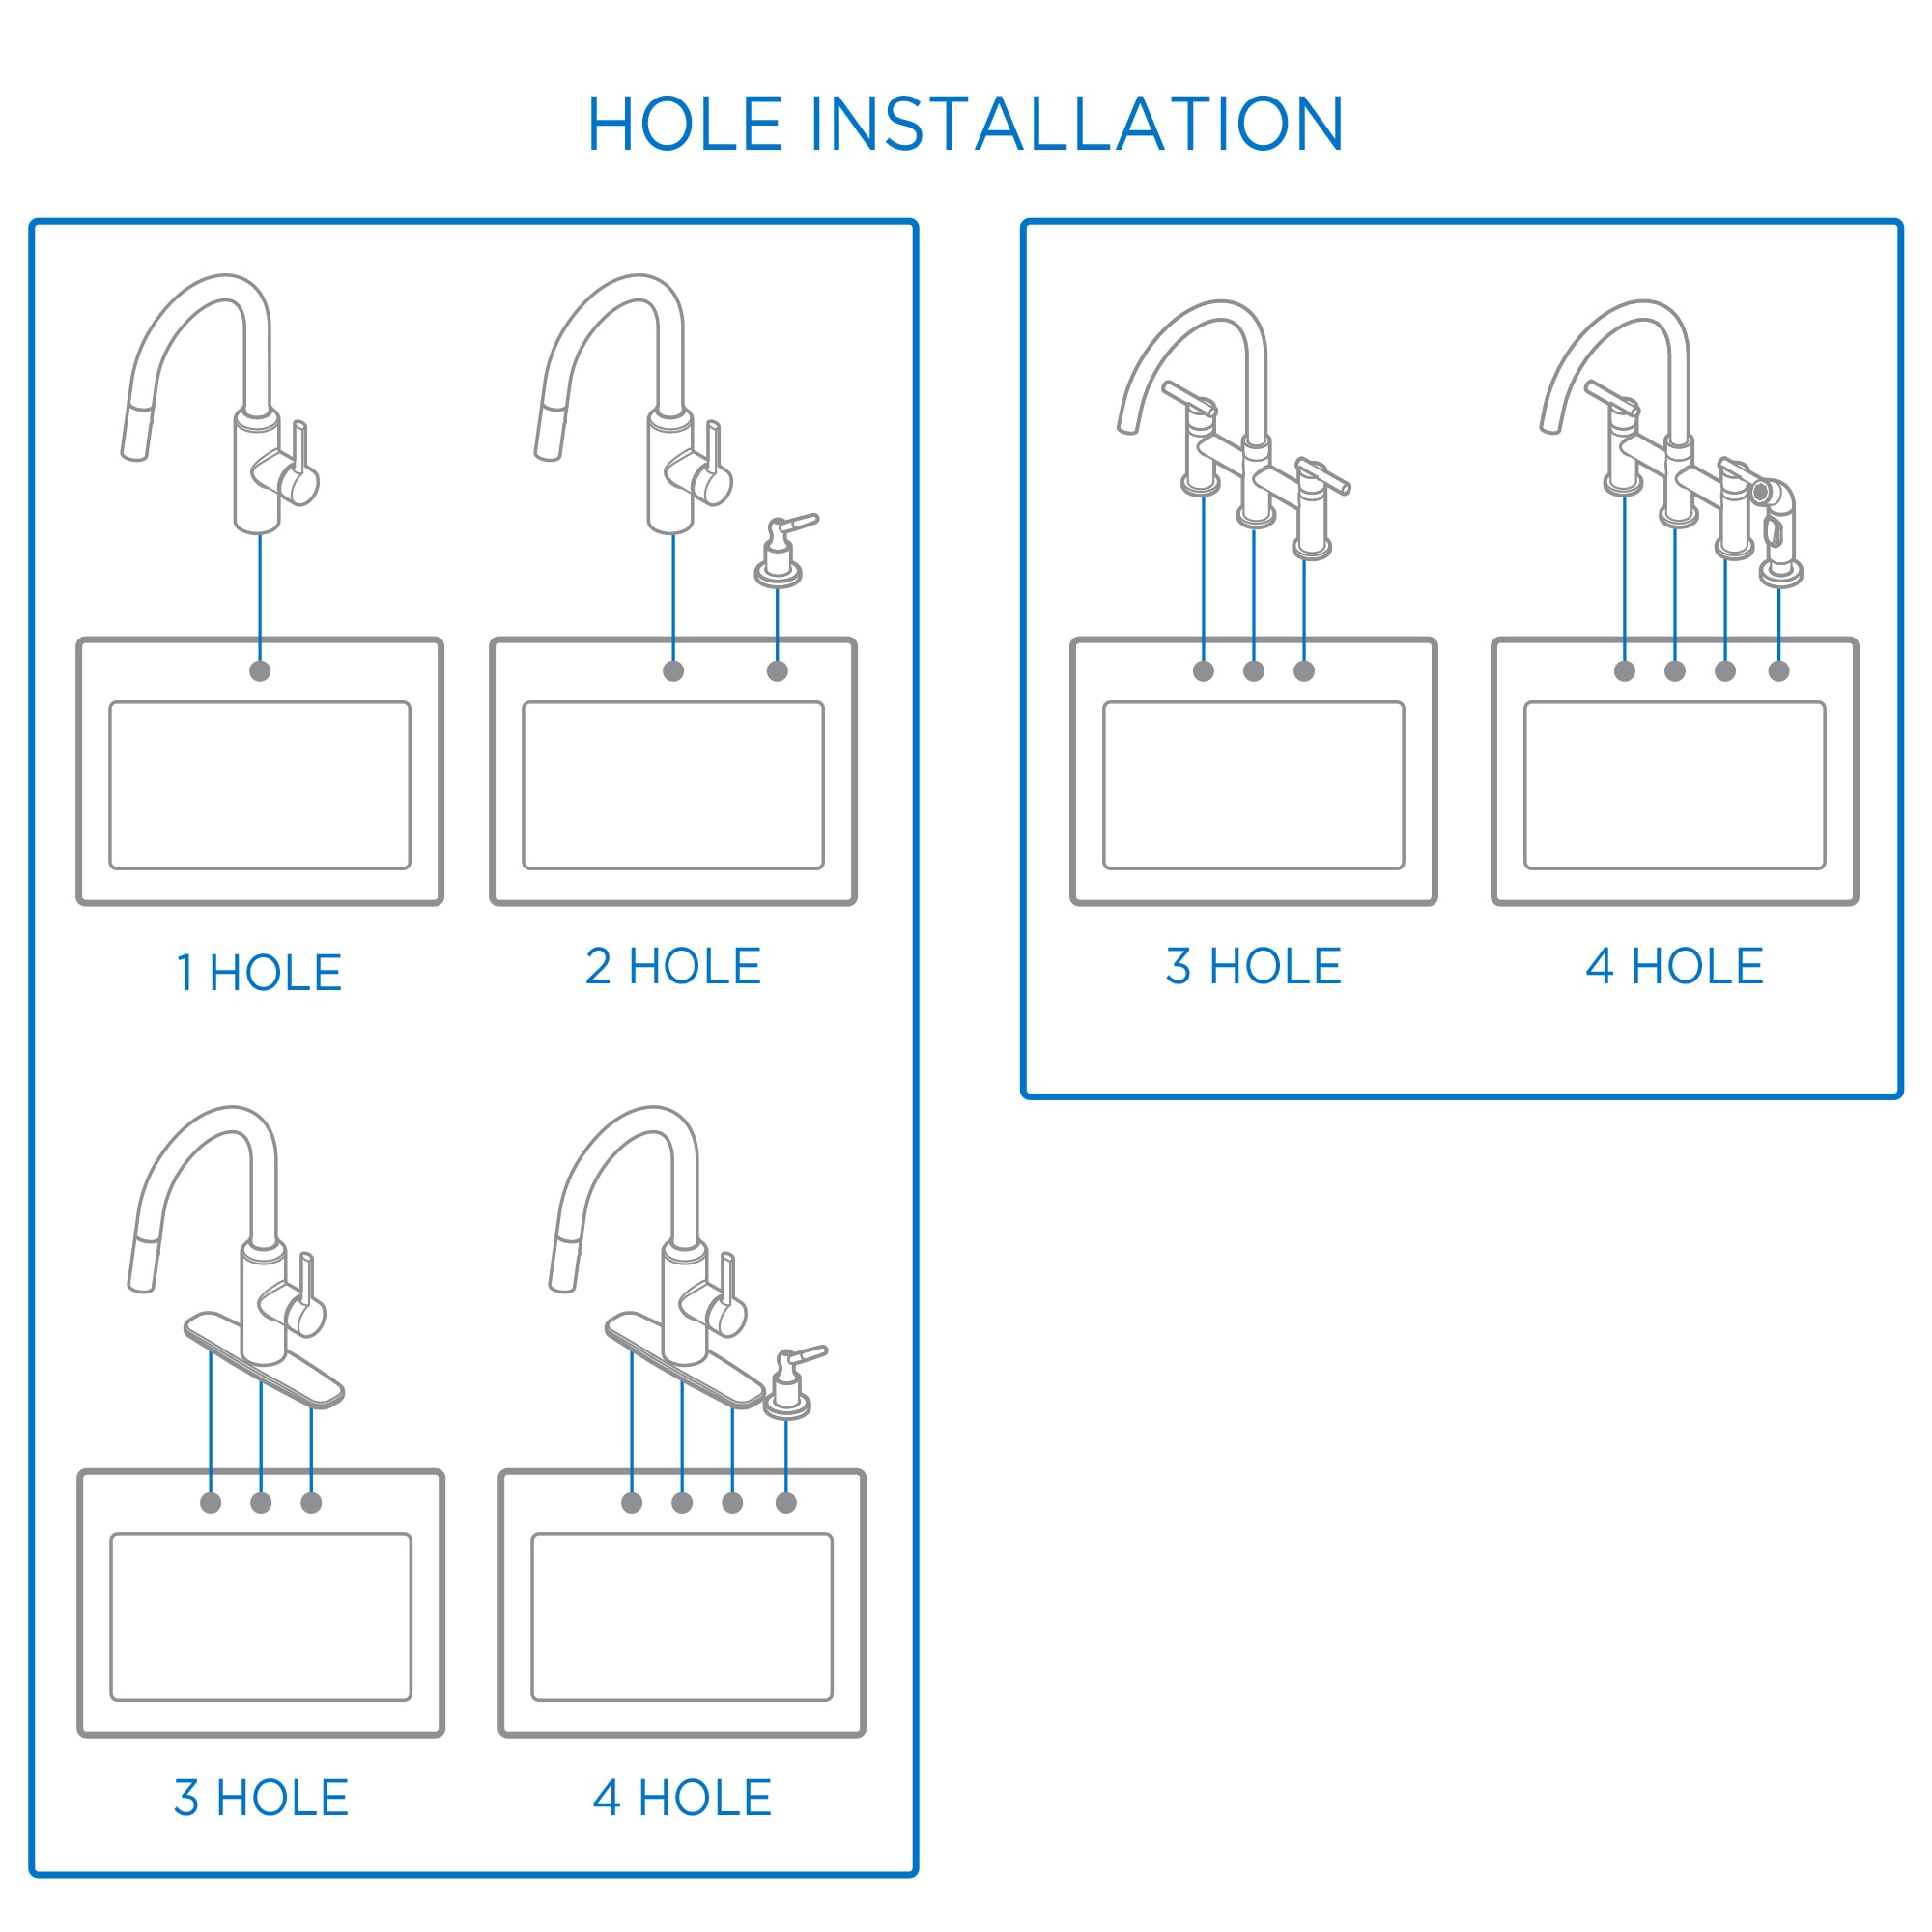
Most homeowners find that installing a 4-hole kitchen faucet delivers immediate satisfaction with its improved water control and classic appearance. Before you begin, recognize that this configuration specifically requires four evenly spaced holes in your sink deck—typically arranged in a standard 4-inch or 8-inch pattern. The beauty of this setup is its versatility; you can customize it with different combinations of components based on your needs. Whether you’re replacing an aging fixture or installing one in a new sink, understanding the proper installation technique prevents leaks and ensures years of reliable performance.
Gather Required Tools and Materials for 4-Hole Faucet Installation
Before removing your old faucet, assemble all necessary tools to avoid frustrating interruptions mid-project. You’ll need an adjustable wrench (10-inch works best for tight spaces), a specialized basin wrench for hard-to-reach mounting nuts, both flathead and Phillips screwdrivers, plumber’s tape (PTFE tape), a small bucket, and several clean towels to catch inevitable drips. Don’t forget safety glasses to protect your eyes from debris and a powerful flashlight to illuminate the dark space under your sink.
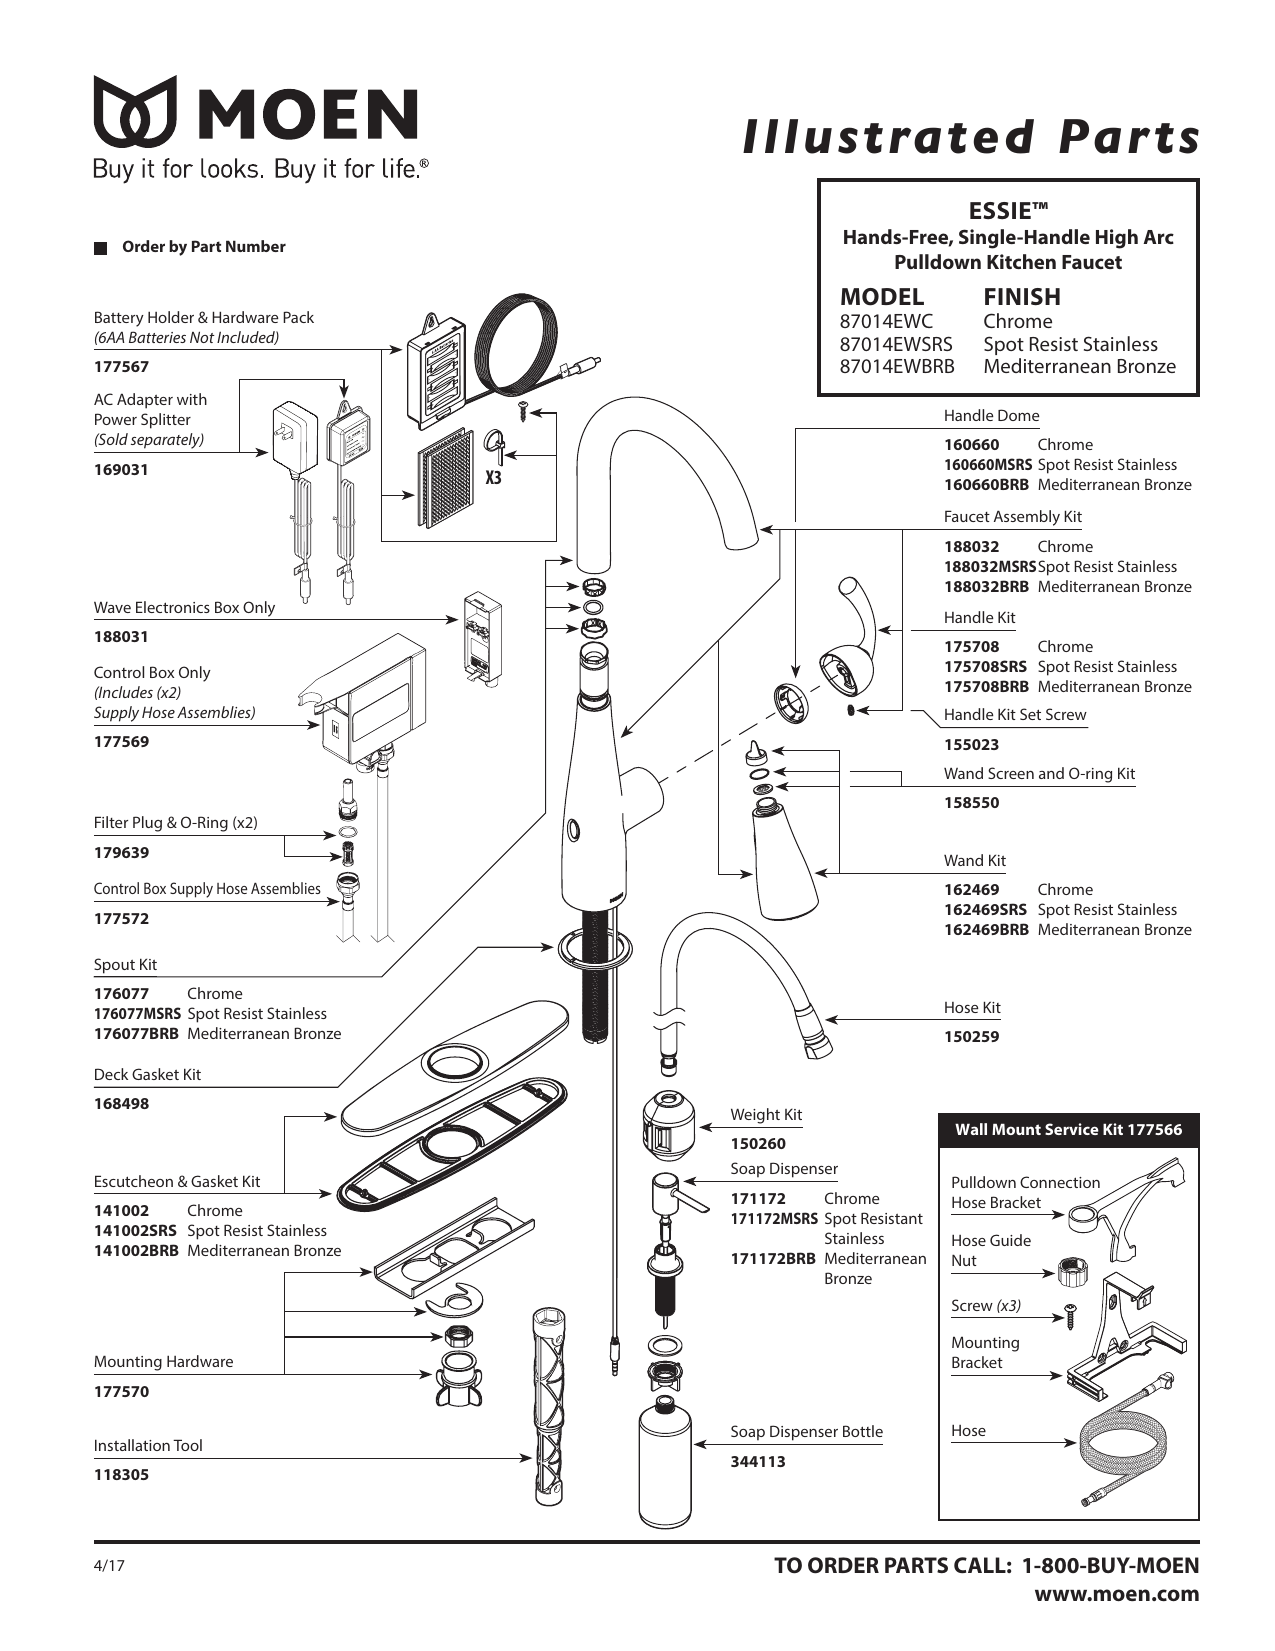
Check your new faucet package against the included parts list—most 4-hole configurations include the main spout body, two handle assemblies, a side spray or soap dispenser, mounting hardware, rubber gaskets, and supply lines. If any components are missing, contact the manufacturer immediately before proceeding. For older sinks, you might need plumber’s putty or silicone sealant to create a watertight seal, though many modern faucets come with pre-applied gaskets. Keep the manufacturer’s instruction manual visible throughout the process, as specific models have unique assembly requirements that could trip up even experienced DIYers.
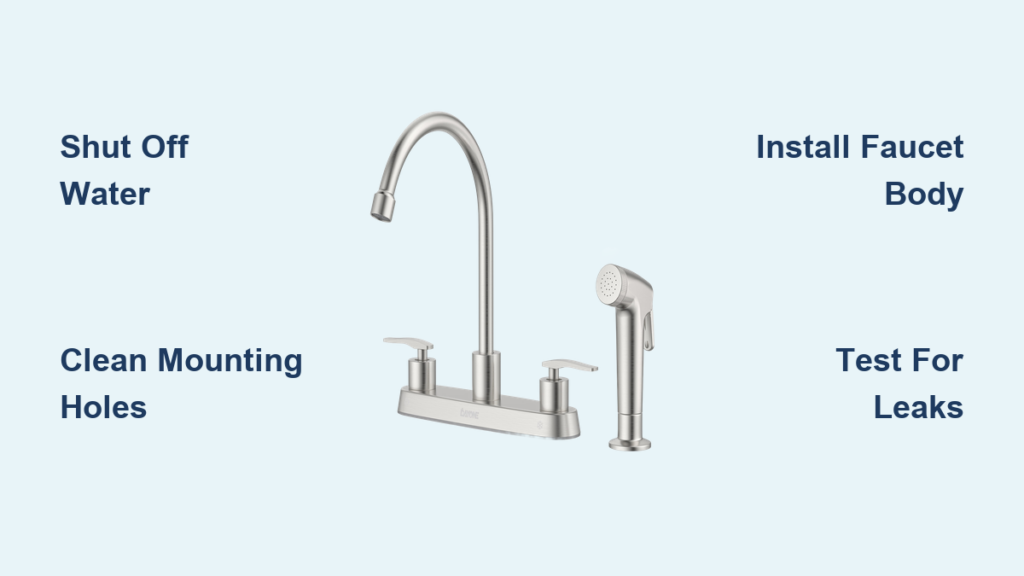
Shut Off Water Supply and Disconnect Old Faucet Properly
Locate the shutoff valves beneath your sink cabinet—these typically appear as two small handles connected to the hot and cold water lines. Turn both valves clockwise until they stop moving completely; this cuts off water to your faucet while leaving the rest of your house’s plumbing operational. Open your old faucet handles fully to drain remaining water from the lines and confirm the supply is off—this prevents surprise splashes later. If your shutoff valves resist turning or leak when operated, replace them now with quarter-turn ball valves for better reliability.
Position your bucket directly under the supply line connections to catch residual water. Using your adjustable wrench, grip the coupling nuts where the supply lines meet the shutoff valves and turn counterclockwise to loosen—be careful not to round off the nuts with excessive force. Once disconnected, place the supply lines in your bucket to drain completely. Next, locate the large mounting nuts securing your old faucet to the sink deck; these often require a basin wrench to reach in tight spaces. Loosen each nut gradually, working in a crisscross pattern to prevent damaging the sink. When all mounting hardware is removed, carefully lift the old faucet straight up through the mounting holes, taking special care not to scratch your sink surface.
Clean and Prepare Mounting Surface for Leak-Free Installation
Thoroughly clean the sink deck around the mounting holes using a putty knife to scrape away old plumber’s putty, silicone sealant, or mineral deposits. Wipe the area with a damp cloth followed by isopropyl alcohol to remove any residue that could compromise your new seal—this critical step prevents future leaks that might damage your cabinetry. Inspect each mounting hole for cracks or corrosion, especially if you have an older porcelain sink, as damaged holes won’t properly secure your new faucet.
Verify your sink’s hole pattern matches your new faucet’s requirements—standard 4-hole configurations typically have centers spaced 4 inches apart (for widespread faucets) or 8 inches apart (for centerset models). Measure diagonally from the outer holes to confirm; inaccurate measurements mean your faucet won’t align properly. If you’re installing a faucet with fewer components than holes, use decorative hole covers to fill the unused spaces—these prevent debris accumulation and maintain your sink’s appearance. Ensure the mounting surface is completely dry before proceeding, as moisture trapped beneath the sealant creates breeding grounds for mold and mildew.
Install New Faucet Body and Components in Correct Order
Begin by assembling your new faucet according to the manufacturer’s instructions—most 4-hole models require attaching the handles and side spray to the main spout body before mounting. Apply a thin, continuous bead of plumber’s silicone sealant around the underside perimeter of the faucet base; this creates a watertight barrier between the fixture and sink surface. Carefully lower the assembled faucet through the mounting holes, ensuring the spout faces forward and the handles align with their respective hot/cold positions.
From beneath the sink, position the rubber gasket over the faucet stems, then slide the mounting plate into place. Hand-tighten the mounting nuts onto each stem, working in a crisscross pattern to distribute pressure evenly across the sink deck—this prevents cracking and ensures a uniform seal. Use your basin wrench to give each nut one additional quarter-turn, but stop immediately if you feel excessive resistance. Over-tightening is a common mistake that cracks porcelain sinks or damages faucet components, so err on the side of caution. Wipe away any excess sealant that squeezes out around the base with a damp cloth before it cures.
Connect Water Supply Lines Without Leaks
Attach the flexible supply lines from your new faucet to the shutoff valves using proper technique to prevent leaks. Wrap plumber’s tape clockwise around each threaded connection (two full revolutions), stretching the tape slightly as you apply it to ensure proper adhesion. Hand-tighten each connection until snug, then use your adjustable wrench to give it one-quarter additional turn—this “finger-tight plus quarter” method works perfectly for most compression fittings without risking damage.
Connect the hot water line (usually marked with a red indicator) to the left shutoff valve and the cold line (blue indicator) to the right valve, though some European models reverse this configuration. Ensure supply lines run in smooth arcs without kinks or twists that restrict water flow—gently bend them into position if needed. For the side spray, connect its dedicated supply line to the special quick-connect fitting on the main valve assembly; these usually require pressing the line firmly into place until you hear a distinct click. Double-check all connections before proceeding to avoid messy surprises during testing.
Install Side Spray and Soap Dispenser Components Correctly
Feed the side spray hose through its designated mounting hole, being careful not to introduce kinks that would restrict water flow. From above the sink, screw the spray head onto its mounting base until hand-tight, ensuring the spray nozzle points toward the center of the sink basin for optimal functionality. Below the sink, connect the spray hose to the faucet’s quick-connect fitting by pressing it firmly into place until it clicks—some models require a special tool included in the package for this step.
If your 4-hole configuration includes a soap dispenser, prepare it by filling the bottle with liquid soap (leave about an inch of space at the top to prevent overflow). Insert the dispenser body through its mounting hole from above, then secure it from beneath with the provided washer and mounting nut. Hand-tighten the nut until snug, being careful not to overtighten and crack the sink surface. Test the pump mechanism several times to ensure smooth operation before proceeding—this is much easier to adjust now than after final installation.
Test for Leaks and Verify Full Functionality
Slowly turn on the shutoff valves while watching for leaks at each connection point—open the hot valve first, then the cold. Gradually open both faucet handles to allow water to flow, checking all connections beneath the sink with your flashlight for any drips or moisture. Let the water run continuously for 3-5 minutes to flush debris from the lines while monitoring for leaks. Pay special attention to the base of the faucet where it meets the sink deck, as this is a common leak location.
Test the side spray by depressing its handle, verifying strong, consistent water pressure and checking for leaks at the hose connection points. Operate the soap dispenser several times to confirm proper dispensing action. If you notice any leaks, immediately turn off the water supply and tighten the affected connection by one-eighth turn—most minor leaks resolve with slight additional tightening. For persistent leaks at the shutoff valves, you may need to replace the valve seats or consider installing new quarter-turn shutoff valves for better reliability.
Troubleshoot Common 4-Hole Faucet Installation Issues
Restricted water flow after installation typically indicates kinked supply lines or spray hoses—reposition them into smooth arcs without sharp bends. If water pressure remains low, remove and clean the faucet aerator by unscrewing it from the spout tip and rinsing away mineral deposits under running water. Leaking from the faucet base usually means insufficient sealant or an uneven mounting surface—turn off the water, remove the faucet, and apply fresh silicone before reinstalling.
For leaks at supply connections that persist despite proper tightening, replace the rubber washers inside the coupling nuts or consider upgrading to braided stainless steel supply lines for better durability. If your side spray drips continuously, check that the hose isn’t kinked and that the quick-connect fitting is fully seated. Remember that some minor dripping during initial use is normal as components settle, but persistent leaks require attention before they cause water damage to your cabinetry.
With proper installation and regular maintenance—including annual checks of connections and quarterly cleaning of aerators and spray heads—your new 4-hole kitchen faucet will provide reliable service for many years. This classic configuration offers superior functionality for food preparation and cleanup while adding timeless style to your kitchen workspace.


