
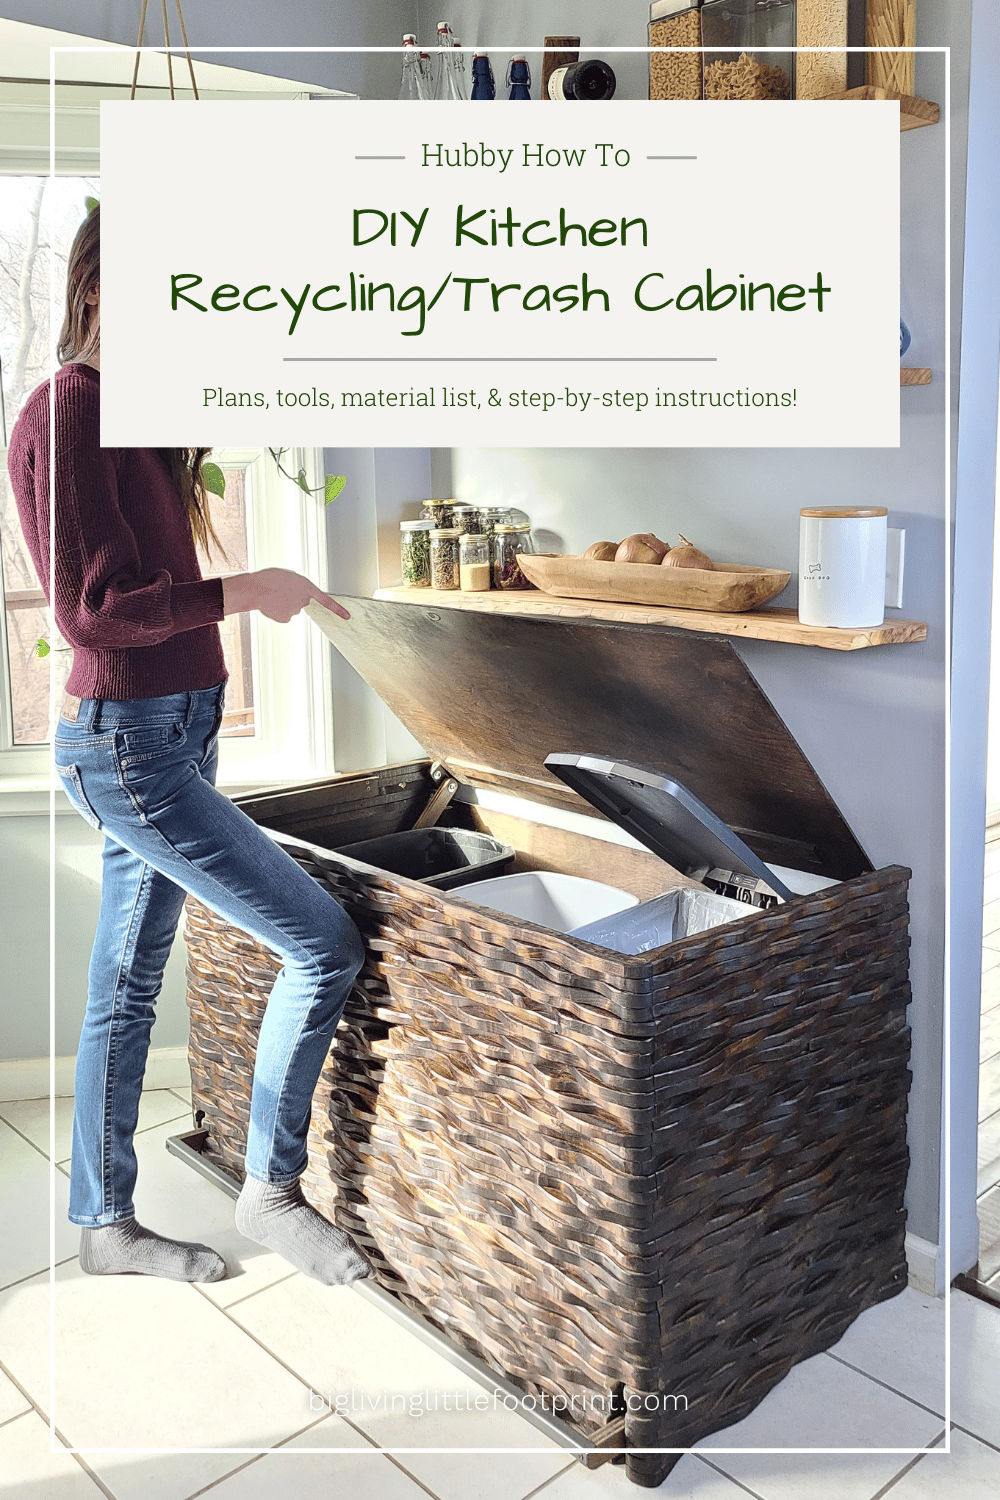
Tired of unsightly recycling bins cluttering your kitchen space? You’re not alone. A recent survey found that 68% of homeowners consider visible recycling containers the #1 eyesore in their kitchen organization system. The good news is you don’t have to choose between eco-conscious habits and beautiful kitchen design. Modern solutions let you maintain efficient recycling practices while keeping your space clean and uncluttered. In this guide, you’ll discover practical, budget-friendly methods to conceal your recycling bins that work with virtually any kitchen layout, from compact city apartments to spacious suburban homes.
The struggle is real—those blue, green, and black bins serve an important purpose but rarely complement your carefully curated kitchen aesthetic. Many homeowners resort to awkward solutions like shoving bins into corners or hiding them in adjacent rooms, which ultimately reduces recycling participation in the household. When bins are inconvenient to access, people are less likely to use them properly. The ideal solution keeps bins accessible for daily use while making them virtually disappear when not in use. Whether you’re dealing with limited square footage or simply want a cleaner visual flow in your kitchen, these proven techniques will transform how you manage recycling without compromising your kitchen’s beauty.
Transform Unused Cabinet Space into Discreet Recycling Storage

Convert Base Cabinet into Pull-Out Recycling Center
Most kitchens have at least one under-sink cabinet that’s awkwardly configured or underutilized. This space is perfect for creating a hidden recycling station. Measure your cabinet interior and purchase matching pull-out trays designed specifically for recycling bins—many home improvement stores sell kits that fit standard cabinet sizes. Install the trays on heavy-duty glides to handle the weight of full containers, then place your bins directly on the trays. When not in use, the cabinet doors completely conceal your recycling system while keeping it within arm’s reach during meal cleanup.
Critical installation tip: Ensure proper ventilation by drilling small holes in the cabinet walls or leaving a slight gap at the top of the cabinet door. Recycling containers need airflow to prevent moisture buildup and odors, especially when storing glass and metal containers between pickups.
Create Custom Compartmentalized Storage for Multiple Bin Types
If your municipality requires separate sorting for paper, plastic, glass, and compost, don’t let multiple containers ruin your kitchen aesthetic. Build or purchase a modular system that fits inside a single cabinet, with dividers creating separate sections for each material type. Use identical bins in neutral colors (white, gray, or black) that match your cabinet finish rather than brightly colored municipal bins. This creates a unified look that appears intentional rather than makeshift when the cabinet is open.
Pro mistake to avoid: Don’t overcrowd the space. Leave at least two inches of clearance around each container to allow for easy removal when bins are full. Overstuffed recycling storage becomes frustrating to maintain and often leads to overflow onto countertops.
Integrate Recycling Bins into Your Kitchen Island Design

Build Dedicated Pull-Out Drawers Beneath Island Seating
Kitchen islands with seating often have dead space beneath the overhang that’s perfect for recycling storage. Work with your cabinetmaker to install deep, wide drawers that slide out smoothly on full-extension glides. Position the bins so they’re accessible from the side rather than requiring you to reach under the counter. Add soft-close mechanisms to prevent slamming and label the drawer fronts subtly with small icons rather than text for a clean, high-end look.
Time-saving hack: Install a small trash can alongside your recycling bins in the island. This creates a complete waste management station where you can sort as you cook, eliminating multiple trips across the kitchen during meal preparation and cleanup.
Conceal Bins Behind Decorative Lattice or Slatted Panels
For islands without cabinetry underneath, create a stylish enclosure using wood lattice or horizontal slats that match your island’s finish. Build a simple frame around the bin area and attach the decorative panel with hidden hinges for easy access during collection days. The patterned design provides necessary ventilation while obscuring the view of bins, and you can even paint or stain the panels to complement your kitchen’s color scheme.
Visual consideration: Choose a pattern with openings large enough to allow airflow but small enough to prevent visibility of bin contents. A 1.5-inch grid pattern typically works well for balancing aesthetics and functionality.
Maximize Corner Cabinet Potential for Recycling Storage
Install Lazy Susan System Specifically for Recycling Containers
Awkward corner cabinets often go underutilized, but they’re ideal for recycling storage when fitted with a custom Lazy Susan system. Rather than using the standard turntable for pots and pans, configure it to hold your bins securely. Cut a plywood base to fit the turntable mechanism, then build walls around the perimeter to prevent bins from sliding during rotation. Position the bins so the handles face outward for easy gripping when spinning the unit to access each container.
Troubleshooting tip: If your bins slide around on the turntable, line the base with non-slip shelf liner or attach rubber feet to the bottom of each bin. This prevents shifting that can cause jams when trying to rotate the unit.
Build Pull-Out Corner Cabinet with Custom Bin Compartments
For a more permanent solution, replace your standard corner cabinet door with a frame that houses pull-out trays specifically sized for your recycling containers. This configuration makes every inch of corner space accessible without requiring you to crawl into the cabinet. The front of the pull-out unit should match your existing cabinetry perfectly, creating the illusion of a standard cabinet when closed.
Space optimization: Angle the pull-out trays slightly toward the user when extended. This ergonomic design makes it easier to drop items into bins without having to reach deeply into the cabinet.
Create a Seamless Pantry Integration Solution

Dedicate Lower Pantry Shelf Specifically for Recycling Bins
If your kitchen includes a walk-in or reach-in pantry, reserve the bottom shelf exclusively for recycling containers. Position bins against the back wall so they’re hidden from view when the pantry door is open. For pantries with wire shelving, replace the bottom shelf with solid plywood painted to match your pantry walls, creating a cleaner backdrop that doesn’t reveal bin contents through gaps.
Material consideration: Use bins with opaque sides rather than translucent containers. Even when positioned against the back wall, light-colored translucent bins can still be visible through pantry shelving from certain angles.
Install Sliding Door System for Instant Concealment
For pantries without doors or with wire mesh fronts, add a simple sliding door system that glides along a track mounted to the pantry frame. Choose a door made of the same material as your pantry shelves for a built-in look, or get creative with frosted glass, bamboo screening, or decorative metal grates that complement your kitchen style while hiding bins from view.
Accessibility tip: Ensure the sliding mechanism operates smoothly with one hand. During busy cooking sessions, you shouldn’t struggle with a stiff door when you need quick access to your recycling system.
Build a Freestanding Concealment Unit That Matches Your Kitchen
Construct Custom Enclosure Around Freestanding Bins
When cabinet integration isn’t possible, build a simple box structure from plywood that matches your kitchen’s base cabinet color and style. Attach legs to elevate it slightly off the floor, then add a hinged or sliding front panel for access. Position this unit against a wall where it appears to be part of your cabinetry rather than an afterthought. The enclosure should be just large enough to accommodate your bins with minimal extra space.
Design element: Add crown molding along the top to match your existing cabinetry, creating visual continuity that makes the unit look professionally installed rather than makeshift.
Repurpose Vintage Furniture into Discreet Recycling Station
Scan thrift stores or online marketplaces for small dressers, filing cabinets, or storage cabinets with cabinet-like proportions. Remove drawers or shelves as needed, then paint the piece to match your kitchen cabinets. The front often already features doors or drawers that perfectly conceal bins while adding character to your space. Vintage filing cabinets work particularly well as each drawer can hold a separate recycling stream.
Style tip: Choose pieces with simple lines that complement your kitchen’s aesthetic. Ornate furniture might stand out awkwardly in a modern kitchen, while sleek contemporary pieces would look out of place in a traditional space.
Optimize Under-Stair Storage for Kitchen-Adjacent Recycling
Convert Under-Stair Nook into Dedicated Recycling Hub
If your kitchen is near a staircase, that often-wasted under-stair space could be your perfect recycling solution. Build simple cabinetry that matches your kitchen style, with doors that conceal bins while allowing easy access. This location keeps recycling convenient to the kitchen without sacrificing valuable kitchen square footage, and the irregular space typically accommodates multiple bins with room to spare.
Ventilation solution: Install discreet ventilation grates in the cabinet doors or sides to prevent moisture buildup. Consider adding a small charcoal filter inside the enclosure to absorb any odors before they migrate into your living space.
Create Multi-Functional Under-Stair Design with Additional Storage
Maximize this space by combining recycling storage with other kitchen-related functions. Dedicate the lower section to bins while using upper shelves for infrequently used kitchen items like holiday serving pieces or bulk food storage. The dual-purpose design makes the space feel intentional rather than a compromise, and you’ll appreciate having related items stored together.
Accessibility consideration: Ensure the recycling section sits at a height that’s comfortable for regular use—typically between 12-18 inches off the floor. Bins positioned too low require excessive bending, while those too high become difficult to fill properly.
Maintain Your Hidden Recycling System for Long-Term Success
Establish Weekly Cleaning Routine to Prevent Odor Buildup
Even concealed bins require regular maintenance. Schedule bin cleaning for the day before your regular pickup to ensure containers are empty and accessible. Use a mixture of vinegar and water to wipe down interior and exterior surfaces, then leave bins in a well-ventilated area to dry completely before returning them to their concealed locations.
Pro tip: Line bins with biodegradable bags for food waste and compostables, but avoid bagging paper and cardboard which should go in dry containers. Different materials require different moisture management approaches.
Implement Seasonal Deep Cleaning Schedule for Concealment Units
Twice a year, remove all bins and give your storage system a thorough cleaning. Check for any signs of moisture damage, especially in cabinet installations, and replace shelf liner or repaint surfaces as needed. This maintenance prevents small issues from becoming major problems and keeps your hidden system functioning smoothly for years.
Warning: Never use harsh chemical cleaners inside concealed spaces—fumes can become trapped and potentially damage cabinetry finishes or migrate into your kitchen air. Stick with natural cleaning solutions like vinegar, baking soda, and mild dish soap.
By implementing these clever concealment strategies, you’ll maintain your recycling habits without compromising your kitchen’s aesthetic appeal. The key is choosing a solution that matches your specific kitchen layout and usage patterns, ensuring your bins remain both hidden and convenient to access. Remember that the best system is one you’ll actually use consistently—so prioritize functionality alongside appearance when selecting your perfect hiding solution.


