
Hanging kitchen cupboards is one of the most critical steps in a kitchen renovation, yet it’s also where many DIYers encounter serious problems. Without proper installation, your beautiful new cabinets could become a safety hazard, with shelves sagging, doors misaligning, or worst of all—cabinets detaching from the wall. The reality is that hanging kitchen cupboards requires more than just a level and some screws; it demands precise planning, understanding of wall structure, and knowledge of proper hardware. This guide will help you recognize what comprehensive installation information should include, so you can approach this project with awareness of what’s truly required for safe, professional results.
When done correctly, properly hung kitchen cupboards can last decades without issues. But when installation goes wrong, the consequences range from minor annoyances like uneven doors to dangerous situations where heavy cabinetry could fall. Many homeowners underestimate the weight involved—a single wall cabinet filled with dishes can easily exceed 100 pounds. This is why understanding the fundamentals of how to hang kitchen cupboards properly isn’t just about aesthetics; it’s a critical safety consideration for your home.
Why Proper Cabinet Installation Knowledge Matters
Before you even consider picking up a drill, you need to understand why proper installation knowledge is non-negotiable for kitchen cupboards. Wall-mounted cabinets, base cabinets, and tall pantry units each have specific installation requirements that must be followed to ensure stability and safety. The difference between a cabinet that remains perfectly aligned for years versus one that starts pulling away from the wall often comes down to whether the installer understood and followed proper techniques.
Common Installation Failures and Their Causes
Many DIY cabinet installation projects fail because homeowners skip critical preparation steps. The most frequent issues include cabinets that gradually pull away from the wall, doors that won’t stay aligned, and shelves that sag under normal loads. These problems typically originate from three fundamental mistakes: failing to locate and anchor into wall studs properly, using inadequate fasteners for the job, and not establishing a proper level reference line before installation begins.
Safety Risks of Improperly Hung Cupboards
The safety implications of improperly hung kitchen cupboards cannot be overstated. A wall cabinet filled with dishes represents significant weight concentrated high on your wall. If not properly secured to structural elements, these cabinets can detach during normal use or, worse, during minor seismic activity. Children reaching for items adds additional leverage that can compromise poorly installed cabinetry. Always remember that when learning how to hang kitchen cupboards, safety must be your primary concern—not speed or convenience.
Essential Planning Before Hanging Any Cupboards
Proper planning makes the difference between a professional-looking installation and a frustrating DIY disaster. This phase requires careful measurement, wall assessment, and strategic decision-making before any tools come out.
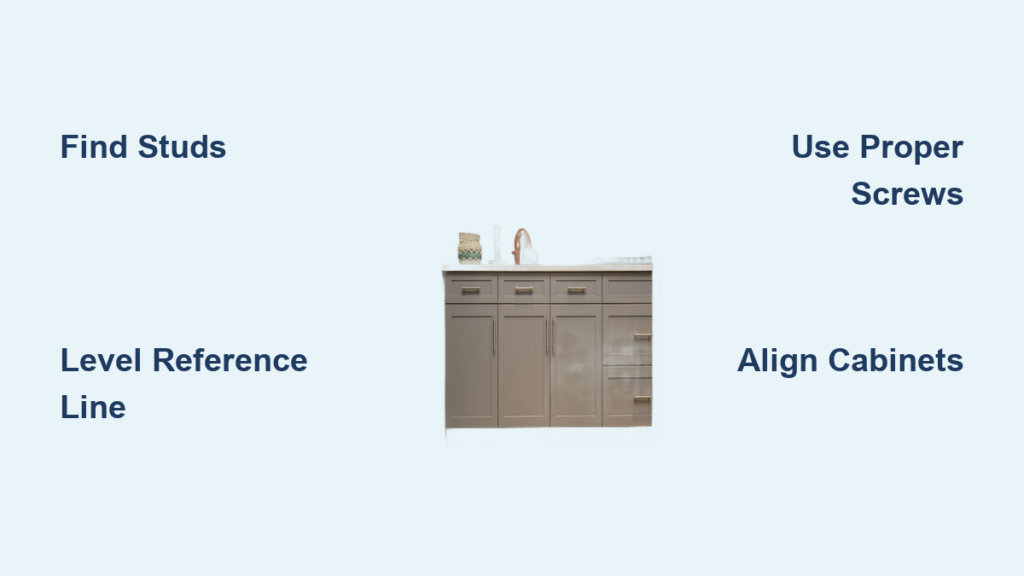
Finding Wall Studs and Understanding Wall Structure
Locating wall studs correctly is the absolute foundation of how to hang kitchen cupboards safely. Standard residential construction typically spaces studs 16 inches or 24 inches on center, but never assume—always verify with a reliable stud finder. Drywall alone cannot support cabinet weight; you must anchor into the wooden studs behind it. For masonry walls, completely different anchoring systems are required. Take multiple measurements to confirm stud locations, as pipes or electrical boxes can sometimes cause studs to be placed irregularly in kitchen areas.
Creating Your Level Reference Line
The single most important step many DIYers skip is establishing a perfectly level reference line around the entire kitchen before installing any cabinets. This line determines the height and alignment of all your upper cabinets. Use a laser level or a traditional spirit level with a long straightedge to mark this line consistently around the room. Remember that floors and ceilings are rarely perfectly level, so your reference line should be based on the floor’s highest point to ensure proper cabinet alignment.
Tools and Materials Checklist for Professional Results

Having the right tools and materials makes the installation process smoother and significantly improves your final results. Don’t cut corners here—using improper hardware is the fastest route to future problems.
Essential Tools You’ll Need
For proper kitchen cupboard installation, gather these critical tools before starting: a stud finder (magnetic or electronic), laser level or long spirit level, tape measure, drill with appropriate bits, screw gun, clamps, shims, pencil, and safety glasses. A helper is also essential—trying to hang cabinets alone almost always leads to alignment issues. Many professionals also use cabinet installation rails or jig systems that make alignment between multiple cabinets much easier and more precise.
Choosing the Right Fasteners and Hardware
The hardware you select directly determines your cabinets’ longevity and safety. For wall-mounted cabinets, you’ll need appropriate-length screws that penetrate at least 1.5 inches into the wall studs. Standard 3-inch construction screws are typically the minimum for securing cabinets to studs. For the cabinet-to-cabinet connections, specialized cam locks or face-frame screws provide the necessary rigidity. Never rely solely on the screws that come with budget hardware kits—invest in quality fasteners designed specifically for cabinet installation.
Step-by-Step Installation Process for Wall-Mounted Cupboards
With preparation complete, you’re ready to begin the actual installation process. This is where careful execution separates successful projects from problematic ones.
Starting with Corner Cabinets and Key Reference Points
Always begin installation with corner cabinets or other fixed reference points in your layout. These cabinets establish the alignment for all subsequent units. Position your first cabinet carefully against your level reference line, ensuring it’s perfectly plumb both front-to-back and side-to-side. Use temporary support (like a kickstand made from scrap wood) to hold the cabinet in position while you verify alignment. Once positioned correctly, secure the cabinet to at least two wall studs using your appropriate screws.
Aligning Multiple Cabinets for Seamless Appearance
The professional look of custom cabinetry comes from perfectly aligned doors and seamless gaps between units. When installing adjacent cabinets, use a cabinet alignment tool or specialized screws that allow for micro-adjustments after initial installation. Clamp cabinets together before securing them fully to ensure consistent gaps between units. Check alignment frequently with your level as you work across the wall—small errors compound quickly over multiple cabinets.
Critical Mistakes to Avoid When Hanging Kitchen Cupboards

Even experienced DIYers make preventable errors during cabinet installation that compromise both function and safety.
Overlooking Weight Distribution Considerations
One of the most dangerous mistakes is failing to account for how cabinet contents affect weight distribution. Upper wall cabinets become significantly heavier when filled with dishes, glassware, and cookware. Ensure your fastening system can handle not just the empty cabinet weight but also a reasonable load of contents. For heavier items like corner cabinets or pantries, consider adding supplemental support brackets underneath, especially for cabinets spanning more than 24 inches.
Ignoring Manufacturer-Specific Installation Requirements
Different cabinet manufacturers have specific installation requirements that must be followed to maintain warranties and ensure proper function. Some face-frame cabinets require specific mounting rails, while frameless (European-style) cabinets often need different hardware systems. Always consult your cabinet manufacturer’s installation guide before beginning—you might discover special requirements for your particular cabinets that aren’t covered in general how-to guides.
When to Call a Professional for Cabinet Installation
While many homeowners successfully install their own kitchen cupboards, certain situations warrant professional help.
Complex Layouts and Specialized Cabinets
If your kitchen design includes tall pantry units, glass-front cabinets, or custom corner solutions, professional installation might be worth the investment. These specialized cabinets often have unique mounting requirements that are difficult to execute perfectly on your first attempt. The cost of a professional installer pales in comparison to the expense of repairing walls and replacing cabinets after a failed DIY installation.
Safety Concerns with High or Heavy Installations
Cabinets installed above refrigerators or other tall appliances present significant safety challenges. Working at height while maneuvering heavy cabinets increases both the difficulty and danger of installation. If you’re uncomfortable with ladder work or handling heavy objects overhead, this is an excellent time to call in a professional. Remember that improperly secured high cabinets represent the greatest safety risk in any kitchen.
Final Note: Properly hanging kitchen cupboards requires careful planning, the right tools, and attention to detail that many DIYers underestimate. While this guide has highlighted what comprehensive installation information should include, actual cabinet installation should always follow manufacturer-specific instructions and consider your home’s unique construction. When in doubt about how to hang kitchen cupboards safely and correctly, consulting a professional installer ensures your kitchen will be both beautiful and secure for years to come. Always prioritize safety over speed—taking the time to do it right from the beginning prevents costly corrections and potential hazards down the road.


