
Finding small moths fluttering around your kitchen pantry is more than just unsettling—it’s a serious threat to your food supply. These pests, most commonly Indian meal moths or Mediterranean flour moths, can contaminate entire pantries with their eggs and webbing in just weeks. If you’ve spotted adult moths near your cereal boxes or noticed clumped flour with silky threads, you’re dealing with an active infestation that requires immediate action. This guide delivers the exact steps you need to eliminate kitchen moths completely, including how to identify their hiding spots, remove all life stages, and prevent their return—without wasting time on ineffective home remedies.
Immediate Kitchen Moth Infestation Assessment

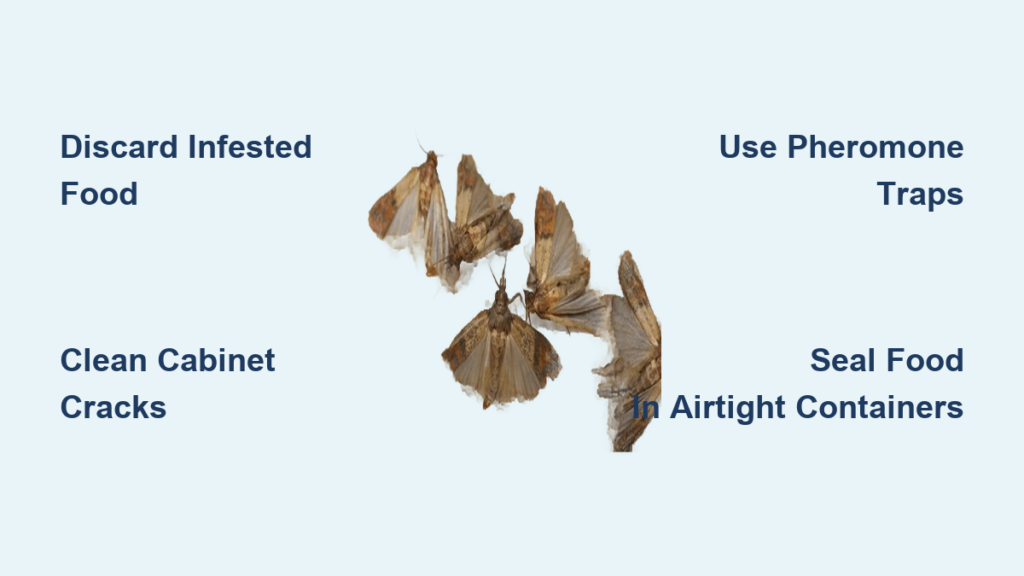
Before grabbing mothballs or sprays, you need to determine the scope of your infestation. Adult pantry moths typically measure ¼ to ½ inch with distinctive coppery wings and a wingspan of about ½ inch. The real damage comes from their larvae, which resemble small white or pink worms that spin protective webbing through food products.
Locate All Infested Food Sources
Begin your inspection at eye level and work downward through every cabinet and pantry shelf. Pay special attention to:
– Open packages of grains, flour, cereal, and pet food
– Sealed boxes with tiny emergence holes (¼ inch diameter)
– Food containers with visible webbing or clumping
– Spills underneath shelves and in cabinet corners
Critical mistake to avoid: Don’t assume only opened packages are contaminated. Moth larvae can chew through cardboard and thin plastic, meaning unopened items near infested products likely contain eggs. When in doubt, discard suspect items immediately in outdoor trash.
Identify Breeding Hotspots Beyond Food Storage
Kitchen moths don’t limit themselves to pantry shelves. Check these often-overlooked locations:
– Cracks between countertops and cabinets
– Underneath appliances where food crumbs accumulate
– Inside canisters and jars with imperfect seals
– Pet food storage containers and birdseed packages
Complete Pantry Moth Eradication Protocol
Eliminating kitchen moths requires simultaneous action against all life stages—eggs, larvae, pupae, and adults. This four-phase approach ensures complete eradication without leaving survivors to restart the infestation cycle.
Empty and Isolate the Entire Pantry Area
Begin by removing every item from affected cabinets and placing them on your kitchen counter. Discard immediately:
– Any food showing webbing, larvae, or adult moths
– Products with torn or compromised packaging
– Items stored near visibly infested containers
Time-saving tip: Work with one shelf at a time to maintain organization. Place suspect items in sealed plastic bags before moving them to prevent spreading eggs.
Deep Clean All Cabinet Surfaces and Cracks
With cabinets completely empty, remove shelves and hardware for thorough cleaning. Use this sequence:
1. Vacuum all surfaces with a crevice tool attachment to remove eggs and debris
2. Wipe down with equal parts white vinegar and water solution
3. Pay special attention to corners, seams, and underneath shelf brackets
4. Allow surfaces to dry completely before returning items
Pro tip: Shine a flashlight at a low angle across cabinet surfaces to reveal tiny eggs and webbing that might otherwise go unnoticed.
Implement Targeted Trapping and Monitoring
While cleaning eliminates existing populations, pheromone traps capture adult moths before they lay more eggs. Place traps strategically:
– One trap per 200 square feet of pantry space
– Positioned near food storage areas but away from direct sunlight
– Replaced monthly or when covered with moths
Important note: Traps alone won’t solve an infestation but serve as early warning systems for residual activity after cleaning.
Securing Your Kitchen Against Future Infestations
Prevention requires changing how you store and monitor pantry items. The most effective approach combines physical barriers with regular inspection routines.
Transfer All Remaining Food to Moth-Proof Containers
Immediately transfer vulnerable items to airtight containers made of:
– Glass with locking lids
– Heavy-duty #4 or #5 plastic with tight seals
– Metal tins with gasket closures
Container checklist: Press your thumb against the lid seam—if you feel any give, the seal isn’t tight enough to prevent moth entry.
Establish a Pantry Inspection Schedule
Prevent future outbreaks with this monthly routine:
1. Rotate older items to the front of shelves
2. Check for tears in packaging or unusual clumping
3. Look for tiny emergence holes (¼ inch diameter)
4. Wipe shelves with vinegar solution during cleaning
Expert insight: Freeze newly purchased bulk grains for 72 hours before storing to kill any hidden eggs.
Natural and Chemical Treatment Options Compared
When facing severe infestations, you might consider additional treatments beyond cleaning and trapping. Understanding the pros and cons of each method prevents wasted effort and potential hazards.
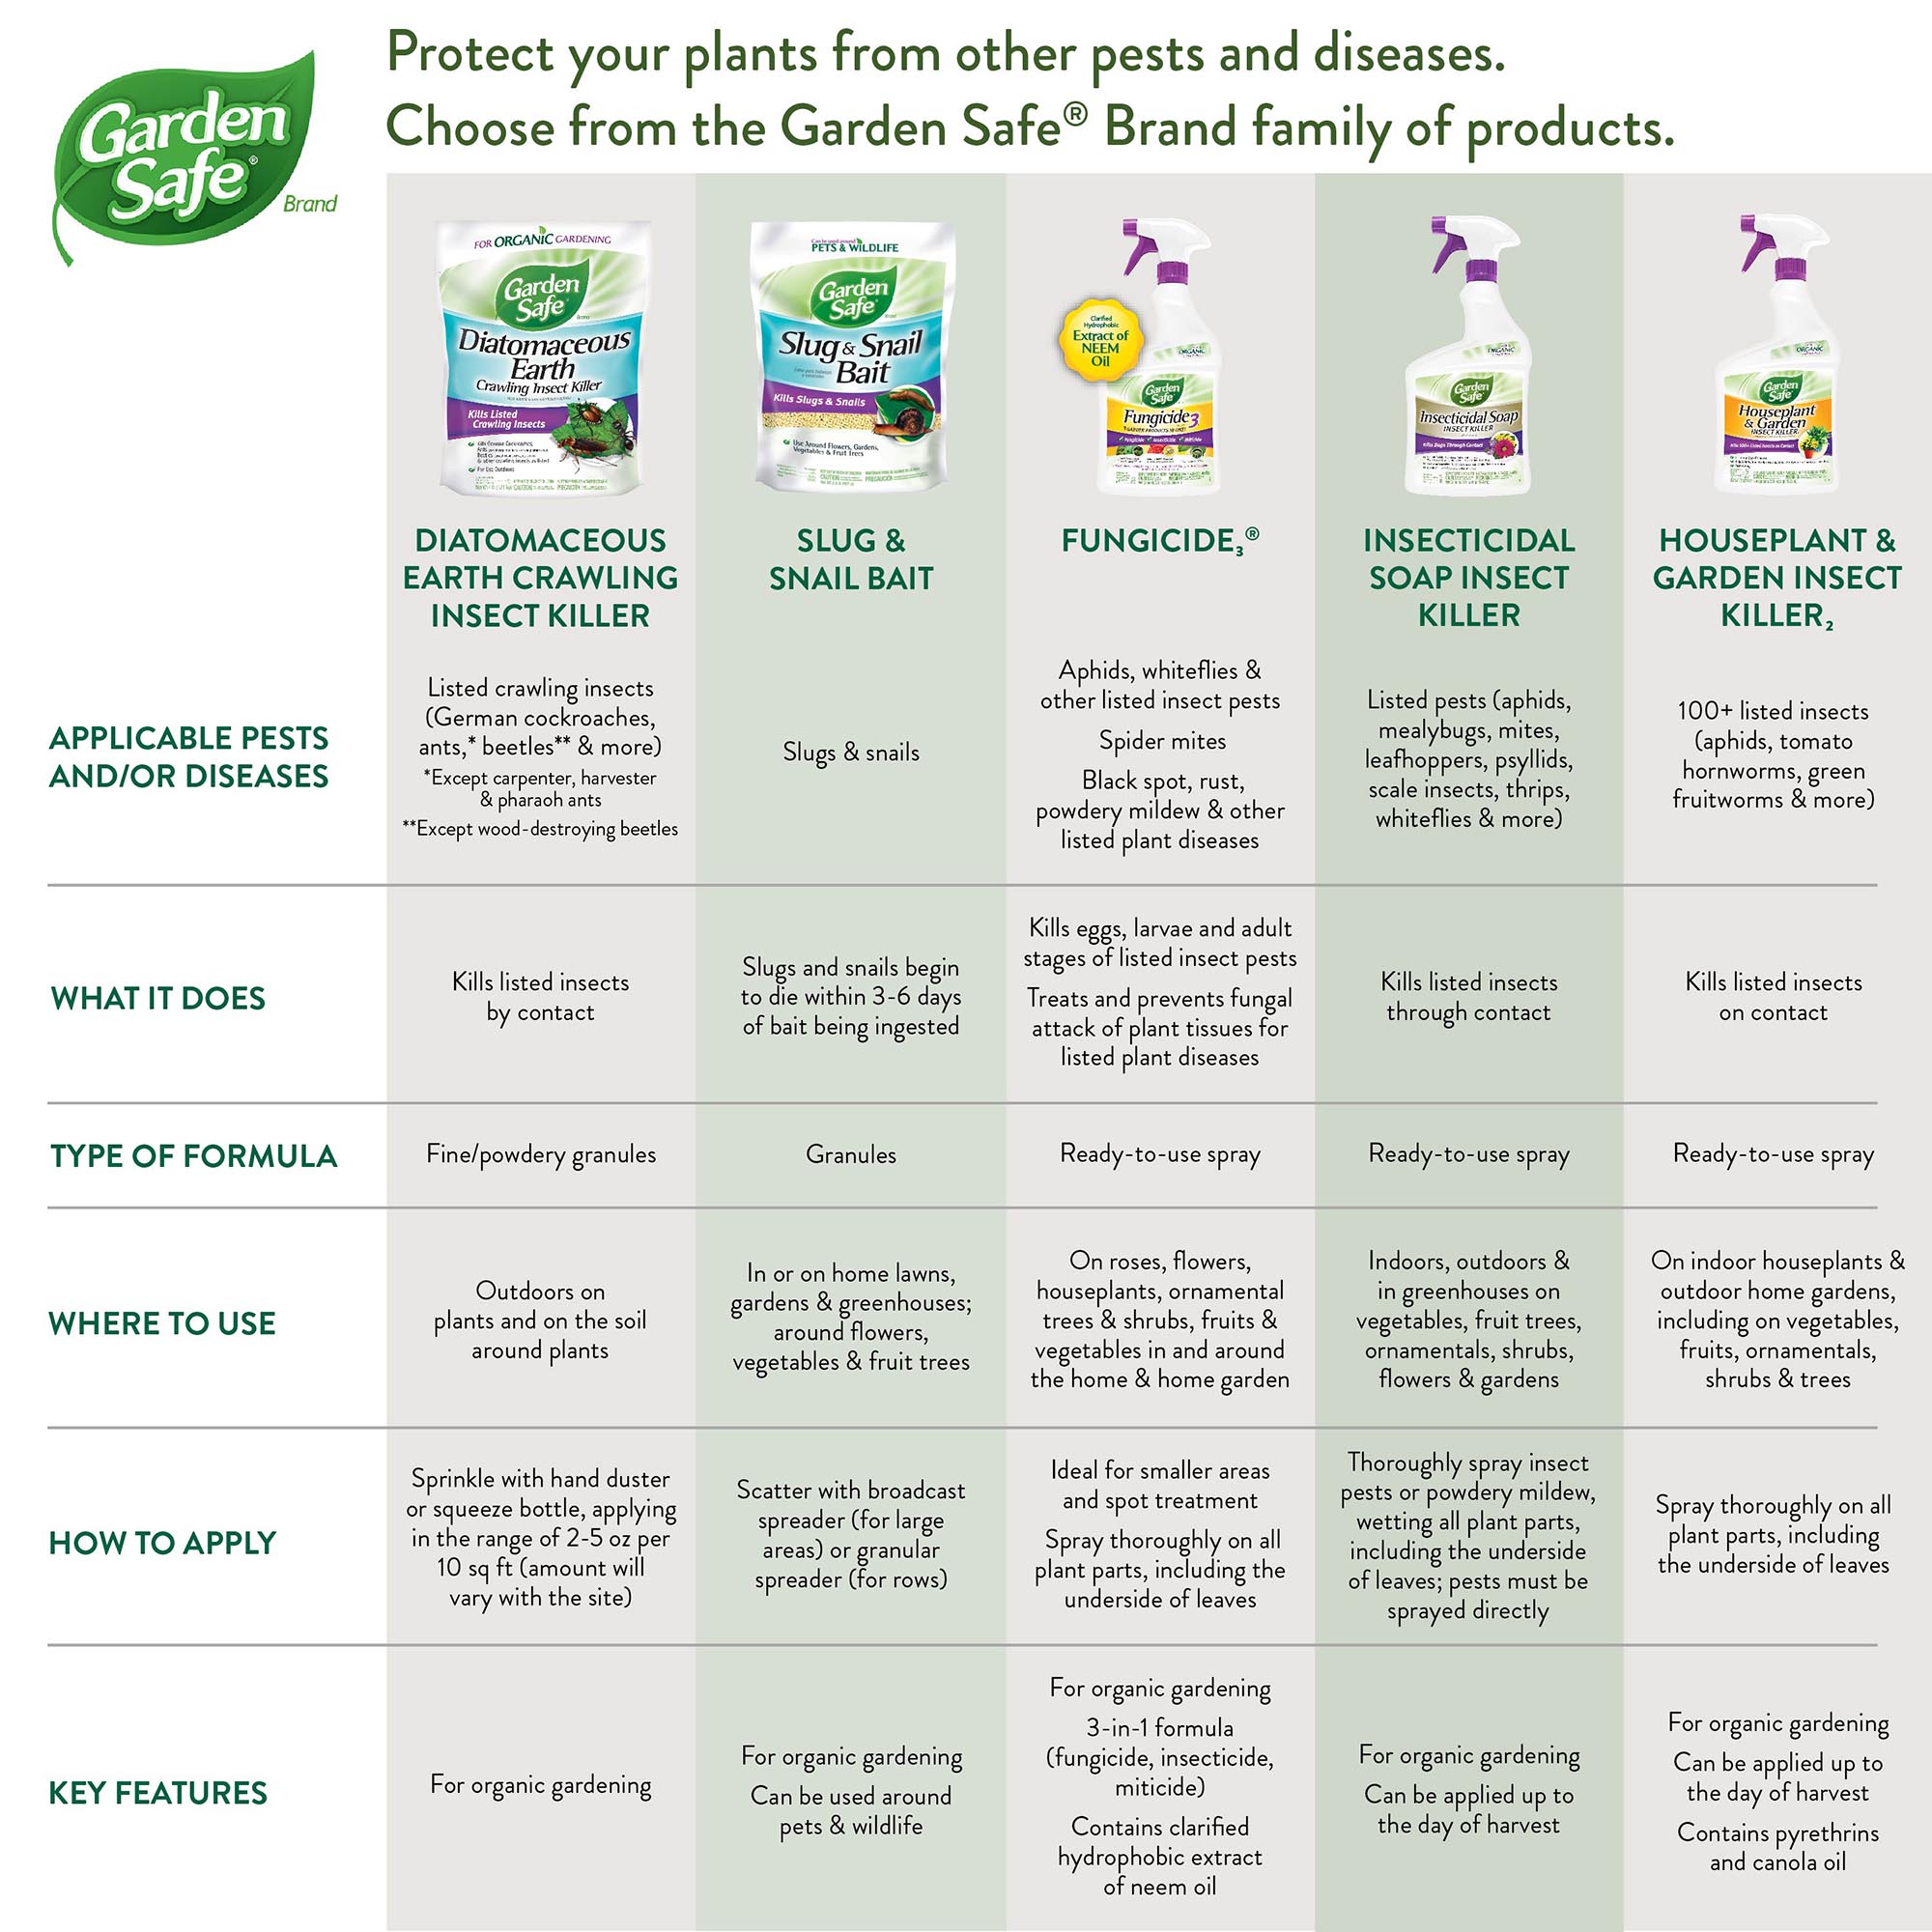
Diatomaceous Earth Application Protocol
Food-grade diatomaceous earth (DE) kills larvae through dehydration but requires proper application:
– Apply only in dry, empty cabinets away from food
– Use a duster to apply thin layer in cracks and corners
– Leave undisturbed for minimum 12 hours before vacuuming
– Never apply directly to food products
Critical safety note: Wear a mask during application to avoid inhaling fine particles, and keep away from children and pets during treatment.
When to Consider Chemical Insecticides
Most pest control professionals recommend against spraying kitchen cabinets due to food safety risks. However, in extreme cases:
– Use only products labeled for indoor food-area use
– Apply only to cabinet frames and hinges—not food surfaces
– Follow all label instructions regarding re-entry times
– Never spray near food storage containers
Professional advice: If infestation persists after two complete cleaning cycles, consult a licensed pest control specialist rather than escalating DIY chemical use.
Emergency Response for Active Moth Sightings

Spotting adult moths indicates ongoing breeding activity. Take these immediate actions:
Nighttime Moth Interception Strategy
Adult moths are most active at night. Set up this interception system:
1. Place a bowl of apple cider vinegar with a drop of dish soap near problem areas
2. Position pheromone traps at cabinet entry points
3. Check for drowned moths each morning and reset traps
Why this works: The vinegar solution attracts moths while the soap breaks surface tension, causing them to drown.
24-Hour Damage Control Checklist
When you spot multiple moths in one day:
– Isolate all grain-based products in sealed containers
– Freeze suspected items for minimum 4 days
– Vacuum all kitchen baseboards and cabinet interiors
– Deploy additional pheromone traps in problem zones
Long-Term Kitchen Moth Prevention Framework
True prevention requires changing your pantry management habits. Implement these practices to keep moths permanently out of your kitchen.
Smart Grocery Purchasing Habits
Break the infestation cycle at the source by modifying how you shop:
– Buy grains and flours in smaller quantities
– Transfer bulk purchases to sealed containers immediately
– Avoid damaged packaging at the store
– Check expiration dates to ensure freshness
Cost-saving insight: Smaller packages used quickly reduce waste from undetected infestations.
Quarterly Pantry Deep Cleaning Routine
Schedule these maintenance sessions to catch problems early:
– Empty all cabinets completely
– Vacuum and wipe all surfaces with vinegar solution
– Inspect every food item for damage
– Replace pheromone traps and check for activity
Time investment: A thorough quarterly cleaning takes approximately 45 minutes but prevents hours of emergency remediation later.
When to Call Professional Pest Control
Most kitchen moth infestations can be handled with diligent DIY efforts, but certain situations warrant professional help.
Recognizing Treatment Failure Signs
Contact a pest control specialist if you observe:
– Continued moth activity after two complete cleaning cycles
– Infestation spreading to multiple rooms
– Evidence of moths in sealed food containers
– Persistent webbing after thorough cleaning
What to expect: Professionals use integrated pest management approaches that combine monitoring, targeted treatments, and exclusion techniques without excessive chemical use.
Final Verification and Peace of Mind
After completing your eradication protocol, verify success with this final checklist:
– No adult moths observed for minimum 30 days
– Pheromone traps remain moth-free for two consecutive months
– All food shows no signs of webbing or larvae
– Regular inspections reveal no new damage
Maintain vigilance with monthly pantry checks and immediate isolation of suspicious items. By implementing these systematic prevention measures, you’ll transform your kitchen from a moth breeding ground into a protected food storage environment that stays infestation-free for good. Remember that consistent prevention takes far less time and effort than battling a full-blown infestation—just 10 minutes of monthly maintenance saves hours of emergency cleanup later.


