
Oak kitchen cabinets often develop a dated appearance over time, showing wear from daily use, exposure to kitchen elements, and evolving design trends. If your oak cabinets have lost their luster or no longer match your desired kitchen aesthetic, you’re not alone—many homeowners face this common challenge. The good news is you don’t necessarily need a full kitchen remodel to transform your space. This guide walks you through proven methods to refresh your oak kitchen cabinets without the expense and disruption of complete replacement. By the end of this article, you’ll understand multiple approaches to renew your cabinets, from simple cleaning techniques to more comprehensive refinishing options, allowing you to choose the right solution for your budget, skill level, and timeline.
Immediate Cleaning Methods for Dull Oak Cabinets
Before considering major projects, start with thorough cleaning—often the simplest solution yields dramatic results. Years of cooking grease, dust, and grime accumulate on cabinet surfaces, creating that tired, yellowed appearance many oak cabinets develop.
Removing Built-Up Grime Without Damaging Wood
Begin by removing cabinet hardware and cleaning all surfaces with a solution specifically formulated for wood cabinetry. A gentle mixture of warm water and mild dish soap applied with a soft microfiber cloth works for light cleaning. For heavier buildup, try a solution of equal parts white vinegar and warm water, which cuts through grease without harsh chemicals. Always wipe with the wood grain rather than across it to prevent micro-scratches. For stubborn spots, use a soft-bristled toothbrush to gently work into grooves and details without damaging the finish.
Deep Cleaning Techniques for Oak’s Open Grain Structure
Oak’s distinctive open grain pattern traps more dirt than closed-grain woods, requiring special attention. After initial cleaning, apply a wood-specific cleaner that penetrates these pores. Work in small sections, allowing the cleaner to dwell for the recommended time before wiping clean. For particularly neglected cabinets, a second cleaning pass may be necessary. Always follow cleaning with a dry microfiber cloth to prevent water spots, especially in the grain patterns where moisture can linger.
Cabinet Hardware Replacement for Instant Transformation

Swapping out cabinet hardware offers the fastest visual upgrade with minimal effort and cost. This simple change dramatically impacts your kitchen’s overall appearance without altering the cabinets themselves.
Selecting Complementary Hardware Styles for Oak
When choosing new knobs and pulls, consider oak’s warm undertones. Modern finishes like matte black, brushed nickel, or oil-rubbed bronze create striking contrast against traditional oak. For a cohesive look, select hardware with clean lines that complement your kitchen’s existing style elements. Measure existing holes carefully before purchasing new hardware to ensure proper fit, or be prepared to fill and drill new holes for optimal placement.
Professional Installation Techniques for Flawless Results
Remove old hardware and fill any unwanted screw holes with matching wood filler. When installing new hardware, use a template or measuring jig to ensure consistent placement across all cabinets—a critical detail that makes the difference between amateur and professional results. Start with upper cabinets before moving to lowers, and always hand-tighten hardware to avoid stripping screw holes in the wood.
Effective Techniques for Lightening Oak Cabinet Color

Oak’s natural golden tones can become overwhelming over time, especially with older finishes that have yellowed. Several approaches can lighten and brighten your cabinets without complete refinishing.
Chemical Stripping for Targeted Color Correction
For cabinets with a finish that has darkened significantly, chemical strippers can remove just the top layer of varnish or stain without damaging the underlying wood. Apply stripper according to manufacturer instructions, focusing on visible areas while protecting surrounding surfaces. After removal, lightly sand with fine-grit sandpaper to create a uniform surface. This approach works particularly well for cabinets where only the finish has yellowed but the wood remains in good condition.
Bleaching Options for Significant Color Transformation
When more dramatic lightening is needed, wood bleach can reduce oak’s natural coloration. Two-part wood bleach (sodium hydroxide and hydrogen peroxide) effectively removes both natural wood color and existing stains. Apply carefully following safety precautions, as bleach is caustic. Multiple applications may be necessary for desired results, with proper drying time between applications. Always test on an inconspicuous area first to assess the final color outcome.
Cabinet Painting Strategies for Complete Transformation
Painting oak cabinets provides the most dramatic change, allowing you to completely alter your kitchen’s color scheme and style. While oak’s grain pattern presents unique challenges, proper preparation ensures professional-looking results.
Proper Surface Preparation for Oak’s Distinctive Grain
Oak’s open grain requires special attention before painting. Start with thorough cleaning, then sand all surfaces with 120-grit sandpaper to create “tooth” for paint adhesion. Apply a wood conditioner or grain filler to minimize the raised grain pattern that can telegraph through paint. Multiple thin coats of high-quality primer specifically designed for wood cabinets create a smooth base for your topcoat.
Selecting and Applying the Right Paint for Cabinet Durability
Choose a paint formulated for cabinetry that withstands frequent use and cleaning. Water-based acrylic enamels provide excellent durability with minimal odor and faster drying times than oil-based alternatives. Apply paint with a high-quality synthetic brush or foam roller, working with the wood grain. Two thin coats typically yield better results than one thick coat, with proper drying time between applications. Allow at least 72 hours for full curing before reinstalling hardware and using cabinets normally.
Post-Refresh Protection and Maintenance Practices
After refreshing your oak cabinets, proper protection ensures your efforts last for years rather than months. The right finish not only enhances appearance but also creates a barrier against kitchen elements.
Choosing Appropriate Sealants for Long-Term Protection
For painted cabinets, a clear polyurethane topcoat provides excellent protection against moisture and wear. Water-based polyurethane offers minimal yellowing over time, crucial for maintaining light paint colors. For stained or natural-looking cabinets, consider paste wax or a specialized cabinet wax that enhances wood grain while providing protection. Apply sealants in thin, even coats with a high-quality brush or applicator pad, allowing proper drying time between coats.
Daily Maintenance Habits to Preserve Your Investment
Establish simple cleaning routines to maintain your refreshed cabinets. Wipe spills immediately with a soft, slightly damp cloth rather than allowing liquids to sit on surfaces. Avoid harsh cleaners containing ammonia or abrasives that can damage finishes over time. Every few months, apply a wood-specific cleaner followed by a light coat of wax to maintain luster and protection. Pay special attention to high-touch areas like cabinet fronts and handles, which show wear first.
Cost and Time Considerations for Different Refresh Methods
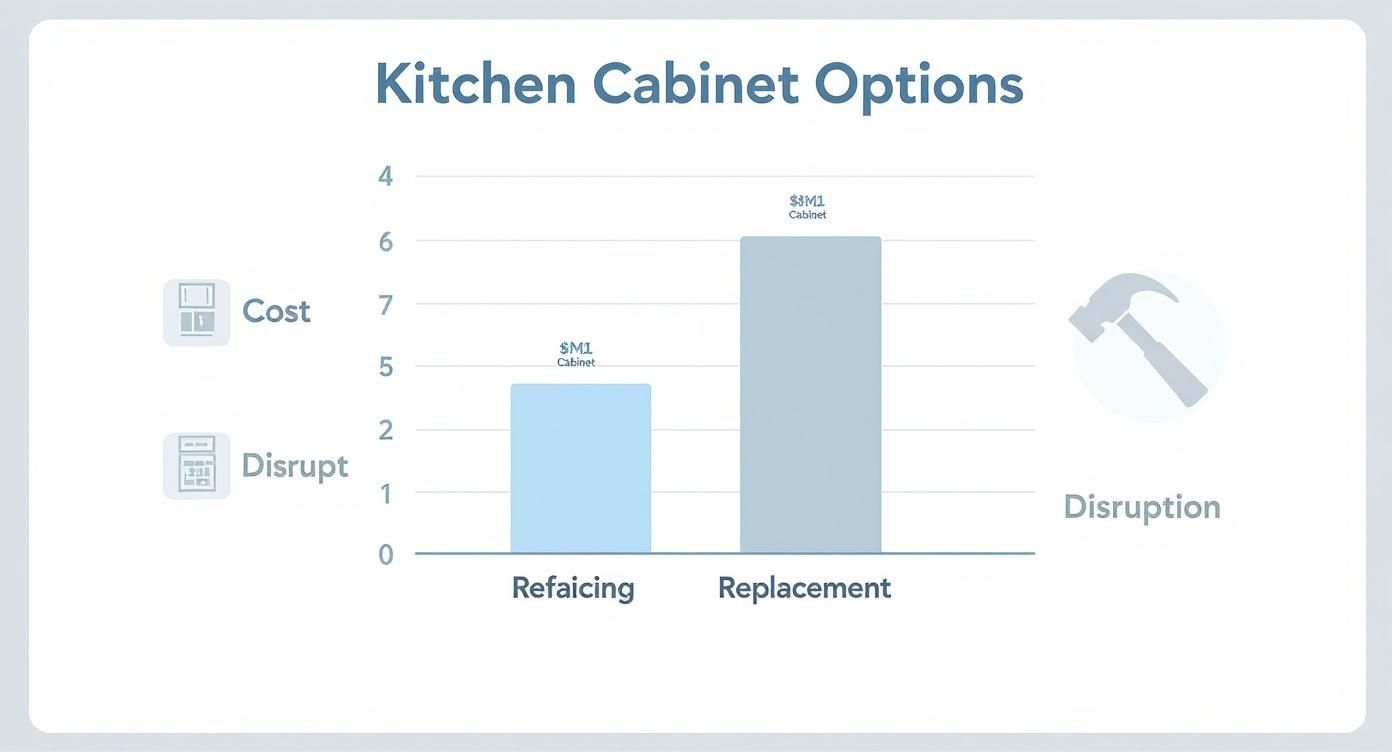
Understanding the investment required for each approach helps determine the best option for your situation. Projects range from quick, inexpensive updates to more comprehensive renovations requiring significant time and resources.
Budget-Friendly Options Under $100
Hardware replacement typically costs $50-$150 for an average kitchen and takes 2-4 hours. Deep cleaning requires minimal investment in supplies ($10-$25) and 3-6 hours of effort. These approaches offer immediate visual improvement with minimal disruption to your kitchen routine.
Moderate Investment Projects ($200-$800)
Lightening cabinets through chemical stripping or bleaching requires $150-$400 in materials and 15-25 hours of work, including drying time. Cabinet painting typically costs $300-$800 in materials for an average kitchen, with 25-40 hours of labor. These projects significantly transform your kitchen’s appearance while remaining more affordable than replacement.
When to Consider Professional Help Versus DIY
Some cabinet refresh projects benefit from professional expertise, especially when dealing with valuable or extensively damaged cabinetry.
Identifying Projects Best Left to Professionals
If your cabinets have significant damage like deep scratches, water damage, or structural issues, professional refinishing may be worthwhile. Complex color changes, especially going from dark to light, often yield better results with professional equipment and expertise. Historic or high-value oak cabinetry typically merits professional attention to preserve value and ensure proper techniques.
DIY Projects Suitable for Intermediate Skill Levels
Most cleaning, hardware replacement, and basic painting projects are suitable for homeowners with intermediate DIY skills. If you’re comfortable with careful preparation, attention to detail, and patient application techniques, you can achieve excellent results on many refresh projects. Start with one cabinet as a test before committing to the entire kitchen.
Final Note: Refreshing oak kitchen cabinets offers tremendous value for relatively modest investment compared to full replacement. By understanding the various approaches—from simple cleaning to complete painting—you can select the method that best fits your budget, timeline, and desired outcome. Remember that proper preparation is always the key to successful cabinet refresh projects, often taking more time than the actual finishing work but making the difference between temporary improvement and lasting transformation. With the right approach, your oak cabinets can look vibrant and modern for years to come, enhancing your entire kitchen space without the disruption of a full remodel.


