
Have you noticed reduced water pressure or strange particles coming from your kitchen faucet? You’re not alone—many homeowners experience these frustrating issues that often indicate sediment buildup in their plumbing system. When your kitchen faucet starts sputtering, emitting discolored water, or simply doesn’t flow as strongly as before, flushing the faucet becomes essential maintenance. This guide provides the specific steps you need to properly flush your kitchen faucet and restore optimal water flow without causing damage to your fixtures.
Flushing your kitchen faucet isn’t just about convenience—it’s crucial for maintaining water quality and extending the lifespan of your plumbing fixtures. Many people mistakenly believe these issues will resolve themselves or ignore them until the problem worsens, potentially leading to more expensive repairs down the line. By learning how to flush kitchen faucet systems correctly, you’ll eliminate accumulated debris, improve water pressure, and prevent potential damage to internal components. Whether you’re dealing with recent plumbing work residue or years of mineral buildup, this process can often be completed in under 30 minutes with basic household tools.
Why Your Kitchen Faucet Needs Flushing Immediately
Sediment and mineral deposits naturally accumulate in faucet aerators and internal mechanisms over time, especially in areas with hard water. When these particles build up, they restrict water flow and can damage sensitive internal components like ceramic discs or cartridge systems. Ignoring these warning signs allows the problem to worsen, potentially leading to complete blockages that require professional intervention. The good news is that most faucet flow issues can be resolved through proper flushing before they develop into more serious problems.
How Mineral Buildup Affects Your Faucet Performance
Hard water contains dissolved minerals like calcium and magnesium that precipitate out when water evaporates or heats up. These minerals gradually accumulate inside your faucet’s narrow passageways, particularly in the aerator where water exits the fixture. As deposits grow, they restrict water flow, cause uneven spray patterns, and may even create pitting on metal surfaces. In severe cases, mineral buildup can completely immobilize moving parts within cartridge-based faucets, preventing proper operation of hot and cold water controls.
Warning Signs Your Faucet Needs Flushing Right Now
- Water pressure has noticeably decreased from normal flow
- You see sand-like particles or rust-colored specks in the water stream
- The water flow is uneven or sputters instead of running smoothly
- You recently had plumbing work done in your home
- After periods of home vacancy (like returning from vacation)
- Discolored water appears when first turning on the faucet
Essential Tools for Proper Kitchen Faucet Flushing

Before starting the flushing process, gather these basic tools to ensure you complete the job efficiently without damaging your fixtures. Having the right equipment prevents unnecessary frustration and protects your faucet’s finish from scratches or dents during maintenance.
Must-Have Supplies Checklist
- Adjustable wrench or channel-lock pliers (wrap jaws with tape to prevent scratching)
- Old toothbrush or small soft-bristle brush
- White vinegar for dissolving mineral deposits
- Old towel or rag for catching water and protecting surfaces
- Small bowl or container for soaking parts
- Rubber gloves to protect hands from debris and vinegar
- Flashlight to inspect hard-to-see areas
Step-by-Step Kitchen Faucet Flushing Procedure
Follow this systematic approach to properly flush your kitchen faucet and restore optimal water flow. This method works for most standard faucet designs and addresses both aerator clogs and internal sediment accumulation.
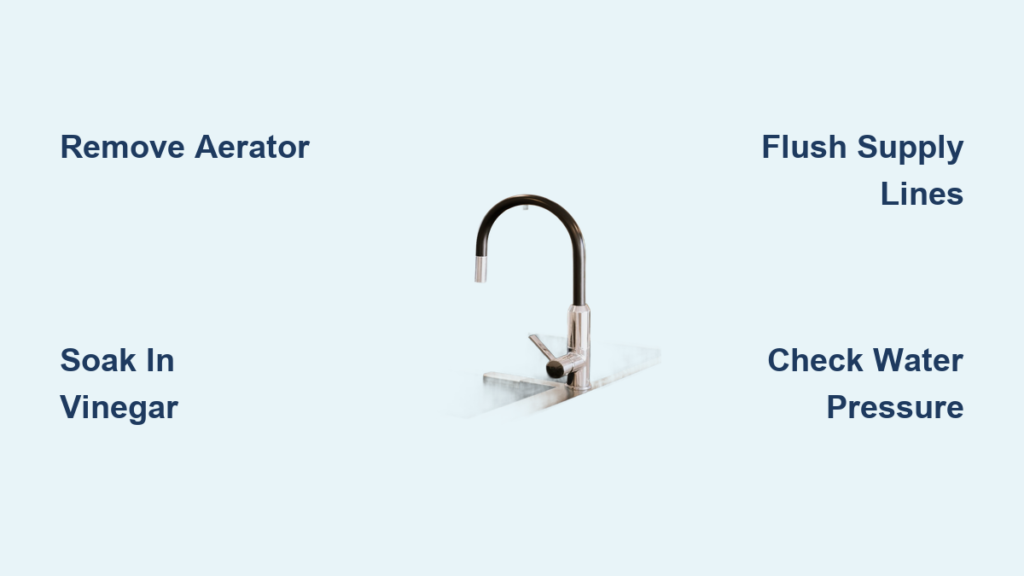
Removing and Cleaning the Faucet Aerator
The aerator is the small screen at the tip of your faucet spout that mixes air with water to create a steady stream. This component collects the most debris and is usually the primary culprit behind reduced water flow.
- Turn off the water supply valves under your sink
- Wrap your wrench with masking tape to prevent scratching the aerator
- Grip the aerator firmly and turn counterclockwise to remove it
- Disassemble the aerator components into your container
- Soak all parts in white vinegar for 30-60 minutes
- Use the toothbrush to gently scrub away remaining deposits
- Rinse all components thoroughly with clean water
- Reassemble and reinstall the aerator by turning clockwise until snug
Pro Tip: If your aerator is severely corroded or damaged during removal, purchase an exact replacement from your local hardware store rather than forcing the old one back on.
Flushing Internal Faucet Components
After addressing the aerator, you need to flush sediment from inside the faucet body and supply lines, which requires temporarily removing water pressure from the system.
- With water still turned off, open both hot and cold handles fully
- Place a towel in the sink to protect the basin
- Turn on the water supply valves briefly (2-3 seconds) to flush debris
- Close the valves and repeat this quick burst 3-4 times
- For cartridge-style faucets, remove handle caps and unscrew handle screws
- Lift off handles to expose the cartridge assembly
- Use a flashlight to inspect for visible debris around cartridge edges
- Flush again with short water bursts while handles are removed
Warning: Never leave water running continuously during this process, as uncontrolled flow could flood your sink area.
Troubleshooting Common Flushing Problems

Even with proper technique, you might encounter challenges during the flushing process. These solutions address frequent issues homeowners face when attempting to restore normal faucet operation.
What to Do When Water Pressure Doesn’t Improve After Flushing
If your water flow remains weak after completing the standard flushing procedure, the problem likely extends beyond simple sediment buildup. Check these potential causes:
- Inspect supply line hoses for kinks or bends restricting flow
- Verify both hot and cold supply valves under the sink are fully open
- Disconnect supply lines and run water directly into a bucket to test pressure
- Check for clogs in the supply line filter screens (small discs where hoses connect to valves)
- Consider whether the issue affects multiple fixtures (indicating whole-house plumbing problems)
Handling Stuck Aerator Components
Aerators that haven’t been cleaned in years often become seized due to mineral deposits. When standard removal techniques fail:
- Apply penetrating oil around the aerator threads and wait 15 minutes
- Use a rubber jar opener for better grip on smooth surfaces
- Tap gently around the aerator’s edge with a hammer and small screwdriver
- As a last resort, use an aerator removal tool specifically designed for stuck fixtures
- Never apply excessive force that could crack the faucet spout
Preventing Future Faucet Clogs Through Regular Maintenance
The most effective approach to faucet problems is preventing them before they occur. Implement these simple maintenance habits to minimize sediment buildup and extend time between necessary flushings.
Monthly Faucet Maintenance Routine
- Remove and rinse the aerator under running water for 30 seconds
- Wipe exterior surfaces with vinegar to prevent hard water spots
- Run hot water through the faucet for 2 full minutes weekly
- Check for early signs of reduced flow before problems worsen
Seasonal Deep Cleaning Schedule
Every 3-4 months, perform a more thorough cleaning:
- Completely disassemble and soak all removable components
- Inspect O-rings and seals for wear or deterioration
- Clean the faucet’s interior passages with a soft brush
- Check supply line connections for leaks or corrosion
When to Call a Professional Plumber Instead
While flushing a kitchen faucet is generally a straightforward DIY task, certain situations require professional expertise. Don’t risk causing expensive damage by attempting repairs beyond your skill level.
Red Flags Requiring Professional Assistance
- Water continues to flow when handles are in the “off” position
- You notice leaks around the base of the faucet or under the sink
- The faucet handle becomes excessively loose or won’t turn properly
- You’ve attempted flushing multiple times with no improvement
- Your faucet is under warranty (DIY repairs may void coverage)
Expert Note: Modern faucets often contain specialized components that require specific tools and knowledge. If you’re unsure about any step in the process, consult a licensed plumber rather than risk damaging expensive fixtures.
Regular faucet maintenance prevents minor issues from becoming major plumbing emergencies. By incorporating these flushing techniques into your home care routine, you’ll maintain optimal water pressure, improve water quality, and extend the functional life of your kitchen fixtures. Remember that consistent, simple maintenance takes far less time than emergency repairs—and saves you significant money in the long run. Start with monthly aerator checks and build from there to keep your kitchen water flowing cleanly and efficiently.


