
Your morning coffee routine grinds to a halt when the silverware drawer jams shut—again. You yank harder, hear that awful scraping sound, and finally wrestle it open only to find utensils scattered like fallen soldiers. If your 20+ year-old kitchen drawers feel more like stubborn adversaries than helpful storage, you’re not alone. How to fix old kitchen drawers is one of the top DIY kitchen repair searches nationwide, with homeowners losing 12+ hours yearly battling stuck slides and wobbly fronts. The good news? Most vintage drawer issues stem from just three root causes: misaligned tracks, dried-out wood, or worn hardware. This guide cuts through the frustration with field-tested fixes that require only basic tools and under $20 in supplies. You’ll learn to diagnose problems in 5 minutes, execute repairs in under an hour, and prevent future breakdowns—no carpentry degree needed.
Why Vintage Kitchen Drawers Fail After 15+ Years
Older drawers weren’t built for today’s heavy stoneware and gadget collections. Solid wood frames expand and contract with humidity shifts, slowly warping tracks. Metal slides from the 80s/90s lack modern ball bearings, causing friction points that seize when lubricant dries out. Most critically, particleboard drawers common in 1990s cabinets crumble when screws lose grip—a silent failure that starts with subtle wobble before total collapse.
How Humidity Warps Your Drawer Tracks
Wood absorbs moisture like a sponge, swelling by up to 8% in humid summers. This pushes drawer fronts off-square, making sides scrape against cabinet walls. Check for this telltale sign: uneven gaps between the drawer front and cabinet frame. If the gap is wider at the top than bottom (or vice versa), humidity is the culprit—not loose screws.
Identifying Worn-Out Slide Mechanisms
Metal slides develop microscopic burrs after 15+ years of use. Run your finger along the track: if it catches like sandpaper, burrs are grinding the glide surface. Nylon wheels also degrade—cracked or flattened rollers create that dreaded “catch-and-jerk” motion. Pro tip: Shine a flashlight into the track while slowly opening the drawer. Visible rust flakes or pitting means replacement is unavoidable.
Emergency Fixes for Stuck Drawers (Under 10 Minutes)
When drawers won’t budge, brute force risks breaking fragile wood. These field-tested tricks free stuck drawers without damage:
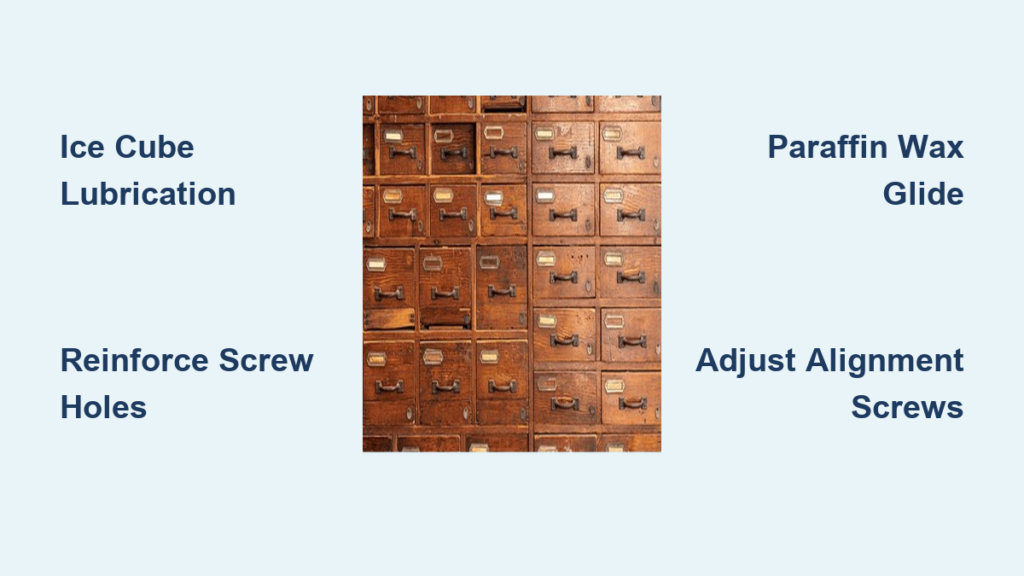
The Ice Cube Slide Lubrication Method
- Remove all drawer contents
- Place 2-3 ice cubes directly on the track where drawer binds
- Wait 5 minutes for condensation to form
- Gently work the drawer open/closed until movement smooths
Why it works: Ice melts into water that penetrates track crevices, acting as instant lubricant. Never use oil—it attracts dust long-term.
Corner Alignment Reset for Wobbly Fronts
Loose drawer fronts cause misalignment that jams slides. Fix it in 3 steps:
1. Pull drawer fully open
2. Locate the 2-4 adjustment screws on the slide bracket (usually hidden under the drawer)
3. Turn screws clockwise 1/4 turn while observing the front gap
Critical mistake to avoid: Over-tightening cracks particleboard. Stop when the front sits flush with the cabinet.
Permanent Repair: Rebuilding Drawer Glides Without Replacing Cabinets

Replacing entire drawers costs $300+/opening. Revive original slides with this pro technique:
Step 1: Diagnose Track Damage (5-Minute Assessment)
| Symptom | Likely Cause | Repair Approach |
|---|---|---|
| Drawer drops when pulled | Broken nylon wheel | Replace wheel kit ($8) |
| Scraping noise on left side | Swollen wood track | Sand track + paraffin wax |
| Front sags downward | Loose mounting screws | Reinforce with epoxy + longer screws |
Step 2: Reinforce Particleboard Screw Holes

Crumbled holes won’t hold new screws. Do this:
1. Inject wood epoxy into the hole (use syringe applicator)
2. Insert toothpicks coated in epoxy until hole is packed
3. Let cure 24 hours
4. Drill new pilot hole and reinstall hardware
Time saved: This avoids replacing the entire drawer box—cuts repair time from 3 hours to 45 minutes.
Step 3: Install Modern Soft-Close Slides (Without New Drawers)
You don’t need custom cabinets to get silent closure. Retrofit kits like Blum’s Clip Top cost $18/pair:
1. Remove old slides completely
2. Mark new slide position 1/2″ lower than original (compensates for wood wear)
3. Attach mounting brackets to cabinet using epoxy-reinforced holes
4. Snap new slides into place—no drilling into drawer box needed
Pro insight: The 1/2″ drop accounts for decades of wood compression, ensuring perfect alignment.
Preventing Future Breakdowns: The 5-Minute Monthly Maintenance
Old drawers need proactive care. Skip this and you’ll repeat repairs yearly.
Humidity Control for Wood Tracks
Place silica gel packs inside deep drawers during humid months. Critical placement: Tuck them behind cutlery trays where air circulates. Replace packs quarterly—they turn pink when saturated.
Lubrication That Lasts 6+ Months
Paraffin wax beats WD-40 for long-term glide:
1. Rub candle wax along entire track length
2. Open/close drawer 10 times to work in wax
3. Wipe excess with microfiber cloth
Why wax wins: It doesn’t gum up like oil, repels dust, and handles temperature swings.
When to Call a Professional (3 Red Flags)
Some issues signal structural danger. Stop DIY immediately if you see:
– Cracks radiating from screw holes (indicates imminent wood failure)
– Metal slides bent more than 1/8″ (requires cabinet frame realignment)
– Drawer front separating from box (glue joints beyond repair)
Cost reality: Professional restoration runs $150-$400/drawer but preserves vintage cabinetry value.
Restoring Vintage Drawer Hardware Without Refinishing
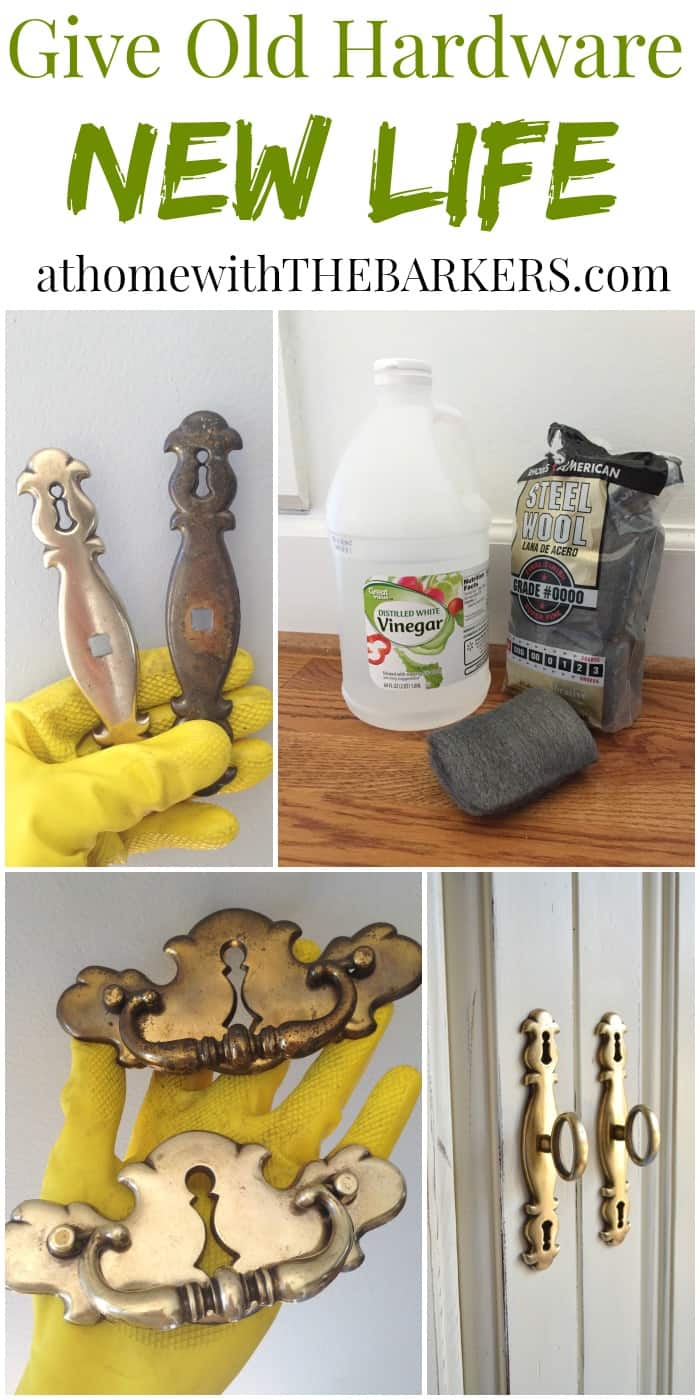
Chipped knobs and tarnished pulls ruin kitchen aesthetics. Fix them while drawers are out:
Reviving Brass Hardware in 20 Minutes
- Soak pulls in vinegar + baking soda (1:1 ratio) for 10 minutes
- Scrub crevices with toothbrush
- Polish with lemon juice + salt paste
- Seal with clear lacquer spray
Avoid this mistake: Steel wool scratches antique finishes—use nylon brushes only.
Replacing Broken Wooden Knobs Cheaply
- Remove old knob with screwdriver (often hidden under decorative cap)
- Buy $3 replacement knobs from hardware store’s “vintage” bin
- Match screw thread by testing in wood scrap first
- Install with wood glue on threads for permanent hold
Final Takeaways: Your Drawer Repair Cheat Sheet
- Stuck drawer? Ice cubes > oil for immediate release
- Wobbly front? Reinforce holes with epoxy + toothpicks—never just tighten screws
- Squeaking tracks? Paraffin wax lasts 3x longer than silicone sprays
- Monthly check: Feel for vibration when opening—early sign of slide wear
Fixing old kitchen drawers isn’t about perfection—it’s about smart, sustainable repairs that honor your home’s history. By addressing the core triad of alignment, lubrication, and reinforcement, you’ll transform frustrating storage into smooth-operating heirlooms. Next time that silverware drawer sticks, remember: the solution is rarely replacement. It’s understanding why 30-year-old wood and metal behave differently than modern materials—and working with those quirks, not against them. Keep a wax candle and epoxy kit in your toolbox, and you’ll add decades to your kitchen’s functional life. For deeper cabinet restoration techniques, explore our guide to repairing vintage plywood cabinet boxes—the unsung hero behind drawer longevity.


