
Kitchen end panels serve as the finishing touch that transforms individual cabinets into a cohesive, built-in look. These decorative panels cover exposed cabinet sides, protecting the underlying structure from moisture, impacts, and daily wear. When end panels become damaged, develop gaps, or pull away from their mounting positions, the entire kitchen aesthetic suffers. Fortunately, most end panel problems can be fixed with basic tools, the right materials, and proper technique. This guide walks you through the most common end panel issues and provides step-by-step solutions to restore your kitchen’s polished appearance.
Understanding how end panels work helps you diagnose and fix problems more effectively. End panels attach to the exposed sides of base cabinets, tall pantry units, wall cabinets, and kitchen islands. They come in various sizes—base panels typically measure 900mm high, tall panels reach 2100mm, and breakfast bar panels span 1200mm high with wider coverage for island installations. The material matters too: MDF offers easy painting and warp resistance, plywood provides moisture resistance for humid environments, and solid wood delivers premium appearance at higher cost. Whatever your panel type, the fixing techniques remain similar, though adjustments may be needed for material-specific characteristics.
Diagnose Your Specific End Panel Problem
Before attempting any repair, you need to identify the specific problem affecting your end panels. Each issue requires a different approach, and misdiagnosing the cause leads to frustration and wasted effort.
Gaps between panels and walls represent the most frequent end panel problem, particularly in older homes where settling has created uneven surfaces. These gaps appear as visible spaces where the panel meets the wall, often varying in width from one end to the panel to the other. The root cause typically involves walls that aren’t perfectly straight rather than panel defects. Small gaps under 1/4 inch can be filled with caulk, but larger gaps require re-scribing and trimming the panel to match the wall’s contour.
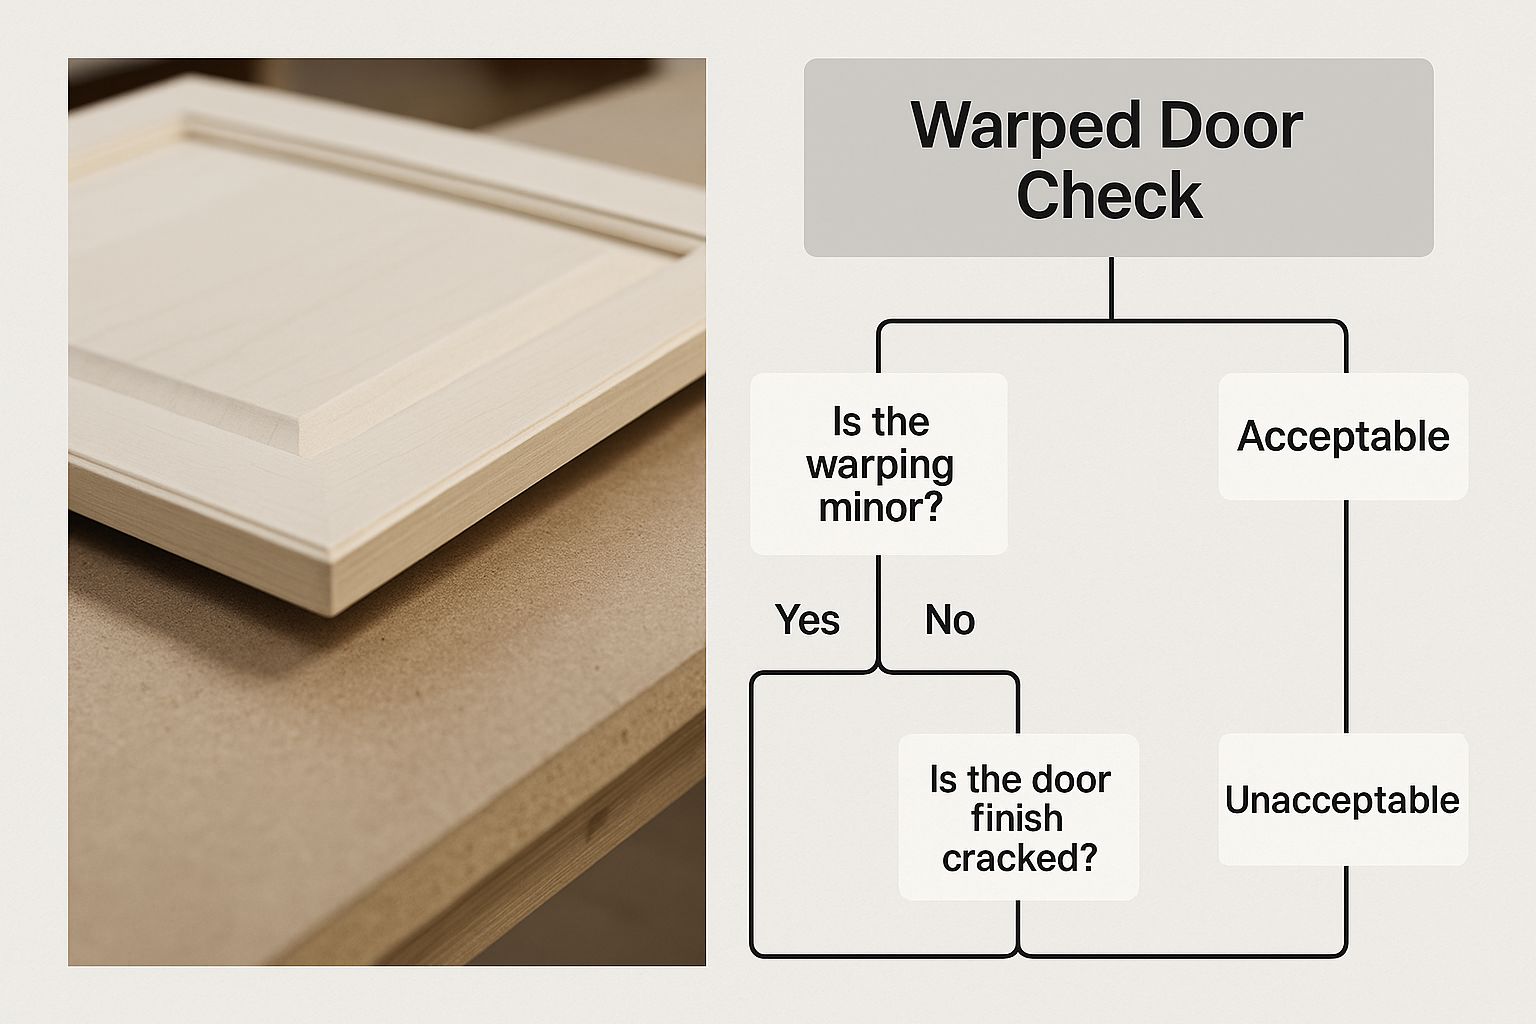
Warped or bowed panels occur when moisture imbalance or improper storage causes the panel material to lose its flatness. You notice this problem when the panel surface curves noticeably away from the cabinet frame, creating gaps along some edges while pressing tightly against others. Warping sometimes develops after installation if the panels weren’t properly acclimated to your home’s humidity levels before mounting.
Loose or pulling-away panels feel spongy when pressed and may show visible separation from the cabinet frame. This problem usually stems from fastener failure—screws that have pulled out of particleboard, stripped holes, or never achieved proper holding power to begin with. Cheap screws and improper installation technique are common culprits.
Gather Essential Repair Tools and Materials
Successful end panel repair depends on having the right equipment ready before you begin. Attempting work without proper tools leads to mistakes, damaged materials, and frustration.
Measuring and marking tools form the foundation of any repair project. A quality measuring tape allows accurate dimensions, while a sharp pencil creates visible cutting lines. Always measure twice before making any cuts—a single measurement error can waste an entire panel. A straight edge or combination square helps mark straight cutting lines consistently.
Drilling and fastening tools require careful selection. A drill with adjustable speed settings accommodates different materials and screw sizes. Various drill bits are needed—pilot holes require smaller bits, while countersinking demands larger bits that create recessed holes for screw heads. A screwdriver set with both Phillips and flathead options handles different screw types, though a power screwdriver or drill driver speeds the work considerably.
Finishing supplies complete the repair with professional results. Wood filler or putty matching your panel color fills screw holes and hairline cracks. Color-matched caulk seals gaps between panels and walls. Sandpaper in various grits (80, 120, 220) smooths rough edges and prepares surfaces for finishing.
Prepare Your Repair Workspace Properly
Proper preparation prevents problems during installation and ensures a smooth workflow from start to finish. Taking time to set up your work area correctly pays dividends in reduced frustration and better results.
Begin by clearing the work area around the cabinets requiring repair. Remove any items stored near the installation site and protect adjacent surfaces with drop cloths or cardboard. Kitchen environments often have delicate finishes nearby, so taking precautions prevents accidental damage during panel handling and cutting.
Inspect the cabinets thoroughly before touching the end panels. Check that cabinet frames are level using a spirit level placed across multiple points. Verify cabinets are plumb by checking vertical alignment. Measure diagonally from corner to corner to confirm frames are square—both diagonal measurements should match exactly. Address any cabinet alignment issues before reinstalling or fixing end panels, as misaligned cabinets cause most panel installation problems.
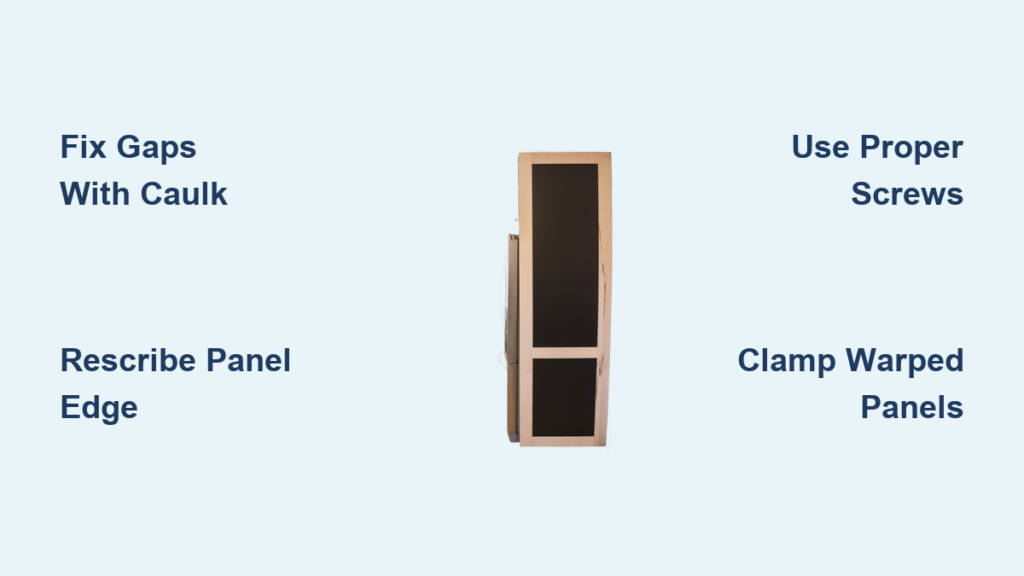
Fix Gaps Between Panel and Wall in 3 Steps
Gaps between end panels and walls rank as the most common installation problem, but they’re also among the easiest to fix with the right technique. The solution depends on gap size and the underlying cause.
For small gaps under 1/4 inch, color-matched caulk provides the fastest solution. Apply the caulk directly into the gap using a caulking gun, forcing the material deep into the space for complete coverage. Smooth the caulk with a wet finger or caulking tool, working in sections to prevent the caulk from skinning over before you finish. Allow the caulk to dry completely according to manufacturer instructions before touching or cleaning the area. Choose a caulk color that matches your panels exactly—slight mismatches become highly visible along the gap line.
Larger gaps require re-scribing and trimming the panel to match the wall’s contour. This process sounds complex but follows simple steps. First, position the panel against the wall in its intended location. Use a level to ensure the panel is plumb, then mark the widest gap point between the panel and wall. Set your scribe tool to this gap width. Run the scribe along the wall while keeping it pressed against the surface—the tool transfers the wall’s contour onto the panel edge. Cut along the marked line with your saw, test the fit, and repeat if necessary until the panel matches the wall closely. The process removes material from the panel’s edge to create a custom fit against any wall irregularity.
Severely uneven walls that would require excessive trimming need alternative approaches. Installing a filler strip between the panel and wall provides a more substantial backing surface for both attachment and caulking. Alternatively, flexible caulk products accommodate greater movement and variation than standard formulations, though they work best for gaps under 1/2 inch. In extreme cases, professional intervention may be needed to address underlying wall problems before panel installation can succeed.
Repair Warped or Misaligned Panels Effectively
Warped panels and misalignment issues require different approaches, though both often stem from foundational problems with cabinet installation or material conditioning.
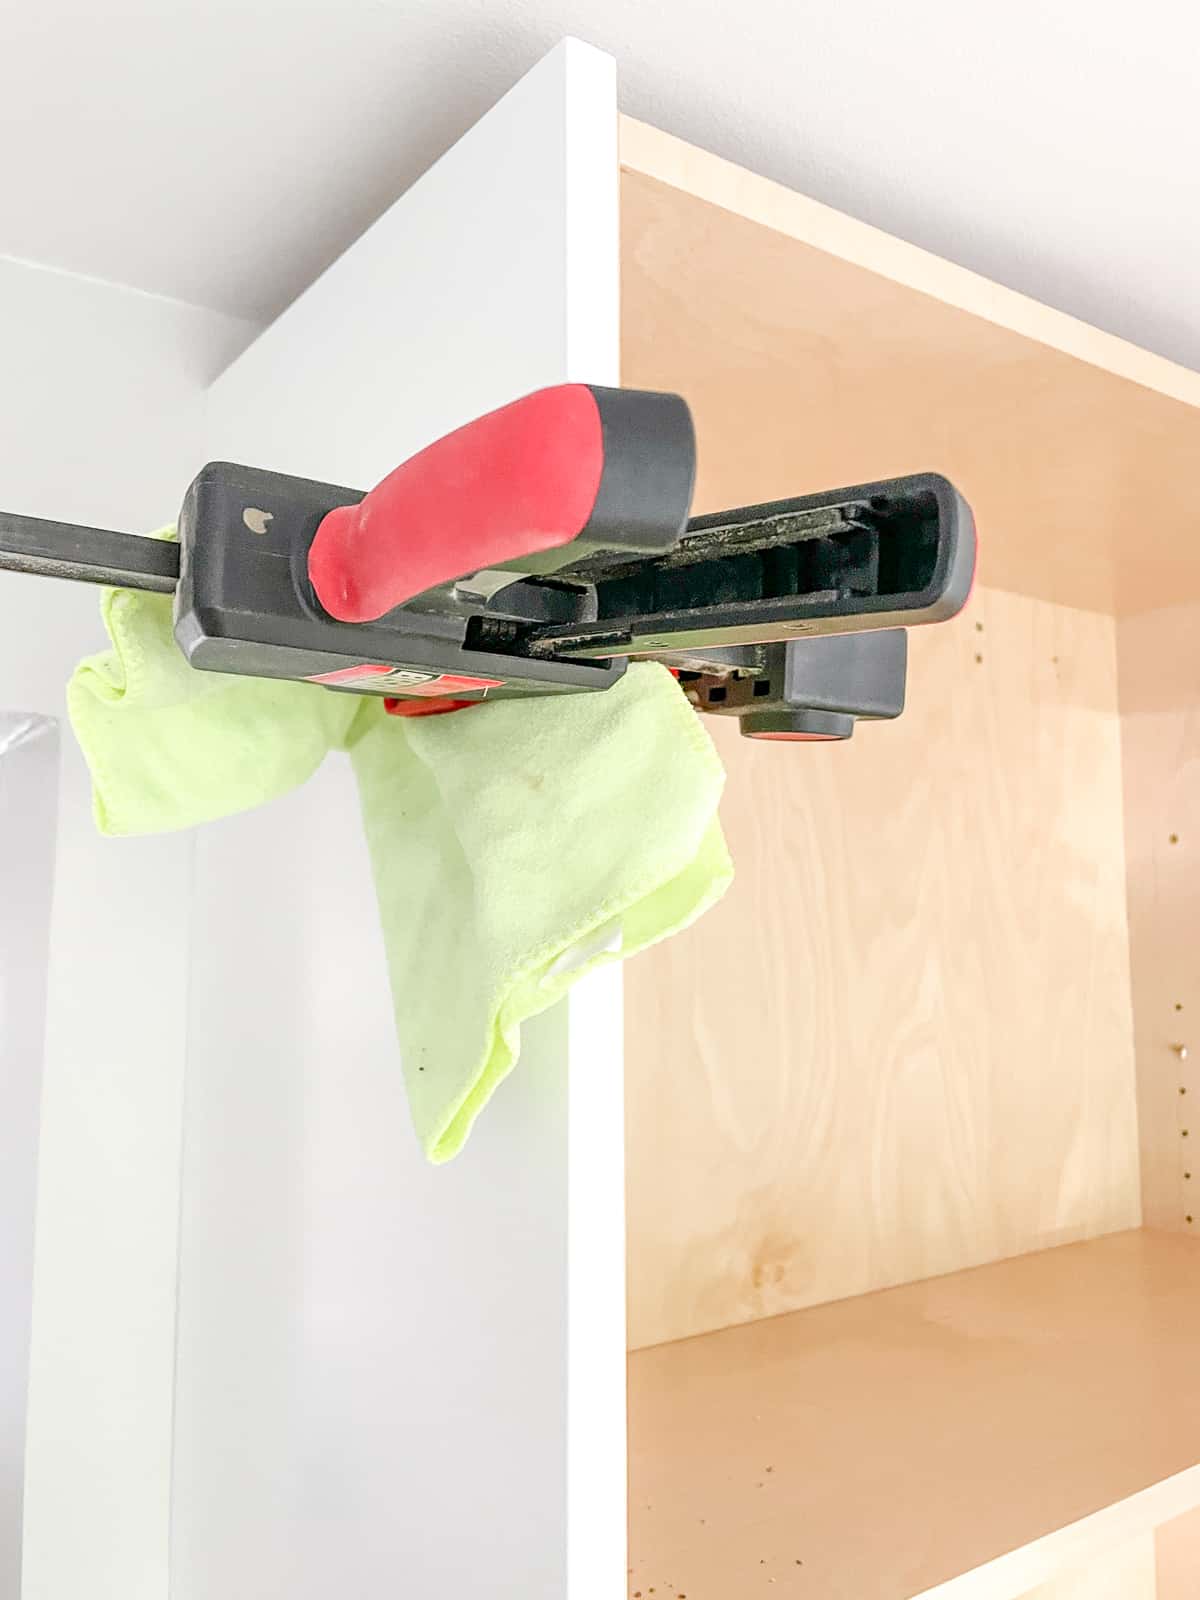
For slight warping discovered before installation, clamping provides an effective remedy. Place the warped panel on a flat surface with the warped side facing up. Position clamps across the panel at intervals of 12 to 16 inches, tightening gradually to apply even pressure across the entire surface. Leave the panel under clamping for 24 to 48 hours, checking periodically to ensure the pressure isn’t causing damage. This process encourages the panel to flatten as the material adjusts. Using a moisture meter to verify the panel’s moisture content matches your home’s environment helps prevent recurring warping—imbalance between panel and ambient moisture causes most warping problems.
For warping discovered after installation, additional fasteners offer the best solution. Locate the areas where the panel has pulled away from the cabinet frame. Drill new pilot holes in these problem zones and drive screws to pull the panel flat against the frame. Space the additional fasteners every 8 to 12 inches in the affected areas, driving them gradually to avoid creating bulges or dents in the panel surface. For severely warped panels that won’t flatten with additional screws, replacement becomes necessary—contact your supplier and ensure proper storage conditions for the replacement.
For misaligned panels, the fix often involves addressing cabinet alignment rather than the panel itself. Check cabinet level by placing a spirit level across multiple points and adjusting cabinet feet or adding shims as needed. Verify cabinets are plumb using a level against vertical surfaces, adding shims behind cabinets at the top or bottom to correct tilt. Once cabinets are properly aligned, remove the end panel, make any necessary edge adjustments, and reinstall to achieve consistent gaps around the perimeter.
Select the Right Screws to Prevent Future Problems
The fasteners you choose significantly impact repair quality and longevity. Using inappropriate screws leads to loose panels, stripped holes, and frustrated redo work.
Hospa screws represent the professional standard for MFC (melamine-faced chipboard) kitchen work. These screws feature threads and heads specifically engineered to hold securely in particleboard materials without pulling out or loosening over time. While slightly more expensive than budget screws, the improved holding power and reduced failure rate make them cost-effective for quality installations.
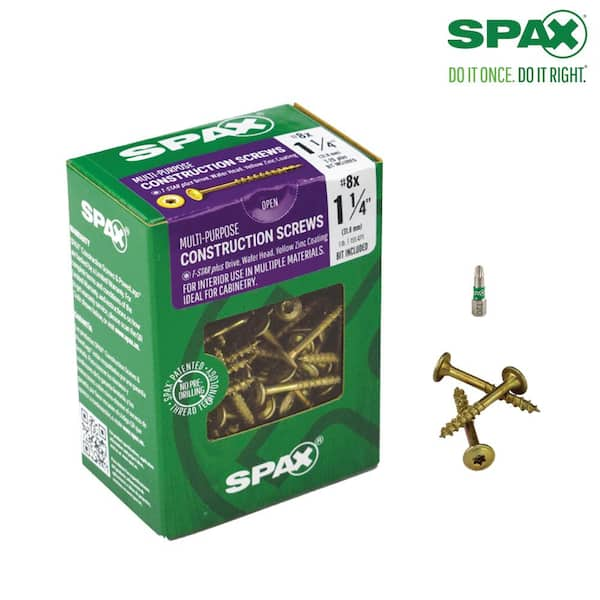
Spax screws and Reisser screws offer excellent self-drilling performance without pre-drilling in most applications. These engineered screws feature self-tapping threads that grip material securely while minimizing splitting and cracking risk. Look for screws in the 3.5mm to 4mm diameter range, which provide adequate holding power without requiring excessive length.
Avoid cheap screws that may save money upfront but create problems later. Budget screws often have inconsistent thread patterns, brittle metal that breaks under stress, and heads that strip easily during installation. The holding power in particleboard decreases significantly with inferior fasteners, leading to loose panels within months or years.
Apply Professional-Level Fixing Techniques
Beyond basic screw selection, advanced techniques ensure professional-quality results that last for years without requiring repeat repairs.
The screw-backoff technique provides insurance against loose panels over time regardless of screw quality. After driving a screw fully tight, back it off approximately one-quarter turn, then drive it tight again. This two-step process engages more threads in the material, eliminates residual movement or “jacking” in the joint, and creates a tighter, more permanent installation. The technique proves particularly valuable when working with particleboard-based materials like MFC, which can compress under screw heads over time.
Strategic screw placement both secures panels effectively and maintains clean visual lines. Place screws in pairs at equal distances for visual symmetry—the human eye naturally seeks symmetry, and evenly-spaced fasteners create a more professional appearance. The best hidden locations include positions inline with shelves where they’ll be concealed, near the top front and rear where they’re invisible except to someone very short, down near the bottom front beneath hinge plates that cover screw heads completely, and at the rear behind shelves or down shelf peg holes.
Pre-drilling pilot holes prevents material damage and ensures secure fastening. Drill clearance holes in the inner panel (cabinet frame) using a bit sized to allow the screw to pass through freely—this prevents the jacking effect that pushes panels apart as you drive screws. For the outer panel, a smaller pilot hole or no hole at all (for softer materials) allows threads to bite securely. This compromise approach provides the benefits of pre-drilling while maximizing holding power.
Maintain Your End Panels for Long-Term Performance
Regular maintenance catches small problems before they become major failures, extending the life of your end panel installation and maintaining your kitchen’s professional appearance.
Periodic inspection and tightening should occur at least twice yearly, with extra attention during the first year after installation when settling and compression cause fasteners to loosen most frequently. Check each panel by pressing firmly at various points—any movement indicates loose fasteners requiring attention. Pay particular attention to top and bottom attachment points, which experience the most stress from normal kitchen activities. Retighten existing screws or add additional fasteners in problem areas before complete failure occurs.
Proper cleaning maintains both appearance and panel integrity. Clean end panels regularly with a soft, damp cloth and mild soap, avoiding harsh chemicals or abrasive cleaners that damage finishes. For stubborn stains, test any cleaning solution in an inconspicuous area first. Wipe up spills immediately to prevent staining or water damage, particularly at panel bases where moisture can pool and penetrate into panel cores.
Touch-up and repair addresses wear before it compromises panel integrity. Keep extra paint or stain on hand for quick touch-ups—matching colors exactly after time passes becomes difficult as finishes age and change. For deeper scratches, use wood filler before refinishing to build up the damaged area to the original surface level. Address any finish damage promptly to prevent moisture from penetrating into panel cores, which causes swelling, warping, and fastener holding failure.
Quick Reference: Top 3 Fixes for Common End Panel Problems
-
Gaps between panel and wall: For small gaps (under 1/4″), use color-matched caulk. For larger gaps, re-scribe and trim the panel to match the wall contour using a scribe tool and saw.
-
Loose or pulling panels: Retighten existing screws using the backoff technique (tighten, back off 1/4 turn, retighten). Add additional fasteners spaced every 8-12 inches in problem areas.
-
Warped panels: For minor warping, clamp the panel flat for 24-48 hours. For installed panels, add supporting screws along the warped area or replace the panel if severely warped.
By addressing cabinet alignment issues, using quality fasteners, and applying proper installation techniques, you can fix kitchen end panels effectively and prevent future problems. Remember that most end panel issues actually stem from underlying cabinet problems—fixing the root cause ensures your repair lasts for years rather than months.


