
If your kitchen faucet suddenly sounds like a tea kettle every time you turn on the water, you’re dealing with a common but frustrating plumbing issue. This high-pitched whistling noise typically indicates water pressure problems or component failures within your faucet assembly. Ignoring this issue can lead to worsening noise, potential water damage, or complete faucet failure. In this guide, you’ll learn exactly how to diagnose and fix your whistling kitchen faucet in under an hour using basic tools you likely already own. By the end, you’ll understand the root causes of faucet whistling and have practical solutions to restore quiet operation to your kitchen.
Identifying the Source of Your Faucet’s Whistling Sound
Before grabbing your tools, you need to pinpoint exactly where the whistling originates. Many homeowners mistakenly assume the noise comes from the spout when it’s actually occurring elsewhere in the plumbing system. Turn on both hot and cold water separately while placing your ear near different components to isolate the sound location. If the whistling happens only with hot water, the problem likely lies in your hot water system rather than the faucet itself. Pay attention to whether the noise changes with water pressure adjustments, as this provides crucial diagnostic information for determining your repair approach.
Is It Your Faucet or the Plumbing System?
How to distinguish between faucet-specific and plumbing-wide issues:
- Turn off the main water supply and disconnect the faucet supply lines
- Attach a garden hose to the shut-off valves and run water into a bucket
- If whistling persists, the problem exists in your home’s plumbing system
- If the noise stops, your faucet assembly requires repair
This simple test prevents wasted effort on faucet repairs when the issue originates elsewhere. Many homeowners spend hours disassembling faucets only to discover the whistling comes from a faulty pressure-reducing valve or water heater component.
Common Culprits Behind Whistling Faucets
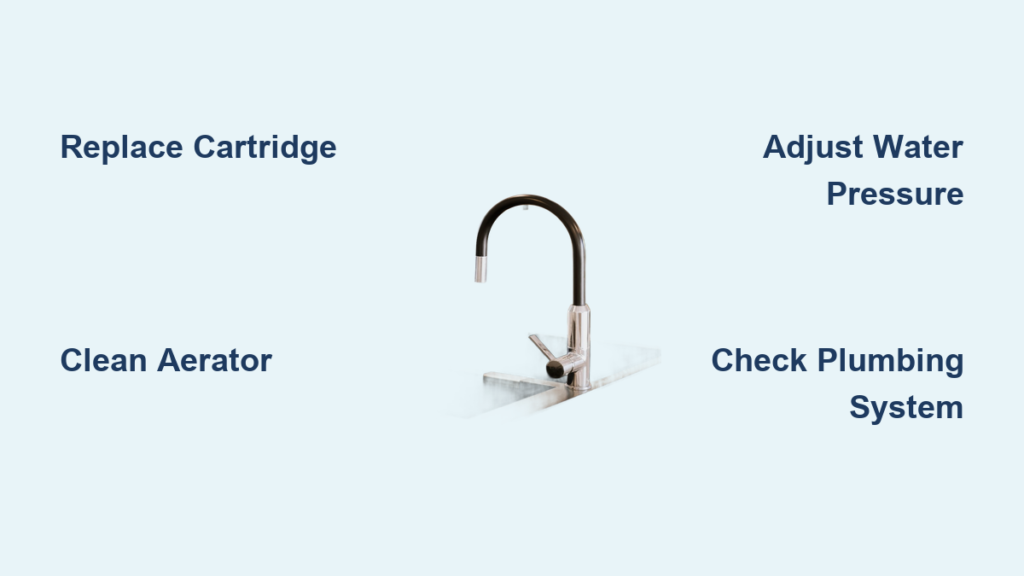
Most whistling occurs due to one of three specific mechanical failures. Worn-out cartridge assemblies create turbulence as water flows through deteriorated components. Faulty aerators with mineral deposits restrict water flow, causing vibration at high pressure. Malfunctioning pressure-balancing valves create oscillations when they fail to regulate hot and cold water mix properly. Each cause requires a different repair approach, so accurate diagnosis saves time and unnecessary part replacements.
Replacing a Faulty Faucet Cartridge
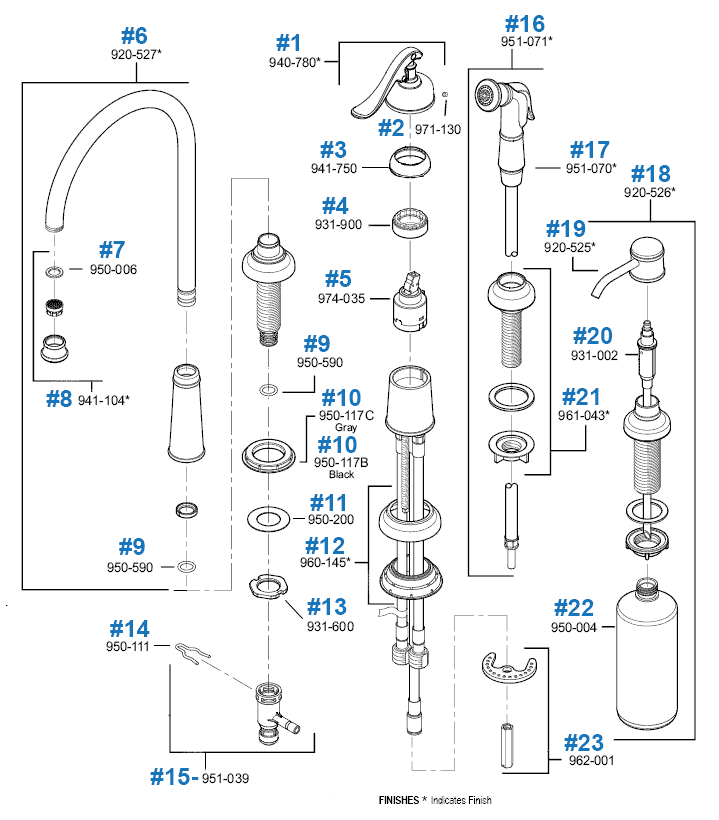
The cartridge inside your faucet handle controls water flow and temperature mixing. When these wear out, they create whistling sounds as water passes through compromised seals and channels. This repair requires shutting off water supply, removing the handle, and extracting the old cartridge. Most cartridge replacements take 20-30 minutes once you’ve identified your faucet model and obtained the correct replacement part.
Step-by-Step Cartridge Replacement Process
- Shut off both hot and cold water supply valves beneath the sink
- Remove decorative cap from handle using a flathead screwdriver
- Unscrew handle retaining screw and lift off the handle
- Remove decorative sleeve to expose cartridge retaining nut
- Use wrench to loosen retaining nut (typically 11/16″ size)
- Pull out old cartridge using pliers if necessary
- Insert new cartridge ensuring proper alignment
- Reassemble components in reverse order
Pro Tip: Take photos during disassembly to ensure correct reassembly. Match your old cartridge to the replacement at the hardware store—cartridge designs vary significantly between brands and models.
Cleaning or Replacing the Faucet Aerator
Mineral deposits in your faucet’s aerator create turbulence that produces whistling sounds, especially at higher water pressures. This simple component screws onto the end of your faucet spout and mixes air with water. Removing, cleaning, and reinstalling the aerator often resolves whistling issues in under ten minutes without specialized tools.
How to Clean a Clogged Aerator
- Wrap a cloth around the aerator to protect the finish
- Use adjustable pliers to unscrew the aerator counterclockwise
- Disassemble the aerator components in a bowl of white vinegar
- Soak parts for 30 minutes to dissolve mineral deposits
- Use an old toothbrush to scrub remaining buildup
- Rinse thoroughly with clean water
- Reassemble and reinstall the aerator
Warning: Don’t overtighten when reinstalling—finger tight plus a quarter turn with pliers is sufficient. Overtightening can crack the aerator housing or damage faucet threads.
Adjusting Water Pressure to Eliminate Whistling
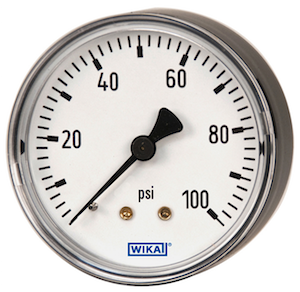
Excessive water pressure often causes whistling through otherwise healthy faucet components. Municipal water systems frequently deliver pressure above the recommended 40-80 PSI range for residential plumbing. Installing a pressure-reducing valve or adjusting your existing one can solve persistent whistling without faucet disassembly.
Testing and Regulating Home Water Pressure
- Purchase a water pressure gauge (under $10 at hardware stores)
- Screw gauge onto an outdoor spigot or washing machine connection
- Turn on water fully to get accurate reading
- Ideal pressure ranges between 45-65 PSI
- Locate main pressure-reducing valve near water meter
- Adjust valve by turning screw clockwise to decrease pressure
Note: If your home lacks a pressure-reducing valve, consult a plumber about installation. Consistently high water pressure damages all plumbing fixtures, not just your whistling faucet.
When to Call a Professional Plumber

While most whistling faucet issues are DIY-friendly, certain situations require professional expertise. If you’ve replaced cartridges and cleaned aerators but the whistling persists, the problem may involve hidden plumbing components. Homes with galvanized pipes often experience system-wide whistling from deteriorating internal pipe surfaces. Professional plumbers have specialized tools to isolate and address these complex issues without causing additional damage.
Cost Considerations for Professional Repair
- Basic faucet repair: $150-$300
- Pressure regulator installation: $300-$500
- Pipe replacement for galvanized systems: $2,000+
- Emergency service fees: 25-50% premium
Attempting complex repairs without proper knowledge often leads to leaks and water damage that exceed professional service costs. When in doubt, get a professional assessment before proceeding.
Final Note: Regular maintenance prevents most whistling faucet issues. Clean your aerator every three months and replace faucet cartridges every 3-5 years. Monitoring home water pressure protects all plumbing fixtures from premature wear. If your faucet continues whistling after these repairs, investigate potential issues with your home’s main water supply line or pressure regulator. For persistent problems, consult a licensed plumber who can perform comprehensive diagnostics using professional equipment. Properly maintained faucets should operate quietly for 10-15 years before requiring significant repairs or replacement.


