
That stubborn gap at the bottom of your cabinet door, the drawer that won’t close smoothly, or the shelf that visibly bows under everyday items—these aren’t just cosmetic issues. A sagging kitchen cabinet signals structural compromise that will worsen without intervention. Understanding how to fix a sagging kitchen cabinet properly prevents minor alignment problems from escalating into complete structural failure. This guide delivers actionable solutions you can implement immediately, whether you’re dealing with slightly misaligned doors or severely deformed shelves. By the end, you’ll know exactly which repair method matches your specific sagging pattern and how to execute it successfully.
Kitchen cabinet sagging rarely happens overnight. It develops from moisture exposure, improper loading, fastener failure, or poor initial installation. Most homeowners mistakenly try quick fixes like tightening visible screws without addressing the root cause—guaranteeing the problem returns within weeks. The right approach starts with accurate diagnosis, then applies targeted repair techniques matched to the severity of your specific issue. Whether you have particle board cabinets showing delamination or solid wood units with loose joints, these proven methods restore structural integrity without requiring full cabinet replacement.
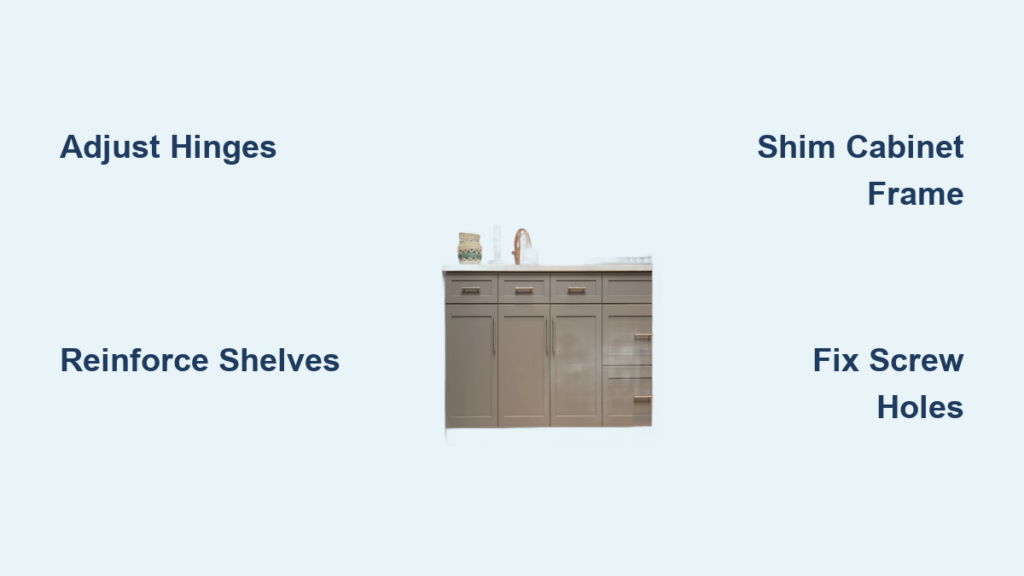
Diagnose Your Specific Sagging Pattern First
Before grabbing tools, identify exactly what’s causing your cabinet to sag. Different patterns require completely different repair approaches, and misdiagnosis wastes hours of effort. Spend 10 minutes properly assessing the issue to select the most effective solution.
Check Door Alignment for Hinge Problems
Close all cabinet doors and examine the gaps around each one. Doors should align perfectly with consistent spacing on all sides. When the bottom gap widens while the top remains tight—a classic “V” shape—you’re dealing with hinge-side sag. Remove the hinge cover plates and inspect for stripped screw holes where wood fibers have compressed around mounting points. Gently lift the door while observing hinge movement; excessive play indicates worn mechanisms needing replacement rather than adjustment.
Test Shelf Deflection with a Straightedge
Remove all items from affected shelves and place a straight level or long ruler across the surface front to back. Any gap exceeding 1/8 inch between the shelf and straightedge confirms measurable sag. Apply light downward pressure at the shelf center—if it springs back when released, you can reinforce rather than replace it. Permanent deformation that doesn’t recover requires complete shelf replacement. Note whether sag affects the entire shelf or just one section, as this indicates whether support pins have failed or material integrity is compromised.
Essential Tools for Cabinet Sag Repair

Gather these tools before starting any repair to avoid mid-project frustration. Most homeowners already own basic items, but specialized tools make the job faster and prevent damage to cabinet surfaces.
Must-Have Repair Kit Components
- Precision screwdrivers in multiple sizes (Phillips #1-3 and flathead)
- 32mm cabinet installation system for European hinge adjustments
- 1/4-inch and 1/2-inch wood shims for alignment correction
- Polyurethane construction adhesive rated for kitchen moisture
- #8 x 1.5-inch cabinet screws for secure wall mounting
- Wood filler compound matching your cabinet finish
- 24-inch spirit level for accurate alignment checks
Fix Misaligned Cabinet Doors in 3 Steps
Most minor sagging issues originate from door misalignment rather than structural failure. Modern cabinets use European hinges with three-axis adjustment capability that solves 80% of sag problems without disassembly.
Adjust Concealed Hinges Systematically
Locate the three adjustment screws on your concealed hinges: one controlling height (vertical), one for side-to-side position (horizontal), and one for door-to-frame pressure (depth). Start with horizontal adjustment—loosen the mounting plate screws slightly and shift the entire hinge left or right to correct uneven side gaps. Retighten fully before moving to the next adjustment. Vertical adjustment requires turning the screw on the hinge arm itself; raise the door 1/16 inch at a time until the bottom gap matches the top. Depth adjustment ensures proper seal by tightening the compression screw until the door sits flush against the cabinet frame without binding.
Pro Tip: Make micro-adjustments using a jeweler’s screwdriver for precision. European hinges allow only 3/16 inch of total travel—exceeding this limit damages the mechanism.
Replace Worn Hinge Hardware When Necessary
When hinges show visible wear, stripped holes, or fail to hold adjustments after multiple attempts, replacement becomes necessary. Remove the old hinge and take it to a hardware store to match the mounting pattern exactly—European hinges come in multiple mounting configurations. Before installing new hinges, repair stripped screw holes by packing them with wooden toothpicks dipped in wood glue. Let the glue cure overnight, then drill a new pilot hole slightly smaller than the screw diameter for maximum holding power.
Reinforce Sagging Shelves Without Replacement

Shelves showing elastic deflection (returning to position after pressure releases) can often be reinforced rather than replaced, saving significant time and materials.
Install L-Shaped Shelf Brackets Underneath
For immediate reinforcement, attach L-shaped steel brackets beneath sagging shelves at 12-inch intervals. Position brackets 2 inches from the front edge and 2 inches from side walls for optimal support without visibility. Pre-drill all holes to prevent splitting, and use #6 x 1-inch screws into solid shelf material—not particle board edges. For a hidden solution, create false fronts by attaching 1×2 hardwood strips to shelf undersides with construction adhesive, then clamping for 24 hours before use.
Repair Damaged Shelf Support Holes
Stripped shelf pin holes cause shelves to tilt or collapse under load. Fill damaged holes by inserting matchsticks coated in wood glue until the hole is completely packed. Let the glue cure for 12 hours, then sand flush and redrill a new hole 1/8 inch deeper than original. For severe damage, install continuous support rails along shelf sides using 1/4-inch plywood strips secured with construction adhesive and brad nails every 6 inches.
Correct Structural Sag in Cabinet Frames
When multiple components sag together, the cabinet frame itself has deformed. This requires more involved structural repair but remains achievable for motivated DIYers.
Shim and Realign Cabinet Boxes Properly
Completely empty the cabinet and remove doors/drawers. Position a 48-inch level across the top to identify low spots. Insert cedar shims between the cabinet top rail and wall at stud locations until the cabinet sits perfectly level. Critical step: Drive 3-inch cabinet screws through the back rail into wall studs at 16-inch intervals—drywall anchors won’t support cabinet weight long-term. Check alignment from multiple angles before tightening final screws.
Strengthen Weak Cabinet Joints
Loose corner joints cause entire cabinets to twist and sag. Inject polyurethane adhesive into gaps using a syringe, then clamp corners with corner clamps for 24 hours. For severe separation, install corner braces inside cabinet corners using 18-gauge steel L-brackets secured with #6 x 1-inch screws. Position brackets 2 inches from top and bottom for maximum reinforcement without interfering with shelf placement.
Prevent Future Cabinet Sagging Problems
The most effective repair is preventing recurrence through proper loading practices and environmental control.
Distribute Weight Strategically
Store heavy items (canned goods, appliances) on lower shelves and in base cabinets where gravity assists structural integrity. Never exceed 30 pounds per linear foot of shelf space—most standard shelves support only 15-20 pounds safely. Use tiered organizers to distribute weight evenly across shelf surfaces rather than concentrating loads in one area. Stack plates vertically rather than horizontally to reduce stress on shelf edges.
Control Kitchen Humidity Levels
Maintain humidity between 30-50% using exhaust fans during cooking and dishwashing. Install moisture-absorbing packets in cabinets near sinks and dishwashers. Allow wet cookware to dry completely before storage—never place damp pots in cabinets. Critical prevention step: Check under sinks quarterly for leaks that could damage cabinet bases over time.
When to Call a Professional Cabinet Repair Service
Some situations require expert intervention to avoid costly mistakes. Contact a professional cabinetmaker if you notice:
- Cabinets pulling away from walls despite secure fasteners
- Sag affecting three or more adjacent cabinets simultaneously
- Visible cracks in cabinet frames or surrounding walls
- Water damage or rot in cabinet mounting areas
- Antique or custom cabinetry with specialty finishes
Attempting complex repairs on high-value cabinetry often decreases resale value through improper techniques. Professionals bring specialized tools like cabinet alignment lasers and industrial clamping systems that ensure factory-perfect results.
Fixing a sagging kitchen cabinet successfully starts with accurate diagnosis and matching the repair method to your specific problem severity. By addressing hinge alignment, reinforcing shelves, and correcting structural issues using these proven techniques, you’ll restore full functionality without replacing entire cabinets. Implement strategic weight distribution and humidity control to prevent recurrence, extending your cabinets’ service life for years. Remember that early intervention with minor sagging saves significant time and money compared to waiting until structural failure occurs—address issues at the first sign of misalignment for the simplest, most effective repair.


