
That persistent drip from your Moen kitchen faucet handle isn’t just annoying—it’s costing you money and potentially damaging your cabinets. A single leaky faucet can waste hundreds of gallons of water monthly, adding unnecessary expense to your water bill while creating moisture problems under your sink. The good news? Most leaking Moen faucet handles are repairable in under an hour with basic tools and minimal plumbing knowledge. This guide delivers the exact steps to diagnose and fix your leak, whether it’s caused by worn seals, mineral buildup, or a failing cartridge. You’ll learn how to identify your specific problem, gather the right tools, and complete a lasting repair that stops the drip for good.
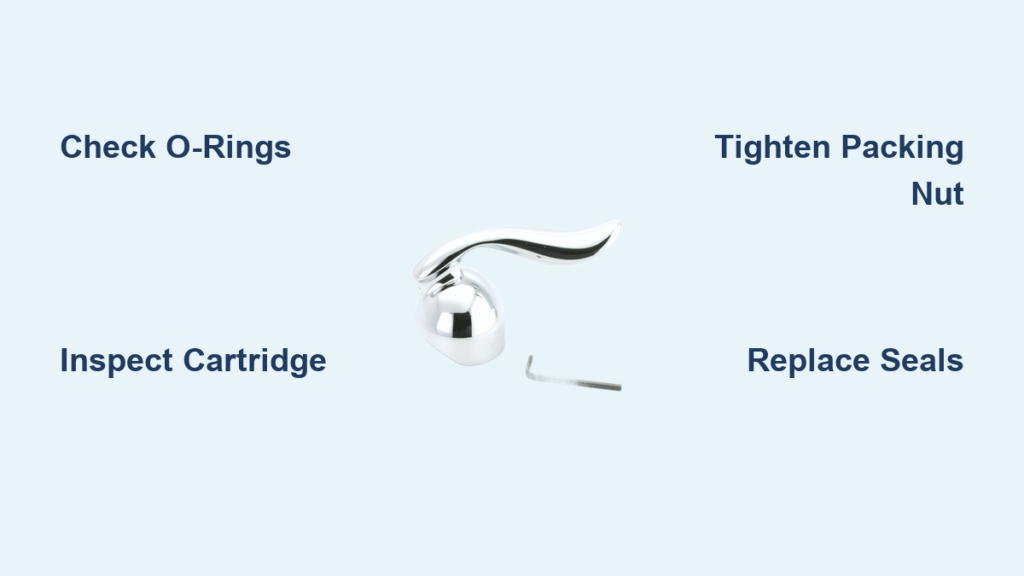
Before you panic or call a plumber, understand that handle leaks typically stem from three common issues: degraded O-rings at the stem assembly, a loose packing nut, or cartridge failure. Each requires different repair approaches, so proper diagnosis saves wasted effort and ensures you fix the actual problem. We’ll walk through the entire process from initial inspection to final testing, giving you the confidence to tackle this DIY project successfully. By the end, you’ll not only solve your current leak but gain knowledge to prevent future issues with your Moen kitchen faucet.
Locate Your Exact Leak Source
Water dripping from the handle base when the faucet is off points directly to failing O-rings or a loose packing nut at the stem assembly. Leaks appearing only when water flows indicate different issues—often a damaged cartridge or worn internal seals. Begin your diagnosis by turning off all water sources, then thoroughly dry the faucet and surrounding area with a towel. With everything dry, operate the faucet through its full range of motion, watching carefully where moisture first appears.
Pay attention to whether the leak occurs with hot water only, cold water only, or both—this tells you which cartridge side needs attention. A handle that feels loose or wobbly during operation confirms mounting hardware issues rather than internal seal failure. Shine a flashlight under the sink while someone operates the faucet to verify moisture isn’t actually coming from supply line connections that merely appears to originate from the handle. This precise diagnosis prevents unnecessary disassembly and ensures you address the true cause of your leak.
Gather Model-Specific Repair Tools
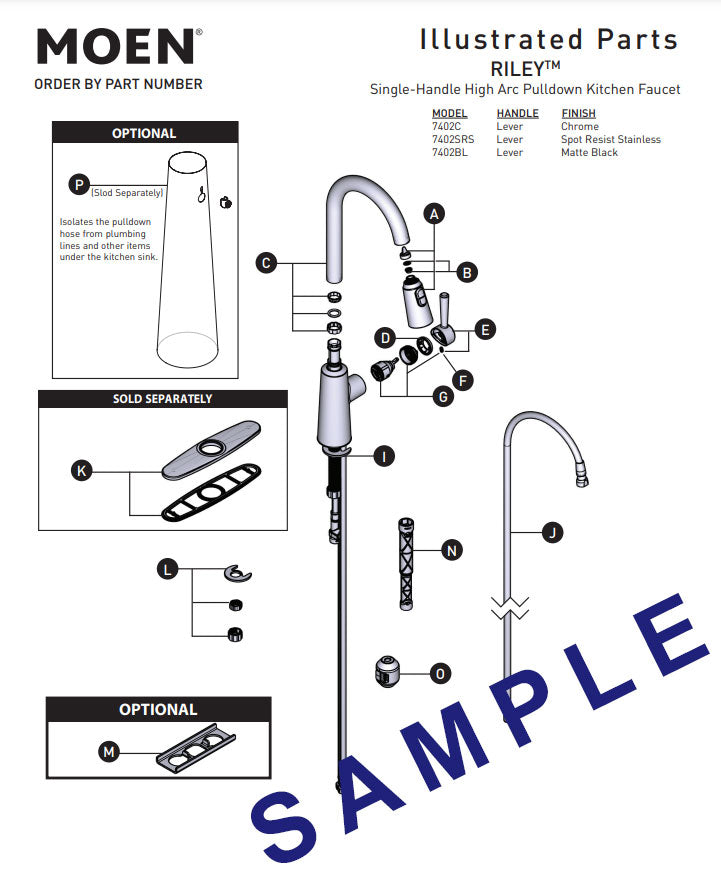
Moen kitchen faucets require specialized tools depending on your specific model, so verify what you need before starting. For most single-handle Moen faucets, you’ll need a 3/32-inch or 1/8-inch Allen wrench to remove the handle mounting screw hidden beneath the decorative cap. Two-handle models often use Phillips head screws instead. A 15-inch adjustable wrench handles the packing nut removal, while needle-nose pliers extract the cartridge without damaging surrounding components.
Don’t forget the basin wrench—a must-have for reaching tight spaces under sinks where standard tools won’t fit. Keep plumber’s grease and white vinegar on hand for cleaning mineral deposits and lubricating new seals. Purchase replacement O-rings and cartridges specifically for your Moen model number (found on the faucet base or in original documentation)—generic parts often create mismatched seals that continue leaking. Organize all tools and parts on a clean towel before starting to avoid losing small components during disassembly.
Shut Off Water Supply Correctly
Skipping proper water shutoff turns a simple repair into a flooding disaster. Locate the shutoff valves beneath your sink—these typically sit on the hot and cold supply lines with oval handles that turn clockwise to close. Turn both valves fully clockwise until they stop, then open the faucet to drain remaining water from the lines. If your sink lacks individual shutoff valves (common in older homes), you must close the main water supply to your entire house.
After closing supply valves, run the faucet for 30 seconds to depressurize the system and drain residual water. Place a towel and small container beneath the faucet area to catch any remaining drips during disassembly—some water always remains in the lines regardless of how thoroughly you drain them. Never skip this step; even a small amount of pressurized water can spray unexpectedly when you remove components, soaking cabinets and creating electrical hazards near outlets.
Remove the Handle Without Damage
The handle conceals the mounting hardware you need to access, so proper removal prevents cosmetic and functional damage. Locate the decorative cap on top of your Moen faucet handle—this circular piece matches your faucet’s finish and covers the mounting screw. Carefully pry this cap upward using a flathead screwdriver wrapped in cloth to avoid scratching the finish. Some models have caps that simply pop off with finger pressure.
Once the cap is removed, you’ll see the mounting screw inside. Use the appropriate Allen wrench or screwdriver to turn this screw counterclockwise until loose. If the screw resists turning, apply penetrating oil and wait 10 minutes before trying again—forcing it can strip the head. With the screw removed, lift the handle straight up; if it sticks due to mineral deposits, gently wiggle it side to side while pulling upward. Never use excessive force that could damage the internal stem assembly.
Access the Packing Nut and Cartridge
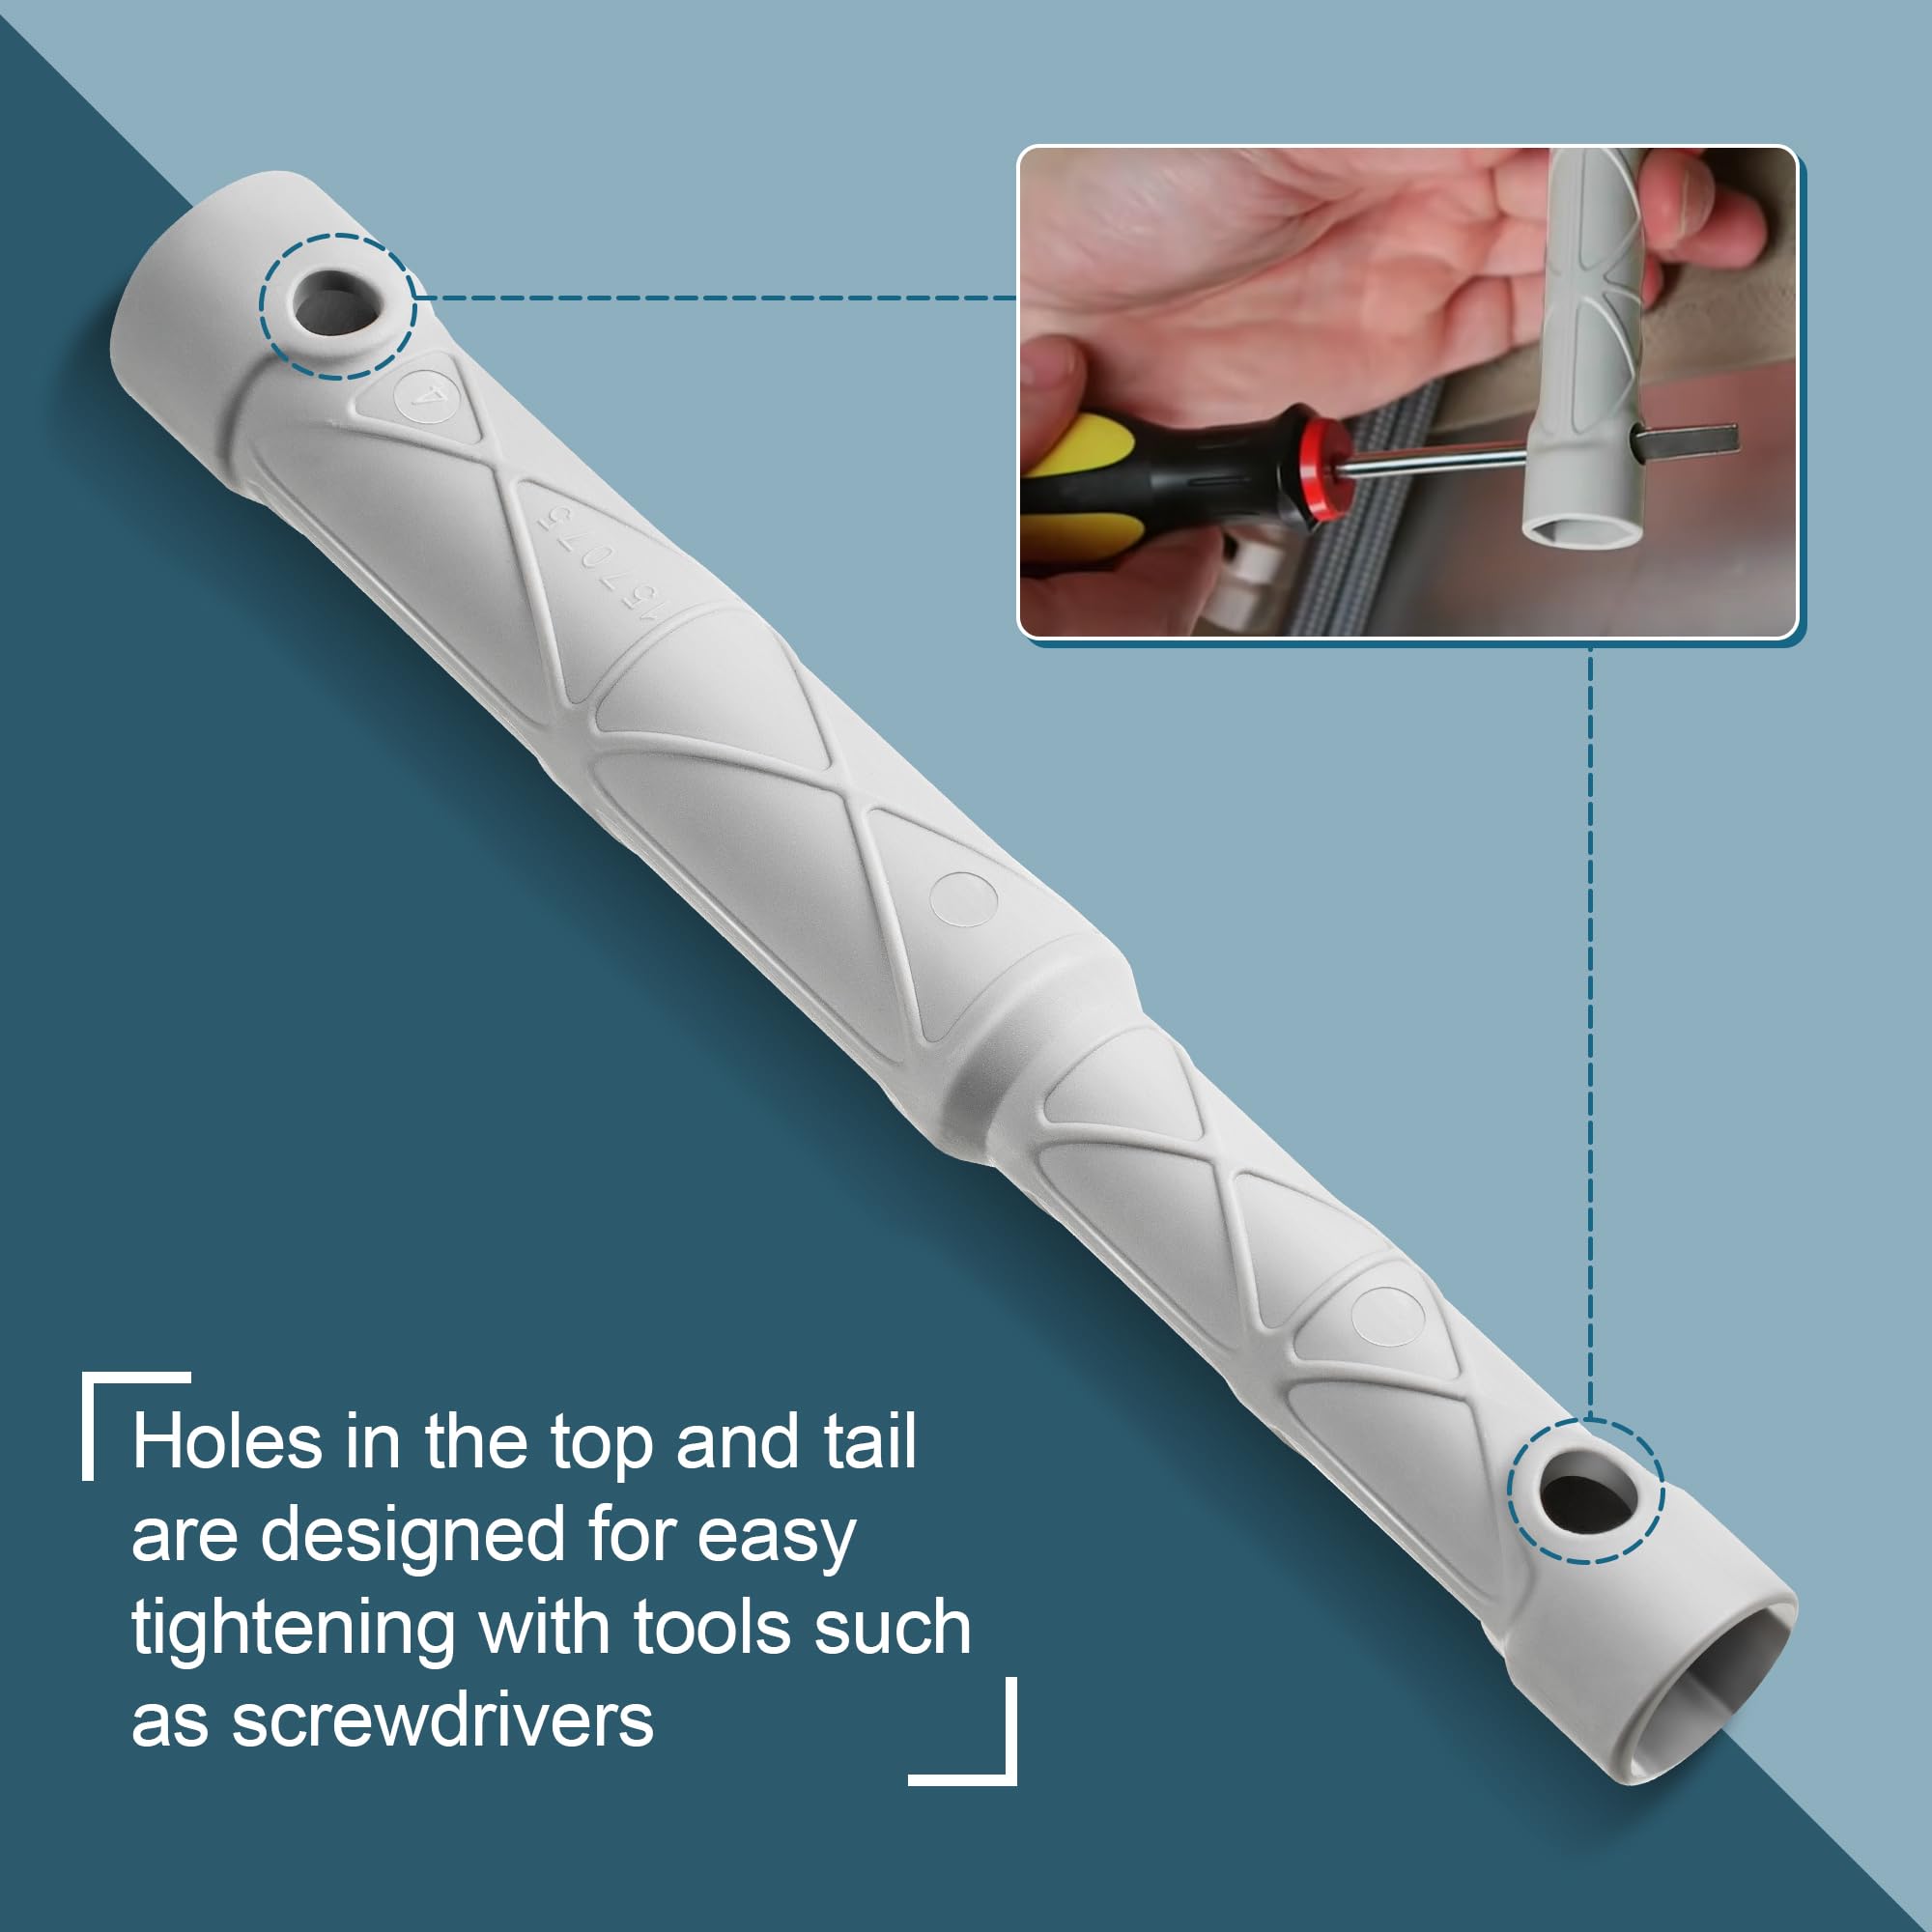
With the handle removed, you’ll see the brass or chrome-plated packing nut that secures the stem assembly. This nut requires an adjustable wrench turned counterclockwise to loosen—apply steady pressure without jerking motions that could damage surrounding components. If mineral buildup makes the nut stubborn, spray penetrating oil around the threads and wait 15 minutes before attempting again.
Once removed, set the packing nut aside in a safe location where it won’t roll away. Beneath this nut, you’ll find the packing washer, O-rings, and the cartridge assembly that controls water flow. Take photos at each disassembly stage—these visual references prove invaluable during reassembly by showing exact component placement and orientation. Note how seals are positioned, which direction washers face, and how the cartridge indexes into the faucet body.
Inspect Components for Wear and Damage

Examine all removed parts under good lighting to identify precisely what needs replacement. Check rubber O-rings for hardening, cracking, flattening, or deformation—any of these conditions means immediate replacement. Look for scoring, pitting, or grooves on metal surfaces where seals make contact; these imperfections prevent proper sealing even with new components. Note any mineral deposits accumulated in crevices or around moving parts.
For minor mineral buildup, soak affected components in white vinegar for 30-60 minutes to dissolve calcium and magnesium deposits. After soaking, scrub parts with a soft brush and rinse thoroughly—never use abrasive pads that could scratch sealing surfaces. Pay special attention to the cartridge’s sealing surfaces; any pitting here requires complete cartridge replacement rather than cleaning. Remember: rubber seals showing physical deterioration must always be replaced regardless of cleaning efforts.
Replace Critical Worn Parts Correctly
Replace all rubber O-rings and seals showing any signs of wear—these inexpensive components cause most persistent leaks when reused past their service life. Obtain replacement parts specifically for your Moen model number; generic parts often have dimensional variations that prevent proper sealing. Apply plumber’s grease to all new rubber components before installation—this lubrication ensures smooth operation and extends seal life by preventing friction wear.
If your inspection revealed cartridge damage, complete replacement becomes necessary. Pull the old cartridge straight up using needle-nose pliers, being careful not to drop small parts into the faucet body. Before installing the new cartridge, apply plumber’s grease to all O-rings and sealing surfaces. Align the cartridge’s indexing tabs with corresponding slots in the faucet body—the cartridge should drop into place easily without forcing. Push it firmly until it sits flush with the faucet body, ensuring proper seating.
Reassemble Components in Correct Order
Reassembly follows the exact reverse order of disassembly, so reference your photos to ensure correct component placement. Begin by reinstalling the packing nut, tightening it firmly to compress the packing washer and create a watertight seal—but avoid overtightening that could strip threads or deform seals. The handle then drops back onto the stem assembly; position it so it sits level and engages properly with any indexing features.
Insert and tighten the mounting screw, then snap the decorative cap back into place over the screw head. Throughout reassembly, apply plumber’s grease to all rubber seals, O-rings, and moving surfaces—this prevents premature wear and ensures smooth handle operation. Use only plumber’s grease, not petroleum-based products, as petroleum compounds accelerate rubber deterioration over time. Take your time with reassembly; rushing this stage is the most common cause of persistent leaks after repair.
Test for Leaks Thoroughly
Slowly turn on the water supply valves beneath your sink while watching for any leaks as pressure builds through the system. Once water supply is restored, operate the handle through its full range of motion, testing both hot and cold settings independently. Allow water to run for several minutes to flush any debris dislodged during repair that might cause temporary cloudiness.
Check all connections, the handle base, and the spout for moisture with the faucet both open and closed. A properly repaired faucet should operate smoothly without wobble, drip from the spout when fully closed, or leak from the handle base during operation. If you notice any issues, return to the relevant step and verify component placement—most post-repair leaks stem from misaligned seals or improperly seated cartridges rather than defective parts.
Prevent Future Leaks with Proper Maintenance
Establish a monthly cleaning routine that includes wiping the handle base with a soft cloth to remove moisture and prevent mineral accumulation. Quarterly, remove the handle cap and inspect internal components for early signs of wear before they cause leaks. If your home has hard water, regularly flush the faucet with white vinegar to dissolve mineral deposits before they cause problems.
Avoid slamming the handle to turn off water, as this impact accelerates wear on internal components. Consider installing a water softener if your area has hard water—reduced mineral content significantly extends component life by preventing the scale buildup that causes seal deterioration. Keep replacement O-rings and cartridges on hand for quick fixes; addressing minor drips immediately prevents more serious water damage to cabinets and flooring.
Troubleshoot Persistent Leaks Effectively
If your faucet continues leaking after repair, double-check that all components were properly seated—slight misalignments prevent seals from functioning correctly. Verify you used the correct replacement parts for your specific Moen model; similar-looking components from different series often don’t seal properly. Ensure the packing nut is tightened sufficiently—loose nuts allow water escape while overtightened nuts deform seals.
When cartridge replacement fails to stop leaks, the faucet body itself may be damaged or corroded. Over time, mineral acids can degrade internal sealing surfaces, creating grooves that new seals cannot bridge. In these cases, faucet replacement becomes necessary rather than repair. Intermittent leaks often indicate debris trapped in seals—disassemble, clean thoroughly, and reassemble to resolve this common issue.
Know When to Call a Professional Plumber
While most handle leaks are DIY repairs, certain situations warrant professional help. Stripped mounting screws, rounded packing nuts, or other damage during disassembly that prevents proper access benefit from a plumber’s specialized tools. Complex faucet designs with integrated filtration systems or electronic components require specialized knowledge to repair correctly.
If your home’s plumbing includes non-standard configurations or if the faucet connects to copper pipes with leaks at connection points, professional assessment ensures the entire system receives appropriate attention. Very old faucets with unavailable OEM replacement parts also benefit from professional guidance on modern alternatives that fit your existing sink configuration. The modest cost of professional help prevents costly water damage from improper repairs.


