
Water dripping steadily into your sink isn’t just annoying—it’s wasting gallons of water daily and potentially damaging your cabinets. When your Kohler kitchen faucet starts leaking, sticking, or losing water pressure, you don’t need to call a plumber right away. Most Kohler faucet issues can be fixed with basic tools and an hour of your time. This guide shows you exactly how to diagnose and repair common problems with your Kohler kitchen faucet, saving you money and giving you the satisfaction of solving the issue yourself.
Locate Your Kohler Faucet Model Number
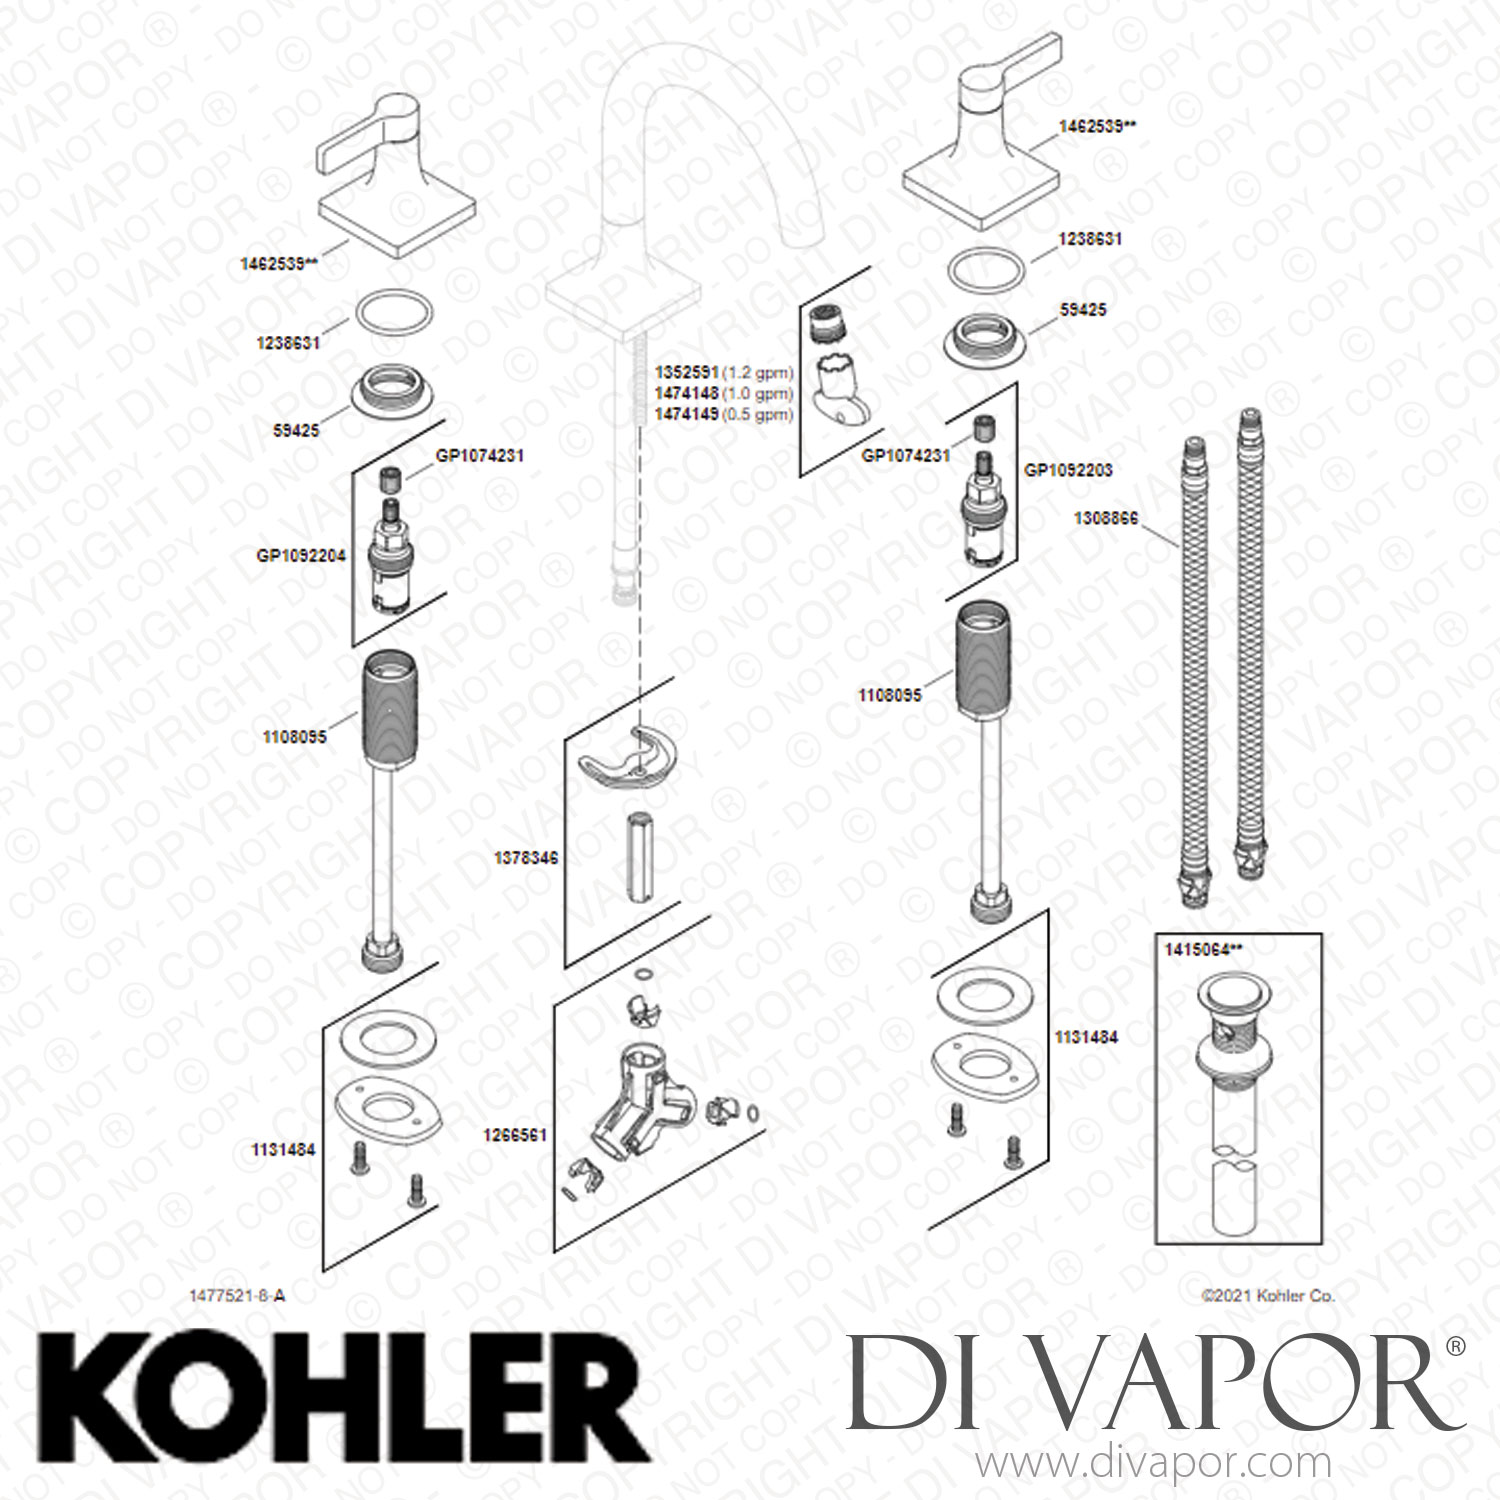
Before attempting any repair, identifying your specific Kohler faucet model is crucial for getting the right parts and following correct procedures. Most Kohler kitchen faucets have the model number stamped on the underside of the spout base or on the original packaging. If you can’t find it there, check the installation instructions or look for a label on the supply lines beneath your sink.
Common Kohler series you might encounter include the Forte (K-XXXXX), Purist (K-XXXXX-CP), and Simplice (K-XXXXX-XX) families. Each series uses different cartridge designs and internal components, so knowing your exact model prevents ordering incompatible parts. For example, a K-596 faucet requires a different cartridge than a K-10433 model. When in doubt, take clear photos of your faucet to a plumbing supply store for expert identification.
Essential Tools for Kohler Faucet Repair

Gathering the right tools before starting prevents frustration and protects your faucet’s finish from accidental damage during repair.
Basic toolkit should include an adjustable wrench, Phillips and flathead screwdrivers, needle-nose pliers, hex key set (typically 1/8″ or 5/32″), and a rag to protect chrome or stainless finishes. A basin wrench is invaluable for reaching tight spaces under the sink where mounting hardware lives, while a cartridge puller tool (available for $10-15 at hardware stores) safely removes stubborn cartridges without damaging the valve body.
Critical replacement parts depend on your specific issue but commonly include:
– Exact cartridge replacement (verify part number for your model)
– Packaged O-rings and seals (Kohler sells model-specific kits)
– Plumber’s grease (silicone-based, not petroleum)
– Thread seal tape for supply line connections
Diagnose Your Specific Faucet Problem
Accurate diagnosis prevents unnecessary part replacements and wasted effort. Kohler kitchen faucets typically exhibit problems that point directly to specific internal components.
Identify Spout Leaks
Water dripping from the spout when handles are off almost always means a worn cartridge. Most Kohler kitchen faucets use ceramic disc cartridges that wear out after 5-7 years of regular use. Turn the handle to both hot and cold extremes—if the drip rate changes, the cartridge is definitely the culprit.
Pinpoint Handle Base Leaks
Water pooling around the handle base indicates failing O-rings or loose cartridge retaining hardware. This happens when water escapes past the cartridge seals during operation. Check for moisture only when water is running—if it’s present when the faucet is off, your supply line connections need attention instead.
Determine Flow Issues
Weak water pressure usually points to a clogged aerator. Remove the aerator from the spout tip and run water without it—if pressure returns to normal, you’ve found the problem. If pressure remains low with the aerator removed, check for kinked supply lines or faulty shutoff valves.
Replace a Worn Kohler Faucet Cartridge
The cartridge controls water flow and temperature mixing in most Kohler kitchen faucets. When it wears out, you’ll experience leaks, inconsistent temperature, or handle stiffness.
Shut Off Water Supply Properly
Turn off both hot and cold shutoff valves beneath your sink by rotating them clockwise until firm. If your faucet lacks shutoff valves (common in older homes), locate your home’s main water supply and turn it off. Open the faucet to drain remaining water and relieve pressure in the lines before disassembly.
Remove the Handle Assembly
Most Kohler single-handle faucets have a decorative cap on top of the handle. Pry this off gently with a flathead screwdriver to expose the set screw. Apply penetrating oil if the screw is stuck, then loosen it with the appropriate hex key. Lift the handle straight up—don’t force it if it resists, as this can damage internal components.
Extract the Old Cartridge
After removing the handle, you’ll see a retaining clip or nut securing the cartridge. Use needle-nose pliers to remove the clip or an adjustable wrench for the nut. Apply cartridge puller tool to the cartridge’s top tabs and pull straight up with steady pressure. If the cartridge sticks, spray with penetrating oil and wait 5 minutes before trying again—never force it.
Install the New Cartridge Correctly
Align the new cartridge with the valve body slots, ensuring proper orientation (most have hot/cold markings). Press firmly until fully seated—listen for a slight click indicating proper placement. Reinstall the retaining clip or nut, tightening just enough to secure the cartridge without distorting it. Apply plumber’s grease to all O-rings before reassembly to ensure smooth operation and prevent premature wear.
Clear a Clogged Aerator Quickly
A clogged aerator causes reduced water flow and uneven spray patterns—problems easily fixed in minutes without shutting off water supply.
Remove the Aerator Safely
Most aerators unscrew by hand, but some require pliers. Always wrap the aerator in a rag to protect the finish before using tools. Turn counterclockwise to loosen—never force it, as this can damage the aerator threads on the spout.
Clean Aerator Components Thoroughly
Disassemble the aerator into its components: housing, rubber washer, flow restrictor, and mesh screens. Soak all parts in white vinegar for 15-30 minutes to dissolve mineral deposits, then scrub with an old toothbrush. Rinse thoroughly under running water and inspect screens for tears or damage—if compromised, replace the entire aerator assembly.
Reinstall Aerator Properly
Reassemble components in reverse order of removal, ensuring all parts are correctly oriented. Screw the aerator back onto the spout by hand until snug—over-tightening can crack the housing or damage threads. Test water flow immediately to verify the clog has cleared.
Fix Handle Operation Problems
Handle issues range from simple adjustments to complete cartridge replacement, depending on the specific symptoms.
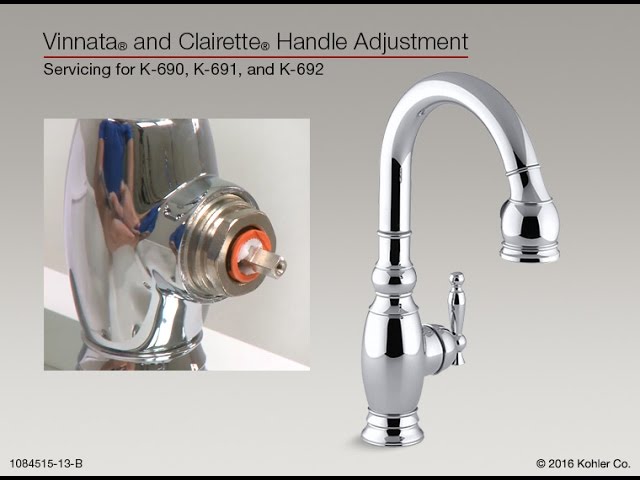
Tighten a Loose Handle
A wobbly handle usually means the set screw has loosened. Remove the decorative cap, tighten the set screw securely (but don’t overtighten), and replace the cap. If the screw won’t hold, the internal threads may be stripped—replace the handle assembly or adapter.
Resolve Sticking Handles
Stiff handle movement often indicates mineral buildup inside the cartridge. Remove the cartridge, soak it in vinegar for 30 minutes, then rinse thoroughly. Apply fresh plumber’s grease to all seals before reinstallation. If stiffness persists, the cartridge requires replacement.
Prevent Future Kohler Faucet Problems
Regular maintenance extends your faucet’s life and prevents most common issues before they become serious problems.
Clean the aerator monthly in hard water areas to prevent mineral buildup. This simple 5-minute task maintains optimal water flow and prevents sediment from entering internal components.
Lubricate moving parts annually with plumber’s grease during routine inspections. Focus on O-rings and cartridge seals to ensure smooth operation and prevent premature wear.
Check supply lines quarterly for signs of wear, corrosion, or moisture accumulation. Replace flexible supply lines every 5 years as a preventative measure—even if they appear fine, the internal rubber can degrade over time.
Fixing a Kohler kitchen faucet yourself is almost always more cost-effective than calling a plumber for common issues like leaks, low pressure, or handle problems. With the right tools, proper parts, and this step-by-step guide, you can complete most repairs in under an hour. Remember to always shut off water before starting, identify your exact model for correct parts, and apply plumber’s grease to all seals during reassembly. By addressing problems promptly and performing regular maintenance, your Kohler kitchen faucet will provide reliable service for years to come. If you encounter stripped threads, cracked components, or complex supply line issues beyond your comfort level, don’t hesitate to consult a professional plumber—most common problems, however, are well within the capabilities of a determined DIYer.


