
Water backing up in your kitchen sink creates immediate frustration, especially when you lack a garbage disposal to help manage food debris. That standing water stops meal prep, dishwashing, and basic kitchen functionality in its tracks. Without a disposal’s grinding power, your sink relies entirely on proper usage and maintenance to prevent blockages. The good news is that most clogs respond well to simple DIY methods that don’t require expensive tools or professional help. This guide reveals the exact techniques to clear your drain quickly, understand why clogs happen, and prevent future plumbing disasters—all without a disposal.
Kitchen sinks without disposals face unique challenges. Everything from grease to coffee grounds accumulates directly in your pipes since there’s no grinding mechanism to break down food particles. Recognizing what causes these clogs—grease buildup, starchy food expansion, and soap scum—is your first step toward effective solutions. With the right tools and techniques, you can restore proper drainage in under 30 minutes using items already in your home.
Why Non-Disposal Sinks Clog More Easily
Your sink’s P-trap—the U-shaped pipe beneath the cabinet—is designed to hold water that prevents sewer gases from entering your home, but this curve also collects debris. Without a disposal to grind food waste, particles like pasta, rice, and coffee grounds accumulate in this section. Grease presents the biggest threat; when poured down the drain while hot, it flows freely but solidifies as it cools, gradually narrowing your pipes until water refuses to drain.
Starchy foods expand in water, creating gummy masses that combine with grease to form stubborn blockages. Even soap residue contributes significantly to clogs, especially in hard water areas where minerals combine with soap to create curd-like deposits. This combination of food particles, grease, and soap scum creates dense, foul-smelling sludge that worsens with time. Understanding these culprits helps you both treat current clogs and prevent future ones.
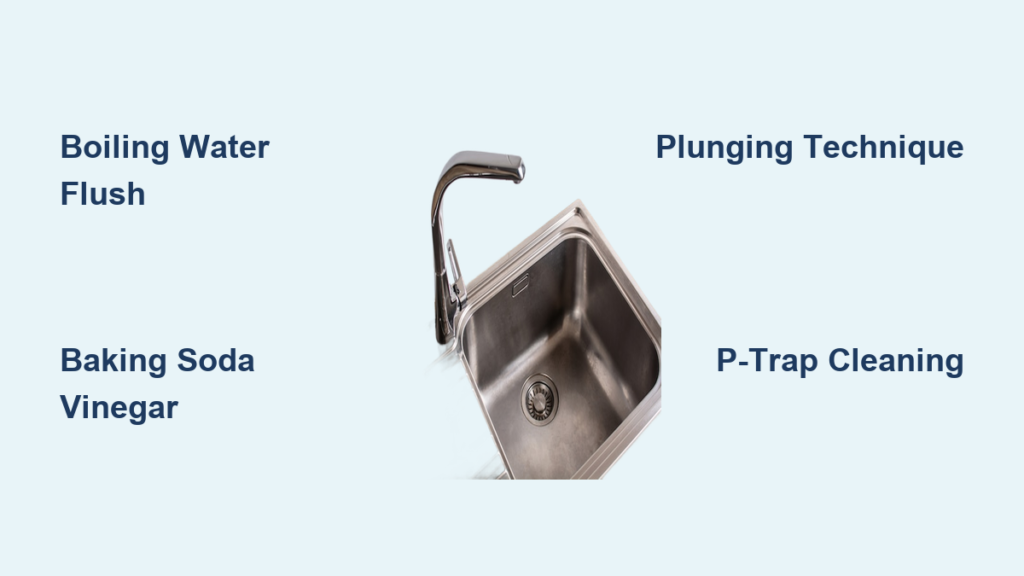
Boiling Water Flush Technique
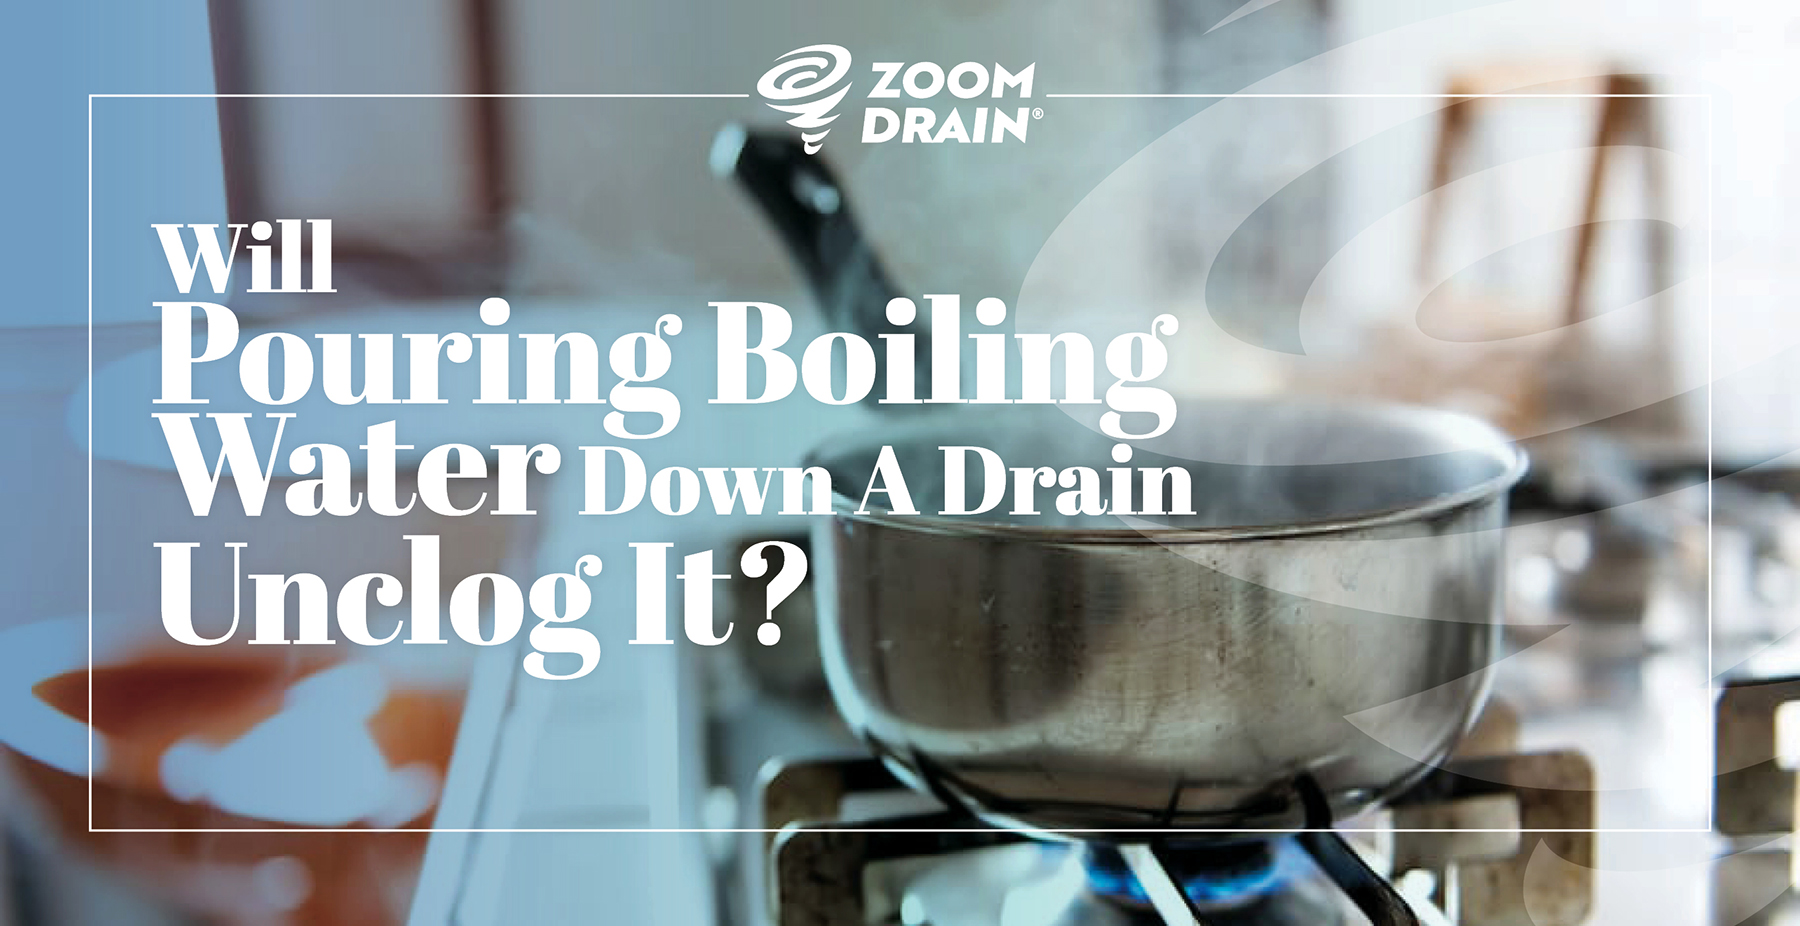
This method works best for minor grease clogs and should be your first attempt. Start by removing as much standing water as possible using a cup or bowl. Heat a full kettle of water to a rolling boil, then carefully pour half down the drain. Wait 3-5 minutes to hear gurgling sounds indicating the clog is loosening, then pour the remainder.
Pro tip: For PVC pipes (white plastic pipes), skip boiling water as extreme heat can warp them. Instead, use very hot tap water and repeat the process multiple times. If drainage improves even slightly, repeat the flush after 15 minutes—patience pays off as heat gradually melts grease buildup. Never use boiling water if you’ve recently used chemical drain cleaners, as this creates dangerous steam and potential splatter.
Baking Soda and Vinegar Power Combo
This natural chemical reaction breaks down organic matter without damaging pipes. First, clear standing water from the sink. Pour ½ cup of baking soda directly into the drain, followed immediately by 1 cup of white vinegar. The mixture will fizz vigorously—this bubbling action dislodges debris clinging to pipe walls.
Immediately cover the drain with a stopper or wet rag to trap the reaction inside your pipes. Let it sit for 15-30 minutes, then flush with hot water for several minutes. For stubborn clogs, enhance this method by adding salt: pour ½ cup of table salt down the drain before the baking soda, or create a paste of baking soda and salt (1 cup to ½ cup) and let it sit overnight.
Critical mistake to avoid: Never mix baking soda/vinegar with chemical drain cleaners—they can create dangerous reactions. Stick with one method at a time for safety.
Effective Plunging Method for Sink Clogs

Plunging creates pressure that dislodges stubborn blockages when flushing fails. For double sinks, seal the unclogged side with a wet cloth to direct all pressure toward the problem drain. Fill the sink with enough water to cover the plunger’s rubber cup (about 2-3 inches).
Use a flange plunger (designed for flat surfaces) rather than a toilet plunger for better seal. Position it over the drain and pump vigorously for 20-30 seconds without breaking the seal. If you hear water moving through pipes, you’re making progress. Repeat as needed, checking drainage between attempts.
Pro tip: Plug the sink’s overflow hole (near the rim) with a wet rag before plunging—this simple step increases pressure by 30% and significantly improves success rates. After clearing the clog, flush with hot water to remove any remaining debris.
Wire Hanger Unclogging Technique

When clogs sit near the drain opening, a straightened wire hanger works like a mini-plumber’s snake. Straighten a coat hanger, leaving a small hook at one end. Insert the hook into the drain and gently push until you feel resistance—this is your clog.
Rotate and wiggle the hanger to snag debris, then pull it out. You’ll often retrieve surprising amounts of gunk. Repeat until the hanger slides through freely. Finish by flushing with hot water.
Warning: Be gentle—forcing the hanger can push the clog deeper or damage pipes. If you meet solid resistance, stop and try another method. This technique works best for clogs within 6-12 inches of the drain opening.
P-Trap Removal and Cleaning
The P-trap collects 80% of kitchen sink clogs—removing it solves most persistent blockages. Place a bucket beneath the U-shaped pipe, then loosen the slip nuts at both ends with adjustable pliers. Carefully remove the trap (water and gunk will spill out—hence the bucket).
Inspect the trap’s interior for accumulated debris. Use gloves and an old toothbrush to scrub it clean, then rinse thoroughly. While the trap is out, pour hot water down the drainpipe to flush residual debris. Reinstall the trap, hand-tightening the nuts (overtightening cracks fittings).
Time estimate: 15-20 minutes for first-timers. For double sinks, remember both bowls typically connect before the P-trap, so a clog in one side often affects both.
Preventing Future Clogs
Prevention is always easier than clearing blockages: Install a fine-mesh strainer and empty it into the trash after each use. Scrape plates thoroughly before rinsing—starchy foods like pasta and rice cause major clogs when they expand in pipes.
Never pour grease down the drain, even with hot water running. Let it cool in a container, then throw it in the trash. Establish a monthly maintenance routine: pour boiling water down the drain, or use the baking soda/vinegar method to break down minor buildup before it becomes problematic.
Pro tip: Run hot water for 30 seconds after each sink use to help dissolve any grease that enters the drain. This simple habit prevents gradual accumulation that leads to major clogs.
When to Call a Professional
Seek professional help if: Clogs return weekly despite successful clearing (indicating a main line issue), multiple drains back up simultaneously, or you’ve tried all methods without success. Visible water damage under the sink or sewage odors signal serious problems needing expert attention.
Warning signs requiring immediate professional help: Water backing up into other fixtures when using the sink, gurgling sounds from multiple drains, or slow drainage throughout your home. These indicate blockages in your main sewer line that DIY methods can’t address.
By using these proven techniques, you’ll keep your kitchen sink flowing freely without a disposal. The boiling water and baking soda/vinegar methods solve 70% of clogs, while plunging and P-trap cleaning handle most stubborn blockages. Remember that consistent prevention—using strainers, proper grease disposal, and monthly maintenance—saves you from emergency unclogging sessions. With these skills, you’ll transform from sink-clog victim to plumbing pro, saving hundreds in service calls while keeping your kitchen functioning smoothly.


