
Your kitchen floor looks clean after mopping, but invisible bacteria from raw meat spills, pet paws, and tracked-in contaminants could be thriving. A recent CDC study found kitchen floors harbor more E. coli than toilet seats due to frequent contact with contaminated shoes and dropped food. When you skip proper disinfection, you risk cross-contamination to feet, pets, and even countertops. This guide delivers actionable steps to destroy 99.9% of pathogens while protecting your flooring—no guesswork, no damage, just science-backed results. You’ll learn exactly how to choose the right disinfectant for your specific floor type, avoid the #1 mistake that renders disinfectants useless (hint: it happens in 70% of households), and establish a routine that takes under 15 minutes.
Why Standard Mopping Fails to Kill Kitchen Floor Germs
Most homeowners confuse cleaning with disinfecting, creating dangerous gaps in kitchen hygiene. Cleaning removes visible dirt but leaves behind illness-causing microorganisms like Salmonella and Staphylococcus. Disinfecting requires two critical elements standard mops miss:
– Chemical dwell time: Disinfectants must stay wet on surfaces for 3-10 minutes to destroy pathogens (varies by product)
– Targeted application: Spray bottles ensure full coverage under cabinets and along baseboards where germs concentrate
Vinyl and tile floors develop microscopic cracks from grit accumulation, creating germ reservoirs that trap moisture. A University of Arizona study showed improperly disinfected kitchen floors transfer bacteria to hands within 5 seconds of contact. Without the correct disinfection protocol, you’re merely spreading contaminants with each pass of your mop.
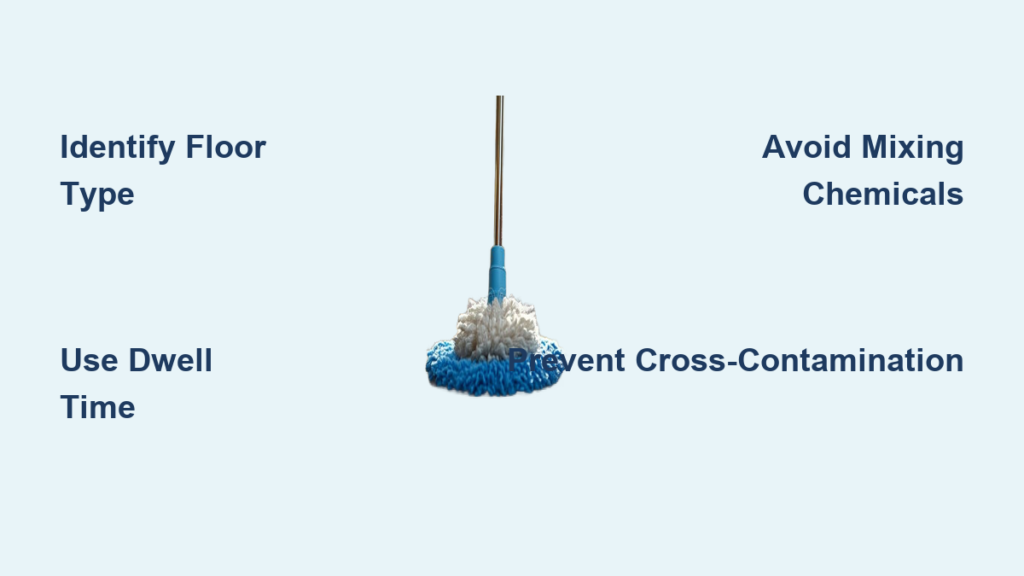
How to Identify Your Floor Type Before Disinfecting
Your flooring material dictates safe disinfection methods. Misidentification causes irreversible damage:
| Floor Type | Safe Disinfectants | Unsafe Options | Visual Warning Signs |
|---|---|---|---|
| Vinyl/Linoleum | Diluted bleach (1:32), hydrogen peroxide | Ammonia, abrasive cleaners | Cloudy film, discoloration |
| Ceramic/Porcelain Tile | EPA-registered quaternary ammonium | Undiluted vinegar | Grout erosion, etching |
| Sealed Hardwood | Hydrogen peroxide-based sprays | Steam mops, excessive water | Warping, finish peeling |
| Laminate | Alcohol solutions (70% isopropyl) | Bleach, acidic cleaners | Swelling, delamination |
Pro Tip: Test any disinfectant in an inconspicuous corner first. Wait 15 minutes to check for discoloration or texture changes before full application.
Essential Safety Prep: Avoid Toxic Fumes and Slip Hazards
Skipping safety steps turns disinfection into a health risk. The EPA reports 20,000 annual ER visits from improper disinfectant use—most preventable with three actions:
- Ventilate aggressively: Open 2+ windows and run exhaust fans before applying chemicals. Never mix bleach with vinegar or ammonia—this creates lethal chlorine gas.
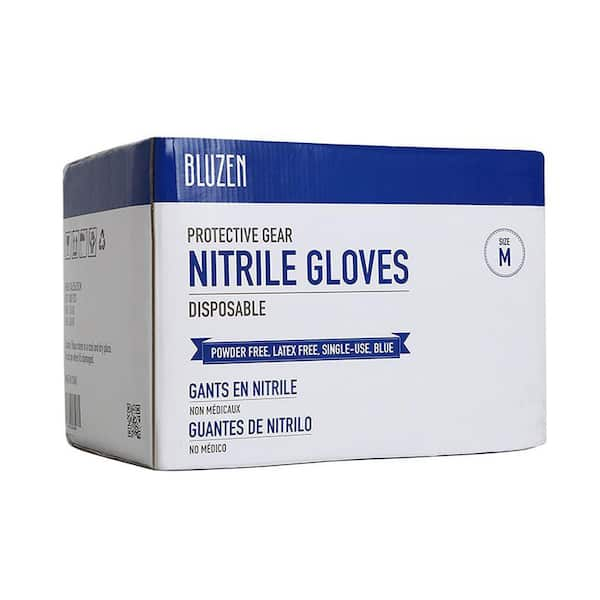
- Wear nitrile gloves (not latex): Most disinfectants degrade latex within 5 minutes, exposing skin to toxins.
- Clear floor obstacles: Move small rugs, pet bowls, and chairs to access germ hotspots. Pay special attention to the 6-inch zone around the sink where raw meat juices pool.
Critical Mistake Alert: Never use steam mops on sealed wood or laminate floors. Trapped moisture warps planks within 48 hours. If your floor feels damp after disinfecting, you’ve used too much solution—switch to microfiber pads that absorb excess liquid.
Step-by-Step Disinfection Protocol for Maximum Effectiveness
Pre-Clean to Remove Invisible Contaminants
Disinfectants fail on dirty surfaces. Follow this sequence:
1. Sweep thoroughly with a microfiber dust mop (not a broom—stirs up allergens)
2. Pre-treat greasy spots with dish soap and warm water; scrub grout lines with an old toothbrush
3. Rinse with clean water and wait 5 minutes for surface to dry slightly—disinfectants work best on damp (not wet) floors
Apply Disinfectant with Precision Coverage
Most homeowners under-apply, leaving germ sanctuaries:
1. Spray disinfectant in 2-foot sections using S-pattern motions (not circles)
2. Maintain 6-inch nozzle distance to avoid pooling
3. Set timer for exact dwell time per product label—never wipe prematurely
4. For grouted tile: Use a trigger sprayer to saturate seams where bacteria hide
Time-Saver: Load a microfiber flat mop with disinfectant solution instead of spraying. The pads hold optimal moisture without drips.
Rinse Only When Necessary (90% of Floors Don’t Require It)
Rinsing removes residual disinfectant that continues killing germs. Exceptions:
– Wood/laminate: Wipe with damp microfiber cloth after dwell time to prevent residue
– Vinyl with heavy soil: Rinse once if sticky film remains
– All other floors: Skip rinsing—let air dry for ongoing protection
Common Disinfection Failures That Leave Your Kitchen Unsafe
The Dwell Time Trap
70% of homeowners wipe disinfectants too soon, rendering them useless. Pathogens like Norovirus require 10 full minutes of wet contact. Solution: Spray one kitchen quadrant at a time while the timer runs—never multi-task during dwell time.
Over-Dilution Errors
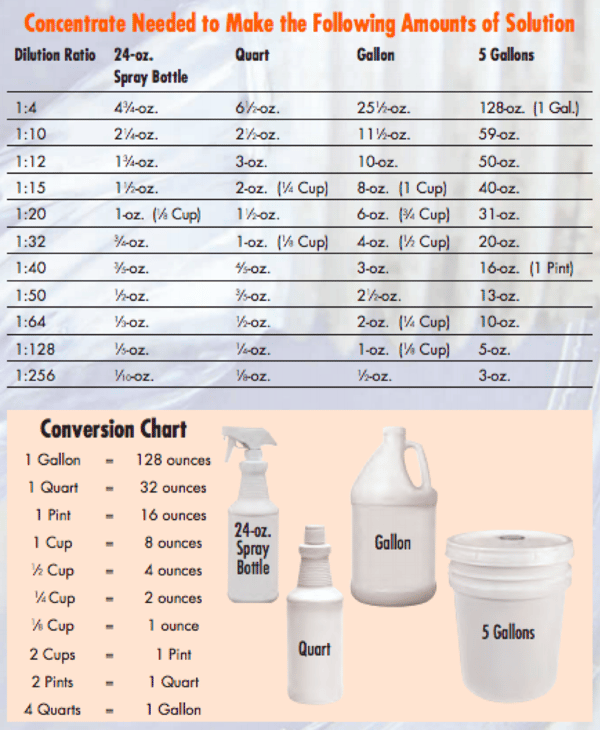
Using too much water reduces efficacy by 80%. For bleach solutions:
– Correct: 5 tablespoons bleach per gallon of cool water (hot water deactivates sodium hypochlorite)
– Wrong: “A splash in the bucket” or reusing old solution (bleach degrades in 24 hours)
Cross-Contamination During Mopping
Using the same mop pad for the entire floor spreads germs from high-risk zones (near trash can) to clean areas. Replace pads every 200 sq ft or use color-coded system: red for near sink, blue for general areas.
Natural Disinfection That Actually Works (With Limitations)
While vinegar and essential oils get hype, most lack proven efficacy against kitchen pathogens. Only two natural options meet CDC standards:
-
3% Hydrogen Peroxide:
– Spray undiluted on sealed floors
– Dwell time: 5 minutes
– Kills: Listeria, E. coli, viruses
– Avoid on: Unsealed stone or waxed floors -
70% Isopropyl Alcohol:
– Mix 2 parts alcohol with 1 part water
– Dwell time: 30 seconds
– Kills: Influenza, Salmonella
– Best for: Quick spot-treatments on laminate
Reality Check: Vinegar only kills 5% of Salmonella strains. Never rely on it for post-raw-meat cleanup.
Maintenance Schedule to Prevent Germ Buildup Between Deep Cleans
Disinfect high-risk zones daily and entire floors weekly with this tiered approach:
| Risk Level | Frequency | Trigger Events | Method |
|---|---|---|---|
| Critical | After every raw meat/poultry spill | Dropped chicken, pet accidents | Bleach solution (1:32) with 10-min dwell |
| High | Every 3 days | Family illness, outdoor shoes indoors | Hydrogen peroxide spray |
| Routine | Weekly | Normal cooking | EPA-registered quaternary ammonium |
Place a shoe-removal mat at every entrance—studies show this reduces tracked-in Campylobacter by 94%. For households with immunocompromised members, disinfect floors twice daily near food prep zones.
When to Call Professionals for Extreme Contamination
DIY methods fail against:
– Biohazards: Blood, vomit, or rodent droppings requiring OSHA-compliant protocols
– Persistent odors: Indicates bacteria embedded in subflooring
– Water-damaged areas: Swollen laminate or warped wood needs replacement before disinfection
Professionals use hospital-grade ATP testing to verify 99.999% pathogen elimination—far beyond household verification methods.
Key Takeaways for a Truly Sanitary Kitchen Floor
Disinfecting your kitchen floor properly destroys dangerous pathogens while preserving your flooring investment. Always match disinfectants to your specific floor type—bleach ruins wood but is essential for vinyl after raw meat spills. Never skip the dwell time; set a visible timer for each section. Focus extra attention on the “danger zone” within 18 inches of the sink where cross-contamination occurs most frequently. For ongoing protection, implement the tiered cleaning schedule based on household risk factors. Remember: a floor that looks clean isn’t necessarily safe. By following these evidence-based steps, you’ll create a kitchen environment where invisible threats are eliminated, not just moved around.
Next Step: Disinfect your kitchen floor tonight using the dwell-time method described. Place timers in each quadrant—you’ll be shocked how often you’ve been wiping too soon. For persistent grout stains, try our companion guide: “How to Remove Mold from Kitchen Grout Without Bleach Damage.”


