
Kitchen cabinets represent a significant investment in your home, and knowing how to disassemble kitchen cabinets properly ensures you can preserve their value during renovations, moves, or upgrades. Many homeowners rush through this process only to face broken hardware, damaged surfaces, and frustrating reassembly challenges later. This guide provides the precise sequence of steps needed to safely and efficiently disassemble cabinets of any type while protecting your investment and yourself from injury.
The right approach to disassembling kitchen cabinets follows a logical progression: proper preparation, systematic removal of components, careful detachment from mounting points, and thoughtful organization of parts. Skipping even one critical step can turn what should be a straightforward project into a costly mistake. By following this comprehensive guide, you’ll gain the confidence to tackle cabinet disassembly like a professional, whether you’re renovating your kitchen or relocating cabinets to another space.
Prepare Your Cabinet Disassembly Project
Before removing a single screw, thorough preparation sets the foundation for successful cabinet disassembly. Understanding your specific cabinet system prevents damage during removal and simplifies reinstallation later.
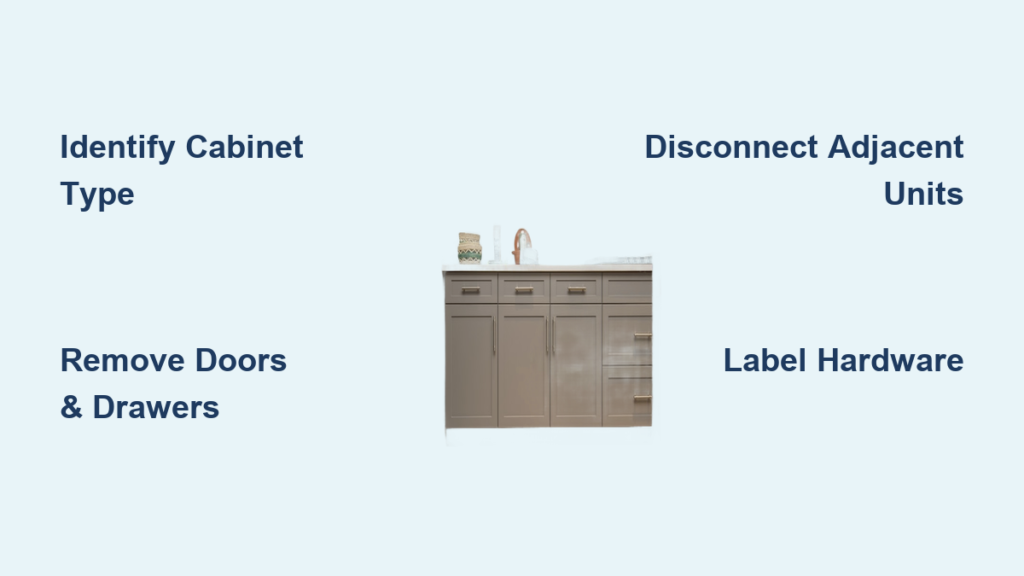
Identify Your Cabinet Construction Type
Stock cabinets feature standardized dimensions with simpler hardware like cam-lock fasteners, making them the easiest to disassemble. Semi-custom units offer sizing flexibility with higher-quality mounting systems requiring more careful documentation. Custom cabinets present the greatest challenge with unique joinery methods and specialized hardware that demand meticulous attention during removal.
Determine whether you have framed cabinets (common in American kitchens with face frames surrounding the box) or unframed European-style units (where doors attach directly to cabinet sides). Framed cabinets typically use surface-mounted hinges, while unframed models rely on concealed European hinges—each requiring different removal techniques.
Document Every Cabinet Before Disassembly
Take multiple photographs of each cabinet from different angles, capturing door positions, hinge settings, and special features. Apply removable masking tape to each cabinet with a unique identifier (like “C1” for Cabinet 1) and create a master log noting location, dimensions, and special considerations.
Measure each cabinet’s height, width, and depth precisely. For sink cabinets, photograph plumbing connections before disconnecting anything. This documentation becomes your roadmap during reassembly or when installing replacement cabinets, saving hours of frustration later.
Gather Essential Tools for Cabinet Removal
Having the right tools within reach prevents project interruptions and reduces the risk of damaging your cabinets during disassembly.
Basic Hand Tools You’ll Need
A complete screwdriver set with both Phillips and flathead options in multiple sizes handles most cabinet hardware. Magnetic-tipped screwdrivers prevent small hinge screws from falling into inaccessible spaces. An adjustable clutch power drill speeds up screw removal but keep manual screwdrivers handy for stubborn fasteners.
Include adjustable pliers for gripping stubborn hardware and a rubber mallet for gentle component separation. Always place a protective wood block between the mallet and cabinet surfaces to prevent dents and scratches during disassembly.
Safety Equipment and Specialized Tools
Protect yourself with safety glasses, work gloves with grip-enhancing coatings, and knee pads for extended work periods. Keep a first aid kit nearby for minor cuts from metal edges. A flashlight with hands-free operation helps inspect dark cabinet interiors and tight spaces behind units.
For concealed European hinges, a thin-shaft screwdriver or specialized hinge tool provides better access to adjustment screws. A stud finder locates wall studs for safe removal of mounting screws and identifies secure attachment points for reinstalled cabinets.
Remove Cabinet Doors and Drawers First
Removing doors and drawers before detaching cabinets from walls lightens the load and provides better access to mounting hardware.
Door Removal Process Without Damage
Open each door fully to expose all hinges. For concealed European hinges, remove the screw or release clip securing the hinge to the door, then carefully swing the door away. For surface-mounted hinges, remove hinge pins by tapping upward from the bottom with a nail set and hammer.
Number each door with removable tape corresponding to its cabinet location. Note which side (left or right) each door uses if your cabinets have asymmetrical configurations. Store doors flat on a protected surface with cardboard between layers to prevent scratching.
Drawer Removal Techniques for Different Slide Types
Locate the release mechanism on side-mount slides (most common type)—typically a lever, button, or tab. While depressing this release, lift the drawer slightly and pull it outward to disconnect the slides.
For under-mount slides (mounted to drawer bottoms), lift the drawer to engage the release mechanism. Center-mount slides usually release via a tab at the front or back. Once removed, take drawers to a separate area and remove fronts by unscrewing fasteners accessible from inside the drawer box.
Disconnect Adjacent Cabinet Units
Many kitchen installations feature cabinets connected for stability—these must be separated before individual units can be removed from the wall.
Identify Cabinet Connection Points
Face-frame cabinets commonly use screws driven through one cabinet’s face frame into its neighbor’s side. These often hide beneath hinge plates or create slight surface depressions. Some cabinets connect through metal brackets, cam-locks, or wooden dowels.
Examine all seams between cabinets carefully before attempting separation. Work methodically from top to bottom, locating all connection points at the top, middle, and bottom of adjoining edges.
Separate Cabinets Without Damaging Surfaces
Remove doors and drawers from cabinets to be separated, reducing weight and improving access. Apply penetrating oil to stuck screws and wait several minutes before attempting removal. Use a rubber mallet with protective blocks to gently tap adjacent cabinets apart if they’ve warped together over time.
For cabinets joined with nails or staples, insert a thin pry bar between units and work gradually along the seam. Always have a helper hold cabinets steady during separation to prevent them from falling unexpectedly.
Detach Cabinets from Wall Mounts Safely

Wall-mounted cabinets require careful attention to attachment methods and proper lifting technique to prevent damage and injury.
Identify Your Cabinet Mounting System
Most cabinets use a hanging rail (cleat) mounted to wall studs, with cabinets hooking onto this rail through mounting brackets. Some installations feature direct mounting where screws go through the cabinet back into studs.
Locate and remove all visible screws connecting cabinets to walls and adjacent units. Check inside cabinets for concealed mounting screws near the top and sides using a flashlight.
Remove Cabinets Without Damaging Walls
For rail-mounted cabinets, locate mounting brackets on the cabinet back or top edge. With a helper supporting the cabinet, slightly lift or tilt it to release from the rail, then carefully swing it away from the wall.
For directly-mounted units, after removing all screws, have helpers support the cabinet while checking for remaining attachments. Never force cabinets free if resistance occurs—investigate the cause first. Lower cabinets carefully to the floor on protective cardboard or drop cloths.
Handle Special Cabinet Configurations Properly

Certain cabinet designs require additional considerations to prevent damage during disassembly.
Corner Cabinet Disassembly Techniques
Lazy susan cabinets feature rotating shelves mounted on a central pole attaching to multiple points. Remove rotating shelves first, then disconnect the mounting system before addressing the cabinet itself.
Blind corner cabinets connect to adjacent units at angles—carefully identify all connection points before separation. The blind panel may attach through specialized hardware requiring specific removal sequences.
Tall Cabinet and Pantry Removal
Pantry cabinets often feature anti-tip brackets connecting to floors and ceilings that must be disconnected before removal. Tall units may have adjustable shelving on standards mounted to cabinet sides—remove these components first to prevent shifting damage during transport.
Glass-Front Cabinet Safety Procedures
Remove glass doors first, handling them with extreme care and storing vertically in protected areas. Apply masking tape across glass surfaces to reduce shatter risk if accidental impact occurs. Remove decorative trim and crown molding carefully, noting attachment positions for reinstallation.
Organize Hardware for Successful Reassembly
Systematic organization of small components prevents loss and ensures efficient reassembly later.
Create a Foolproof Labeling System
Use self-adhesive labels to identify each component’s location (e.g., “C1-DR” for Cabinet 1 Door Right). Create a master spreadsheet tracking each label with corresponding location and special notes. Photograph labeled components before packing for visual reference during reassembly.
Store Hardware for Future Use
Keep screws, bolts, and small hardware in labeled containers grouped by cabinet. Film canisters or resealable bags work well for this purpose. Take photographs of specialized hardware in its installed position before removal—hinge relocation plates and mounting brackets are often manufacturer-specific and difficult to replace.
Know When to Call Professional Cabinet Technicians
While many homeowners successfully disassemble kitchen cabinets, certain situations warrant professional assistance.
Complex cabinet systems with specialized hardware, custom cabinetry, or antique pieces often justify professional handling. Large-scale projects involving complete kitchen demolition benefit from professional coordination, especially when multiple trades need scheduling.
When hiring professionals, verify licensing and insurance coverage, request detailed estimates including disposal costs, and obtain written agreements specifying scope of work and responsibility for any damage during disassembly.
Disassembling kitchen cabinets successfully requires methodical planning, proper tools, and patient execution. By following this systematic approach—from initial assessment through final disposal—you protect your investment and set yourself up for success whether renovating, moving, or updating your kitchen. Take time to document, label, and organize throughout the process, and your future self will thank you when reinstalling or replacing your cabinets.


