
Your kitchen’s bakers rack shouldn’t just store your essentials—it should showcase your personality while making daily cooking more efficient. Unlike closed cabinets that hide your kitchen treasures, an open bakers rack creates an instant focal point that can transform your entire kitchen aesthetic. The average home cook accesses kitchen tools 27 times during meal preparation, and with strategic decorating, you can make those interactions both beautiful and practical. Whether you’ve just installed a new rack or are tired of your current arrangement, this guide reveals exactly how to decorate a bakers rack in the kitchen so it becomes the stylish, functional centerpiece your cooking space deserves.
Select Your Perfect Bakers Rack Style First
Before arranging a single item, ensure your bakers rack complements your kitchen’s existing design language. A mismatched rack creates visual discord that undermines even the most carefully curated display. For contemporary kitchens with clean lines and minimal hardware, choose a black metal rack with geometric shelves that echoes your faucet finish and appliance handles. Farmhouse kitchens benefit from wrought iron racks with scrollwork details that pair beautifully with apron-front sinks and open shelving. If your kitchen features warm wood tones, select a wooden bakers rack in a matching or contrasting wood species—light oak against dark cabinets creates striking contrast while maintaining cohesion.
Consider your kitchen workflow when selecting size and configuration. A narrow galley kitchen needs a slim-profile rack that won’t impede movement, while open-concept spaces can accommodate larger, statement-making units. Measure your available space carefully, allowing at least 18 inches of clearance on all sides for comfortable access. The ideal height positions the top shelf at eye level (approximately 60-66 inches) so you can appreciate displayed items without straining. For renters or those wanting flexibility, choose a rack with adjustable shelves that can evolve as your needs change.
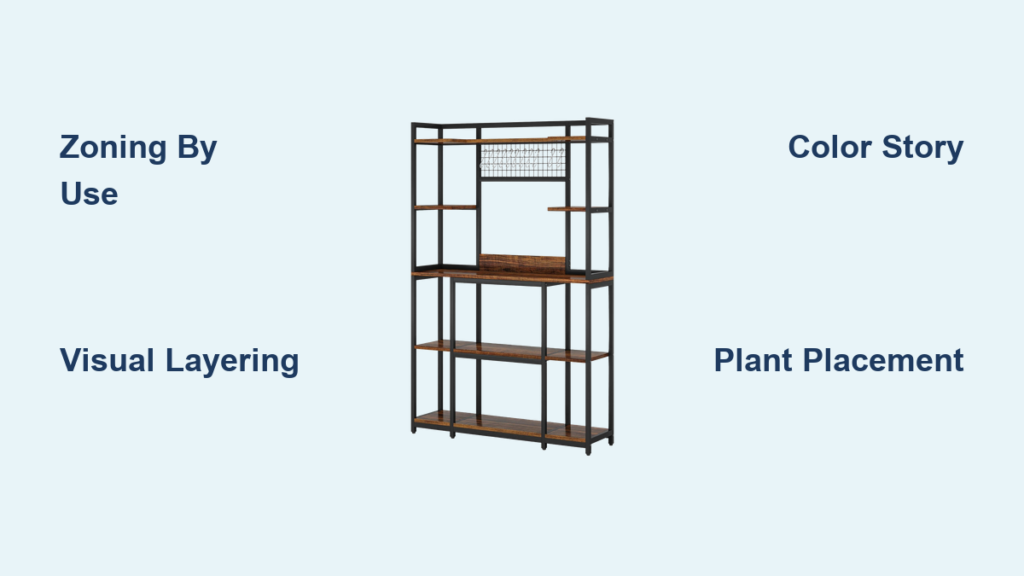
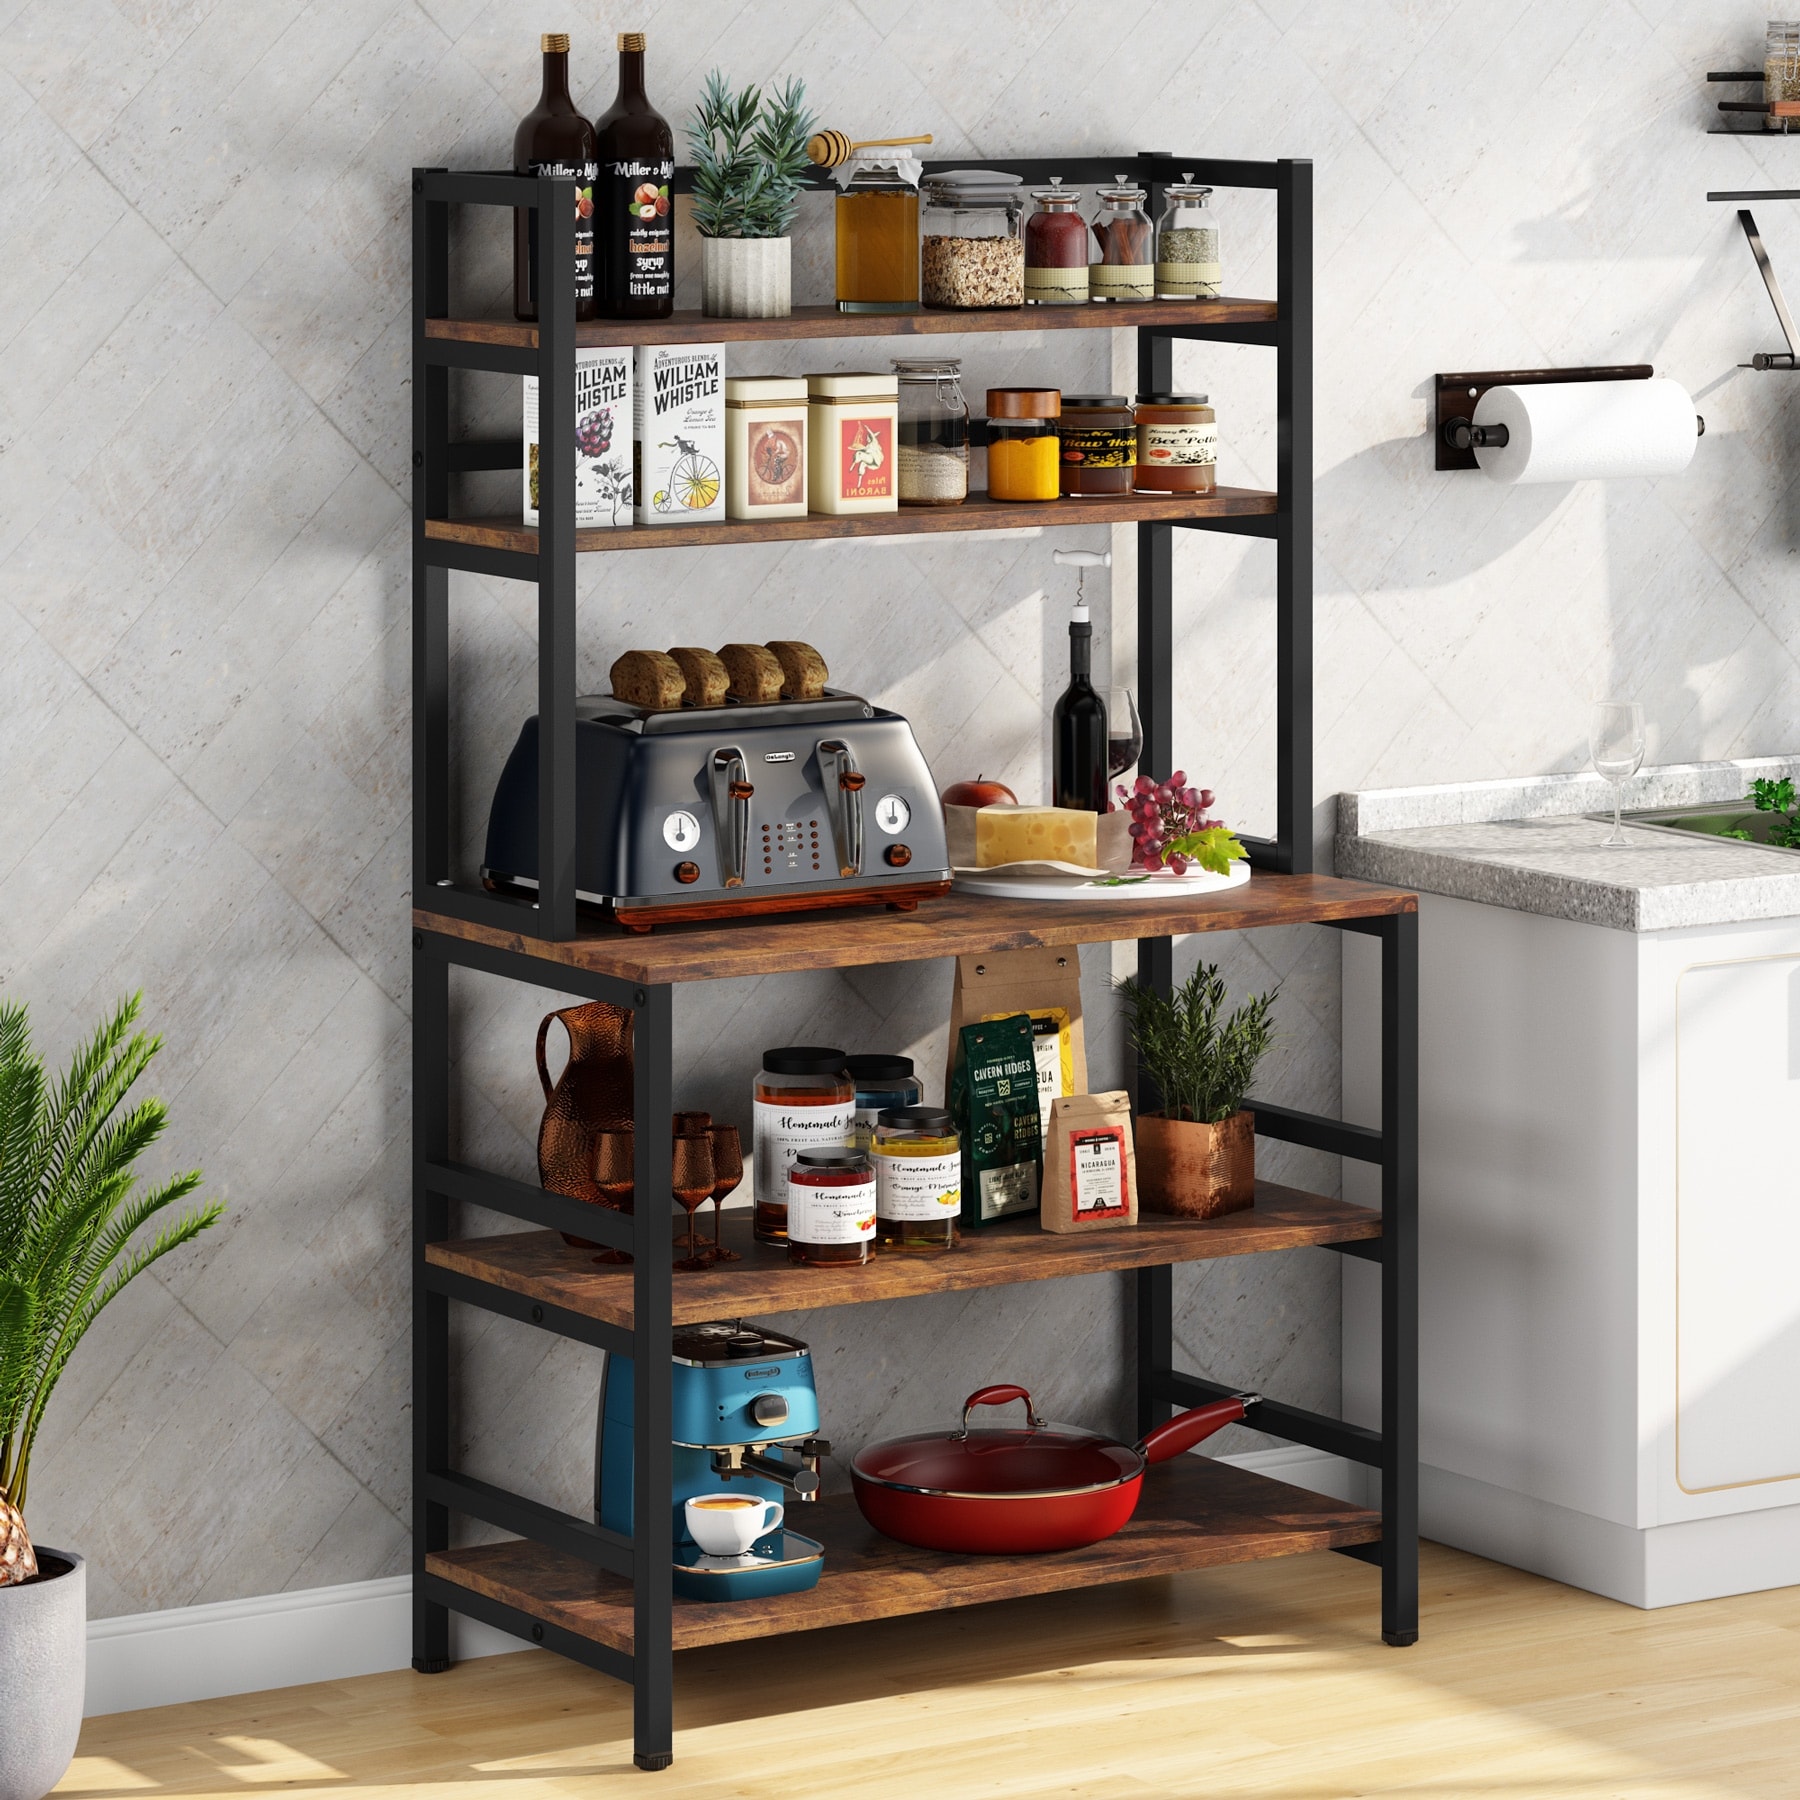
Organize by Frequency of Use for Daily Convenience
The most frustrating bakers rack arrangements force you to move three items just to reach your favorite mixing bowl. Instead, implement a strategic zoning system based on how often you access each item. Keep everyday essentials like coffee mugs, frequently used cookware, and your go-to spices on the middle shelves at waist-to-shoulder height—this prime real estate should contain only items you use at least three times weekly.
Reserve lower shelves for heavy, bulky items you access less frequently but still need within reach: cast iron skillets, Dutch ovens, and large serving platters. Place these toward the front for easier lifting and to prevent strain. Upper shelves work perfectly for decorative pieces you want visible but don’t need daily—fine china for special occasions, collectible teapots, or seasonal displays. For maximum efficiency, group related items together: create a dedicated baking station with measuring cups, rolling pins, and flour containers on one shelf, while coffee essentials occupy another.
What to Avoid in Your Storage Layout
Never store sharp knives or fragile items on open shelves where they could fall or get knocked over. Avoid placing items that create visual clutter like mismatched takeout containers or random grocery bags. Most importantly, resist the urge to fill every inch of space—leave at least 30% of each shelf empty to prevent that chaotic “packed garage sale” look that makes finding anything difficult.
Master Visual Layering Techniques for Professional Results
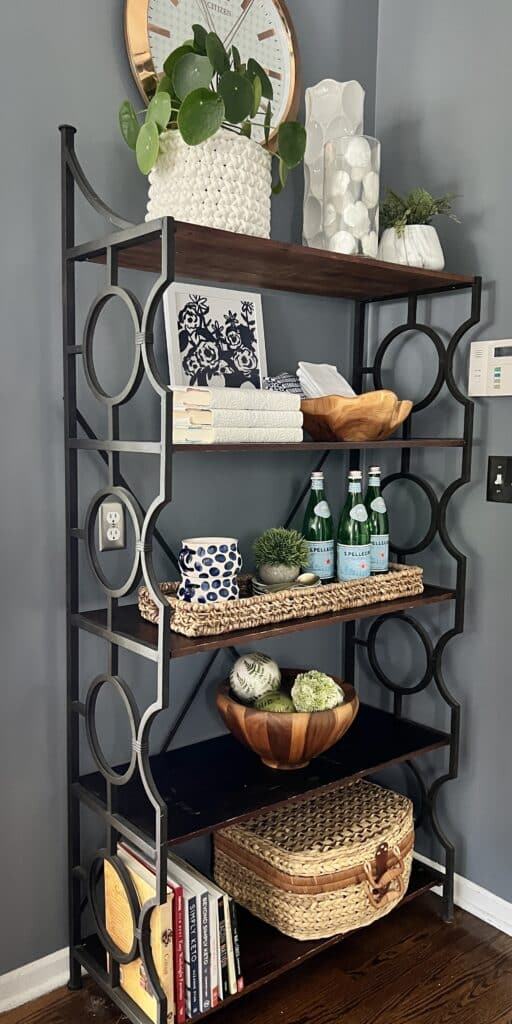
Flat, one-dimensional arrangements make even beautiful items look dull on a bakers rack. Create depth by varying object heights and positions across each shelf. Start with a tall anchor piece at one end (like a floor-standing pitcher or stacked cookbook tower), then build outward with medium-height items, finishing with small accents. Place some objects at the front edge of shelves, others toward the back, and a few leaning against the rear for dimension.
Three Layering Methods That Always Work
- The Stacked Approach: Elevate smaller items using cake stands, wooden crates, or inverted bowls. A small potted herb looks striking atop a wooden box alongside your coffee maker.
- The Leaning Strategy: Prop framed photos, cutting boards, or decorative trays against the back of shelves to create instant depth without taking up valuable surface area.
- The Cluster Technique: Group three related items of varying heights together (tall vase + medium bowl + small candle) to create a cohesive vignette that draws the eye.
Implement a Strategic Color Story
:max_bytes(150000):strip_icc()/60-30-10-decorating-rule-GettyImages-1332324741-b6693eaca96543a38c47f9fd02e3411d.jpg)
Random color choices make your bakers rack look haphazard rather than intentional. Build a cohesive palette using the 60-30-10 rule: 60% dominant color (white ceramics, natural wood), 30% secondary color (blues, greens, or metallics), and 10% accent color (a pop of terracotta or mustard). Pull colors from existing elements in your kitchen—your rug, backsplash, or even appliance finish—to create visual harmony.
For a calming, timeless look, stick to monochromatic schemes with varying textures in one color family. White-on-white arrangements feel fresh and clean, while all-wood displays create warm, organic appeal. If you prefer color, choose one bold hue and repeat it in different materials—blue glass bottles alongside ceramic pitchers and linen napkins creates sophisticated cohesion. Always include neutral elements to give the eye places to rest between colorful pieces.
Bring Life with Strategic Plant Placement

Plants transform sterile kitchen shelves into vibrant displays, but placement matters. Position trailing plants like pothos or string of pearls on upper shelves where their vines can cascade downward without interfering with daily tasks. Keep compact herbs like rosemary and thyme on mid-level shelves near cooking areas for easy snipping during meal prep. For low-light kitchens, choose resilient snake plants or ZZ plants that thrive on neglect.
Group plants in odd numbers (3 or 5) for visual appeal, and vary container styles while maintaining a cohesive color scheme. A mix of ceramic pots, woven baskets, and simple glass vessels creates interest without chaos. Remember to factor in light requirements—place sun-loving plants near windows and shade-tolerant varieties in darker corners. Water plants thoroughly before placing them on your rack to prevent drips on lower shelves.
Balance Aesthetics with Daily Functionality
The most beautiful bakers rack fails if it doesn’t support your cooking workflow. Designate one shelf as your “active zone” for items currently in use—today’s coffee ingredients, tonight’s dinner spices, or your current baking project. This keeps essentials visible while preventing countertop clutter. Install small hooks on the sides of your rack for hanging oven mitts, measuring spoons, or kitchen towels that need quick access.
Quick Functional Upgrades
- Add a small tray to contain coffee maker drips and related items
- Use magnetic strips on the rack’s side for knife storage
- Install under-shelf baskets for storing tea bags or spice packets
- Place a charging station for kitchen gadgets on a lower shelf
Maintain Your Display with Minimal Effort
A beautifully styled bakers rack quickly becomes frustrating if it requires constant upkeep. Build maintenance into your arrangement from the start. Choose easy-clean surfaces like glazed ceramics over porous materials that stain easily. Position frequently used items toward the front where they won’t collect dust behind other objects. Group similar materials together so cleaning becomes efficient—one wipe with wood conditioner for all wooden items, then a quick glass cleaner pass for ceramics.
Schedule brief weekly touch-ups: spend just 5 minutes each Sunday resetting your arrangement, dusting shelves, and refreshing plants. This prevents the overwhelming task of complete reorganization every few months. Keep a small step stool nearby for safely accessing upper shelves during maintenance. For renters or those who love change, photograph your arrangement before disassembling—it makes re-creating your favorite layouts much easier.
Transform Your Kitchen with These Final Touches
The perfect bakers rack arrangement feels uniquely yours while supporting your daily kitchen routines. Start with one shelf at a time, focusing on creating a balanced composition that combines beauty and utility. Remember that your arrangement should evolve with your needs—what works for holiday entertaining might differ from your everyday setup. The key to mastering how to decorate a bakers rack in the kitchen lies in intentional curation: every item should either serve a purpose or bring you joy (ideally both). Step back regularly to assess your display from multiple angles, making small adjustments until the arrangement feels effortless and authentic to your lifestyle. With these techniques, your bakers rack will become the functional showpiece that ties your entire kitchen together.


