
Tired of staring at outdated or damaged kitchen floor tiles but dreading the cost and mess of a complete replacement? You’re not alone. Millions of homeowners face this dilemma every year, searching for practical ways to refresh their kitchen floors without the expense and disruption of tearing out existing tiles. Whether you’re a renter who can’t make permanent changes, a homeowner on a tight budget, or simply not ready for a full renovation, there are multiple effective solutions for covering kitchen floor tiles. This guide reveals proven methods that transform your kitchen floor in hours or days—not weeks—while working within your constraints. Discover which approach matches your situation, skill level, and budget as we explore temporary fixes, semi-permanent upgrades, and permanent transformations that all avoid the sledgehammer.
Quick-Decor Solutions for Temporary Coverage
When immediate visual improvement matters most, these non-permanent solutions deliver dramatic results without commitment or specialized skills.
Area Rugs and Kitchen Mats
Strategically placed rugs instantly refresh your kitchen’s appearance while protecting worn tiles underneath. Unlike permanent solutions, rugs require zero installation time—you simply unroll and position them where needed. Focus on high-traffic zones like in front of the sink and stove, or cover the entire kitchen floor for cohesive transformation.
Choose kitchen-specific mats with non-slip rubber backing that grips securely to smooth tile surfaces. Measure your space before purchasing to ensure proper coverage—standard kitchen runner sizes work well for galley kitchens, while larger square or rectangular rugs suit open-concept spaces. For maximum longevity, select machine-washable options that withstand frequent cleaning from kitchen spills. This solution costs as little as $20 for basic mats and up to $200 for high-quality, durable rugs that last years. Renters particularly benefit from this approach since it leaves no trace when you move out, while homeowners appreciate being able to test different styles before committing to permanent changes.
Tile Decals and Vinyl Stickers
Peel-and-stick tile decals create dramatic visual transformations without construction mess or permanent alteration. These adhesive coverings adhere directly to existing tile surfaces, effectively masking chips, stains, or outdated patterns with contemporary designs. Available in materials ranging from matte-finish vinyl to textured fabric options, decals work best on smooth, non-porous tiles with minimal grout lines.
Before applying decals, thoroughly clean tiles with isopropyl alcohol to remove invisible residues that compromise adhesion. Work systematically across the floor, starting from one corner and moving toward the exit to avoid stepping on newly applied decals. Use a credit card or squeegee to smooth out air bubbles as you go, working from the center outward. For best results, overlap decals slightly at the edges to prevent peeling. Quality decals withstand kitchen traffic for 2-5 years with proper care, though they require gentle cleaning methods—avoid abrasive scrubbers that could lift edges. This solution costs approximately $0.50-$2.00 per square foot, making it one of the most budget-friendly options for substantial visual impact.
Paint and Coating Solutions
For a more integrated look that still avoids demolition, specialized tile paints and coatings bond directly to existing surfaces while providing durable, customized finishes.
Tile-Specific Floor Paint

Regular paint won’t survive kitchen floor conditions. Tile-specific floor paints contain industrial binders that create flexible, abrasion-resistant finishes capable of withstanding foot traffic and spills. Before painting, deep-clean tiles with trisodium phosphate (TSP) solution to remove grease buildup, then lightly sand surfaces to create “tooth” for better adhesion.
Apply painter’s tape to baseboards and cabinet kickplates before starting. Use a small foam roller for tile surfaces and an angled brush for grout lines, working in small sections to maintain a wet edge. Most tile paint systems require two coats with 4-6 hours drying time between applications. While painted tiles dramatically improve appearance, they require careful maintenance—avoid dragging heavy furniture and clean with pH-neutral solutions to preserve the finish. This DIY-friendly project costs $30-$100 for materials covering a standard 10×12 foot kitchen, with professional results achievable in a weekend.
Epoxy Coating Systems
Epoxy coatings create a seamless, waterproof surface that completely transforms tile appearance while providing commercial-grade durability. Two-part epoxy systems chemically cure into a hard, glossy finish resistant to scratches, stains, and moisture—ideal for high-moisture kitchen environments.
Surface preparation proves critical for epoxy success. After thorough cleaning with mineral spirits, lightly sand tiles to improve mechanical adhesion, then remove all dust with tack cloths. Mix epoxy components precisely according to manufacturer instructions, as improper ratios cause curing failures. Apply with a 3/8-inch nap roller in thin, even coats, working quickly before the material begins gelling. Most epoxy systems require 24-72 hours to fully cure before light foot traffic and 7 days before returning furniture. While more expensive at $200-$500 for materials, epoxy coatings typically last 10+ years with proper maintenance, making them cost-effective long-term solutions.
Interlocking and Floating Floor Systems
For substantial transformation without adhesives or demolition, modern floating floor systems provide durable, attractive surfaces that lock directly over existing tiles.
Interlocking Floor Tiles
Snap-together floor tiles create stable, attractive surfaces without glue or underlayment. These modular systems feature tongue-and-groove edges that lock securely while allowing slight movement—critical when installing over rigid tile substrates. Available in realistic wood, stone, and abstract designs, interlocking tiles work best when existing tiles are in good condition with minimal height variation.
Begin installation by sweeping and vacuuming the tile surface to remove debris that could create uneven spots. Start from the farthest corner from your entry point, snapping tiles together as you work across the room. Cut perimeter tiles with a utility knife or jigsaw for precise fitting around cabinets and obstacles. For optimal results, acclimate tiles at room temperature for 48 hours before installation. Quality interlocking tiles cost $2-$6 per square foot and can be installed in a single weekend, providing durable flooring that lasts 10-15 years with proper care.
Luxury Vinyl Plank Flooring
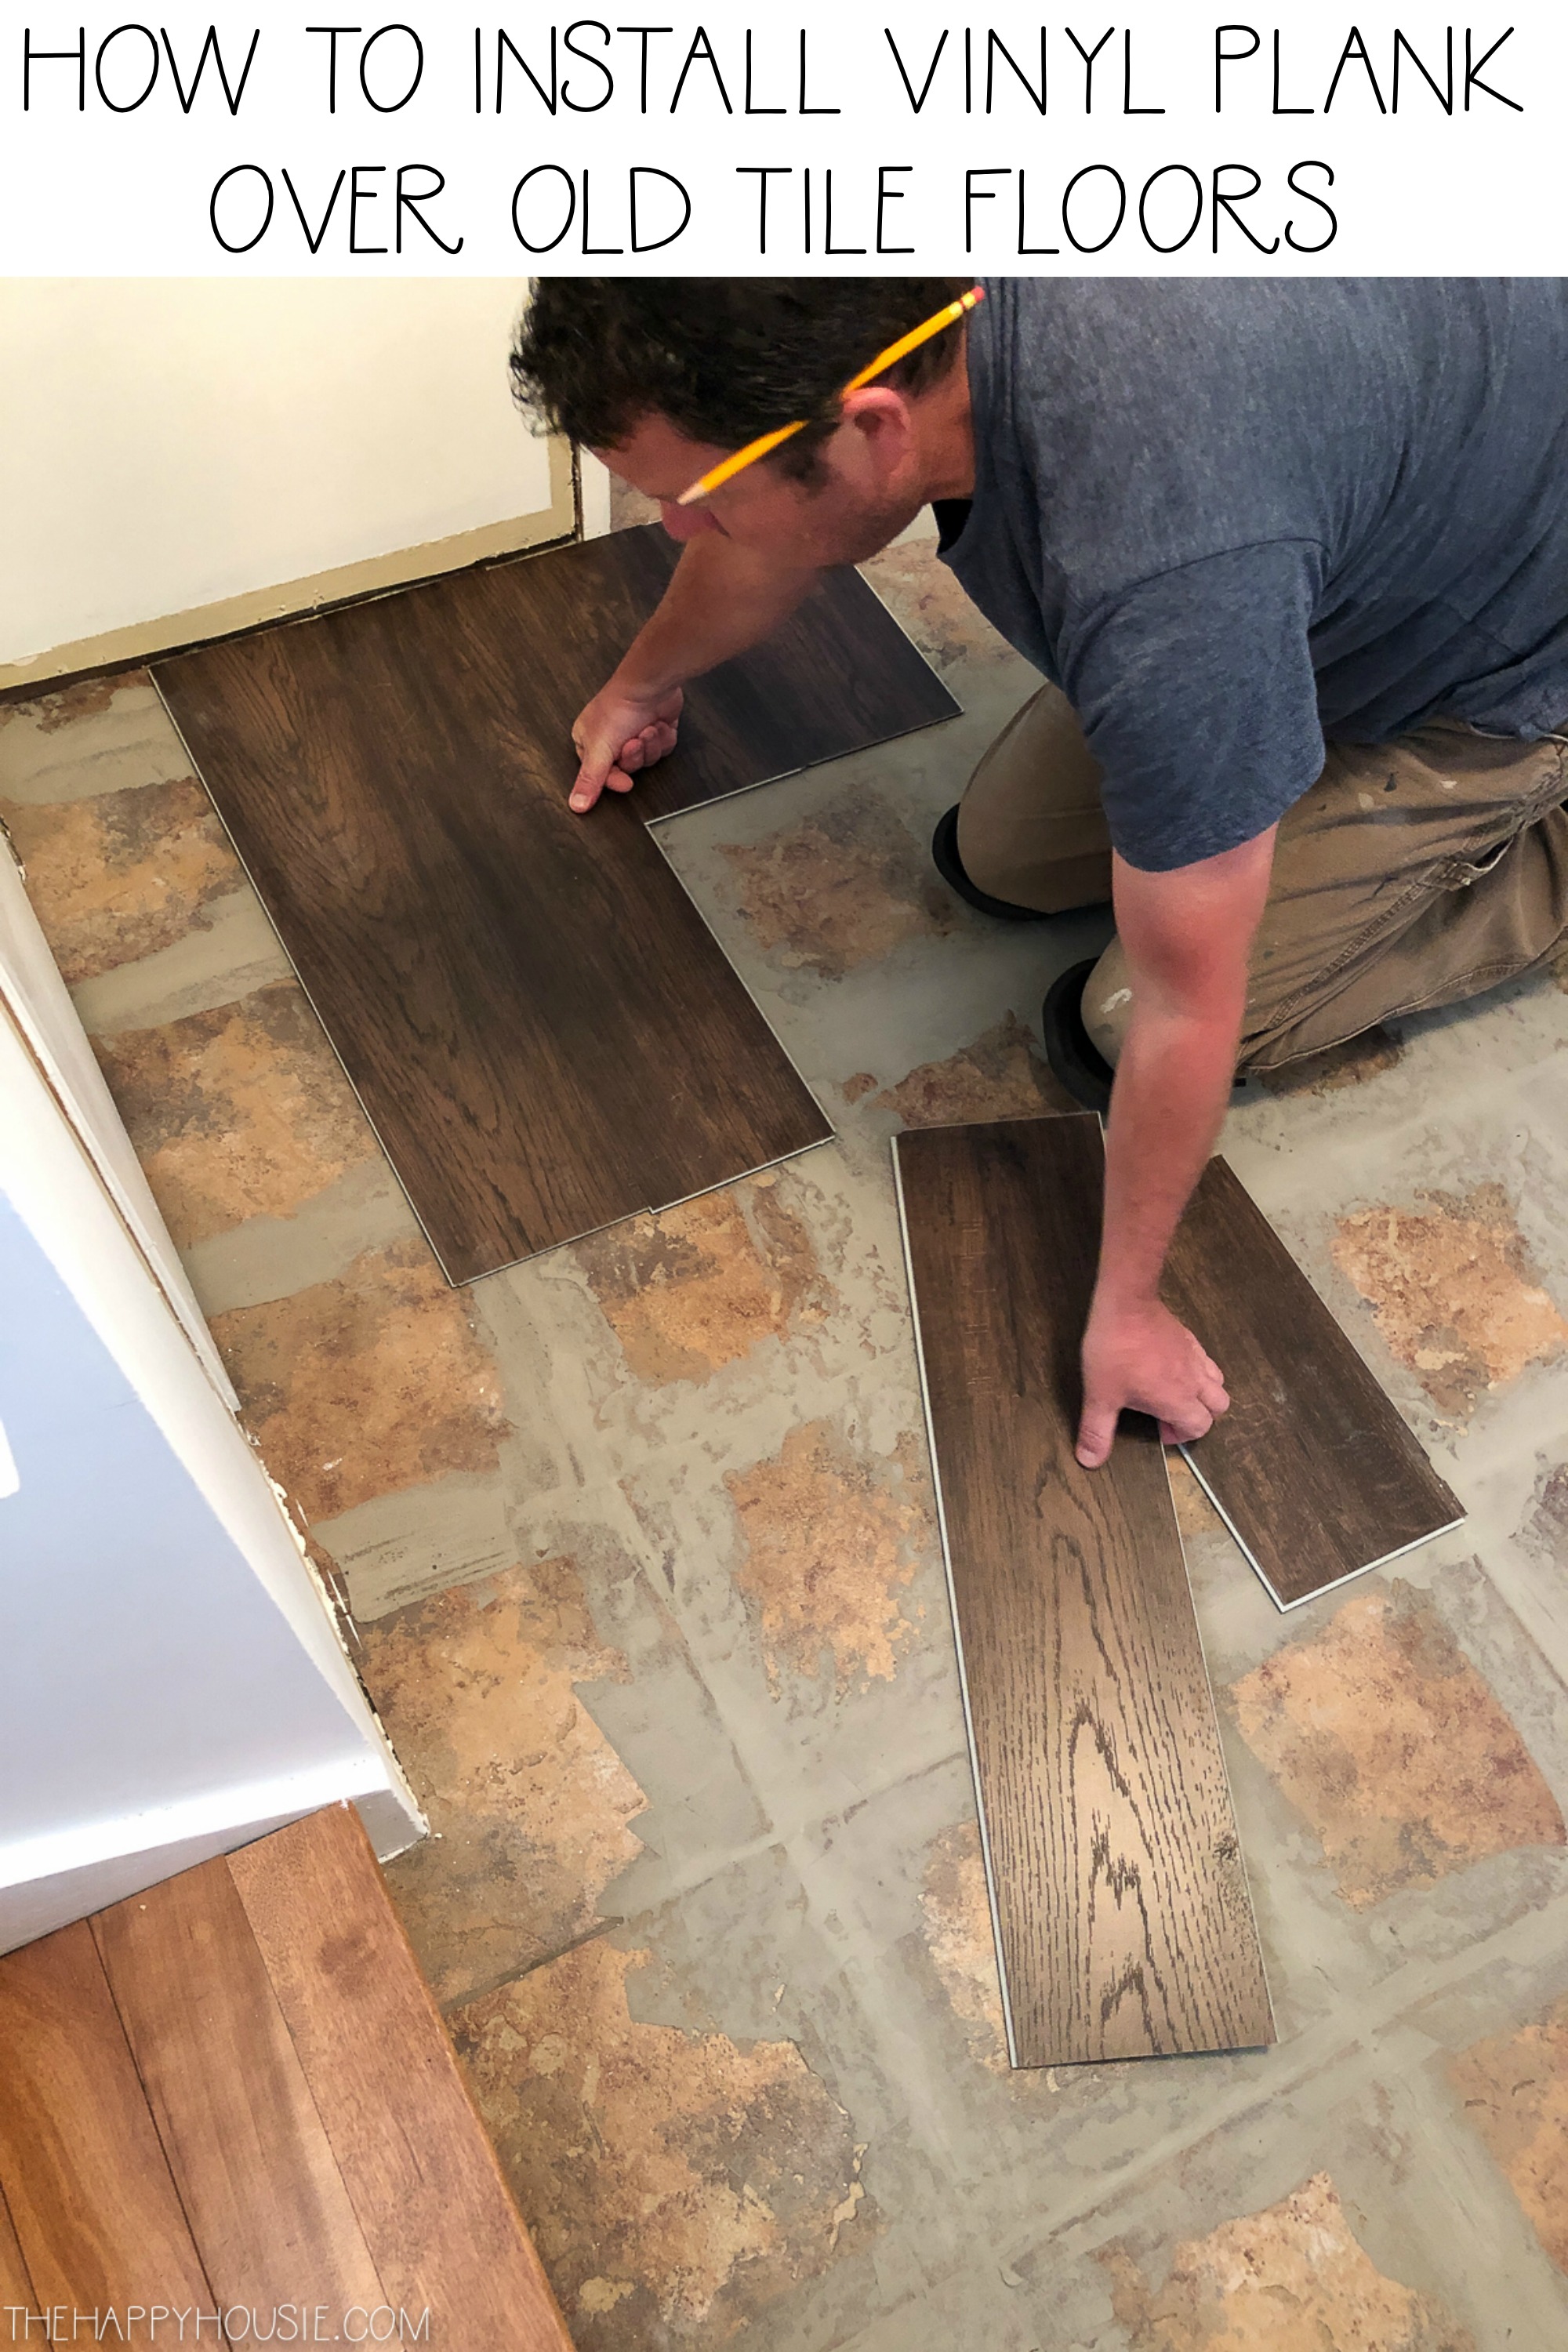
Luxury vinyl plank (LVP) offers the authentic look of hardwood with superior water resistance—perfect for kitchen environments. Modern LVP features rigid cores that minimize the impact of underlying tile texture, allowing direct installation over existing tiles when properly prepared.
Before laying LVP, inspect tiles for cracks or loose sections that need repair. Fill deep grout lines exceeding 1/8 inch with leveling compound to prevent “telegraphing” through the new floor. Install a thin underlayment specifically designed for vinyl flooring to enhance comfort and sound absorption. When clicking planks together, maintain a 1/4-inch expansion gap around perimeter walls to accommodate natural movement. Most LVP installations complete in 1-2 days, with material costs ranging from $3-$7 per square foot. The finished floor provides warmth underfoot while hiding original tile patterns completely, creating the illusion of a full replacement without demolition.
Essential Preparation Steps
Regardless of your chosen method, skipping proper preparation guarantees premature failure. Invest time in these critical steps before applying any covering.
Cleaning and Degreasing
Kitchen tiles accumulate invisible grease films from cooking that prevent proper adhesion. Create a cleaning solution of 1 part vinegar to 4 parts hot water with a few drops of dish soap. Scrub tiles thoroughly with a stiff nylon brush, paying special attention to areas near cooking surfaces. Rinse multiple times with clean water to remove all cleaning residue, then allow the floor to dry completely for at least 24 hours before proceeding. For stubborn grease, use a dedicated degreaser following product instructions.
Repairing Damage
Address cracked or loose tiles before covering. Remove damaged tiles carefully using a chisel and hammer, then clean the substrate thoroughly before installing replacements. Fill hairline cracks with flexible tile grout or epoxy filler, allowing proper curing time before proceeding. Ignoring underlying damage transfers problems to your new surface, causing premature wear in covered areas.
Addressing Grout and Texture
Deep grout lines create uneven surfaces that affect floating floor installations. Fill grout lines deeper than 1/8 inch with self-leveling compound, feathering edges carefully to create smooth transitions. For textured tiles, consider whether your chosen covering method accommodates the surface profile—some vinyl products require smoother substrates than others. Test your chosen solution in a small inconspicuous area first to verify compatibility with your specific tile texture.
Choosing the Right Solution for Your Situation
Your ideal covering method depends on three critical factors: your timeline, budget, and long-term plans. Renters should prioritize removable solutions like rugs or decals that leave no trace. Homeowners planning to stay 5+ years might justify epoxy or LVP installations that increase property value. Those needing immediate improvement can start with rugs while planning more permanent solutions. Consider your DIY confidence—epoxy requires precision while interlocking tiles offer forgiveness for beginners. Most importantly, assess your existing tile condition honestly; compromised substrates limit your options regardless of budget. By matching your solution to these factors rather than chasing trends, you’ll achieve results that satisfy both practically and aesthetically while avoiding costly mistakes that require redoing the project.


