
Tired of sagging, stained, or worn-out kitchen chair seats that make your dining area look shabby? You’re not alone. Millions of homeowners face this common problem but hesitate to tackle it, thinking reupholstering requires professional skills. The truth is, covering kitchen chair seats is one of the most accessible DIY projects that delivers professional-looking results with minimal tools. Whether you’re refreshing vintage chairs or updating modern seating, this guide shows you exactly how to cover kitchen chair seats properly—without expensive equipment or prior experience. By the end of this article, you’ll know which materials work best for kitchen environments, how to avoid common pitfalls that ruin upholstery jobs, and complete your project in under two hours per chair.
Kitchen chair seats take more abuse than any other furniture in your home—they bear daily weight, food spills, and constant use. That’s why choosing the right covering method matters more than you think. Most failed upholstery jobs happen because people skip proper preparation or use materials unsuitable for kitchen conditions. We’ll walk through every critical step, from selecting durable fabrics that resist stains to securing covers that won’t sag after three months. Forget complicated techniques—this process uses basic tools you likely already own, and we’ll focus specifically on flat-bottomed kitchen chairs (not curved or sling-style seats).
Essential Materials for Durable Kitchen Chair Seat Covers
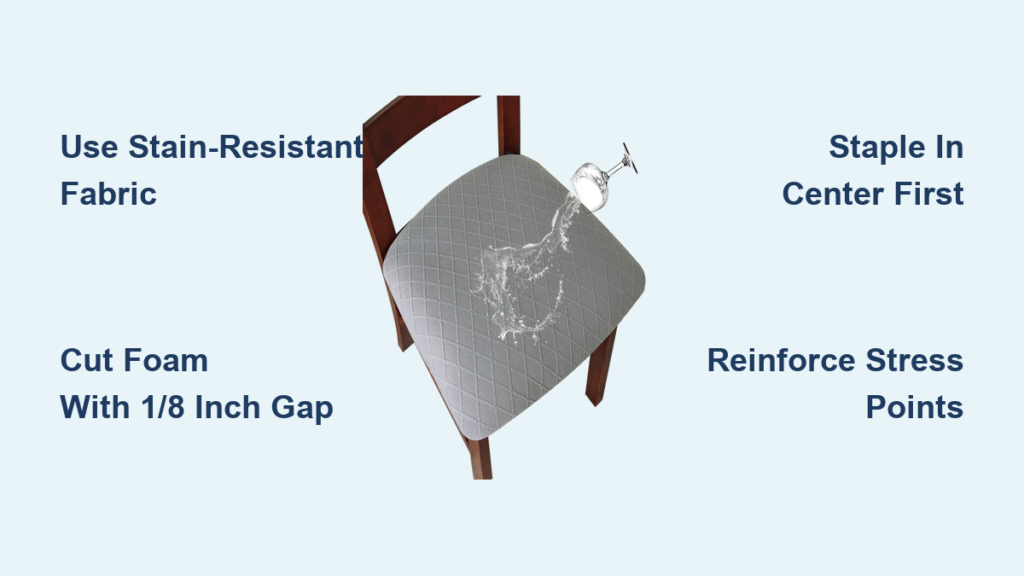
Before you begin covering kitchen chair seats, gather these specific supplies designed for high-traffic areas. Using standard upholstery fabric without considering kitchen conditions leads to premature wear and frequent reworks. Choose tightly woven, stain-resistant materials like Crypton, Sunbrella, or outdoor-grade polyester that repel spills while maintaining comfort. For padding, 1-inch high-density foam provides the perfect balance between support and comfort—thinner foam compresses too quickly, while thicker options create an unstable seating surface.
What You’ll Need for Each Chair Seat
- 18-24 inch square of 1-inch high-density upholstery foam
- 24-30 inch square of stain-resistant fabric (add 4 inches to each side of your seat dimensions)
- Heavy-duty upholstery thread and 16-gauge upholstery needles
- Staple gun with 1/4-inch staples (minimum 100 staples per seat)
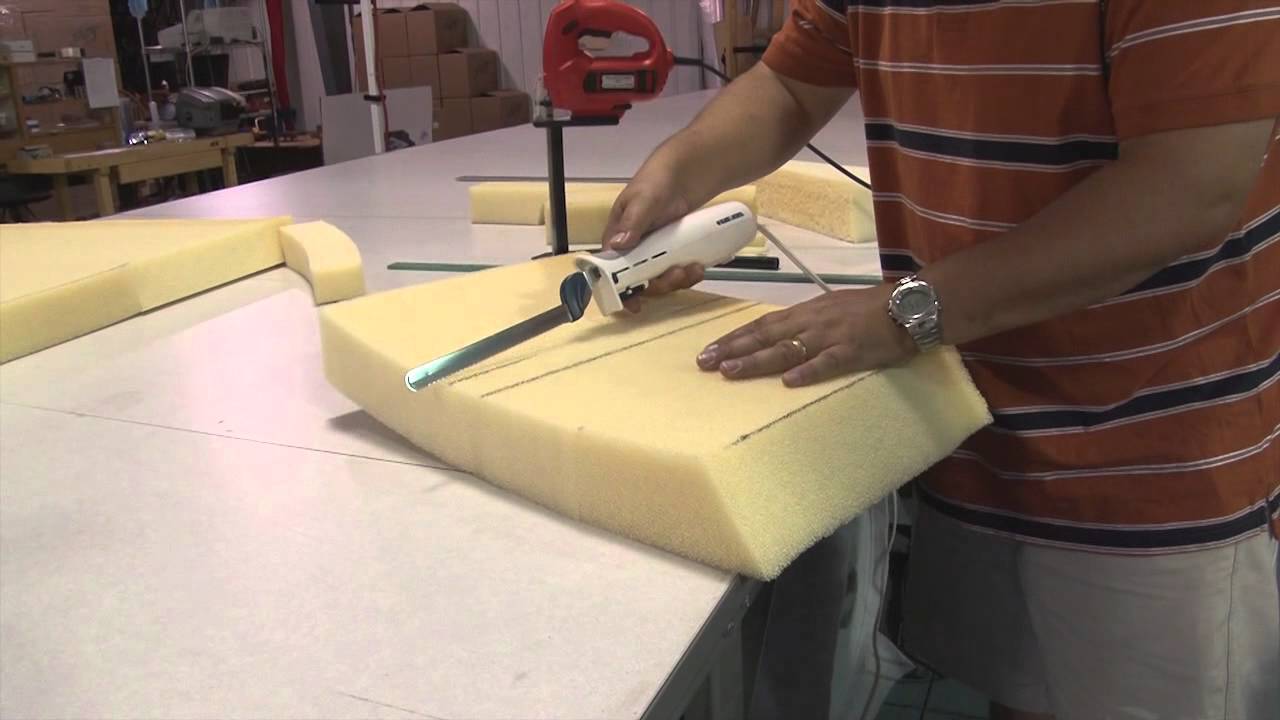
- Sharp utility knife or electric carving knife
- Measuring tape and fabric marker
- Rubber mallet or hammer with cloth barrier
Pro Tip: Test fabric durability by rubbing a damp sponge across it—if water soaks in immediately, it’s unsuitable for kitchen chairs. Look for fabrics labeled “solution-dyed” which means the color penetrates the entire fiber, not just the surface.
Removing Old Seat Covers Without Damaging Chair Frames
How to Safely Remove Existing Upholstery
Start by turning your chair upside down and locating the staples or tacks holding the old cover. Use needle-nose pliers to gently pull out staples from the underside where they won’t be visible when seated. Never cut through the fabric from the top side—this often damages the underlying wood. If you encounter stubborn staples, place a flathead screwdriver under the staple crown and tap lightly with a hammer to lift it before pulling.
Warning: Avoid prying staples with screwdrivers directly against wood surfaces—this creates unsightly gouges that show through new fabric. Always insert your tool beneath the staple head.
Dealing with Glued or Staple-Free Seats
Some modern chairs use adhesive instead of staples. For these, carefully slide a putty knife between the fabric and wood, working slowly around the perimeter. Apply heat from a hair dryer to soften stubborn glue, but keep it moving to prevent scorching the wood. Never use chemical adhesive removers on surfaces that contact food—they leave residues that could transfer to clothing or skin.
Proper Foam Cutting Techniques for Perfect Seat Fit
Measuring and Cutting Foam to Exact Dimensions
Place your seat frame upside down on the foam and trace around it with a marker, adding 1/8 inch to each side for compression. Use an electric carving knife (or serrated bread knife) for clean cuts—saw gently without pressing down hard. The foam should fit snugly into the seat frame without forcing it. If it’s too tight, trim small amounts until it drops in with light finger pressure.
Common Mistake: Many DIYers cut foam exactly to seat dimensions, causing gaps when compressed. The 1/8 inch oversize creates proper tension against the frame.
Trimming Foam Around Obstructions
For chairs with center supports or screw holes, cut precise relief slits in the foam using scissors. Make X-shaped cuts over screw holes, then fold the points inward to create smooth openings. Never leave foam protruding through screw holes—that creates uncomfortable pressure points when sitting.
Securing Fabric Without Visible Staples or Wrinkles
Starting Point Strategy for Professional Results
Begin stapling at the center of one side, not the corners. Pull the fabric taut (not stretched) and staple once in the middle. Move to the opposite side, pull fabric drum-tight, and staple its center point. Repeat for the remaining two sides—this cross-pattern prevents diagonal wrinkles. Always pull fabric perpendicular to the stapling direction, never at 45-degree angles.
Corner Folding Methods for Clean Finishes
For crisp corners that won’t unravel:
1. Pull fabric tightly across one side toward the corner
2. Fold the excess along the adjacent side like an envelope flap
3. Tuck the bottom layer under the top layer
4. Staple through both layers close to the edge
Pro Tip: Leave the last 2 inches of each side unstapled until all corners are secured—this gives you adjustment room for perfect tension.
Troubleshooting Common Upholstery Mistakes
Fixing Loose Spots After Stapling
If you discover a loose area after completing a side, don’t remove all staples. Instead, use needle-nose pliers to pull out the 3-4 staples surrounding the problem area. Re-tension the fabric and re-staple, overlapping the original staple holes slightly. For stubborn wrinkles, insert a flat tool under the fabric to lift it while re-stapling.
Handling Fabric That’s Too Small
When your fabric square runs short during stapling:
– Carefully remove the last 5-6 staples on the affected side
– Apply a thin line of fabric glue along the wood edge
– Reposition the fabric with proper tension
– Staple through the glued section immediately
Warning: Never stretch fabric to make it fit—that creates weak spots that tear within weeks of regular use.
Choosing the Right Fabric Pattern Placement

Positioning Prints and Stripes Correctly
For patterned fabrics, position your design before cutting. Place the seat frame on the fabric with the most visible side facing down (you’ll be working from the underside). Center prominent patterns in the middle of the seat area—remember that 2-3 inches will fold under the frame edges. Test your positioning by temporarily placing the foam on top before committing to cuts.
Time-Saving Shortcut: Use painter’s tape to mark your cutting lines instead of fabric markers—this prevents accidental stains on your material.
Preventing Premature Wear in High-Traffic Areas
Reinforcing High-Stress Zones
Kitchen chairs experience concentrated pressure where people sit down and stand up. Before final stapling, add reinforcement to these areas:
– Cut 2-inch wide strips of heavy-duty interfacing
– Position them vertically along the front and back edges
– Staple through these reinforcements with your final staples
This simple step doubles the lifespan of your upholstery by preventing fabric tears at stress points.
Applying Protective Fabric Treatment
Once installed, treat your new seat covers with a fabric protector spray designed for upholstery. Hold the can 12 inches away and apply in light, even coats, allowing 24 hours drying time between coats. Two applications provide optimal stain resistance without altering the fabric’s texture. Reapply every 6 months for continued protection.
Maintaining Your Newly Covered Chair Seats
Daily Cleaning Routine for Longevity
Wipe spills immediately with a clean, dry cloth—don’t rub, as this pushes liquids deeper. For dried spills, mix 1 teaspoon dish soap with 1 cup cool water, then lightly dab the area with a microfiber cloth. Never saturate the fabric—excess moisture breaks down adhesives and foam over time. Vacuum weekly with a soft brush attachment to remove food crumbs that accelerate wear.
When to Replace Foam Instead of Just Fabric
Check your foam annually by pressing firmly on the seat edges. If it feels lumpy, compressed, or creates uneven support, replace the foam before reupholstering. Degraded foam causes fabric to stretch unevenly, leading to premature failure of your new cover. High-quality foam lasts 5-7 years with proper care in kitchen environments.
Final Note: Properly covered kitchen chair seats should last 3-5 years with regular use—significantly longer than quick fixes that skip proper foam selection or tensioning techniques. The key to professional results lies in precise measurements, appropriate materials for kitchen conditions, and methodical tensioning during installation. By following these specific techniques, you’ll transform worn chairs into durable, attractive seating that withstands daily kitchen demands. For your next project, consider adding non-slip pads to chair legs to prevent floor scratches—a simple upgrade that protects both your floors and your newly upholstered seats.


