
Your kitchen cabinets show wear and tear in the most visible places—especially those unsightly grooves that collect grime and make your once-pristine cabinetry look dated. Whether you’re dealing with panel grooves, frame joints, or design accents that have become eyesores, knowing how to cover grooves on kitchen cabinets can transform your space without the expense of full replacement. This guide delivers exactly what you need: practical, cost-effective solutions that professionals use to conceal cabinet imperfections. You’ll learn which methods work best for different groove types, how much time each technique requires, and what materials will give you flawless results.
Why Grooves Form on Kitchen Cabinets and When to Fix Them
Kitchen cabinet grooves typically develop from everyday wear, moisture exposure, or manufacturing design elements that become problematic over time. These indentations collect dirt, grease, and food particles that are difficult to clean, creating both aesthetic and hygiene issues in your cooking space. Deep grooves along cabinet frames or panel edges often indicate wood movement or previous damage that needs attention before it worsens.
Ignoring cabinet grooves leads to more serious problems down the line. Moisture penetrates these crevices, causing wood to swell, warp, or develop mold—especially in humid kitchen environments. The longer you wait, the more difficult and expensive repairs become. Most homeowners notice visible deterioration when grooves exceed 1/8 inch in depth or when cleaning becomes noticeably more difficult in these areas.
How to Determine If Your Cabinet Grooves Need Repair
- Visual inspection: Run your fingers along cabinet surfaces to detect subtle grooves your eyes might miss
- Light test: Shine a flashlight across cabinet surfaces at a low angle to reveal shadows from imperfections
- Cleaning difficulty: If certain areas require significantly more scrubbing to clean, grooves are likely trapping debris
- Paint condition: Check for peeling or chipping paint around groove areas, indicating underlying wood damage
Essential Tools and Materials for Groove Repair
Before starting any cabinet groove repair project, gather these specific tools and materials to ensure professional results. The exact items you’ll need vary based on your chosen repair method, but having these essentials on hand prevents mid-project delays.
Basic Repair Kit for Most Groove Types
- 220-grit and 320-grit sandpaper (or sanding sponge)
- Tack cloth for dust removal
- Wood putty or wood filler matching your cabinet color
- Putty knife (1.5-inch width works best for cabinet grooves)
- Clean microfiber cloths
- Painter’s tape for clean edges
- Vacuum with brush attachment
Advanced Repair Materials for Deep Grooves
- Two-part epoxy wood filler for structural repairs
- Cabinet-grade wood hardener for compromised areas
- Decorative molding or trim pieces (1/4 round or cove molding)
- Small finish nails or brad nails
- Wood glue appropriate for your cabinet material
- Cabinet skins or veneer patches for panel repairs
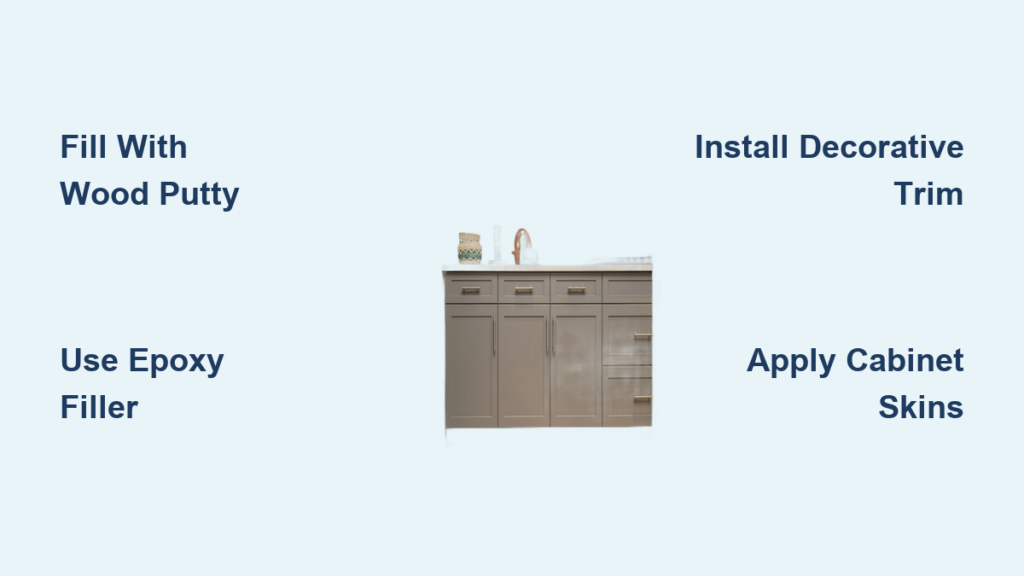
How to Fill Shallow Grooves with Wood Putty
Shallow grooves less than 1/8 inch deep respond well to wood putty applications that blend seamlessly with your existing cabinetry. This method works particularly well on painted cabinets where perfect color matching is less critical than with stained wood.
Step-by-Step Wood Putty Application Process
- Prepare the surface: Clean the groove thoroughly with a degreaser, then sand lightly with 220-grit paper to create “tooth” for better adhesion
- Apply wood putty: Using a putty knife, press putty firmly into the groove, overfilling slightly to account for shrinkage
- Remove excess: Wipe diagonally across the groove with your putty knife to create a smooth transition, not a raised line
- Allow proper drying: Follow manufacturer instructions (typically 2-4 hours), but don’t rush this step—under-dried putty cracks
- Sand to perfection: Start with 220-grit paper, then finish with 320-grit for a surface that feels completely smooth to the touch
Pro Tip: For painted cabinets, mix a small amount of flat paint into the wood putty before application to achieve a closer color match that won’t require perfect touch-up painting.
Repairing Deep Grooves with Epoxy Filler
Deep grooves exceeding 1/4 inch require structural reinforcement with epoxy filler to prevent future cracking and maintain cabinet integrity. This method is essential for damaged areas around hinges, drawer fronts, or cabinet corners that bear weight or stress.
Epoxy Filler Repair Sequence
- Stabilize the area: Apply wood hardener to any soft or compromised wood surrounding the deep groove
- Mix epoxy properly: Combine resin and hardener components in exact manufacturer ratios—too much hardener creates excessive heat and weakens the bond
- Build in layers: For grooves deeper than 1/4 inch, apply epoxy in 1/8 inch layers, allowing each to partially set before adding the next
- Create a slight crown: Overfill the final layer by about 1/16 inch to account for shrinkage during curing
- Sand after full cure: Wait the full recommended time (usually 24 hours) before sanding to avoid tearing the epoxy
Warning: Never attempt to fill deep grooves with standard wood putty—it will shrink, crack, and fail prematurely under kitchen conditions.
Installing Decorative Trim to Conceal Grooves

When grooves follow cabinet edges or panel lines, decorative trim provides both functional coverage and aesthetic enhancement. This method works especially well for cabinet frames with visible joints or panel grooves that disrupt the visual flow of your kitchen.
Trim Installation Best Practices
- Select appropriate trim: Choose 1/4 round molding for inside corners, cove molding for outside edges, or flat stock for horizontal surfaces
- Measure twice, cut once: Use a miter saw for precise 45-degree cuts at corners to create seamless joints
- Secure properly: Apply wood glue along the back of the trim, then use 18-gauge brad nails every 8-10 inches
- Hide nail holes: Fill with matching wood putty immediately after nailing while glue is still wet for strongest bond
Time-Saving Shortcut: For painted cabinets, use pre-primed MDF trim that requires less finishing work than raw wood.
Using Cabinet Skins for Panel Groove Repair
Cabinet panel grooves—those rectangular indentations common in raised panel doors—often benefit from complete reskinning rather than spot repair. This method delivers the most professional results for widespread groove issues across multiple cabinet doors.
Cabinet Reskinning Procedure
- Remove cabinet doors: Take doors off hinges and work on a flat surface
- Prepare new skin: Cut cabinet-grade plywood or MDF to match existing panel dimensions exactly
- Apply contact cement: Brush adhesive on both the cabinet frame and new skin, allowing proper drying time
- Position carefully: Once aligned, press skin into place in one smooth motion—contact cement bonds instantly
- Trim excess: Use a router with flush-trim bit to create perfect edges matching your cabinet frame
Cost Consideration: Professional reskinning costs $50-$75 per door, while DIY materials run $10-$15 per door—making this one of the most cost-effective cabinet rejuvenation methods.
Preventing Future Groove Damage Through Proper Maintenance
The best repair is the one you never need. Implement these maintenance practices to prevent new grooves from forming and extend the life of your repairs.
Daily and Monthly Cabinet Care Routine
- Wipe spills immediately: Standing moisture is the primary cause of wood swelling that creates new grooves
- Use gentle cleaners: Avoid abrasive scrubs that wear down cabinet surfaces over time
- Control humidity: Maintain kitchen humidity between 35-50% to prevent wood movement
- Apply protective topcoat: Every 2 years, add a light coat of polyurethane to high-wear areas
Expert Insight: The most durable cabinet finishes combine a quality primer with 2-3 topcoats of water-based polyurethane, creating a protective barrier that resists groove formation from daily use.
When to Call a Professional Instead of DIY
While many groove repairs are suitable for DIY enthusiasts, certain situations warrant professional intervention. Attempting advanced repairs without proper skills often creates more damage that costs significantly more to fix later.
Red Flags That Require Professional Help
- Structural damage affecting cabinet stability
- Multiple cabinets with widespread groove issues
- Custom or high-end cabinetry with specialized finishes
- Grooves combined with water damage or mold growth
- Complex cabinet constructions like glass inserts or intricate detailing
Cost Reality Check: Professional cabinet refinishing averages $3,000-$7,000 for a standard kitchen, while targeted groove repair typically costs $200-$500—making spot repairs the economical choice when appropriate.
Final Note: Successfully covering grooves on kitchen cabinets transforms worn cabinetry into like-new condition without the expense of replacement. The key to flawless results lies in matching your repair method to the specific groove type and depth—shallow imperfections respond well to putty, while deep damage requires epoxy reinforcement. By implementing these techniques and following proper maintenance routines, you’ll enjoy smooth, cleanable cabinet surfaces that enhance your kitchen’s appearance for years to come. For best results, tackle one repair method at a time and allow proper drying between steps—rushing cabinet repairs guarantees visible imperfections that draw attention to the very grooves you’re trying to conceal.


