
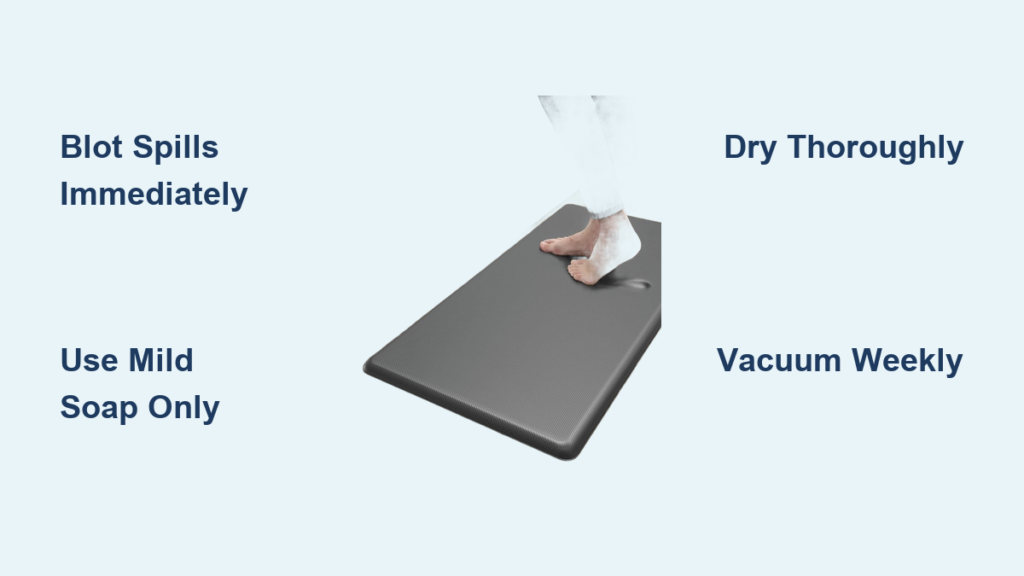
Memory foam kitchen mats provide cushioned comfort while you stand at the sink or prep meals, but these soft, absorbent surfaces trap spills, crumbs, and everyday grime faster than you might expect. Unlike standard rubber or plastic kitchen mats, memory foam requires gentler treatment to maintain its cushioning properties and extend its lifespan. Learning the proper cleaning techniques prevents damage while keeping your kitchen floor investments fresh and hygienic. This guide covers everything from quick spot treatments to deep cleaning methods, helping you restore your memory foam mat to like-new condition without compromising its structure.
Regular maintenance matters more than most homeowners realize. A memory foam kitchen mat that goes months without proper cleaning develops embedded odors, stains, and bacteria that become increasingly difficult to remove. The foam’s open-cell structure traps particles deep within its layers, creating a breeding ground for mold and mildew in humid kitchen environments. By establishing a consistent cleaning routine and addressing spills immediately, you protect both your investment and your family’s kitchen hygiene. The good news is that with the right approach, cleaning memory foam is straightforward and doesn’t require expensive products or professional services.
Immediate Spill Response for Memory Foam Mats
When liquid hits your memory foam kitchen mat, act within seconds to prevent permanent damage. Memory foam’s porous nature means it starts absorbing spills immediately, pulling liquids deep into its structure where they’re harder to remove later. Keep a clean microfiber cloth or paper towels within easy reach of your kitchen workspace for quick response to daily accidents.
Start by gently blotting the spill with a dry cloth—never rub, as this forces liquid deeper into the foam cells. Apply firm, even pressure to absorb as much moisture as possible before it spreads. For thicker spills like sauces or oils, first scrape off excess with a plastic spatula before blotting. Once you’ve removed the bulk of the spill, lightly mist the area with a solution of one teaspoon mild dish soap diluted in one cup of lukewarm water. Blot again with a damp microfiber cloth, rinsing it frequently in clean water. Finish by placing the mat in a well-ventilated area or using a fan to speed drying, which typically takes several hours for spot treatments.
Essential Supplies for Safe Memory Foam Cleaning
Gather these specific items before starting any cleaning process to avoid damaging your mat with inappropriate products. Memory foam reacts poorly to harsh chemicals and abrasive tools, so preparation is critical for successful cleaning without deterioration.
Must-have cleaning supplies include:
– Mild liquid dish soap (without bleach or strong fragrances)
– White vinegar for natural deodorizing
– Baking soda for deep odor absorption
– Soft-bristled brush (an old toothbrush works well)
– Multiple clean microfiber cloths
– Spray bottle for applying cleaning solutions
– Upholstery attachment for your vacuum
– Fan for accelerated drying
Always avoid bleach, ammonia, strong solvents, or abrasive scrubbers that can break down memory foam’s cellular structure. Test any new cleaning solution on a small, hidden area first to check for discoloration or damage. For households with children or pets, stick to natural cleaning solutions that won’t leave harmful residues.
Targeted Stain Removal Techniques by Type

Different stains require specific approaches to remove without damaging your memory foam kitchen mat. Using the wrong technique can set stains permanently or degrade the foam.
For beverage and food stains: Mix one cup lukewarm water with a few drops of dish soap. Lightly mist the stained area (don’t soak) and gently dab with a microfiber cloth, working from the stain’s outer edge inward. Rinse your cloth frequently in clean water and repeat until the stain lifts. For protein-based stains like eggs or dairy, use cold water only—heat sets these stains permanently.
For grease and oil spills: Apply undiluted dish soap directly to the greasy area and work it in with a soft brush using gentle circular motions. Let it sit for 5-10 minutes to break down the oil, then blot with a damp cloth. For stubborn grease, sprinkle baking soda over the area, let it absorb oil for 15 minutes, then vacuum before proceeding with soap treatment.
For dried-on food particles: Gently scrape off crusty residue with a plastic utensil before cleaning. Never use metal tools that can tear the foam surface. For particularly stubborn dried spots, lightly mist with water to soften the debris before scraping.
Deep Cleaning Process Without Damage
Deep clean your memory foam kitchen mat every 2-4 weeks depending on kitchen traffic to prevent grime buildup that spot cleaning can’t address. This thorough cleaning method removes deeply embedded dirt while preserving your mat’s structural integrity.
Begin by taking your mat outside and shaking it vigorously to dislodge loose debris. Vacuum both sides thoroughly with the upholstery attachment, paying special attention to edges where crumbs accumulate. Prepare a cleaning solution of one teaspoon mild soap per cup of lukewarm water in a spray bottle. Lightly mist the mat surface—memory foam should feel damp, not wet. Using a soft brush, work the solution into the foam with gentle circular motions, focusing on high-traffic areas. After 5 minutes, go over the entire surface with a clean, damp cloth to remove soap residue (critical step—leftover soap attracts more dirt). Never submerge memory foam in water, as excessive saturation causes prolonged drying times and potential mold growth.
Critical Drying Techniques for Memory Foam

Improper drying causes more damage to memory foam kitchen mats than any cleaning mistake. Rushing this step invites mold, mildew, and structural breakdown that ruins your mat.
After cleaning, press the mat firmly between clean, dry towels to extract excess moisture—never twist or wring memory foam. Place the mat flat in a well-ventilated area away from direct sunlight, which can fade colors and degrade foam. Flip the mat every few hours to ensure both sides dry evenly. Complete drying typically takes 12-24 hours depending on humidity and mat thickness. Never use a clothes dryer, heater, or hair dryer on hot setting—memory foam melts at surprisingly low temperatures. If you must speed drying, use a fan on low setting or a hair dryer on cool setting held at least 12 inches from the surface.
Test for complete dryness by pressing firmly on multiple areas—if any moisture appears or the mat feels heavier than usual, continue drying. Remember that the center may remain damp even when the surface feels dry, so err on the side of caution.
Permanent Odor Elimination Methods
Memory foam’s open-cell structure traps kitchen odors deep within its layers, requiring targeted approaches that reach beyond surface-level masking.
After vacuuming your mat thoroughly, sprinkle a generous layer of baking soda over the entire surface and work it gently into the foam with a soft brush. Let it sit for at least 4 hours (overnight for strong odors), then vacuum thoroughly to remove all residue. For persistent smells, create a paste of baking soda and water, apply it to the surface, and let it dry completely before vacuuming. Alternatively, mix equal parts white vinegar and water in a spray bottle and lightly mist problem areas—vinegar neutralizes odors as it dries without leaving its own smell behind.
Weekly Maintenance Routine for Longevity
Implement these simple habits between deep cleaning sessions to dramatically extend your memory foam kitchen mat’s life.
Shake out your mat daily to remove loose crumbs and debris before they work deep into the foam. Vacuum both sides weekly using the upholstery attachment on low suction. Address spills immediately—waiting even 15 minutes makes stains significantly harder to remove. Consider placing a washable runner mat in front of your memory foam mat to catch the majority of dirt from foot traffic. Rotate your mat monthly to distribute wear evenly, especially if you consistently stand in the same spot while cooking or washing dishes.
Recognizing When Replacement Is Necessary
Even with perfect care, memory foam kitchen mats eventually reach the end of their useful life. Knowing when to replace rather than continue cleaning saves frustration and maintains kitchen safety.
Replace your mat when you notice:
– Permanent compression where foam no longer bounces back
– Persistent odors that return immediately after cleaning
– Visible mold or mildew that cleaning doesn’t eliminate
– Tears, holes, or separating layers in the foam structure
– Hard, brittle texture indicating material degradation
– Stains that have penetrated completely through multiple layers
Quality memory foam kitchen mats typically last 1-3 years with regular use and proper care. If your mat has exceeded this timeframe and shows multiple warning signs, replacement will provide better comfort and hygiene than continued cleaning attempts.
Long-Term Protection Strategies
Implement these protective measures from day one to maximize your memory foam kitchen mat’s lifespan and minimize cleaning frequency.
Use your mat strictly for standing comfort—not as a catch-all surface for food prep or spills. Address spills within 60 seconds to prevent deep penetration. Keep extremely hot items away from the mat, as heat damages memory foam cells. Place a washable runner in front of high-traffic areas to intercept dirt before it reaches your memory foam. Avoid walking on the mat with outdoor footwear that tracks in abrasive dirt particles. With consistent care, your memory foam kitchen mat will provide comfortable, supportive footing for years while maintaining its appearance and hygienic properties.


