

If you’re managing celiac disease, your kitchen isn’t just a place to prepare meals—it’s a critical health environment where invisible gluten particles can trigger damaging immune responses. Even microscopic traces of gluten from wheat, barley, or rye can cause intestinal damage, nutritional deficiencies, and long-term complications. Standard kitchen cleaning often fails to remove these hidden contaminants because gluten forms sticky bonds with surfaces and can persist in tiny crevices where normal wiping misses. This comprehensive guide reveals the specific cleaning protocols that actually eliminate gluten from every kitchen surface, tool, and appliance—protocols backed by both scientific understanding and real-world experience from the celiac community.
Unlike typical kitchen hygiene, effective celiac-safe cleaning requires understanding that gluten doesn’t simply wash away with water. The protein’s unique properties make it particularly persistent on surfaces, creating resilient films when mixed with fats and becoming airborne during everyday cooking activities. Research shows consumption of gluten at levels as low as 10-50 milligrams can trigger symptoms in sensitive individuals, though some react to even smaller amounts. By implementing the systematic approaches in this guide, you’ll transform your kitchen from a potential health hazard into a safe space where you can cook with confidence rather than constant anxiety.
Why Standard Wiping Fails to Remove Gluten Completely
Most kitchen cleaning routines redistribute rather than eliminate gluten, leaving invisible residues that can contaminate your next meal. Understanding why common methods fall short helps you implement more effective protocols that genuinely protect your health.
The Science Behind Gluten’s Sticky Nature
Gluten proteins form strong bonds with surfaces that water alone cannot break. When you simply wipe a counter after handling bread or pasta, you’re likely spreading gluten particles across the surface rather than removing them. Dish soap works because its surfactants surround and lift gluten particles from surfaces, allowing them to suspend in water where they can be rinsed away. For truly effective cleaning, you need both mechanical action (scrubbing) and appropriate cleaning agents working together to break these protein bonds.
Critical Areas Where Gluten Hides in Plain Sight
Focus your cleaning efforts on these high-risk zones that standard wiping often misses:
– Countertop seams and edges where crumbs accumulate
– Appliance crevices around knobs and buttons
– Utensil handles where hand oils trap gluten
– Cutting board grooves created by knife use
– Sink drains where organic matter builds up
These areas require specific attention during cleaning because they collect and retain gluten particles that can transfer to gluten-free foods during preparation. A single overlooked spot can compromise your entire meal.
Essential Cleaning Products That Actually Remove Gluten
Not all cleaners effectively eliminate gluten from kitchen surfaces. Choosing the right products makes the difference between genuine safety and false confidence in your cleaning efforts.
Proven Cleaning Solutions for Different Surfaces
| Surface Type | Recommended Cleaner | Why It Works |
|---|---|---|
| Countertops (all types) | Standard dish soap + hot water | Surfactants break protein bonds |
| Stainless steel | Baking soda paste | Gentle abrasion without scratching |
| Wood surfaces | Dedicated gluten-free mineral oil | Seals pores while maintaining wood |
| Glass/marble | Vinegar solution (1:3 with water) | Sanitizes without residue |
Commercial gluten-free cleaners specifically formulated with enzymes that break down gluten proteins provide tested assurance of effectiveness. Keep these readily available for quick-response cleaning between meal preparations.
Tools That Make Gluten Removal Possible
Microfiber cloths capture particles effectively where regular towels might redistribute them. Keep multiple cloths available for different cleaning stages to prevent recontamination. Small scrub brushes with non-scratch bristles reach into grooves and crevices that cloths miss, particularly important for textured surfaces and hard-to-reach areas. Avoid sponges entirely or replace them weekly—they harbor bacteria and become contaminated with gluten, defeating your cleaning efforts.
Countertop Cleaning Protocols That Actually Work
Countertops represent the highest-risk surfaces in a gluten-handling kitchen because they serve as primary preparation areas for both gluten-containing and gluten-free foods. Your cleaning approach must account for different countertop materials.
Granite and Natural Stone Surface Protocol
Begin by removing all visible debris with a damp cloth, working in one direction to avoid spreading particles. Wash with warm water and quality dish soap, then follow with a solution of one part white vinegar to three parts water for sanitization. Avoid abrasive cleaners that damage protective sealants, creating additional pockets where gluten can accumulate. Rinse thoroughly and dry with a lint-free cloth—water droplets left behind can redeposit cleaned particles.
Engineered Stone and Laminate Cleaning Strategy
Quartz and other non-porous surfaces offer advantages because their smooth nature resists absorption. Clean with simple soap and water, though periodic disinfection with a gluten-free cleaner adds protection. For laminate countertops, pay special attention to seams where two pieces meet—these junctions collect debris that standard wiping misses. Use a soft brush to clean seams before general surface washing, avoiding excessive water that could cause warping.
Cutting Board Management: Which Types Work Best

Cutting boards present unique challenges because slicing creates grooves that harbor gluten where normal cleaning can’t reach. Your board material determines both contamination risk and cleaning effectiveness.
Plastic Board Cleaning Protocol
Dishwashers with sanitizing cycles provide ideal decontamination through high-temperature treatment. For manual cleaning, scrub with hot, soapy water using a brush that works cleaner into grooves, then sanitize with one tablespoon chlorine bleach per gallon of water, rinsing completely afterward. Dedicate specific colored boards exclusively to gluten-free use, marked clearly to prevent accidental cross-contamination.
Why Wooden Boards Pose Special Risks
Wood’s porous structure allows gluten to penetrate below the surface where it becomes nearly impossible to remove completely. Many celiac advocates recommend replacing wooden boards entirely for gluten-free kitchens. If you must keep wooden boards, dedicate them exclusively to gluten-free use, mark them clearly, and wash immediately after each use. Consider treating them periodically with mineral oil to potentially seal surface pores while maintaining the wood.
Appliance-Specific Cleaning Strategies for Critical Risk Areas
Some kitchen appliances pose greater contamination risks than others, requiring either dedicated gluten-free use or intensive cleaning protocols that address their unique design challenges.
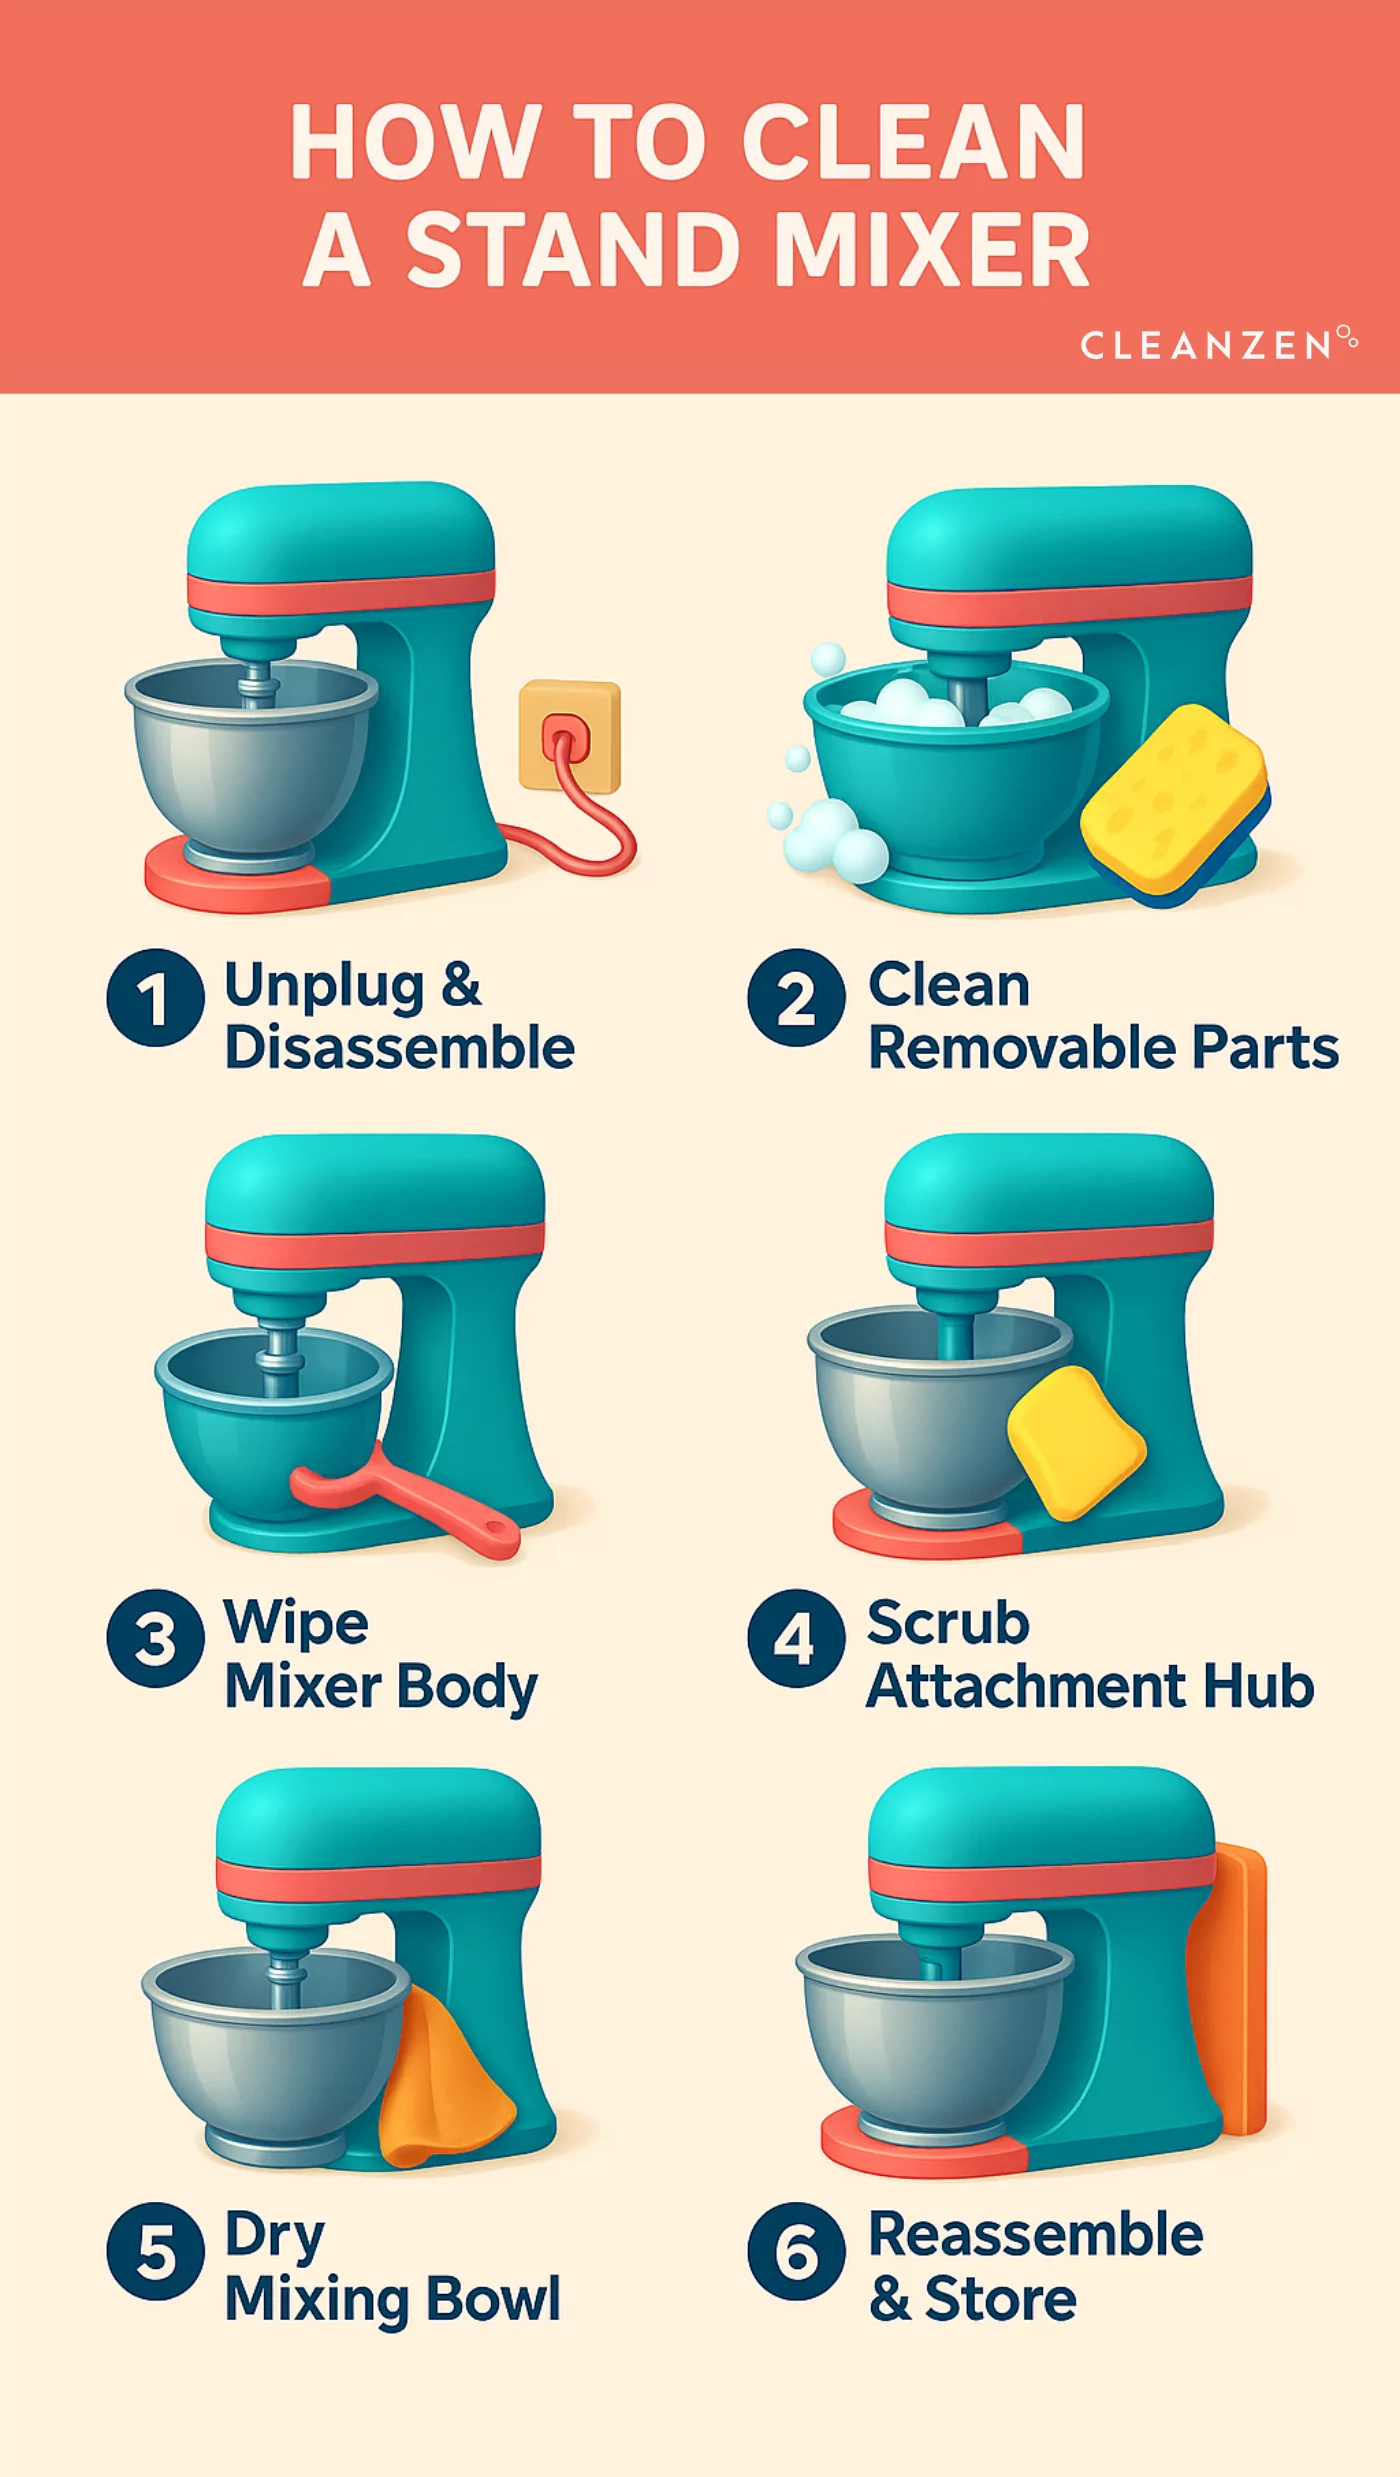
Stand Mixer Deep Cleaning Procedure
Disassemble all removable parts including beaters, bowl, and attachments. Clean each component individually with hot, soapy water, using small brushes to reach crevices around attachment points. Wipe down the base with damp cloths, paying special attention to gaps where flour dust might have penetrated. Many celiac individuals report reactions from shared mixers despite cleaning, likely due to residual flour in internal components—dedicated gluten-free mixers provide the only complete solution.
Toaster Contamination Reality Check
Toasters are notoriously problematic because heating elements bake gluten residue into permanent fixtures while circulating airborne flour dust. Crumbs accumulate in bottom trays, creating bonds between gluten proteins and metal surfaces that standard cleaning cannot break. Dedicated gluten-free toasters provide the only reliable solution. If dedicated appliances aren’t feasible, toaster bags offer partial protection but don’t eliminate risk from internal contamination.
Daily Cleaning Routines That Maintain a Safe Kitchen
Consistent daily habits prevent gluten accumulation that becomes harder to address over time, transforming cleaning from an overwhelming task into manageable routines that protect your health automatically.
Between-Meal Cleaning Protocol
Immediately after any gluten-containing food preparation, clear all gluten-containing items from the preparation area. Wipe down all contacted surfaces with gluten-safe cleaner, working systematically across the entire surface rather than just visible messes. Remove used utensils to a dedicated container rather than the general sink. Handwash with soap and warm water for at least 20 seconds before handling gluten-free items—this simple step addresses the most common contamination vector: hand-to-food transfer.
End-of-Day Deep Cleaning Essentials
Complete counter sanitization should include edges and backsplashes often missed during quick wipes. Thoroughly clean sink areas including faucet handles and drain treatment. Sweep or vacuum floors to remove dropped crumbs that can be tracked throughout the kitchen. Launder dishcloths, sponges, and cleaning towels used for gluten-containing food cleanup in hot water—replace sponges weekly as they harbor bacteria and become contaminated with gluten.
Storage Solutions That Prevent Cross-Contamination
Proper food storage provides essential protection against cross-contamination that can undermine even the most thorough cleaning routines. Strategic organization creates multiple layers of defense against gluten exposure.
Pantry Organization for Maximum Safety
Store gluten-free items on higher shelves where airborne gluten dust—rising from lower preparation areas—is less likely to settle. Use clear containers with tight-fitting lids that provide visual confirmation of contents while creating barriers against contamination. Designate an entire cabinet or shelf section exclusively for gluten-free items with its own measuring cups, mixing bowls, and utensils stored within for immediate use.
Refrigerator Management Strategy
Store gluten-free items in sealed containers or zip-top bags that prevent contact with potential contamination sources. Upper shelves provide the safest storage locations since spills flow downward rather than contaminating items below. Designate specific drawers or bins for gluten-free items with clear labeling, and conduct monthly refrigerator cleanings that include removing all items, wiping shelves thoroughly, and checking for hidden spills.
Testing Methods to Verify Your Kitchen is Truly Gluten-Free
Testing provides reassurance that your cleaning protocols actually work, moving beyond guesswork to evidence-based kitchen safety.
Portable Testing Options for Home Use
Devices like Nima Sensor can test surface swabs for gluten presence, delivering rapid results detecting levels relevant to celiac sensitivity. Test multiple areas rather than single spots for comprehensive assessment. While “not detected” doesn’t guarantee “completely gluten-free,” regular testing combined with symptom tracking helps identify which cleaning protocols work best for your situation.
Interpreting Test Results Accurately
Understand that the FDA defines “gluten-free” as containing less than 20 parts per million of gluten, but many celiac individuals react to lower levels. Use test results as one tool among many, combining them with consistent protocols, symptom awareness, and regular re-evaluation of your cleaning approach. Persistent positive results indicate the need for deeper cleaning or item replacement.
By implementing these specific, science-backed cleaning protocols, you transform your kitchen from a potential health hazard into a safe space where you can prepare meals with confidence. Start with the most critical changes for your situation—dedicated cutting boards and utensils, proper countertop cleaning techniques, and consistent handwashing—then build additional protocols gradually. Every improvement reduces your risk, and with consistent practices, appropriate tools, and household support, your kitchen can become a place of nourishment rather than anxiety.


