That perfect golden-brown waffle just slid off your Cuisinart plates—but now you’re staring at stubborn batter crusts welded into every grid groove. Ignoring this mess turns your weekend breakfast ritual into a scrubbing nightmare next time, with burnt-on sugar ruining fresh batches and damaged non-stick coatings causing waffles to tear. Proper how to clean Cuisinart waffle maker techniques aren’t just about appearances; they extend your appliance’s lifespan by 3+ years and ensure flawless results every time. Skip the guesswork—we’ll transform your sticky situation into spotless performance with methods that protect your investment while guaranteeing restaurant-quality waffles at home.
Unplug and Cool Safety Protocol
Never touch cleaning tools until your Cuisinart sits unplugged for 45 minutes. That tempting warm surface can scald skin instantly or permanently scar non-stick coatings when cold liquids hit hot metal. Place the unit on a heatproof counter away from edges—most models retain dangerous heat in hinge mechanisms even when plates feel cool. Perform the “hand test” by hovering your palm 2 inches above the plates; if warmth radiates noticeably, wait another 10 minutes. Skipping this cooling phase risks electrical shorts when moisture contacts internal components, potentially voiding your warranty. Once completely cold, wipe exterior surfaces with a dry cloth to remove loose crumbs before tackling the plates.
Remove and Clean Removable Parts

Identify Your Model’s Components
Check your manual first—Cuisinart’s Classic WMR-CA and Double WMR-DB models feature twist-lock plates, while Chef’s Edition units use push-button drip tray releases. Most removable parts include cooking plates, grease-collection trays, and side shields. Critical mistake alert: Forcing stuck components can break plastic latches. Gently wiggle plates side-to-side while lifting straight up; if resistance occurs, your model likely requires a quarter-turn unlock motion. Never yank plates vertically—that shears internal mounting pins.
Dishwasher-Safe Parts Cleaning
- Cooking plates: Rinse under warm water to dislodge loose batter, then place upright in the dishwasher’s top rack
- Drip trays: Empty baked-on grease first using a paper towel, then wash on the lower rack
- Side shields: Nestle between utensils to prevent warping during cycles
Pro tip: Add white vinegar to the detergent cup if washing while plates are still warm—steam lifts residue without scrubbing. Never run full dishwasher cycles for minor cleaning; a 15-minute “rinse only” setting suffices for weekly maintenance.
Hand Washing Alternative
Mix two drops of dish soap in a bowl of warm water. Dip a microfiber cloth (never sponge) and squeeze until nearly dry—excess moisture seeps into plate edges where electrical contacts hide. Wipe grid patterns following the grooves’ direction to avoid trapping debris. Absolute rule: Keep soap-water 1 inch away from plate borders where wiring enters. Rinse by drizzling clean water from a cup, not under running taps. Air-dry plates vertically on a towel for 20 minutes before reassembly.
Clean Non-Removable Plate Models
Dry Debris Removal First
Use a soft-bristled toothbrush (designated for appliance use only) to dislodge crumbs. Work in diagonal strokes across grids—horizontal motions push debris deeper. For hardened batter, tap the closed unit gently against your palm over a trash can; vibration releases 70% of buildup. Warning: Never insert tools into heating element slots along plate edges—that damages thermostat sensors.
Damp Cloth Method
Fold a microfiber cloth into quarters and dampen with distilled water. Wring until no droplets form—you want “just-damp” texture. Press cloth into each grid square, holding for 3 seconds to soften residue before lifting straight up. Rotate cloth sections constantly to avoid redepositing gunk. For corner buildup, wrap cloth tightly around a wooden chopstick.
Stuck-On Residue Solution
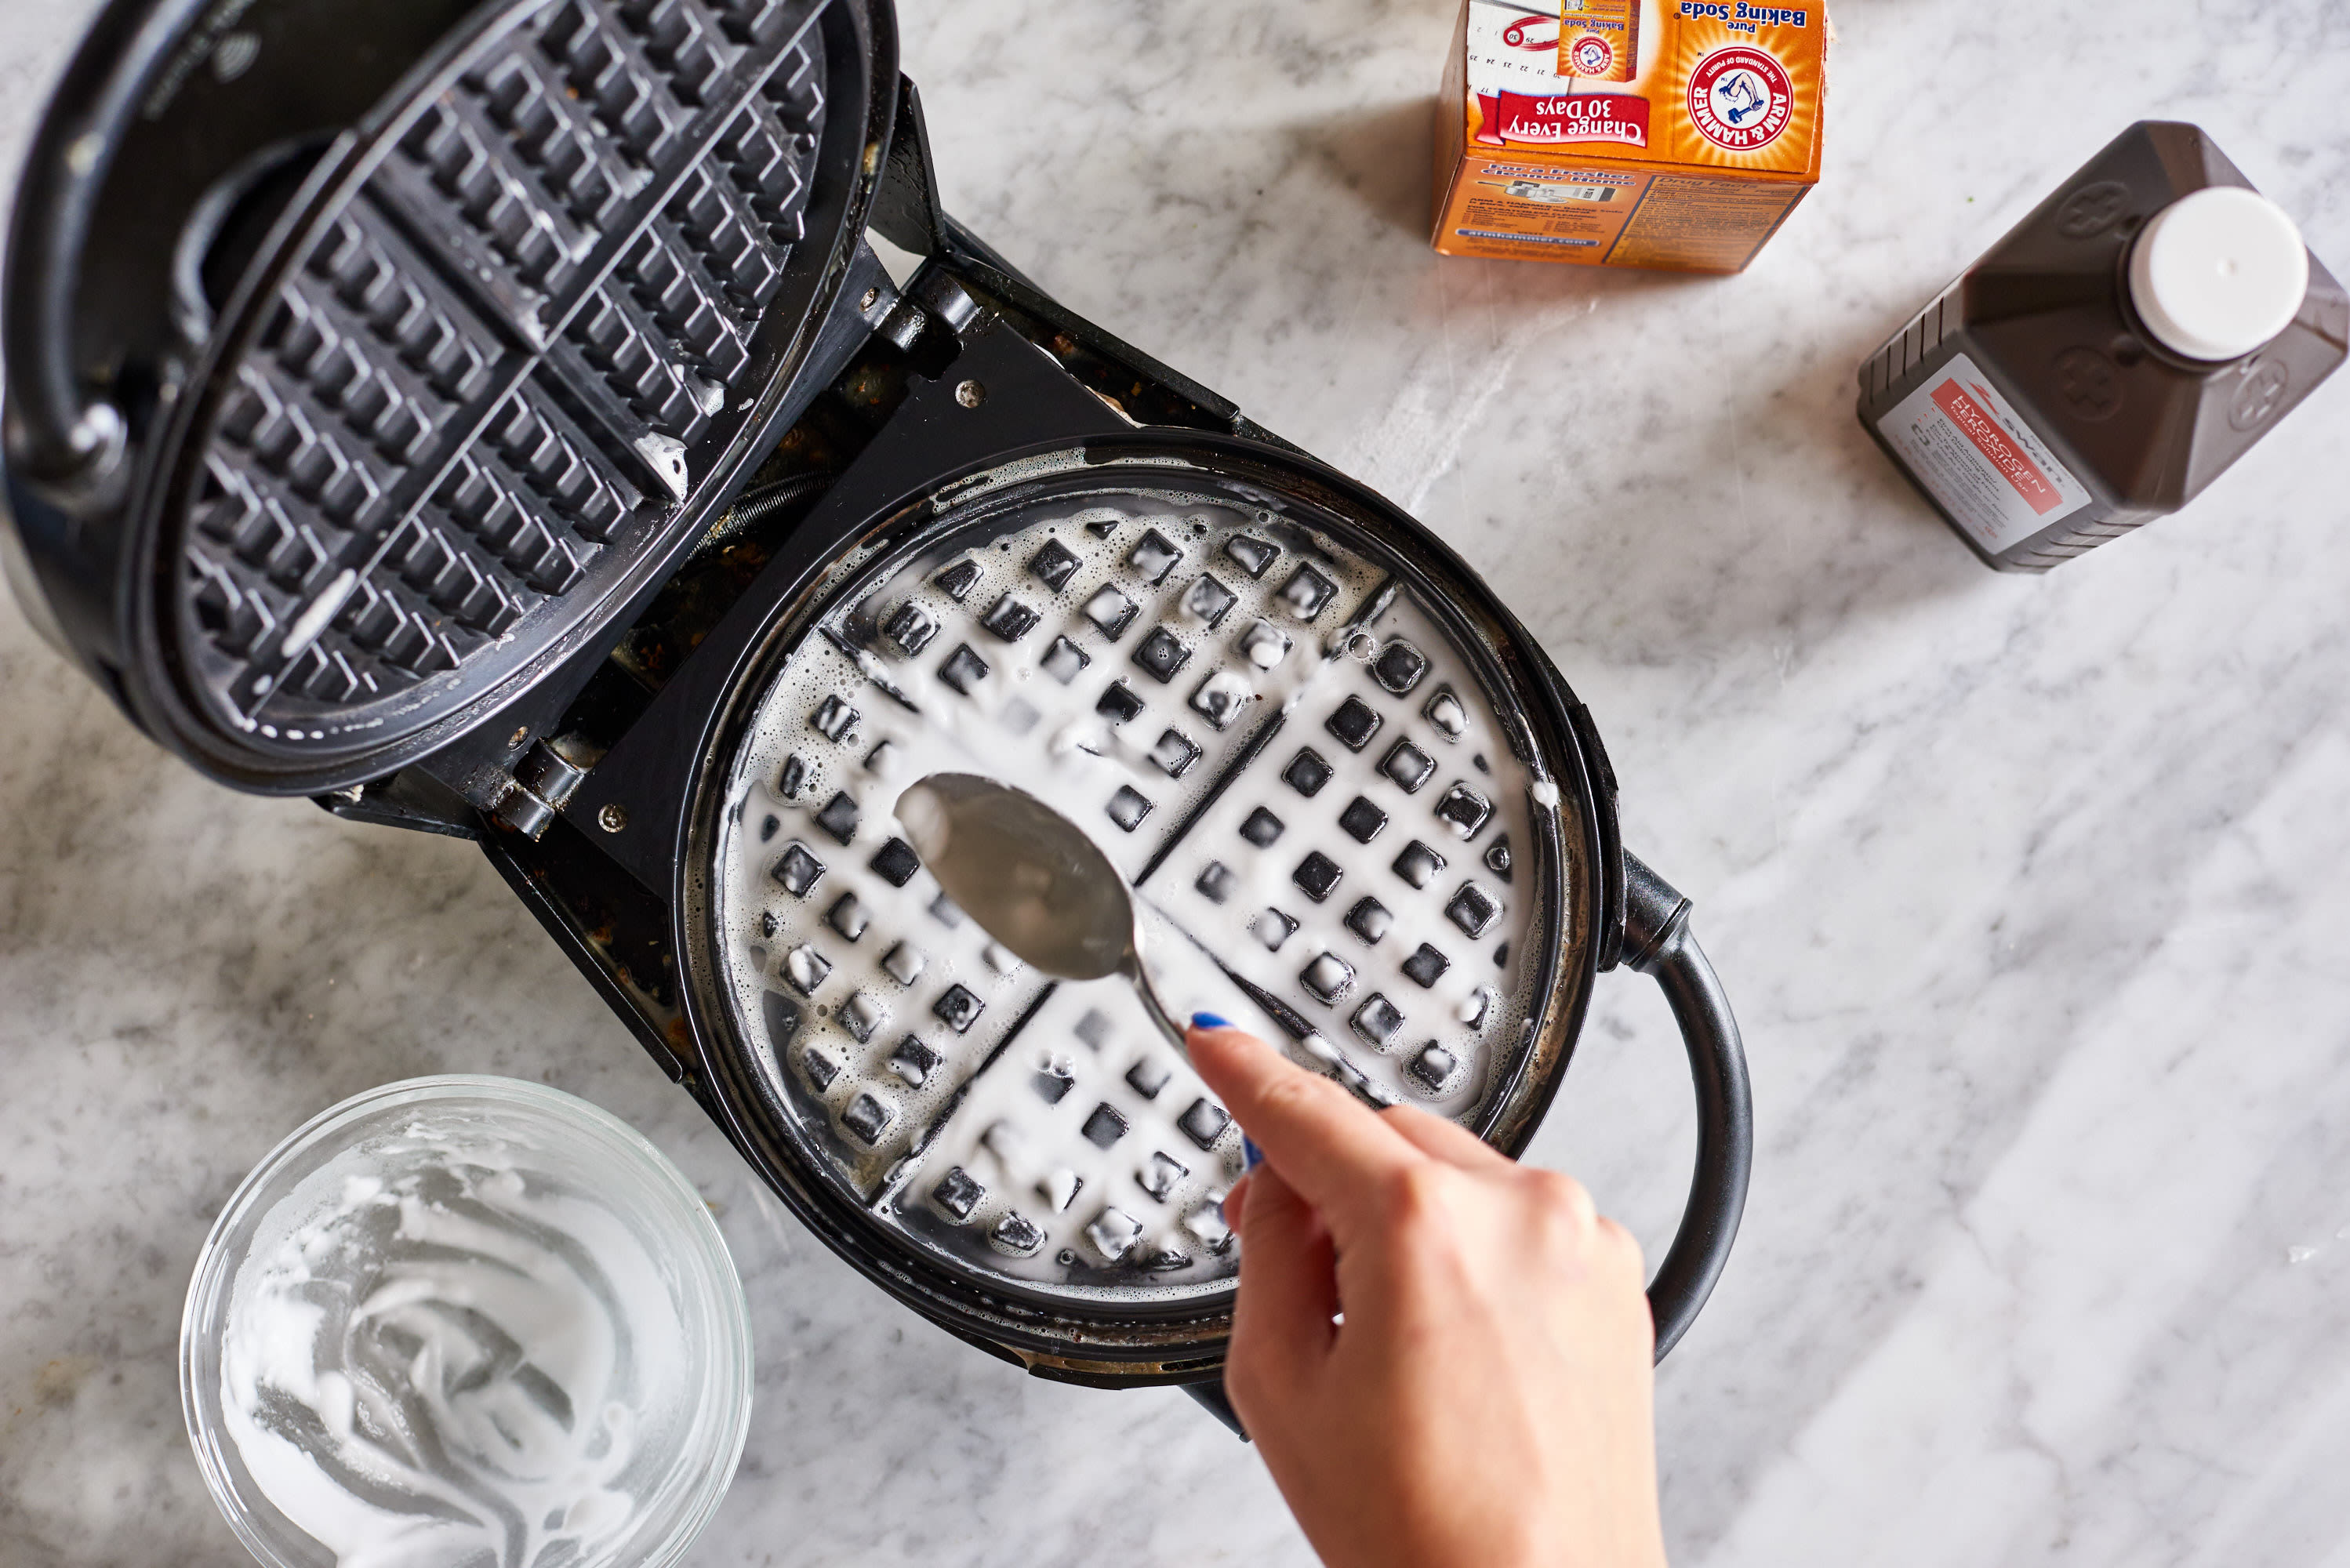
Create a paste with 1 tsp baking soda and ½ tsp water. Apply with a cotton swab only to affected spots (never full plates). Wait 7 minutes—baking soda neutralizes sugar caramelization without scratching. Gently wipe with a dry cloth folded into a triangle point for precision. Never use vinegar on non-removable plates; acidic fumes can corrode internal wiring over time.
Steam Clean Deep Method
When Steam Cleaning Works Best
Deploy this for carbonized sugar deposits after baking Belgian waffles or when batter overflows during first-use seasoning. It’s the only safe method for Cuisinart Double Waffle Makers (WMR-DB series) where plates don’t detach. Avoid steam cleaning if your model’s manual specifies “non-removable plates require professional service”—typically older brushed-stainless units.
Step-by-Step Steam Process
- Prep workspace: Lay folded towels under unit legs to catch runoff
- Heat unit: Set to medium (not max) for exactly 3 minutes
- Water application: Pour 1 tbsp distilled water into each corner well (total 4 tbsp)
- Steam cycle: Close lid immediately; wait 6 minutes (set timer!)
- Flip unit: For double makers, rotate 180° after 3 minutes
- Wipe residue: Use thick oven mitts to open lid; wipe loosened gunk with dry microfiber
Critical safety note: Steam reaches 212°F—never open the lid facing you. Angle it away while wearing eye protection.
Post-Steam Care
Unplug and leave lid propped open with a wooden spoon handle. Wipe remaining moisture with a dry cloth within 90 seconds before condensation re-hardens residue. Check hinge crevices with a flashlight—trapped moisture here causes electrical shorts. If plates feel sticky after cooling, repeat the steam process once more; persistent stickiness indicates coating failure requiring plate replacement.
Wipe Down Exterior Surfaces
Grease Removal Technique
Mix 1 drop Dawn dish soap with ¼ cup warm water. Dip corner of a microfiber cloth, wring completely dry, and wipe stainless steel surfaces in circular motions. Focus on hinge gaps where batter splatters accumulate—use an old credit card wrapped in cloth to scrape crevices. Never spray cleaners directly on the unit; overspray seeps into vents. For stubborn grease, rub with a lemon half followed by vinegar-dampened cloth.
Control Panel Care
Dampen a cotton ball with 70% isopropyl alcohol (not water!). Squeeze out excess liquid, then gently wipe buttons in upward strokes. Immediate drying is non-negotiable—follow with a dry cotton ball within 5 seconds. Water in display panels causes permanent “ghost touch” malfunctions. Test functionality before reassembling plates.
Dry and Reassemble Components
Complete Drying Protocol
Place plates on a wire rack (not flat surface) with grids facing up. Insert folded paper towels into drip tray corners to wick moisture. Use a hairdryer on cool setting held 12 inches away for 30 seconds per component—heat warps plastic mounts. Verify dryness by pressing a tissue against grid intersections; no damp spots should transfer.
Correct Reassembly Order
- Snap plates into side rails with downward pressure until audible clicks
- Slide drip tray fully forward until it stops against front bumper
- Test operation: Close lid slowly—if resistance occurs, realign plates
Warning: Forcing misaligned components cracks internal heating elements. If plates wobble, remove and restart the process—proper seating is silent and smooth.
Daily Maintenance Between Uses
Quick Clean Routine (2 minutes)
Unplug after cooking, then wipe warm (not hot) plates with a damp paper towel within 5 minutes of use. Empty the drip tray over the sink immediately—delayed grease disposal causes rancid odors. Leave the lid propped open with a wooden spoon handle for 10 minutes to evaporate residual moisture. This daily ritual prevents 90% of deep-cleaning emergencies.
Storage Preparation
Wrap the cord loosely around base posts using figure-eight loops (tight wrapping frays wires). Store upright in a cabinet with 2 inches clearance on all sides—trapped heat degrades seals. Never lock the lid closed during storage; this compresses silicone gaskets, causing warping. For humid climates, toss a silica gel packet inside the storage box.
Troubleshoot Common Cleaning Issues
Black, Flaky Residue Won’t Budge
Cause: Burnt sugar from Belgian waffle batter caramelizing at 400°F+
Solution: Steam-clean twice with 10-minute cooling intervals between cycles. If flakes persist, your non-stick coating is failing—order OEM replacement plates (Cuisinart part #WMR-PLT). Never scrape with metal; damaged coatings leach toxins into food.
Grease Film Remains
Cause: Butter seepage during cooking cycles
Solution: Apply undiluted Dawn dish soap directly to film, wait 8 minutes, then wipe with vinegar-dampened cloth. Rinse by wiping with water-dampened cloth immediately after—soap residue alters waffle browning.
Water Stains on Stainless Steel
Cause: Hard water mineral deposits from steam cleaning
Solution: Rub affected areas with lemon wedge dipped in baking soda. Wipe clean with microfiber cloth dampened with club soda—it dissolves minerals without scratching.
Prevent Future Buildup
Batter Application Tips
Use a ¾-cup measuring cup filled to the 3/4 line—Cuisinart grids hold exactly ½ cup batter. Pour from 6 inches above center to avoid edge overflow. Critical precision: Stop pouring when batter reaches ½ inch from plate borders—expansion during cooking fills remaining space. For extra-crispy waffles, oil plates only before the first batch using a paper towel dipped in canola oil.
Weekly Deep Clean Schedule
Even with daily wiping, run a full cleaning cycle every 7-10 uses. This prevents invisible carbon buildup that insulates heating elements, causing uneven cooking. Set phone reminders labeled “Cuisinart Spa Day”—consistency keeps your waffle maker performing like new for 5+ years.
Your Cuisinart waffle maker now gleams like the day you bought it, ready to deliver perfect waffles without the stress of post-breakfast battles. Remember the golden rules: clean while warm (never hot), ban metal tools permanently, and dry every component until bone-dry. These five-minute habits save hours of scrubbing and transform your appliance from a chore into your most reliable kitchen ally. Grab that syrup bottle—your next flawless breakfast is just a preheated waffle maker away.