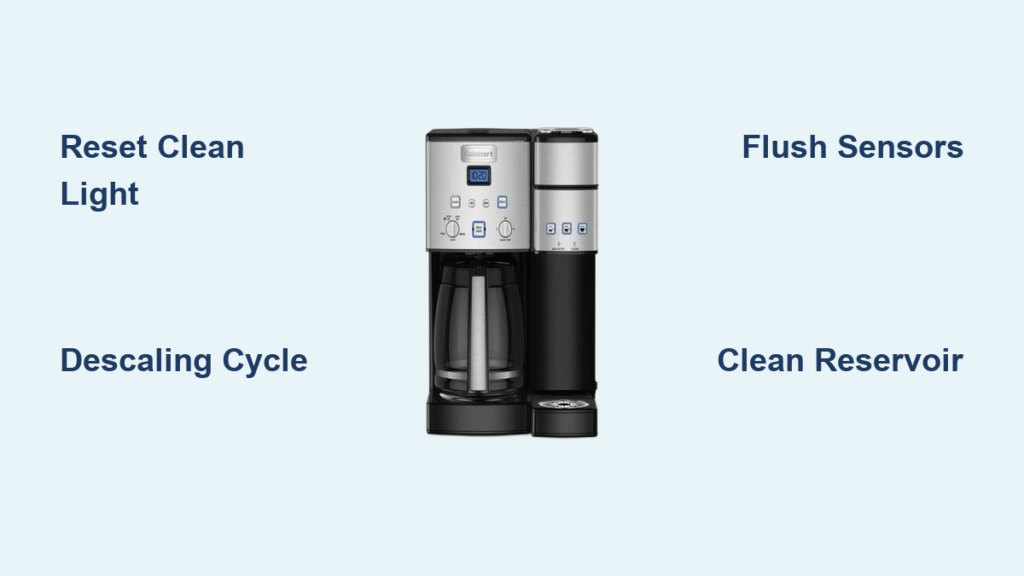
That first cup of coffee should taste fresh and vibrant—not bitter or off. When your Cuisinart SS-15 Coffee Center starts brewing sluggish single-serve cups or leaves chalky deposits in the carafe, mineral buildup is likely sabotaging your morning ritual. The persistent red “Clean” light flashing on your machine isn’t just annoying; it’s a warning that coffee oils and limescale are compromising flavor and performance. This step-by-step how to clean Cuisinart SS-15 guide eliminates guesswork, restoring both brewing systems to like-new condition in under 60 minutes. You’ll learn exactly when to clean, how to reset stubborn indicator lights, and practical tricks to make every cup taste café-quality.
Mineral deposits from tap water and coffee residue accumulate silently inside your machine’s internal components. These hidden buildups force the SS-15 to work harder, slowing brew times and imparting metallic notes to your coffee. Left unchecked, they can even cause permanent damage to heating elements. The good news? A thorough cleaning cycle takes less time than your morning podcast—and prevents costly repairs down the line. Whether you’re battling a stuck clean light or proactively maintaining your dual-brew system, this guide covers every component-specific step.
Decode Clean Indicator Lights

Your Cuisinart SS-15 communicates its cleaning needs through two distinct systems. Recognizing these signals prevents unnecessary cleaning cycles while ensuring you address problems before they escalate.
Red Light Single-Serve Side
That unblinking red “Clean” light on the single-serve side activates when mineral deposits interfere with the sensor. Unlike the carafe indicator, this light won’t reset after a standard cycle if residual buildup remains. Many users mistakenly think they’ve completed cleaning when the machine actually requires additional flushing—especially after using vinegar solutions that leave behind oily residues.
Carafe Side Clean Button
The illuminated Clean button on the carafe side automatically triggers after approximately 60 brew cycles. It typically resets after one full descaling cycle, but hard water areas may require repeat treatments. Watch for reduced water flow or extended brew times as early warnings before this light even appears.
Reset the Clean Light
When the red light persists after cleaning, press the 8oz and 6oz single-serve buttons simultaneously. Dispense water through this method 2-3 times to flush hidden mineral pockets. This bypasses the sensor’s false “unclean” reading by forcing a complete internal rinse—no vinegar needed.
Prepare for Deep Cleaning
Rushing into cleaning without proper setup risks electrical damage or incomplete descaling. These safety-focused steps ensure every component gets attention without harming your machine.
Power Down Safely
Unplug your Cuisinart SS-15 and wait 15 minutes for internal components to cool. Hot metal contacting cold vinegar solution can crack heating elements—a costly mistake avoided by patience. Never clean while the machine is warm to the touch.
Empty All Components
Remove these four critical parts before starting:
– Single-serve side: Discard any K-cup pods
– Carafe: Pour out remaining coffee or water
– Filter basket: Shake out grounds and remove paper filters
– Water reservoir: Empty completely and detach from base
Mix Descaling Solution
Combine 1 cup white vinegar with 2 cups cold water in the reservoir. Fill to the MAX line—never exceed this. While commercial descalers work, vinegar costs pennies and cuts through limescale just as effectively. Skip lemon juice or baking soda; their residues can gum up sensors.
Clean the Carafe Side
The 12-cup brewing system requires targeted descaling to clear calcified deposits from its larger water pathways. Skipping this step causes slow drips and weak coffee.
Run Descaling Cycle
With vinegar solution in the reservoir, press the illuminated Clean button. The machine will run an 8-10 minute cycle, pausing periodically to let the solution dissolve buildup. Never interrupt this process—stopping mid-cycle leaves concentrated vinegar trapped in tubing.
Inspect and Repeat
After the cycle finishes, check the reservoir for chalky white particles. If visible, dump all solution, rinse the reservoir, and repeat with fresh vinegar mix. Hard water users often need two cycles; soft water areas may clear in one.
Rinse Thoroughly
Run two full brew cycles with plain water only. Taste the final cup—if you detect vinegar, add one more cycle. Residual acidity ruins coffee flavor and accelerates future mineral bonding.
Clean Single-Serve System

The K-cup side’s compact design traps coffee oils faster than the carafe side, causing clogs that trigger persistent clean lights.
Descaling Mode Setup
Place a 12oz mug under the spout. Run brew cycles without pods until the reservoir empties—typically 4-6 cycles. The machine will sputter as vinegar clears narrow tubes; this is normal. Stop if brown sludge appears (indicating old coffee oil).
Flush System Clean
After descaling, rinse the reservoir and run 3-4 water-only cycles. Test neutrality by tasting the last flush: it should be flavorless. If vinegar lingers, disassemble the K-cup holder and scrub its needle with a toothpick.
Reset Clean Light
If the red light remains, use the 8oz + 6oz button reset. This forces a final water flush through sensor zones where vinegar residue tricks the machine into thinking it’s dirty.
Clean Individual Components
Weekly maintenance prevents the need for emergency descaling. Focus on these often-overlooked areas.
Water Reservoir Deep Clean
Soak the reservoir in warm, soapy water weekly. Use a bottle brush for corners where slimy biofilm forms. Rinse thoroughly—soap residue affects taste. Always air-dry upside down for 24 hours to prevent mold in the fill spout.
Carafe and Lid Maintenance
Hand-wash the glass carafe daily with baking soda paste for stains. Dishwasher heat can weaken thermal glass over time. For the lid, remove the silicone gasket weekly to scrub trapped coffee grounds that cause leaks.
Filter Basket and Showerhead
After each brew, rinse the basket under hot water. Monthly, use a toothpick to clear clogged showerhead nozzles—these tiny holes distribute water evenly, and blockages cause weak extraction.
Exterior Wipe Down
Dampen a microfiber cloth with water (no soap) to wipe control panels. Avoid spraying cleaners directly onto surfaces; moisture seeping into buttons can short-circuit electronics. Dry immediately with a second cloth.
Set Your Cleaning Schedule
Preventative cleaning beats emergency fixes. Match your routine to actual usage—not arbitrary calendars.
Regular Descaling Timeline
- Daily brewers: Clean every 2 months (hard water) or 3 months (soft water)
- Weekend-only users: Clean every 5 months or when the clean light activates
- Light users: Clean only when performance declines—never exceed 6 months
Watch for Warning Signs
Bitter coffee? That’s oil buildup. White flakes in your cup? Limescale overload. A 30-second delay in brew time means deposits are narrowing water channels. Address these before the clean light even appears.
Prevent Mineral Buildup
Use filtered water—it cuts descaling frequency by 50%. After brewing, leave the carafe off for 10 minutes to let residual heat evaporate moisture from the basket. This simple habit prevents moldy tastes.
Replace Filters Properly
Your SS-15’s optional water filter isn’t just for taste—it’s the first defense against scale.
Water Filter Replacement
Change the filter cartridge every 2 months. In hard water areas, swap it monthly. A clogged filter strains the pump, causing inconsistent brewing. Soak new filters in water for 15 minutes before installing to remove carbon dust.
Coffee Filter Guidelines
Paper filters must be discarded after one use—reusing them traps stale oils. For reusable stainless steel filters, scrub monthly with vinegar to dissolve embedded coffee compounds that alter flavor.
Fix Persistent Cleaning Issues
When standard methods fail, these targeted fixes resolve the most common frustrations.
Clean Light Stays On
Complete these steps in order:
1. Run a full descaling cycle with fresh solution
2. Press 8oz + 6oz buttons to flush sensors
3. Unplug the machine for 10 minutes to reset internal memory
4. Repeat the water-flush cycle if the light returns
Lingering Vinegar Taste
Brew three consecutive cups of water with a pinch of baking soda in the reservoir. The alkaline solution neutralizes acidic vinegar residues. Follow with two plain water cycles to rinse.
Performance Problems After Cleaning
Ensure the water reservoir clicks fully into its base—a loose fit interrupts water flow. If coffee still tastes off, remove and reseat the showerhead assembly; misalignment during cleaning often causes poor extraction.
Key Takeaway: Mastering how to clean Cuisinart SS-15 transforms your coffee experience from frustrating to flawless. By dedicating 30 minutes every 2-3 months to targeted descaling and component care, you’ll eliminate bitter tastes, prevent sensor errors, and extend your machine’s lifespan by years. Start today—your next cup of coffee will taste like it came straight from a specialty café. For ongoing maintenance, set phone reminders based on your usage pattern, and always keep white vinegar in your cleaning arsenal.


