
That stubborn brown ring climbing your Cuisinart skillet isn’t just unsightly—it actively sabotages your cooking performance by trapping grease and accelerating deterioration. When standard soap fails against burnt olive oil residue or 5-year-old pots lose their luster, you need targeted solutions that won’t damage stainless steel surfaces. This guide delivers proven techniques verified by Cuisinart maintenance experts, moving beyond generic advice to address your specific cleaning emergencies. You’ll discover why certain methods backfire (like Easy Off causing discoloration) and learn restoration protocols that make decades-old cookware gleam like new.
Fix Burnt Olive Oil Residue on Cuisinart Skillets
When olive oil spray bakes into a stubborn brown film that resists regular scrubbing, aggressive approaches often cause more harm than good. The key is matching your method to the residue’s severity while protecting your cookware’s integrity—start gentle and escalate only when necessary.
Use Bar Keepers Friend Correctly for Stuck-on Grease
Bar Keepers Friend remains the safest first-line defense against burnt oil residue when applied properly. Skip the common mistake of using it dry on hot pans:
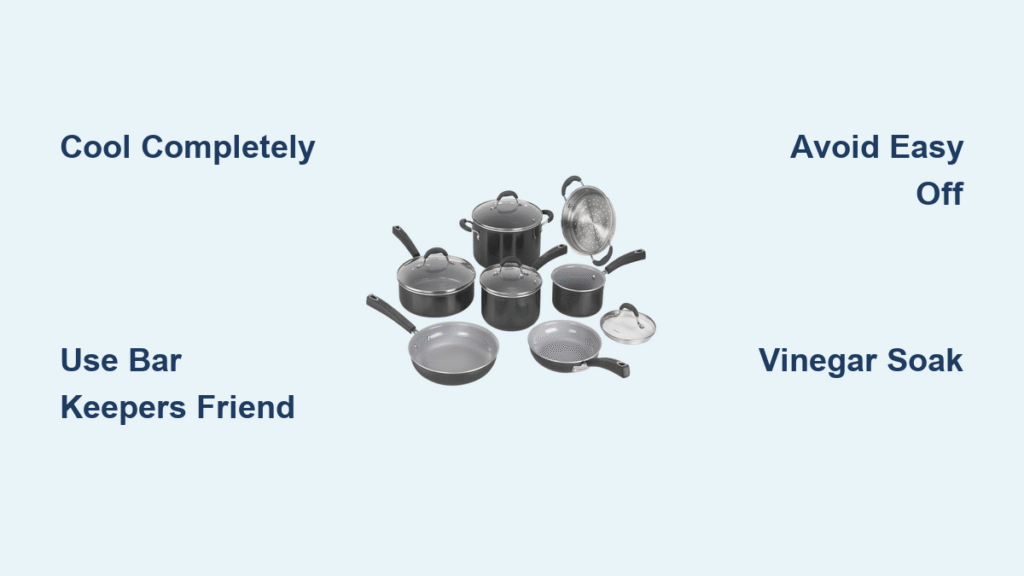
- Cool your skillet completely before starting
- Dampen the affected area with warm water
- Sprinkle powder generously over residue
- Scrub in circular motions with non-abrasive pad (like O-Cedar Easy Fill)
- Let sit 2-3 minutes for chemical reaction to break molecular bonds
- Rinse thoroughly and inspect before repeating
Pro Tip: For vertical residue (like oil spray climbing pan sides), tilt the skillet to pool cleaner on problem areas—gravity helps the formula penetrate deeper than horizontal surfaces.
Heavy-Duty Cleaning for Extreme Buildup
When Bar Keepers Friend falls short, these controlled escalation methods tackle severe carbonization without scratching:
Chore Boy Terry Cloth Method:
– Use the “specially treated” version (not standard steel wool)
– Apply firm, even pressure in small sections
– Wipe residue away immediately after loosening
– Stop when you see metal—never over-scrub
SOS Pad Emergency Protocol:
– Only deploy when other methods fail
– Apply minimal pressure—let the soap do the work
– Rinse after 10 seconds to check progress
– Immediately switch to non-abrasive pad if scratches appear
Chemical Solutions for Last-Resort Scenarios
Dishwasher Detergent Soak (Best for Bottom Residue):
– Fill sink with hot water (not boiling)
– Add 2 tablespoons powder detergent
– Submerge only affected areas overnight
– Scrub gently with nylon brush next morning
Easy Off Warning for Stainless Steel:
– Spray sparingly on residue only (avoid handles)
– Ventilate kitchen and wear gloves
– Rinse after 15 minutes—never exceed 20
– Expect finish dulling—follow with vinegar rinse
Restore Dull Cuisinart Exterior Shine in 7 Steps
Five years of cooking leaves even premium Cuisinart pots with gray, lifeless exteriors—but this isn’t permanent damage. Mineral deposits and oxidation cause 95% of dullness, meaning simple kitchen chemistry can revive that factory finish without harsh chemicals.
Revive Pots with Vinegar-Baking Soda Reaction
This two-ingredient method creates a gentle effervescent action that lifts oxidation without scratching:
- Cool pot completely (never apply to warm metal)
- Sprinkle baking soda thickly over dull areas
- Mix solution: 1 cup hot water + ⅓ cup white vinegar
- Pour slowly to activate fizzing reaction
- Wait 3-5 minutes—no scrubbing needed yet
- Wipe clean with soft microfiber cloth
- Polish with olive oil for mirror-like finish
Critical Timing Note: Exceeding 5 minutes risks vinegar etching stainless steel—set a timer! The reaction visibly slows after 3 minutes, signaling it’s time to wipe.
Bar Keepers Friend for Stubborn Exterior Stains
When vinegar-baking soda can’t handle years of discoloration:
- Apply paste directly to affected zones
- Buff with damp cloth using light circular pressure
- Focus on one 3×3 inch section at a time
- Rinse immediately after stain lifts
- Follow with olive oil polish to seal shine
Daily Cuisinart Cleaning Protocol That Prevents Damage
Preventing residue buildup saves 90% of restoration work. These non-negotiable habits maintain performance while avoiding the #1 cause of permanent damage: thermal shock from improper cooling.
Essential Post-Cooking Routine
Within 5 Minutes of Cooking:
– Cool 2 minutes on counter (never under water)
– Wash with warm water (not hot/cold extremes)
– Use soft sponge with mild dish soap
– Dry immediately with lint-free cloth
Weekly Shine Maintenance:
– Apply 1 tsp olive oil to microfiber cloth
– Buff exterior in circular motions
– Wipe excess with dry section of cloth
– Store in well-ventilated area
Materials That Permanently Damage Cuisinart
Avoid these common culprits that cause irreversible pitting:
- Chlorine bleach → creates microscopic pits that trap food
- Steel wool pads → leaves permanent scratch patterns
- Abrasive cleaners (Comet, Comet) → erodes protective layer
- Easy Off on stainless → causes blue-gray discoloration
Solve 3 Critical Cuisinart Cleaning Emergencies
When standard methods fail, these targeted fixes address specific issues threatening your cookware’s lifespan. Always test solutions on inconspicuous areas first.
Eliminate Hard Water Spots Permanently
:max_bytes(150000):strip_icc()/SPR-how-to-remove-hard-water-stains-from-stainless-steel-11678438-quad-851f5bafd2eb4d50b8a1b1f45afb1361.jpg)
Cloudy mineral deposits form when water evaporates—don’t let them bake on:
- Wipe dry within 30 seconds of washing
- Final rinse: 1 part vinegar to 3 parts water
- Dry with microfiber (not terry cloth towels)
- Store with lid ajar to prevent moisture trapping
Remove Heat Tinting Rainbow Discoloration
That oil-slick rainbow pattern means you overheated empty stainless steel:
- Apply white vinegar directly to discolored zones
- Heat on low burner for 2-3 minutes (do not boil)
- Wipe with damp cloth as discoloration fades
- Prevent recurrence by never preheating empty pans
Handle Persistent Brown Discoloration
When standard cleaning leaves stubborn stains:
- Double vinegar soak time to 10-15 minutes
- Repeat baking soda treatment 2x with 5-minute rests
- Use stainless steel cleaner as final polish
- Check water quality—install faucet filter if spots return
Long-Term Cuisinart Care Strategies That Extend Lifespan
Proper storage and cooking habits prevent 80% of cleaning emergencies. These protocols transform maintenance from chore to seamless habit.
Stack Pots Without Scratches
Store Like a Pro:
– Place silicone protectors between stacked items
– Store lids separately on wall hooks
– Hang pots using built-in handles when possible
– Never nest without padding—even 10 seconds causes micro-scratches
Cooking Habits That Prevent Residue Buildup
- Pour oil from bottle (never use cooking spray)
- Preheat 1 minute on medium before adding food
- Clean within 10 minutes of cooking (easiest residue removal)
- Use medium heat—high heat creates unremovable carbonization
Monthly Inspection Checklist
Grab this 5-minute routine every 30 days:
- Check for developing brown spots on sides
- Test handle tightness (loose handles cause warping)
- Inspect cooking surface for micro-scratches
- Polish exterior with olive oil
- Plan deep clean if needed
Your Cuisinart pots and pans can outlive your kitchen with proper care—starting today. Always begin with the gentlest method (mild soap and warm water handles 90% of cleaning needs) before escalating to stronger solutions. Never use Easy Off on stainless steel exteriors, and always cool cookware completely before cleaning to prevent thermal shock. That rainbow discoloration? It’s a warning sign of overheating—address it immediately with vinegar before it becomes permanent. Most importantly, establish the 5-minute post-cooking wipe-down: it transforms maintenance from crisis management into effortless habit. Invest 10 minutes weekly now to avoid replacing $200 cookware sets later—your future self will thank you when these pots still gleam after decades of service.


