That acrid smoke billowing from your oven during pizza night? It’s your Cuisinart pizza stone screaming for help. When cheese bubbles over or sauce splatters onto your cordierite stone, the porous surface soaks up debris like a sponge—leaving behind bitter flavors and fire hazards. But here’s the critical truth: how to clean Cuisinart pizza stone properly isn’t about scrubbing it spotless. It’s about preserving its moisture-wicking superpower while avoiding the #1 mistake that shatters stones: soap.
Your Cuisinart stone’s dark patina isn’t dirt—it’s performance-enhancing seasoning built up over dozens of perfect pies. Yet one wrong move (like submerging it in soapy water) can ruin years of seasoning in seconds. This guide reveals the exact 5-step cleaning protocol used by pizzeria veterans, plus emergency fixes for accidental soap exposure. You’ll learn why vinegar soaks are dangerous, when baking soda actually helps, and how to clean between pies without burning your hands.
Why Soap Ruins Cuisinart Stones Forever
Cuisinart’s cordierite ceramic contains microscopic pores designed to pull moisture from dough for crispy crusts. These same pores act like chemical sponges—they’ll absorb dish soap, vinegar, or oils and later release them into your next pizza. Imagine biting into a Margherita only to taste lemon-scented detergent. Worse, waterlogged stones risk explosive thermal shock: trapped moisture turns to steam when reheated, creating internal pressure that cracks the stone from within.
The science is non-negotiable: cordierite’s porosity makes liquid cleaners catastrophic. Skip the “deep clean” myths—your stone self-sanitizes at 500°F. Every pizza bake kills bacteria, making chemical sanitizers unnecessary and dangerous.
Essential Tools That Won’t Scratch or Rust
| Tool | Why It Works | Danger Zone |
|---|---|---|
| Plastic bench scraper | Lifts cheese chunks without gouging | Metal scrapers (scratch surface permanently) |
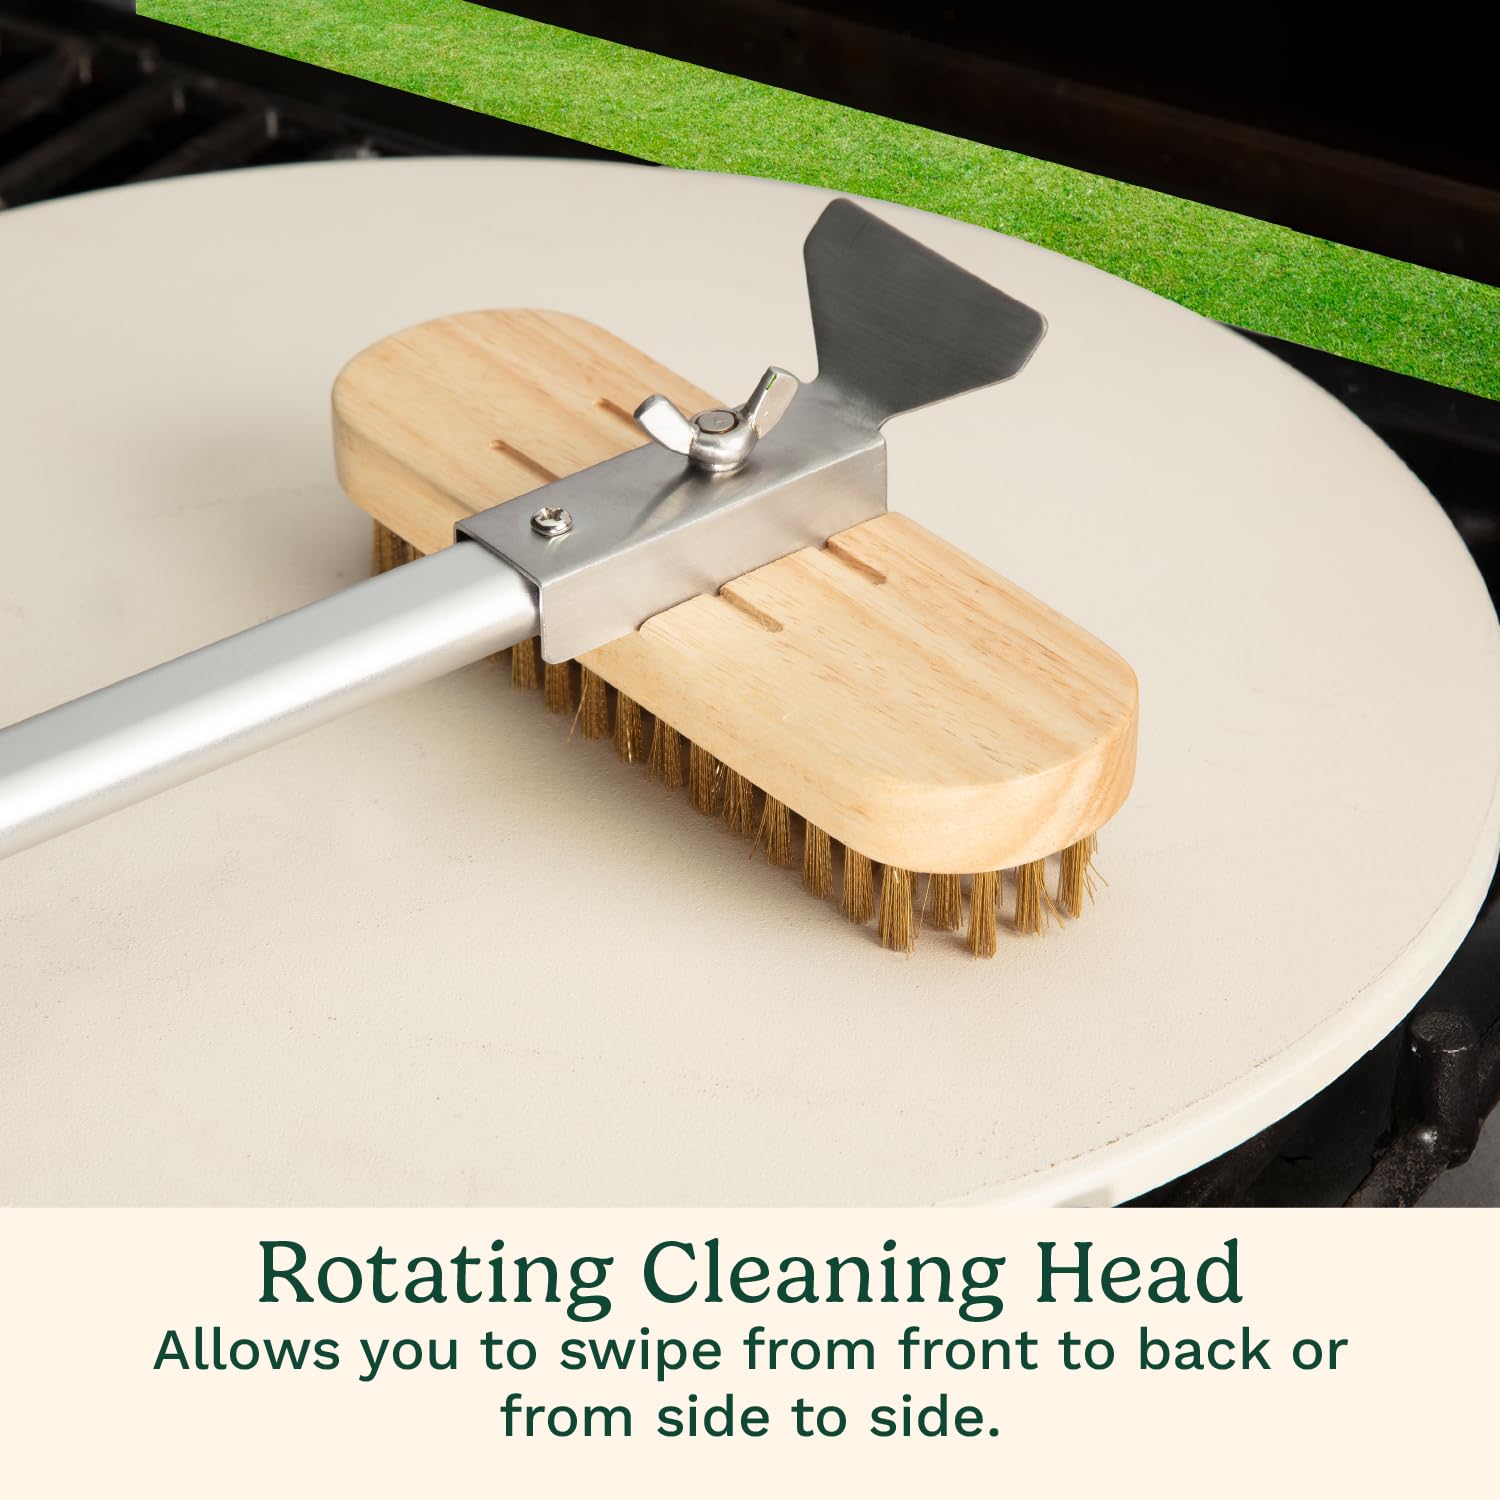
| Nylon-bristle brush | Dislodges flour without rust risk | Steel brushes (shed metal into future pizzas) |
| Microfiber cloth (lint-free) | Removes residue without fibers sticking | Terry towels (leave lint that burns) |
| Baking soda (pure sodium bicarbonate) | Gentle abrasive for stains | Baking powder (contains aluminum that reacts with stone) |
Pro Tip: Dedicate this brush solely to your stone. Cross-contamination from grill brushes transfers grease flavors instantly.
The 3-Hour Cool-Down Rule You Can’t Skip
Never rush this step—thermal shock cracks more stones than physical impacts. After baking, place your stone on a heat-resistant surface (not granite or laminate) and wait 2-3 hours minimum. Cordierite retains heat like a sleeping dragon; touching it too soon risks:
– Severe burns (surface stays >200°F after 90 minutes)
– Cracks from sudden cooling on cold countertops
– Steam explosions if wiped too early
Test for readiness: Hold your palm 6 inches above the stone. If you feel warmth, wait longer. Humid climates add 30+ minutes to cool-down time.
Dry Scraping: Removing Debris Without Damage
Start with zero moisture. Hold your plastic scraper at a 15° angle and use short, firm strokes—like shaving wood—not chopping ice. Focus pressure on stuck cheese, not the stone surface. Rotate the scraper edge frequently as buildup collects. For thick sauce splatters:
1. Target the debris’s edge first (less adhesion)
2. Use diagonal strokes across the stain
3. Stop if resistance increases (prevents micro-scratches)
Never use metal tools—even “gentle” scraping leaves microscopic grooves where future debris embeds.
Brushing Hidden Residue: The 10-Second Technique
Your nylon brush tackles what scraping misses. Work in straight lines (not circles) with light pressure for 10 seconds max per area. Over-brushing wears down the stone’s seasoning layer. Stop when:
– No loose particles fall during brushing
– Surface feels uniformly textured (not gritty)
– Brush strokes leave no visible trails
Warning: If you see white chalky flour deposits or sticky grease pools, move to baking soda treatment—brushing alone won’t fix it.
Damp Wipe Technique: Zero Water Pooling Allowed
This is where 90% of home cooks fail. Run your microfiber cloth under warm water, then wring until cool to the touch but not wet. Wipe in straight lines once only. Flip the cloth and repeat if needed—but never let water pool. Critical mistakes to avoid:
– ✗ Circular scrubbing (spreads grease into pores)
– ✗ Pressing hard (forces moisture deeper)
– ✗ Multiple passes (adds cumulative moisture)
Safety Check: If the cloth leaves a dark trail when wiped on a dry plate, it’s too damp. Rewring immediately.
Air-Drying: Vertical Positioning Is Non-Negotiable
Laying your stone flat traps moisture against the countertop—a cracking hazard. Stand it vertically in a dish rack or against your backsplash. In humidity >60%, point a fan on low speed toward it. Test dryness after 24 hours:
1. Place a paper towel on the surface
2. Wait 5 minutes
3. Check for damp spots (repeat drying if present)
Pro Insight: Oven storage is acceptable (reduces handling), but always remove during self-clean cycles—extreme heat (900°F+) guarantees cracks.
Baking Soda Paste: Spot Treatment for Grease Stains
For sticky grease spots that resist brushing:
1. Mix 1 tbsp baking soda + 3 drops water to toothpaste consistency
2. Apply only to stained areas (never full coverage)
3. Wait exactly 10 minutes (set a timer)
4. Gently scrub with nylon brush in small circles
5. Wipe residue with barely damp cloth
Critical Limit: Repeat once if needed, but never more. Some discoloration is normal—chasing “clean” destroys performance.
Burn-Off Method: Emergency Reset for Sticky Stones
Use only when cheese glaze prevents pizza release (max twice yearly):
1. Place cold stone in cold oven
2. Set to 500°F for 60 minutes
3. Turn oven OFF, leave stone inside with door closed
4. Wait until oven reaches room temperature (6-8 hours)
Why it works: High heat carbonizes residue into ash that brushing removes. But repeated use stresses cordierite—micro-fractures accumulate silently.
Hot Stone Cleaning Between Pizzas
For back-to-back pies:
– Use natural-bristle brushes only (coconut husk or bassine)
– Grip folded dry towel with long tongs
– Sweep flour/cornmeal in 30 seconds max
– Required gear: Heat-resistant gloves (500°F+ rating), long sleeves
Never use synthetic brushes—they melt at 480°F, coating your stone in toxic plastic residue.
Storage Mistakes That Cause Silent Cracks
- ✗ Stacking heavy pans on stored stone (even cast iron)
- ✗ Leaving in oven during self-clean cycles (check calendar!)
- ✗ Storing flat against walls (traps moisture on one side)
Ideal setup: Vertical on shelf with 2 inches clearance on all sides. Stone lifespan exceeds 10 years with this method.
Fixing Accidental Soap Exposure in 4 Steps
If someone used soap:
1. Rinse under fast-running warm water for <30 seconds
2. Skip drying—proceed immediately to burn-off method
3. Bake crescent roll dough over entire surface, then discard
4. The dough absorbs residual soap flavors during baking
Do not repeat normal cleaning—soap already compromised the stone.
When Replacement Beats Repair
Dark stains = performance, not flaws. Replace only if:
– Cracks exceed 1/8 inch wide (check with coin edge)
– Flaking pieces during cleaning
– Persistent off-flavors after 2 burn-off cycles
Cost reality: A $25 stone lasting 10 years costs $2.50/year—cheaper than one pizza delivery. Proper cleaning makes replacement unnecessary.
Pro Tips That Save Stones (and Sanity)
- Chantelle Malarkey, Cleaning Expert: “Wait, scrape, wipe, air dry—four steps, done. Over-cleaning is the enemy.”
- Hengam Stanfield, Pizzeria Owner: “That dark patina is pure performance. New stones take 20+ bakes to develop it—don’t scrub away your advantage.”
- PizzaMaking.com Forum Wisdom: “If guests complain about stains, call it ‘artisan seasoning’—then serve them the crispiest crust they’ve ever tasted.”
Bottom line: Your Cuisinart pizza stone isn’t dirty—it’s seasoned. Cleaning isn’t about appearance; it’s about removing debris that causes smoke or off-flavors. Stick to dry scraping, strategic baking soda, and patient air-drying. The dark marks you see? They’re proof your stone is working perfectly—leave them be, and your next pizza night will be smoke-free and spectacular. Remember: the best how to clean Cuisinart pizza stone method is the one that respects its porous genius, not fights it.

