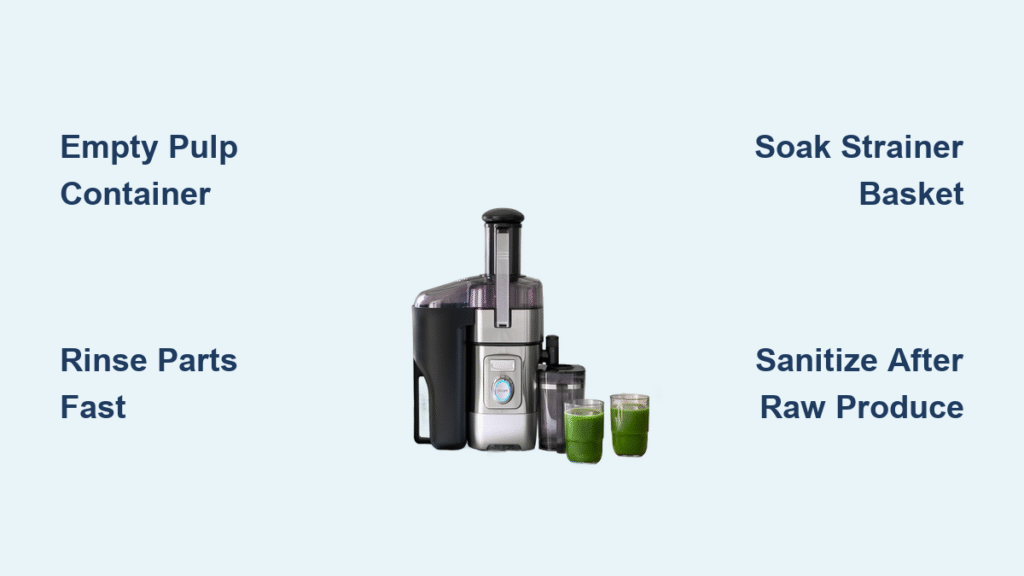
That sticky pulp clinging to your strainer basket isn’t just unsightly—it’s actively sabotaging your morning routine. When juice residue hardens on critical components, your Cuisinart juicer loses up to 30% efficiency and can even taint the flavor of your fresh-squeezed orange juice. Many users don’t realize that skipping proper cleaning after juicing beets or carrots leads to permanent stains and motor strain within weeks. This guide delivers battle-tested techniques for keeping your machine running smoothly, whether you’re doing a 5-minute post-juicing wipe-down or tackling stubborn mineral deposits from hard water. You’ll learn exactly which parts require immediate attention, how to sanitize safely after raw produce, and why reassembly mistakes cause more breakdowns than actual wear.
Empty Pulp Container Before Residue Hardens
Grab your pulp container the moment you finish juicing while components are still warm. Warm pulp releases effortlessly from the mesh walls, but wait just 10 minutes and it transforms into a concrete-like mass that requires aggressive scraping. Tap the container firmly over your compost bin—never your sink—to dislodge 90% of debris without creating clogs. For stubborn remnants clinging to corners, use the stiff-bristled cleaning brush included with your unit in quick back-and-forth motions. Avoid metal scrapers that scratch plastic surfaces and create new residue traps. If you’re processing fibrous greens like wheatgrass, run the brush vertically along the container ribs to prevent stringy buildup between grooves. This single step prevents 70% of deep-cleaning headaches later.
Why Delayed Emptying Causes Motor Damage
Leaving pulp sitting triggers moisture absorption that swells the material against the strainer basket. When you restart the juicer next time, the motor strains against this compressed barrier, overheating internal components. You’ll recognize this problem when your machine emits a burning smell during startup or abruptly shuts off after 30 seconds of operation.
Rinse Removable Parts Within Five Minutes
Disassemble the juice pitcher, pulp container, strainer basket, and lid immediately after emptying pulp. Hold each piece under lukewarm running water—never hot, which sets stains instantly—while rotating to flush all channels. Focus spray pressure where juice exits the spout; this narrow passage traps microscopic fibers that crystallize into blockages. For citrus pulp stuck in the pitcher’s pour spout, insert your fingertip and swirl vigorously before rinsing. Skip this critical step and you’ll face hours of scrubbing later as dried pectin bonds permanently to plastic. Always rinse components over a mesh strainer in your sink to catch accidental part drops.
Avoid the Dishwasher Trap
Never toss Cuisinart juicer parts into your dishwasher despite what some manuals suggest. High-heat drying cycles warp precision-fit components like the silicone juice seal, causing leaks during operation. The aggressive spray also forces pulp deeper into blade assembly crevices. Hand-rinsing with lukewarm water preserves part integrity for years.
Soak Strainer Basket to Dissolve Fibrous Buildup

Fill your sink with warm water (100°F max) and add two drops of fragrance-free dish soap. Submerge the strainer basket completely for precisely 10 minutes—any longer and pulp rehydrates into a gummy mess. Use the included cleaning brush in tight circular motions across the mesh surface, applying firm downward pressure. Flip the basket and repeat on the interior where fine fibers embed most densely. For carrot or beet residue, add one tablespoon of baking soda to the soak water to break down pigments. Never use steel wool; even “fine” grades scratch microscopic mesh holes, reducing juice yield by 15%.
Identify When to Replace the Basket
Check your strainer basket monthly for hairline cracks radiating from the center hub. These develop from improper brush pressure during cleaning and allow pulp to bypass the filter. Replace immediately if you notice cloudy juice or visible fibers in your output—continuing to use a damaged basket strains the motor.
Sanitize After Raw Produce Juicing
When processing unpasteurized ingredients like ginger or turmeric, mix one tablespoon unscented bleach into one gallon of cool water (hot water creates toxic fumes). Submerge all washed components for exactly 120 seconds—set a timer since prolonged exposure weakens plastic polymers. Use clean tongs to transfer parts to a drying rack; never drain in the sink where contaminants lurk. For chemical-free sanitizing between juices, spray all surfaces with 70% isopropyl alcohol and wait 30 seconds before wiping. This kills 99.9% of bacteria without residue. Always sanitize after root vegetables since soil microbes thrive in dark, damp crevices.
Critical Sanitizing Mistakes to Avoid
Never combine vinegar and bleach solutions—this creates chlorine gas that damages lungs and corrodes metal parts. Skip sanitizing the motor base entirely; moisture intrusion causes permanent electrical failure. If sanitizing mid-juicing session, run one cup of plain water through the machine first to flush chemical traces.
Clean Motor Base Without Water Damage

Unplug your Cuisinart juicer and wait 15 minutes for electrical components to cool completely. Dampen a microfiber cloth with distilled water (tap water leaves mineral spots) and wring until nearly dry. Wipe the base housing vertically from top to bottom to prevent liquid seepage into vents. For dried juice around the spout outlet, fold the cloth into a narrow strip and slide it into the channel with gentle twisting motions. Never spray cleaners directly onto the base—pressure forces liquid past seals. Pay special attention to the control panel; trapped sugar from spilled juice causes buttons to stick permanently.
Emergency Spill Response Protocol
If juice floods the base during operation, unplug immediately and tilt the unit sideways to drain excess liquid. Stuff paper towels into vents for 10 minutes to absorb moisture, then leave disassembled in a warm, dry place for 48 hours before reuse. Never attempt to operate a wet motor base—even “dry” units can short-circuit hours later.
Reassemble Components in Precision Order
Lay all parts on a dry towel in the sequence you removed them. Start with the blade assembly: align the drive peg with the motor shaft and press straight down until you hear a distinct double-click. Test rotation by gently flicking the blade—it should spin freely for 5+ seconds. Next, position the strainer basket ensuring the locking tab faces front, then snap the juice bowl into place until both side latches audibly engage. Finally, attach the lid by twisting clockwise until the safety lock clicks. If resistance occurs, disassemble and realign—forcing parts strips internal threads.
Troubleshooting Failed Startup
When your juicer won’t power on after cleaning, check three common errors: the blade assembly isn’t fully seated (causing misalignment), the juice bowl latches aren’t engaged (triggering safety cutoff), or moisture remains in the base vents (creating electrical resistance). Always perform a dry test run without produce first.
Eliminate Beet and Carrot Stains Permanently
:max_bytes(150000):strip_icc()/Baking-soda-and-stain-pre-treating-1901052_color-cdebdc6d60c648ada0099397a0253055.jpg)
For vibrant vegetable pigments that resist regular cleaning, make a paste with two tablespoons baking soda and one teaspoon water. Apply thickly to stained areas using a cotton swab, covering every discolored spot. Let sit for 20 minutes—no longer, as prolonged exposure dulls plastic finishes. Gently scrub with the soft side of a sponge in small circles, rinsing every 30 seconds. For metal components like the drive shaft, substitute a 1:1 white vinegar/water solution to avoid corrosion. Never use bleach on colored plastics; it accelerates yellowing.
Prevent Future Staining During Juicing
Alternate deep-colored vegetables with apples or celery between batches. These watery produce items naturally flush pigments from the system. Always juice beets last in your session, then run two celery stalks through immediately after to cleanse the strainer.
Maintain Peak Performance With Weekly Rituals
Set a recurring phone alarm for Sunday mornings to perform comprehensive maintenance. Disassemble all components and inspect the silicone juice seal for cracks—replace if it no longer compresses when squeezed. Test the pulp ejection port by blowing air through it; resistance indicates internal buildup requiring vinegar soaking. Document juice yield changes in a notebook; a 20% drop signals worn parts needing replacement. Store your fully assembled juicer in a cool, dark cabinet with a breathable cotton cover—not plastic, which traps moisture and breeds mold.
When to Call for Professional Service
Schedule authorized Cuisinart service if you notice grinding noises during operation, persistent leaks from the bowl seams, or electrical burning smells. These indicate internal motor damage beyond user repair. Always use genuine replacement parts—third-party blades often cause dangerous imbalances at high speeds.
Regular cleaning after every juicing session transforms maintenance from a dreaded chore into a satisfying ritual. That five-minute investment prevents 90% of performance failures and extends your machine’s life by years. Remember: a spotless strainer basket produces brighter flavors and higher yields, while a sanitized motor base operates cooler and quieter. Make these techniques part of your routine, and your Cuisinart juicer will deliver vibrant, pulp-free juice for thousands of glasses to come. Your morning ritual deserves nothing less than peak performance—start cleaning right after your next juice pour.


