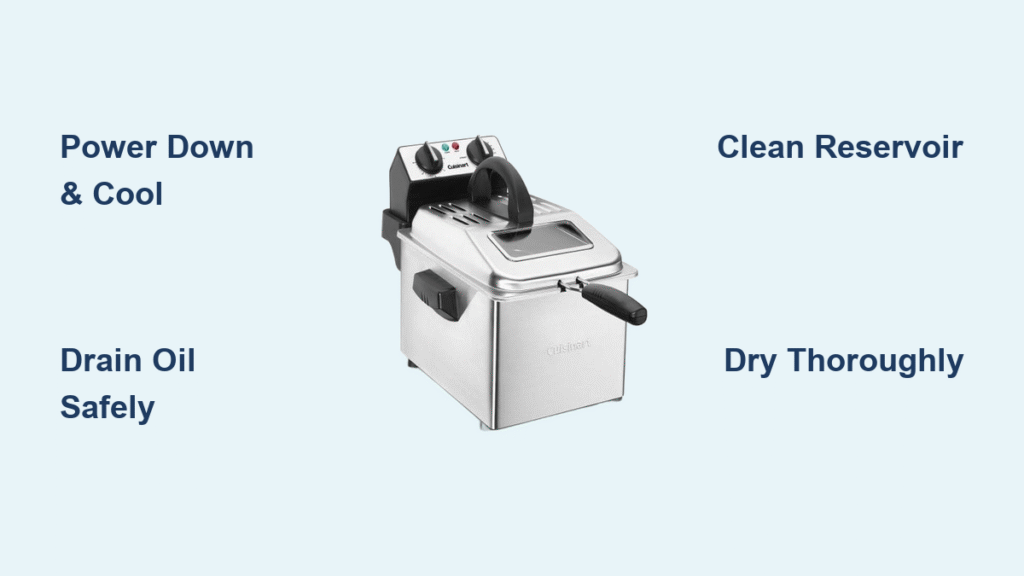
You just finished cooking the perfect batch of crispy chicken wings, but now you’re staring at a Cuisinart deep fryer coated in sticky oil residue and stubborn food particles. That delicious golden-brown coating on your food has now become a hardened film on every surface of your appliance. The good news is you don’t need special tools or expensive cleaners—just the right technique. This practical guide shows you exactly how to clean Cuisinart deep fryer components safely and effectively, restoring your appliance to like-new condition without damaging its sensitive parts.
With proper cleaning, your Cuisinart deep fryer will deliver consistent performance for years while eliminating off-flavors from previous cooking sessions. You’ll learn professional techniques that protect electrical components while removing even the toughest carbon deposits. By the end of this guide, you’ll know how to clean Cuisinart deep fryer parts thoroughly in under an hour, ensuring every future batch tastes as fresh as the first.
Power Down and Cool Safely Before Cleaning
Never attempt to clean your Cuisinart deep fryer while components are still hot. The heating element retains dangerous temperatures long after cooking ends, posing serious burn risks. Start by turning off your fryer using the control panel, then unplug it completely from the wall outlet. Wait exactly two hours before handling—this cooling period lets the oil thicken slightly while bringing all metal surfaces to a safe temperature.
During this waiting time, gather essential supplies: heat-resistant gloves, a metal oil container, dish soap, non-abrasive sponge, and baking soda. Keep these items nearby so you’re ready to work efficiently once cooling completes. Never skip this step—rushing the cooling process causes most home deep fryer cleaning accidents.
Drain and Evaluate Your Cooking Oil Properly
Most Cuisinart models feature either a drain valve or removable reservoir for safe oil extraction. If your unit has a drain valve, position your metal container beneath it and open slowly to control the flow. For models requiring manual removal, wear heat-resistant gloves and lift the oil container straight up, tilting gradually to prevent splashing. Always remove the fryer basket first to avoid disturbing settled debris.
Check your oil’s condition before deciding whether to store or discard it. Fresh oil appears golden and clear; if yours looks dark brown, smells rancid, or contains floating particles, discard it completely. Good quality oil can be strained through cheesecloth into a sealed container, labeled with the date, and stored for up to one month. Never pour oil down drains—it solidifies and causes plumbing disasters. Take used oil to local recycling centers that accept cooking oil instead.
Break Down Components Without Missing Hidden Parts

Start by lifting out the fryer basket and detaching the handle if it’s removable. Next, remove splash guards, oil filters, or temperature probes sitting inside the unit. The heating element typically lifts out as one piece with the control housing—release securing clips carefully. Finally, separate the oil reservoir from the base unit, checking underneath for hidden drip trays or crumb catchers.
Take photos during disassembly. These visual references make reassembly foolproof, especially for first-time cleaners. Many users overlook the small drip tray beneath the oil reservoir, which accumulates significant debris and causes off-flavors if neglected during cleaning.
Deep Clean the Oil Reservoir Without Damaging Surfaces
Fill your empty oil container with the hottest tap water possible and add 2-3 drops of dish soap. Let it soak for 15 minutes—this loosens baked-on residue without aggressive scrubbing. Using a soft brush or non-abrasive sponge, scrub all interior surfaces, focusing on corners where oil accumulates.
For stubborn deposits, mix baking soda with water to create a paste. Apply this directly to problem areas, wait 30 minutes, then scrub gently. Rinse thoroughly with hot water until no soap residue remains. Invert the container and let it air dry completely—any remaining moisture causes dangerous oil splattering during next use. Never use steel wool or abrasive pads that scratch surfaces and accelerate future buildup.
Restore Your Fryer Basket to Like-New Condition
Submerge the basket immediately in hot, soapy water to prevent food particles from hardening. Work a bottle brush between mesh wires from both sides, dislodging trapped debris. Pay special attention to handle connection points—these crevices collect surprising amounts of grease that cause rust if left untreated.
For stubborn buildup, soak the basket in a 1:3 vinegar-to-water solution for 30 minutes before scrubbing. Rinse thoroughly and dry completely to prevent rust on the metal mesh. A hairdryer on cool setting speeds drying between wire gaps and ensures no moisture remains in hard-to-reach areas.
Clean the Heating Element Without Causing Electrical Damage

The heating element requires the most delicate handling. Ensure it’s completely cool, then wipe with a barely damp cloth to remove surface oil. Never immerse the control housing or heating element in water—moisture causes permanent electrical damage. For baked-on residue, use a soft brush dipped in warm, soapy water, taking care not to bend the heating coils.
Dry the element thoroughly with a clean towel while inspecting for damage or corrosion. Any signs of electrical issues mean it’s time for professional service rather than continued use. Check gaskets and seals for cracks that could cause oil leaks during next cooking session.
Remove Burnt-On Carbon Deposits Safely
For carbonized food that resists normal cleaning, fill the empty reservoir with water and add ½ cup white vinegar. Bring to a gentle simmer for 15-20 minutes, allowing steam to loosen stubborn particles. After cooling, use a plastic scraper to remove loosened debris without scratching surfaces.
This steam-cleaning method works particularly well for the heating element housing where direct scrubbing is difficult. Avoid metal scrapers that damage non-stick coatings—plastic or wood tools protect your investment while removing tough buildup.
Maintain Your Filter System for Optimal Performance
If your Cuisinart includes built-in filtration, replace disposable filters every 3-6 months with regular use. Washable filters need a 30-minute soak in hot, soapy water, followed by thorough rinsing and complete air-drying. Inspect filter housings for cracks that could allow unfiltered oil to bypass the system.
Check your model’s manual for specific filter replacement intervals—heavier use requires more frequent changes. Proper filter maintenance extends oil life significantly and prevents flavor transfer between different fried foods.
Reassemble Components Without Creating Safety Hazards
Start with the base unit, ensuring drip trays sit properly in their tracks. Install the clean oil reservoir, checking it sits level and secure. Replace the heating element assembly, verifying all electrical connections seat correctly and retaining clips engage fully. Finally, install the clean basket, testing smooth operation up and down.
Before adding fresh oil, plug in the fryer and turn it on briefly to verify proper function. This dry run reveals assembly issues before oil complicates corrections. Listen for unusual sounds and check that temperature controls respond accurately—this simple test prevents potential damage during next cooking session.
Establish Daily Maintenance Habits That Save Time
After each use, skim the oil surface with a fine-mesh strainer to remove floating debris immediately. Wipe exterior surfaces while slightly warm—this prevents grease from hardening into difficult buildup. Empty and rinse crumb trays daily. These simple steps extend time between deep cleanings significantly.
Create a visual inspection routine: darker oil, off-odors, or visible particles signal it’s time for a complete cleaning. Daily users should deep clean weekly, while occasional users might extend to bi-weekly based on oil condition rather than calendar days.
Recognize When to Seek Professional Repair Services
Stop using your fryer immediately if you discover exposed wiring, electrical component corrosion, or control housing damage. These issues create fire and electrocution hazards requiring professional service. Document your regular maintenance—Cuisinart warranties typically require owner maintenance according to guidelines.
For commercial-grade models, consider annual professional servicing. This $75-150 investment includes specialized cleaning and component testing that extends unit lifespan significantly. Never attempt electrical repairs yourself—this voids warranties and creates serious safety risks.
Keep Your Cuisinart Deep Fryer Performing Like New
Your properly maintained Cuisinart deep fryer delivers years of consistent performance with minimal effort. The complete cleaning process becomes routine with practice—most users complete a full deep clean in 45-60 minutes. Regular maintenance prevents flavor transfer between foods, ensures even heating, and eliminates safety hazards from accumulated grease.
Remember: clean fryers produce better-tasting food. The time invested in proper cleaning translates directly to superior cooking results and extended appliance life. By following these steps for how to clean Cuisinart deep fryer components correctly, you’ll enjoy crispy, delicious fried foods without the off-flavors or safety concerns of a neglected appliance.

