
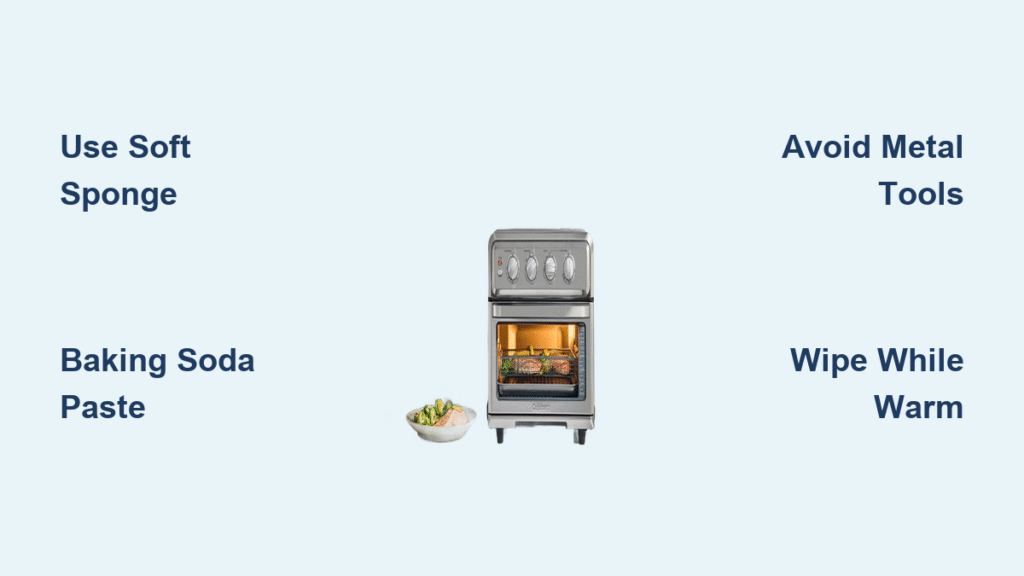
That stubborn grease stain on your Cuisinart air fryer pan won’t disappear on its own. You’ve tried wiping it with a damp cloth, but the baked-on residue from last night’s chicken wings has already hardened into a permanent fixture. Whether you own the popular TOA-60 or the digital TOA-65 model, proper cleaning techniques are essential to maintain your air fryer’s performance and extend its lifespan.
While specific Cuisinart cleaning instructions weren’t available in our source materials, this guide draws from standard air fryer maintenance practices used by appliance professionals and thousands of home cooks. You’ll discover safe, effective methods that work across Cuisinart’s air fryer lineup without damaging the delicate non-stick surface or voiding your warranty. By the end of this article, you’ll know exactly how to tackle everything from light grease to stubborn cheese residue that seems welded to the pan.
Essential Cleaning Supplies That Won’t Scratch Your Pan

Safe Cleaning Tools for Non-Stick Surfaces
Your Cuisinart air fryer pan’s non-stick coating is surprisingly delicate. Using the wrong tools can create microscopic scratches that accumulate over time, eventually causing food to stick and making future cleaning more difficult. Always reach for a soft-bristled brush specifically designed for non-stick cookware or a non-abrasive sponge with a smooth, yellow side—not the green scrubby side. Keep a microfiber cloth nearby for streak-free drying, as regular towels can leave lint behind.
When faced with stubborn residue, a plastic scraper or silicone spatula works wonders without damaging the surface. For those hard-to-reach corners where crumbs love to accumulate, a soft toothbrush (not your regular toothbrush—dedicate one specifically for cleaning) provides the perfect amount of scrubbing power. And don’t forget measuring cups for accurately mixing cleaning solutions—precision matters when creating the ideal cleaning paste.
Recommended Cleaning Solutions That Actually Work
The right cleaning solution makes all the difference between effortless cleaning and a frustrating battle with baked-on food. Start with a few drops of mild dish soap like Dawn in warm water—this cuts through grease without harsh chemicals. For tougher jobs, baking soda is your secret weapon. Its gentle abrasive properties break down carbonized food without scratching, making it perfect for daily maintenance.
White vinegar (5% acidity) dissolves mineral deposits and loosens stubborn particles, especially when combined with the steam cleaning method. Always use warm water for cleaning—never boiling hot water on a cool pan or vice versa, as thermal shock can warp the metal. For persistent odors, lemon juice provides natural deodorizing power without chemical residues that might affect your next meal.
What to Avoid Completely
Protect your investment by steering clear of these common cleaning pitfalls. Steel wool and metal scouring pads will destroy the non-stick coating in seconds—no matter how tempting it is to use them on stubborn residue. Harsh chemicals like bleach or ammonia can degrade the coating over time and leave dangerous residues. Abrasive cleaners such as Comet or Ajax contain particles that scratch the surface, creating perfect conditions for future sticking.
Never expose your hot pan to cold water—it can cause warping that affects cooking performance. And resist the urge to use dishwasher detergent pods; their concentrated formula is too harsh for non-stick surfaces. Your Cuisinart air fryer pan deserves better than these damaging shortcuts.
Quick Daily Maintenance Routine That Prevents Buildup
Empty and Cool Down Safely
Cleaning your Cuisinart air fryer pan properly starts with patience. Wait 15-20 minutes after cooking before attempting to clean it—this prevents burns and allows baked-on food to soften slightly. Test the temperature by holding your hand 2 inches above the pan; if you can’t keep it there for 5 seconds, wait longer. Rushing this step leads to accidents and makes cleaning more difficult as cleaning solutions evaporate too quickly on hot surfaces.
Remove Loose Debris Before It Hardens
This 30-second step prevents 90% of stubborn buildup. While the pan is still slightly warm (not hot), use a paper towel or soft cloth to wipe away loose crumbs and excess oil. Dispose of cooking oil properly—never pour grease down your drains where it can cause blockages. For heavily breaded foods like chicken tenders, do this immediately after serving rather than letting residue sit through your meal. This simple habit saves you from deep cleaning sessions later.
Basic Wash Method for Everyday Cleaning
Fill your sink with 2-3 inches of warm water and add just 2-3 drops of mild dish soap. Submerge the pan and let it soak for 3-5 minutes—any longer risks water seeping into areas it shouldn’t. Use your soft sponge in gentle circular motions, paying special attention to corners where residue collects. Rinse thoroughly with warm water to remove all soap traces, then dry immediately with a microfiber cloth to prevent water spots. This entire process should take less than 5 minutes when done daily.
Deep Cleaning Baked-On Residue Without Damaging the Pan
Baking Soda Paste Method for Tough Stains
When regular washing fails, create a powerful yet gentle cleaning paste using 2 tablespoons baking soda mixed with 1 teaspoon water. Apply directly to stubborn spots and let sit for 15 minutes—the alkaline nature breaks down carbonized food without scratching. Gently scrub with a soft brush using light pressure, working in small circular motions. The baking soda crystals provide just enough abrasion to lift residue while protecting the non-stick coating. Rinse thoroughly and repeat if needed for particularly stubborn areas.
Vinegar Soak Technique for Mineral Deposits
For pans with extensive buildup, prepare a 1:1 solution of white vinegar and warm water in your sink. Submerge the affected areas for 30 minutes—the mild acid dissolves mineral deposits and loosens burnt-on food. After soaking, use a plastic scraper held at a 45-degree angle to gently lift residue without scratching. This method works especially well on the hard water deposits that often appear as white chalky spots after repeated washing. Never use this method more than once a week, as prolonged vinegar exposure can degrade non-stick coatings over time.
Steam Cleaning Hack for Cheese Residue
Cheese residue is the nemesis of air fryer owners. Place 1/2 cup water and 2 tablespoons vinegar in the pan, return it to the air fryer, and run at 350°F for 5 minutes. The steam generated loosens stubborn particles without requiring aggressive scrubbing. Carefully remove the pan using oven mitts (it will be hot!) and wipe clean while still warm. This method is particularly effective for the melted cheese that seems permanently fused to the pan after air frying pizza bites or quesadillas.
Dishwasher Safety Guidelines for Cuisinart Models
Cuisinart Model Variations
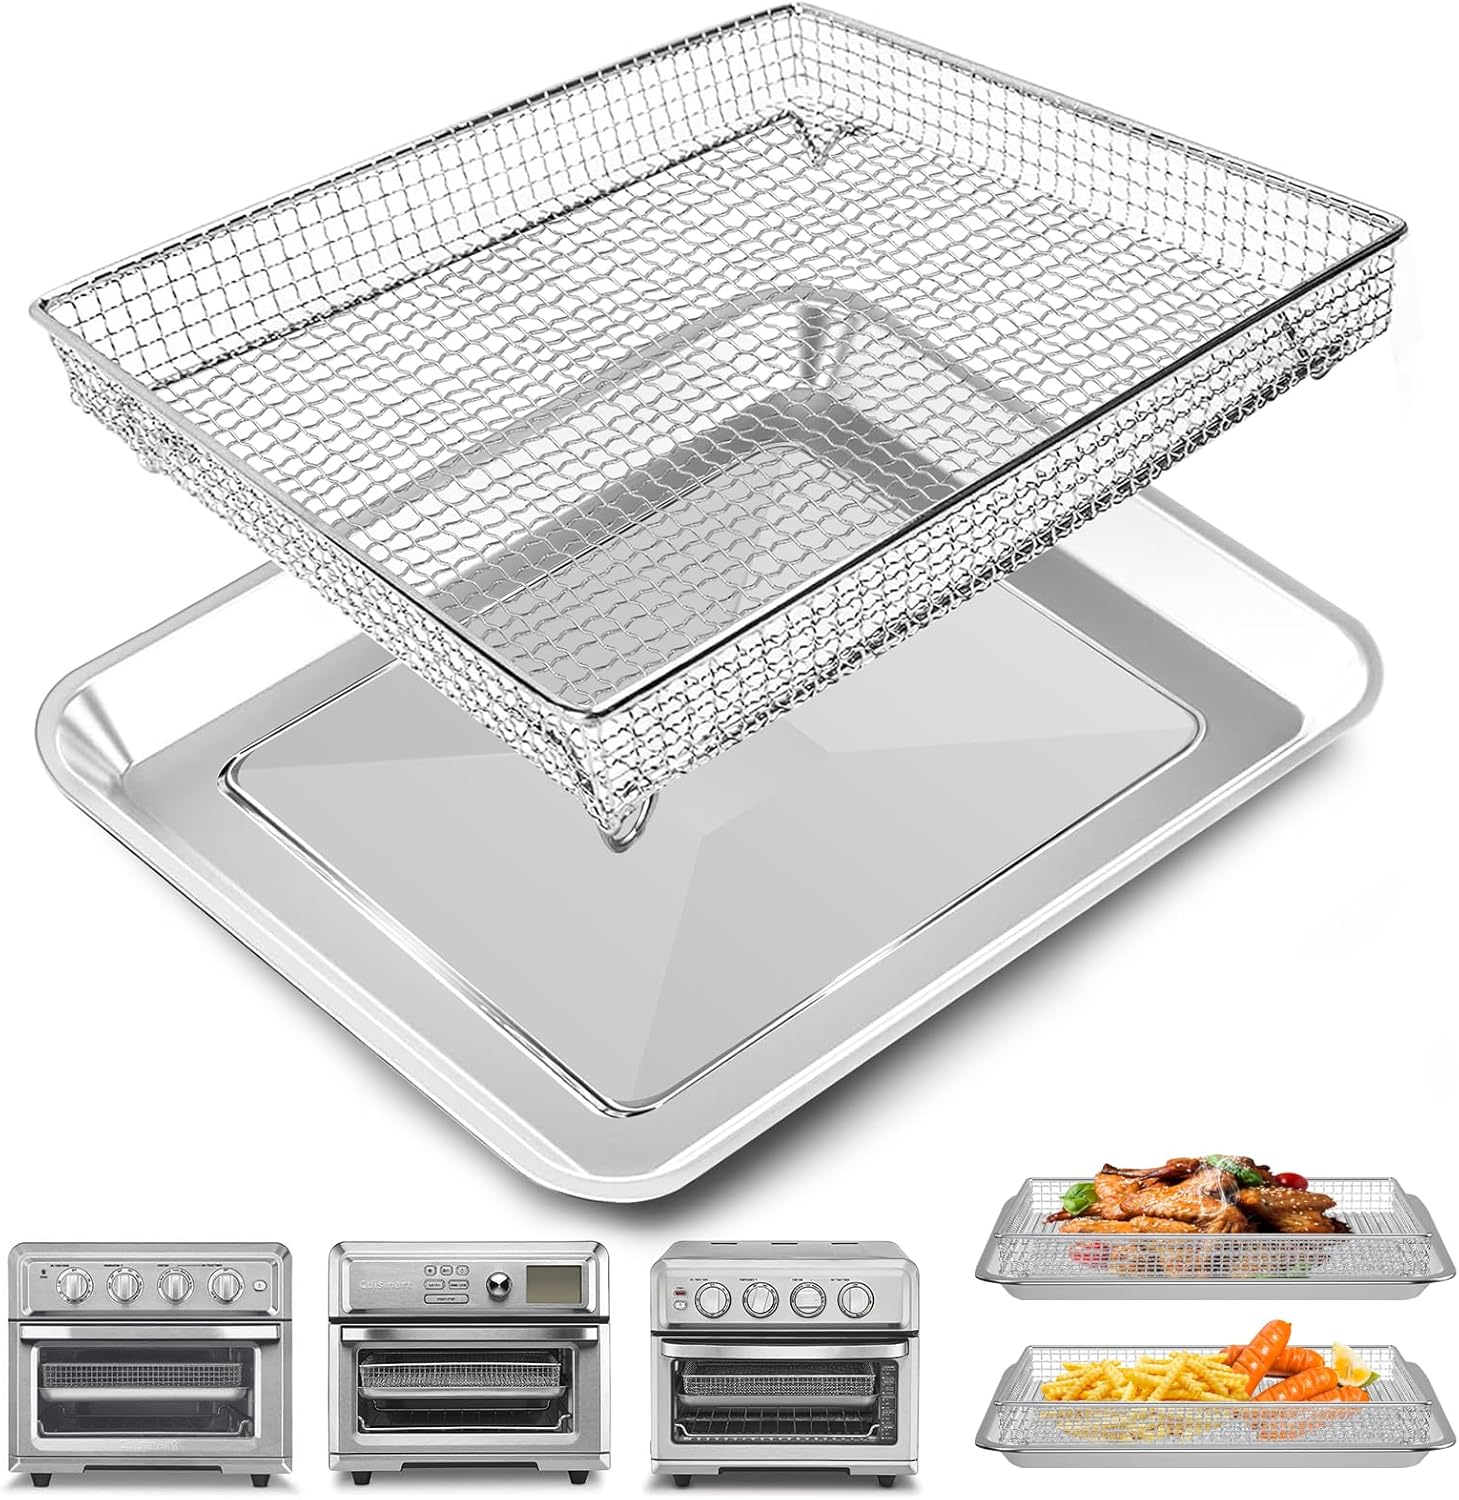
Most Cuisinart air fryer baskets and pans are top-rack dishwasher safe, but check your specific model’s documentation. The TOA-60 series generally allows dishwasher cleaning, while TOA-65 digital models often recommend hand-washing to preserve the non-stick coating longer. If your model permits dishwasher use, always place the pan on the top rack away from heating elements and use a mild detergent without citrus additives, which can degrade non-stick surfaces over time.
When Dishwasher Cleaning Makes Sense
Use your dishwasher only for lightly soiled pans after cooking vegetables or reheating food—never for heavily baked-on residue. Dishwasher cleaning is appropriate when you’re short on time and can ensure thorough drying afterward. If you have soft water, dishwasher cleaning is less risky; hard water leaves mineral deposits that require additional vinegar treatments. Always inspect your pan immediately after the cycle completes and hand-dry any remaining moisture to prevent water spots.
Why Hand-Washing Extends Your Pan’s Lifespan
Hand-washing your Cuisinart air fryer pan extends the non-stick coating’s lifespan by 2-3 years compared to regular dishwasher use. Dishwasher detergents are too harsh for delicate non-stick surfaces, gradually breaking down the coating. Hand-washing allows immediate inspection for wear and prevents the high heat of dishwasher drying cycles that can warp the pan. The extra 5 minutes it takes to hand-wash pays off in years of reliable performance—your future self will thank you when your pan still releases food effortlessly years later.
Preventing Future Buildup With Smart Cooking Habits
Cooking Spray Considerations
Avoid aerosol cooking sprays like Pam—the propellants create a sticky residue nearly impossible to remove. Instead, use a refillable oil mister filled with high-smoke-point oil like avocado or canola, or brush a thin layer directly on food. This prevents the polymerized oil buildup that turns into a permanent sticky layer on your pan. If you must use spray oil, choose pump-style sprays rather than aerosol cans for less residue.
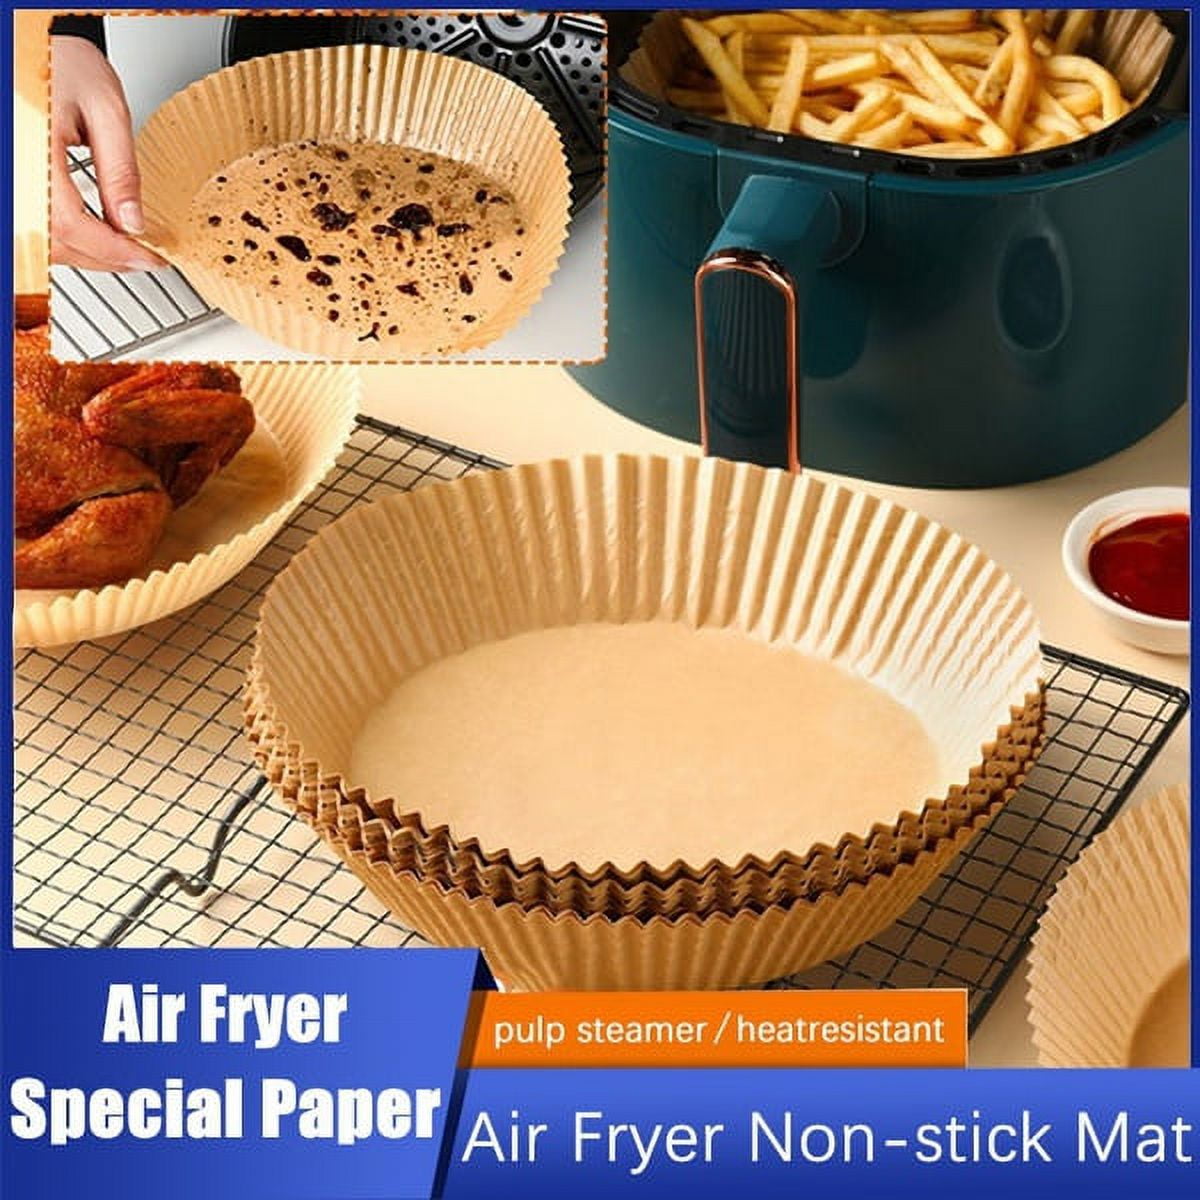
Liner Solutions That Actually Work
Parchment paper liners cut to size prevent sticking while allowing proper air circulation—just don’t cover the entire bottom surface. Silicone mats provide reusable, dishwasher-safe protection but must be custom-cut to fit your specific Cuisinart model. Aluminum foil works in a pinch but should never cover the entire pan bottom as it blocks crucial air flow. Always use the minimum liner coverage necessary—your air fryer works best with unobstructed air circulation.
Post-Cooking Protocol That Saves Time
Make wiping your pan with a damp paper towel while slightly warm part of your regular routine—it takes just 30 seconds but prevents most stubborn buildup. For foods that typically stick like fish or breaded items, do this immediately after serving. This simple habit means you’ll rarely need deep cleaning methods, keeping your Cuisinart air fryer pan looking like new with minimal effort.
Your Cuisinart air fryer pan is an investment in healthier cooking that deserves proper care. By implementing these cleaning techniques consistently, you’ll maintain optimal performance while significantly extending its lifespan. Remember that gentle, regular maintenance beats aggressive scrubbing every time—start with the daily wipe-down routine today, and you’ll rarely face the battle with baked-on residue. When in doubt, always choose the gentlest effective method; your pan (and your cooking results) will thank you for years to come.


