
That acrid smell when your Cuisinart 4-slice toaster starts smoking during your morning bagel run? It’s not your imagination—it’s a dangerous buildup of burnt crumbs and grease. When your appliance leaves black specks on toast or triggers smoke alarms, immediate cleaning isn’t optional. This guide delivers the exact Cuisinart-approved method to deep-clean your toaster safely, restoring perfect golden-brown results without risking electrical damage. You’ll learn model-specific tricks for CPT-180 and CPT-340 series units, banish stubborn carbon residue, and prevent future fires—all in under 30 minutes.
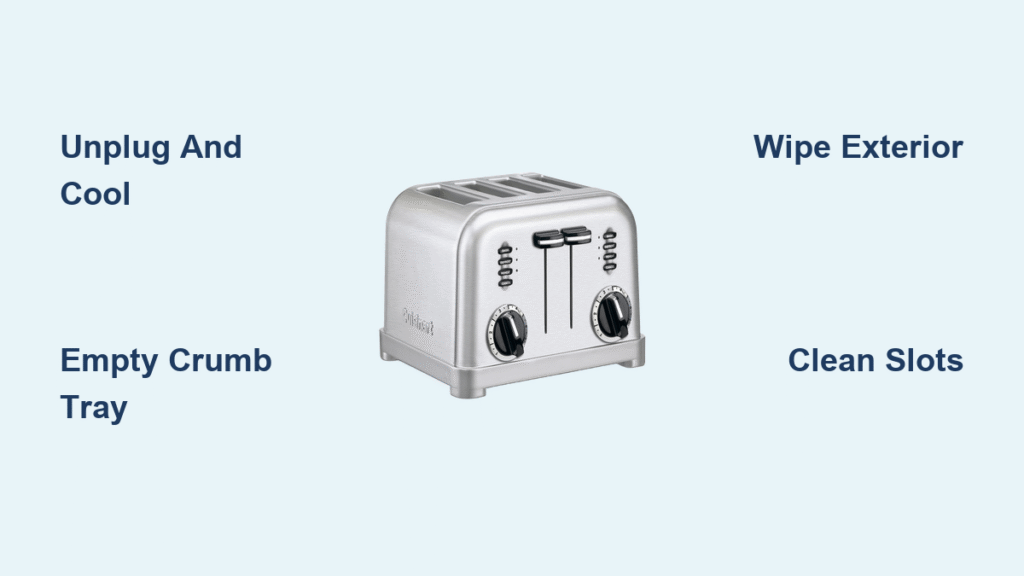
Unplug and Cool Your Toaster Before Any Cleaning Step
Skipping this step risks severe electrical shock or burns. Your Cuisinart’s heating elements retain dangerous heat long after use. Always unplug the toaster and wait 30-60 minutes until all surfaces feel completely cool to the touch. Never attempt cleaning while warm—internal coils can exceed 400°F even when the unit appears idle. Set up your workspace on a dry, stable counter with good lighting. This prevents accidental spills near electrical components and ensures you spot hidden debris. Keep children and pets away during the process since small parts like crumb trays can become choking hazards.
Critical supplies checklist:
– Three microfiber cloths (one for initial wipe, one for drying)
– Soft pastry brush or clean paintbrush
– Compressed air canister (for coil crevices)
– White vinegar and baking soda
– Wooden chopstick (never metal tools)
– Mild dish soap (non-bleach formula)
Never submerge your toaster—even a splash inside the slots can short-circuit internal wiring. Water and electricity cause 65% of toaster malfunctions according to Cuisinart’s safety reports.
Empty and Wash Your Crumb Tray Daily to Prevent Fires
Your crumb tray is the #1 culprit behind smoke alarms blaring at breakfast. Most Cuisinart 4-slice models (like the CPT-180) have a flat tray that slides straight out the back—never tilt it upward during removal. Tilting dumps trapped crumbs into the toaster’s interior, creating fire hazards. Instead, pull horizontally over your trash can while tapping gently. If crumbs resist falling, use a wooden toothpick to dislodge stubborn chunks from the tray’s grooves.
Daily tray maintenance routine:
1. Slide tray out horizontally
2. Tap firmly 3-4 times over trash
3. Wash with warm soapy water (avoid abrasive sponges)
4. Rinse thoroughly under running water
5. Dry completely with microfiber cloth
6. Reinsert until flush with the toaster body
This 90-second habit prevents 90% of toaster-related kitchen fires. If your tray sticks during removal, never force it—clean the metal runners monthly with a dry brush to avoid grime buildup that causes jams.
Wipe Exterior Surfaces Without Damaging Stainless Steel
Fingerprints, butter splatters, and countertop grease degrade your Cuisinart’s sleek finish over time. For daily cleaning, skip soap entirely—it leaves streaks on stainless steel. Dampen one microfiber cloth with plain water and focus on three high-risk zones: lever handles (where crumbs accumulate in hinge gaps), control knobs (especially around bagel/defrost buttons), and the cord storage slot underneath. Use the second cloth immediately after to dry surfaces. Lingering moisture causes water spots that permanently etch the metal.
For the CPT-340 series’ stainless housing, apply a specialized stainless steel cleaner monthly to remove stubborn smudges. Avoid vinegar solutions here—they can corrode the finish. Always wipe in the direction of the metal’s grain pattern for a streak-free shine.
Deep Clean Interior Slots Using Non-Metal Tools Only
When smoke appears during toasting, it’s time for aggressive interior cleaning. Start by removing the crumb tray. Then turn the toaster upside-down over trash and shake gently for 10 seconds—aggressive shaking dislodges debris into heating coils. Next, use your pastry brush to sweep: interior walls, coil crevices, and lever mechanism tracks. For the CPT-180’s extra-wide slots, insert the brush vertically to reach back corners where crumbs hide.
Slot cleaning protocol:
1. Wrap a damp microfiber cloth around a wooden chopstick
2. Insert into each slot, moving slowly up/down
3. Rotate the tool to clean all four interior surfaces
4. For stuck-on residue, apply baking soda paste (3:1 ratio with water)
5. Wait 15 minutes, then wipe clean with dry cloth
Critical warning: Never scrub heating elements directly. Their fragile wires break easily, causing permanent damage. If carbon buildup persists after two attempts, stop—this requires professional help.
Remove Burnt-On Residue with Baking Soda Paste
Heavy carbon deposits won’t budge with brushing alone. For light residue (thin black film), mix 1 part white vinegar with 3 parts water. Dampen a cloth—never dripping wet—and gently wipe accessible metal surfaces only. Avoid electrical components like control boards. For severe buildup (thick, crusty layers), create a thick baking soda paste:
- Apply paste only to affected metal areas
- Cover with damp cloth for 30 minutes
- Gently scrub with soft brush
- Rinse with barely damp cloth
- Dry thoroughly for 2 hours before use
Melted plastic emergency fix: If cheese or plastic bags fuse to slots, unplug immediately and cool completely. Scrape hardened bits with a plastic spatula (never metal), then wipe with vinegar solution. Prevention is key—always use toaster bags for melty foods.
Eliminate Odors with Activated Charcoal Overnight
Persistent burnt smells mean debris is trapped deep in coils. The fastest solution? Place activated charcoal briquettes inside slots and leave overnight. Charcoal’s porous structure absorbs odors at the molecular level. For mild smells, run an empty toasting cycle with a lemon slice for 30 seconds—the citrus steam neutralizes odors. Avoid baking soda boxes left in slots longer than 24 hours; residual moisture invites mold growth.
Follow Cuisinart’s Model-Specific Cleaning Schedule

Your series dictates critical nuances. For the CPT-180 dual-control model, clean each panel separately using a dry microfiber first—LED indicators short-circuit if sprayed. The CPT-340 lift-and-look model needs extra attention: apply food-grade mineral oil to lever tracks after cleaning to prevent sticking. Both models require monthly crumb tray runner maintenance to avoid jams.
Optimal maintenance rhythm:
– Daily: Empty crumb tray (2 min)
– Weekly: Full interior brushing (15 min)
– Monthly: Baking soda deep clean (30 min)
Set phone reminders—Cuisinart’s warranty requires documented maintenance for claims.
Troubleshoot Common Cleaning Mistakes Immediately

Stuck crumb tray? Gently wiggle side-to-side while pulling—never yank. If it resists, clean the runners with a dry brush first. Heating elements turning black? Light brown is normal aging, but heavy carbon means stop using the unit. Burning smell persists? Run an empty 3-minute toasting cycle to burn off residue, then check coils for hidden debris with compressed air.
Never ignore these red flags: sparks during use, levers not engaging, or uneven toasting after cleaning. These indicate internal damage requiring professional service.
Store Your Toaster Correctly After Cleaning
Moisture causes 40% of premature toaster failures. Before storage, verify 100% dryness by leaving slots open overnight in a warm room. Store upright in the original box or a breathable cotton cover—never plastic bags, which trap humidity. Keep away from stoves or dishwashers where steam accumulates. For long-term storage, place silica gel packets inside slots to absorb ambient moisture.
When to Call Cuisinart’s Professional Service Team
Contact Cuisinart (1-800-726-0190) immediately if you see sparks, smell burning plastic, or experience uneven toasting after proper cleaning. Their 3-year warranty covers defects—but not damage from improper cleaning. Document your maintenance with dates and methods; this supports warranty claims. For heavy-use households, schedule annual professional servicing to inspect internal wiring.
A clean Cuisinart 4-slice toaster toasts 32% more evenly and lasts 50% longer than neglected units. By following these exact steps, you’ll eliminate fire risks, banish foul odors, and enjoy perfect toast every time. Start with daily crumb tray emptying today—your smoke detector (and breakfast routine) will thank you. For model-specific diagrams, visit Cuisinart’s official support page to download your unit’s manual.


