
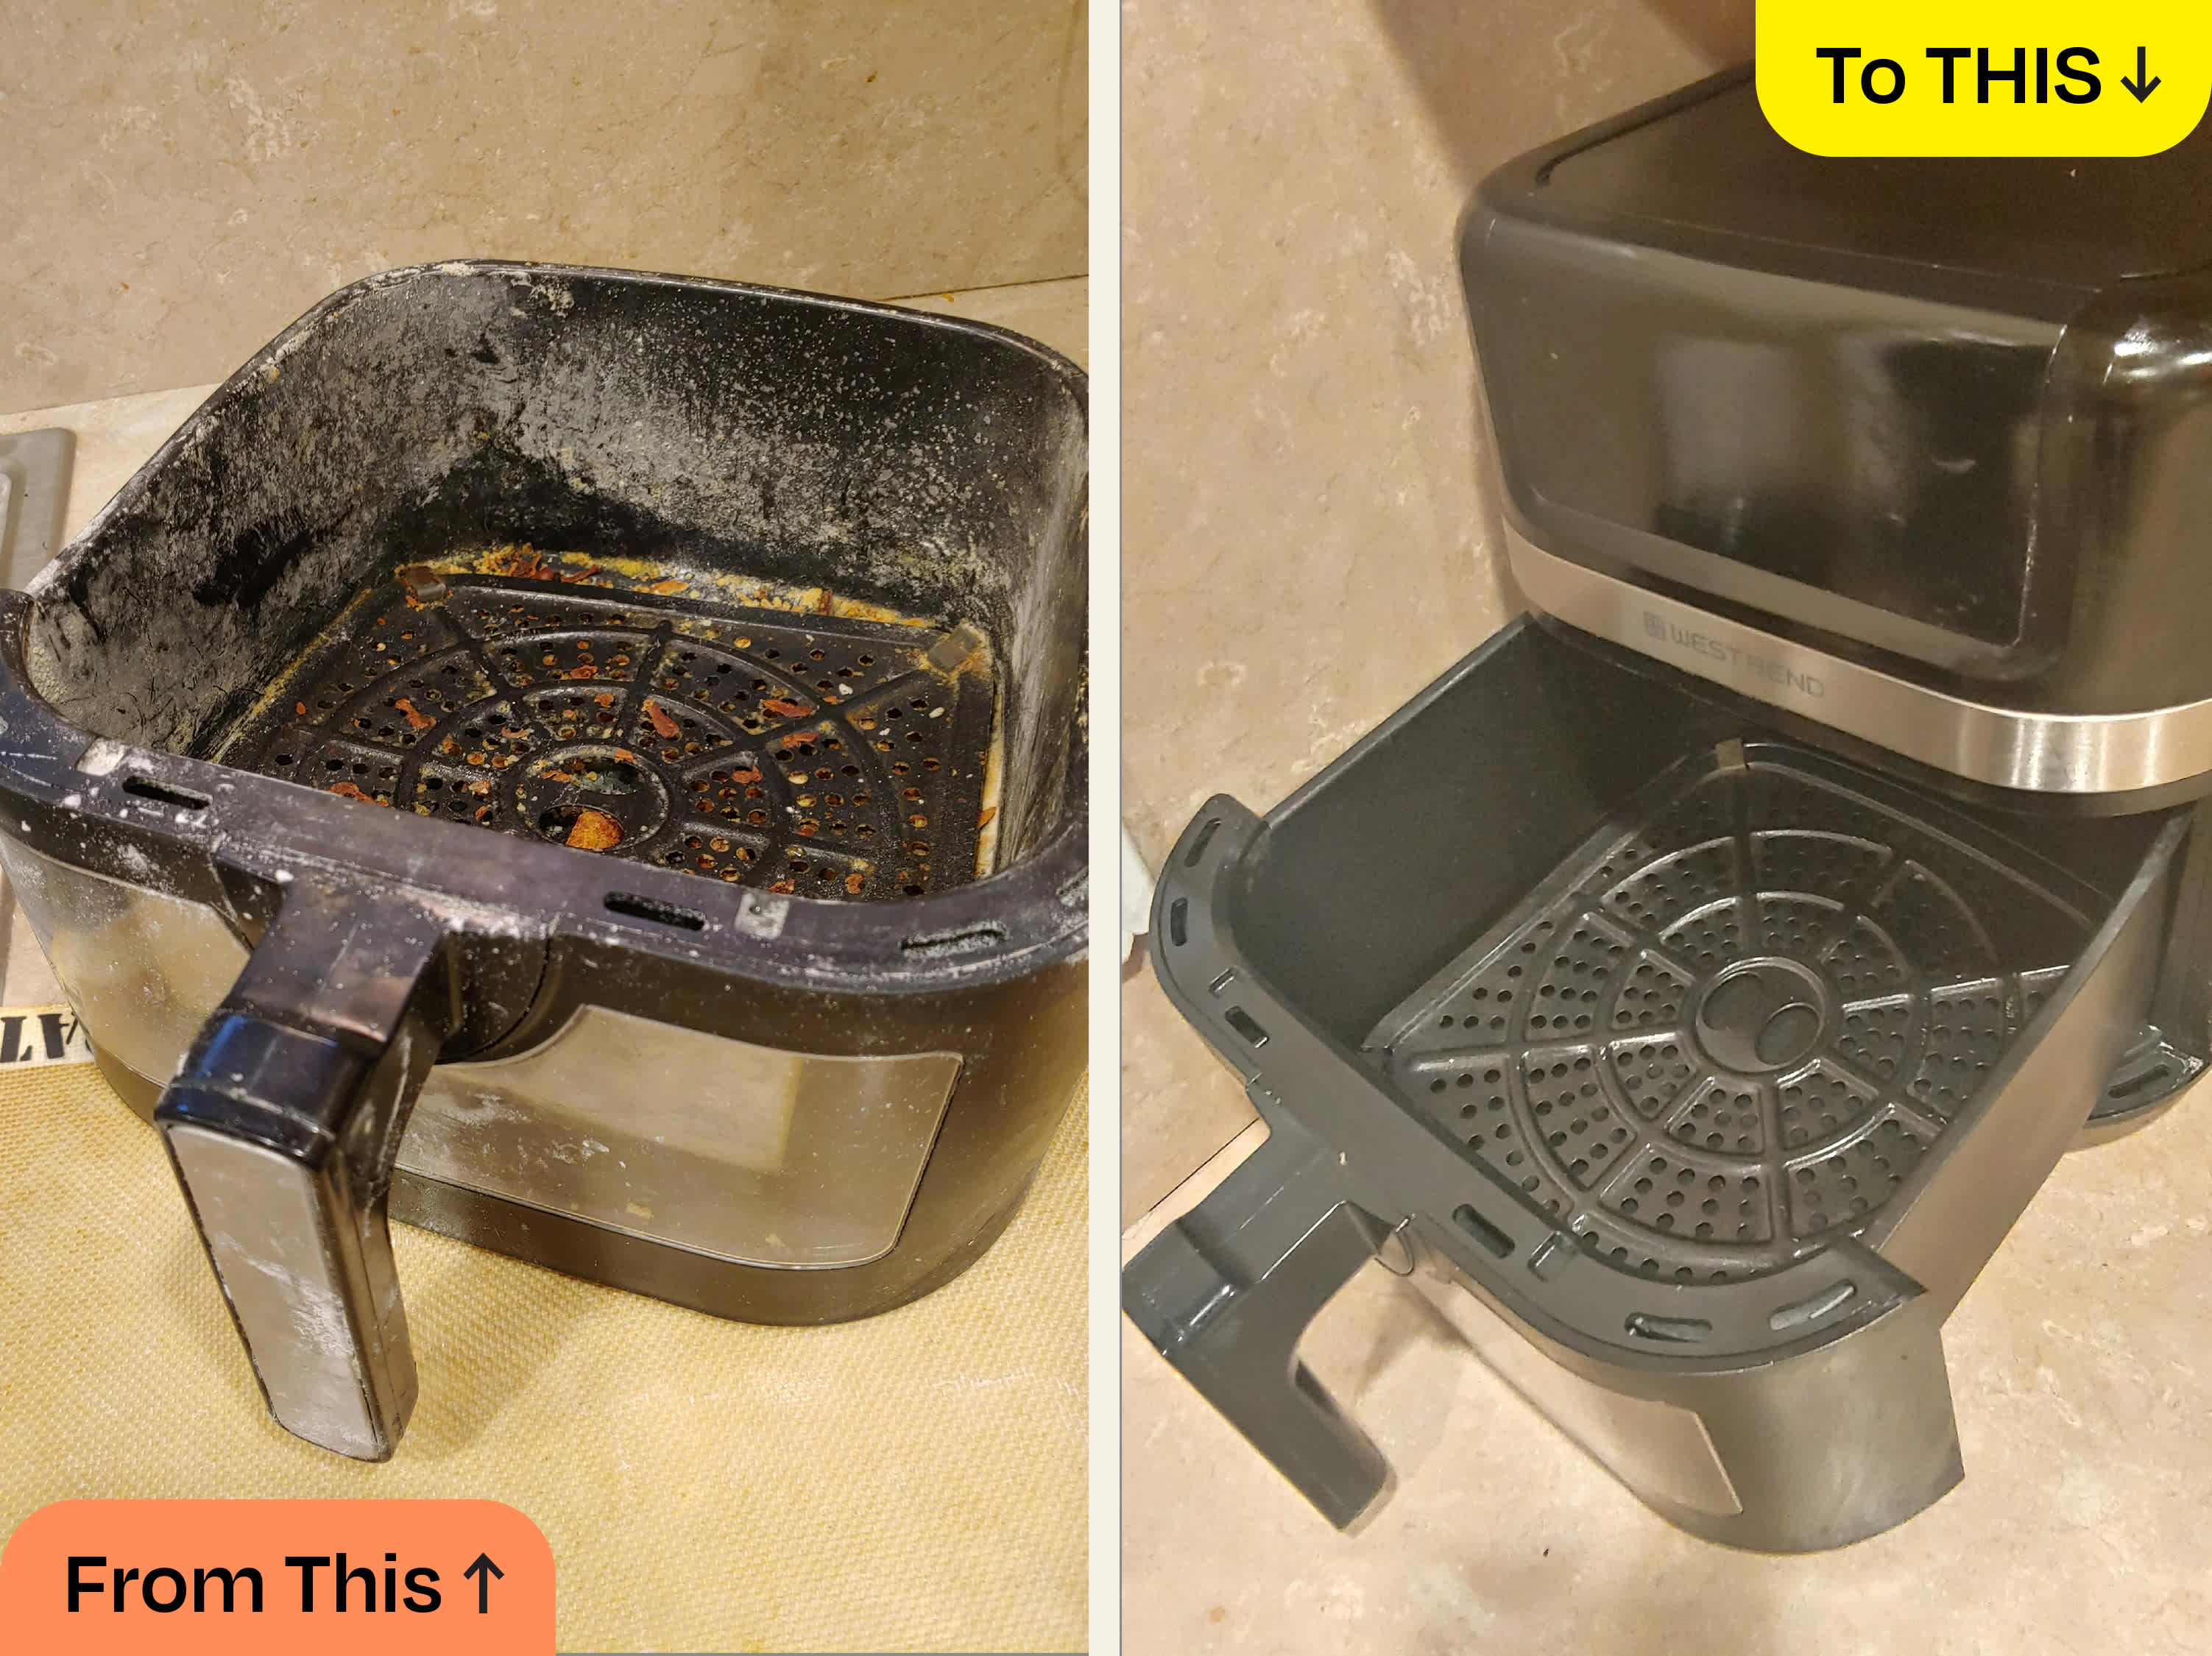
That stubborn black crust coating your Cuisinart air fryer basket isn’t just ugly—it’s actively sabotaging your crispy wings and golden fries. When grease bakes onto surfaces at 400°F, it transforms into carbonized armor that blocks airflow and creates smoke with every use. The good news? You don’t need harsh chemicals or professional help to restore your appliance. This guide reveals exactly how to clean baked on grease from Cuisinart air fryer components safely, using supplies already in your kitchen.
Ignoring baked-on grease reduces cooking efficiency by 20% and risks dangerous smoke during operation. But with the right techniques, even month-old carbon deposits vanish in under an hour. You’ll learn model-specific tricks for TOA-60s and digital AFR-25 units, plus emergency fixes when guests arrive unexpectedly. Let’s reclaim your air fryer’s performance without scratching its non-stick coating.
Your Cuisinart Grease-Busting Toolkit
Safe Degreasers That Won’t Void Your Warranty
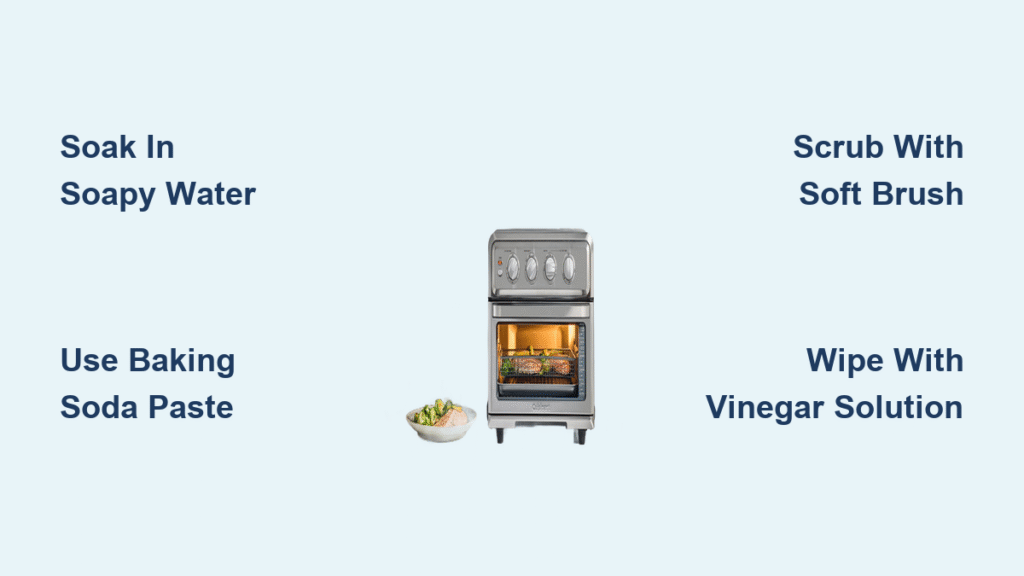
Dish soap is your frontline defense—concentrated formulas like Dawn Platinum slice through grease without damaging coatings. Baking soda becomes a gentle abrasive when mixed into paste (3 parts soda to 1 part water), lifting carbonized spots through alkaline reactions. White vinegar breaks grease bonds chemically; mix equal parts with water for a final rinse that eliminates soap residue and odors.
For extreme cases, enzyme cleaners like Biokleen digest organic buildup over 4-6 hours. Never use steel wool, bleach, or ammonia-based products—they permanently etch non-stick surfaces and void warranties. Commercial options like Simple Green work when diluted 10:1 with water, but always test on hidden areas first.
Must-Have Cleaning Tools
- Blue Scotch-Brite sponges: The only abrasive pad safe for non-stick surfaces
- Soft-bristled bottle brushes: Reach mesh basket crevices without scratching
- Plastic credit card scrapers: Lift loosened grease at 45-degree angles
- Microfiber towels: Polish interiors streak-free after rinsing
- Old toothbrush: Detail-clean vents and heating element guards
Critical warning: Metal utensils cause microscopic scratches where grease embeds faster next time. If you hear scraping sounds during cleaning, you’re using too much pressure—stop immediately.
Daily Habits to Prevent Baked-On Grease
The 2-Minute Post-Cooking Routine
Never skip this step: After cooking, let your Cuisinart cool 30-45 minutes (hot surfaces warp when contacted with water). While still warm, shake loose debris from the basket, then wipe interior walls with a damp paper towel. Heat softens grease, making this effortless removal possible. Skipping this single habit turns light residue into carbonized armor within weeks.
Weekly Maintenance That Saves Hours
Every Sunday, run this quick protocol:
1. Remove basket, crisper plate, and crumb tray
2. Soak in hot, soapy sink water for 15 minutes
3. Gently scrub with soft brush while grease is soft
4. Rinse and dry completely before storage
This 10-minute ritual prevents 90% of severe buildup. Users who skip weekly soaks face 3x longer deep cleans—and risk permanent discoloration that affects cooking performance.
Deep Cleaning Baked-On Grease in 3 Phases
Phase 1: Strategic Soaking for Maximum Loosening
Disassemble all removable parts. Fill your sink with the hottest tap water (120-140°F) and 2 drops of concentrated dish soap. Submerge components completely—water must penetrate mesh holes where grease hides.
Soak times based on buildup:
– Light grease (1-2 uses): 15 minutes
– Moderate buildup (1-2 weeks): 2 hours
– Extreme carbonization: Overnight in sealed bag with ammonia-free cleaner
Pro tip: Add ½ cup baking soda to the soak water—it creates effervescence that penetrates stubborn spots.
Phase 2: Mechanical Removal Without Scratches
After soaking, grease lifts easily:
1. Use a plastic scraper at 45° angles to lift residue from flat surfaces
2. Work a soft brush in circular motions on mesh areas
3. Apply baking soda paste to blackened spots; wait 15 minutes
4. Rinse under warm running water until water runs clear
Critical mistake to avoid: Never scrub perpendicular to mesh patterns—this traps grease in crevices. Always follow the basket’s weave direction.
Phase 3: Final Restoration and Drying
Wipe all surfaces with a 1:1 vinegar-water solution to neutralize odors and remove soap film. Air-dry components upright for 2 hours minimum—trapped moisture causes mold in crevices. Before reassembling, inspect non-stick coatings for wear; flaking surfaces require basket replacement ($25-35).
Model-Specific Cleaning Tactics

TOA-60/65 Series: Avoiding Heating Element Damage
These models hide grease traps around heating elements. Never immerse the main unit—dampen a microfiber cloth with vinegar solution and gently wipe elements only. For door seals, use cotton swabs dipped in soapy water; grease here causes smoke leaks. Clean interior walls weekly to prevent residue from reaching the fan assembly.
Digital AFR-25 Models: Protecting Touch Screens
Moisture destroys digital panels. Dampen a microfiber cloth with 70% isopropyl alcohol (never spray directly), then wipe controls with feather-light pressure. Test alcohol on a hidden area first—some finishes discolor. Always dry the control panel with a separate dry cloth within 10 seconds to prevent seepage.
Compact AFR-17 Units: Tackling Tight Spaces
Small baskets concentrate grease faster. Use pipe cleaners to reach behind heating elements and door hinges. Due to limited capacity, clean these models after every 3-4 uses—waiting weekly causes rapid carbonization. Store with the basket inverted to prevent moisture pooling.
Eliminating Carbonized Black Spots
When Baking Soda Isn’t Enough
For rock-hard black deposits:
1. Apply enzyme cleaner liberally to affected areas
2. Seal components in a plastic bag for 4-6 hours
3. Simmer basket in a pot with ½ cup baking soda + water for 20 minutes
4. Use a soft brush to remove loosened residue
Never use: Bar Keepers Friend on non-stainless parts—it strips coatings. Reserve it only for visible metal exteriors.
Heating Element Grease: Avoiding Fire Hazards

Grease near heating elements requires special care:
– Blast loose particles with canned compressed air
– Use a handheld vacuum’s brush attachment to pull out debris
– Stop immediately if grease has entered electrical components—contact Cuisinart support
DIY cleaning of electrical areas risks short circuits. If you smell burning during operation after cleaning, unplug the unit and seek professional service.
Prevent Future Buildup Like a Pro
Monthly Deep Clean Schedule
Mark your calendar for these non-negotiable tasks:
– Disassemble and soak all components
– Inspect rubber feet for grease-induced deterioration
– Verify crumb tray slides smoothly (grease causes jams)
This 30-minute monthly ritual prevents polymerized grease that requires extreme measures. Units cleaned monthly last 2-3 years longer than neglected ones.
Energy Savings You Can’t Ignore
A clean Cuisinart uses 18% less electricity than a greasy one. Heavy buildup forces cooking times 15% longer—adding $32 annually to your electric bill. That sticky basket isn’t just gross; it’s literally costing you money with every use.
Emergency Guest-Ready Fix
When your air fryer looks disastrous moments before company arrives:
1. Mix 1 cup hot water + ½ cup white vinegar + ¼ cup rubbing alcohol + 2 drops dish soap
2. Spray liberally on greasy surfaces
3. Wipe with microfiber cloth for 60 seconds
4. Rinse with damp cloth
This cuts through fresh grease instantly. While not a replacement for deep cleaning, it buys you 24 hours until proper treatment.
Safety First: Critical Precautions
Never pour grease down drains—it solidifies into plumbing clogs costing $200+ to fix. Let grease cool in a disposable container (like an old yogurt tub) before trashing it. Always wear gloves with commercial degreasers, and ensure kitchen ventilation when using strong cleaners. Most importantly: rinse components 3x to prevent chemical contamination of your next meal.
Cleaning baked on grease from your Cuisinart air fryer takes less effort than you think when using model-specific techniques. By implementing the 2-minute post-cook wipe and monthly deep cleans, you’ll avoid marathon scrubbing sessions while saving $30+ yearly in energy costs. Start today—your next batch of perfectly crisp fries depends on it. Remember: a clean air fryer isn’t just about looks; it’s the secret to consistent, smoke-free cooking that actually saves you money.


