
Grease splatters and carbonized food particles aren’t just unsightly—they actively sabotage your cooking experience. A grimy oven creates uneven heat distribution that burns the edges of your casserole while leaving the center cold, emits foul odors during baking, and builds up dangerous flammable residue near heating elements. Learning how to clean a kitchen oven properly transforms your cooking results while eliminating fire hazards lurking behind that stubborn baked-on grime. The good news? You don’t need toxic chemicals or professional help. With common household items and these proven techniques, you’ll restore your oven’s performance in less time than it takes to roast a chicken. This guide delivers actionable methods that actually work, whether you’re dealing with light surface grease or years of carbon buildup.
Assemble Your Oven Cleaning Arsenal Before Starting
Gathering the right supplies before beginning prevents frustrating mid-process interruptions and ensures you tackle every type of oven grime effectively. Professional cleaners never start without their complete toolkit, and neither should you.
Your essential oven cleaning kit must include baking soda (not baking powder), distilled white vinegar, rubber gloves, microfiber cloths, a plastic scraper with a rounded edge, and old newspapers or towels for floor protection. Baking soda’s mild abrasiveness and alkaline properties break down grease without scratching enamel surfaces—unlike harsh commercial cleaners that often damage oven interiors over time. Never substitute baking powder, as its acidic components won’t create the necessary chemical reaction for grease breakdown.
For particularly stubborn carbon deposits, add a stainless steel scrubber (not steel wool, which scratches), an old toothbrush for crevices, and a spray bottle filled with equal parts vinegar and water. If your oven has self-cleaning functionality, locate your manual to understand cycle limitations—many manufacturers warn against using this feature with excessive grease buildup due to smoke risks. Always work in a well-ventilated area; open windows or run your range hood at maximum speed throughout the cleaning process.
Remove Components and Clear Loose Debris First
Skipping this critical preparation step guarantees a messy, ineffective cleaning job where loose crumbs mix with cleaning paste to create a sticky sludge that’s harder to remove than the original grime.
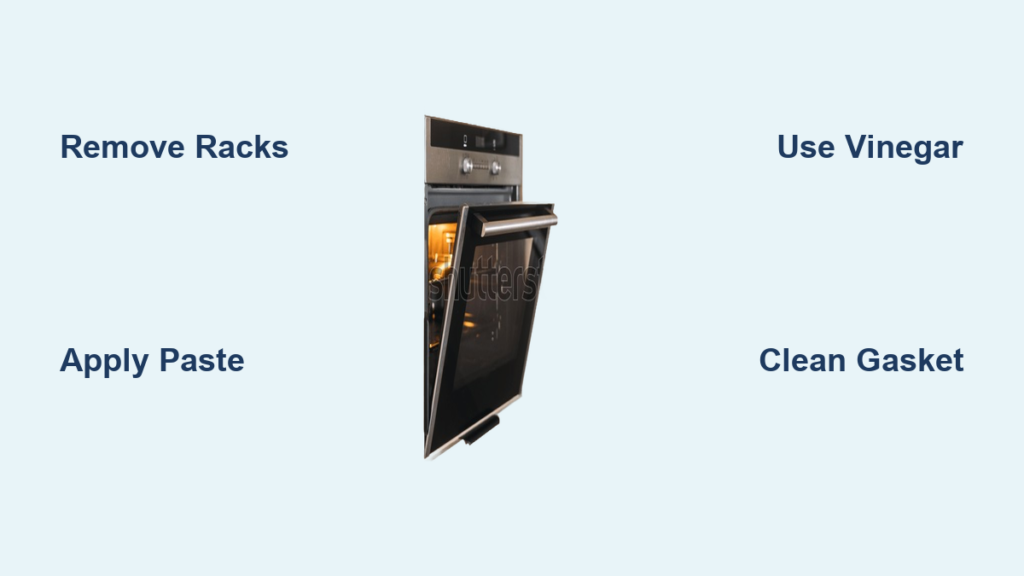
Begin by removing all oven racks and soaking them in your bathtub filled with hot water and dish soap—this loosens baked-on grease while you clean the interior. For wall ovens, pull out the racks completely; for ranges, slide them out carefully to avoid damaging the glide mechanisms. Immediately wipe up large food chunks with a dry paper towel before they mix with cleaning solutions. Pay special attention to the area behind the door gasket where food particles accumulate and cause burning smells during cooking.
Inspect the oven floor for metal fragments or foil pieces that could damage heating elements during future use. Vacuum out loose debris using a shop vac on low suction—never a household vacuum, which can overheat from grease particles. Check the broiler drawer if your model has one; this often-neglected compartment collects significant grease that can ignite during high-heat cooking. For self-cleaning ovens, remove all racks before proceeding to prevent permanent discoloration from the extreme heat cycle.
Create and Apply the Baking Soda Power Paste
The magic happens when baking soda’s alkalinity neutralizes acidic grease through a simple chemical reaction—but only if you prepare and apply the paste correctly. Most failed DIY oven cleaning attempts stem from improper paste consistency or insufficient dwell time.
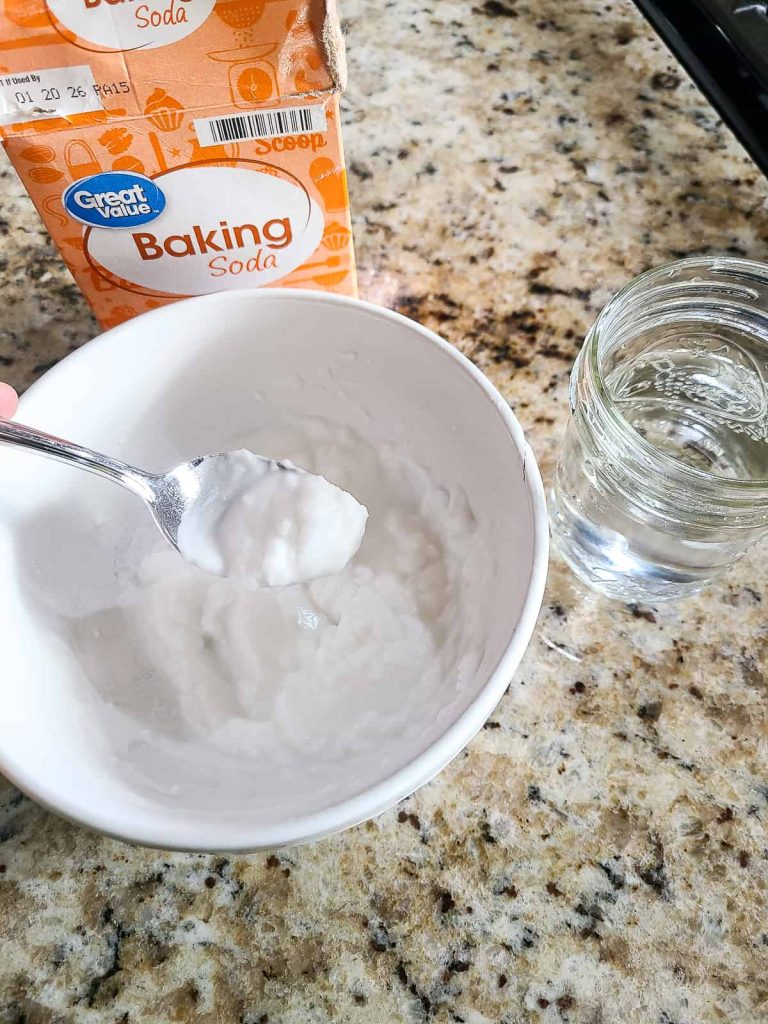
Mix ½ cup baking soda with 2-3 tablespoons of water to create a spreadable paste resembling toothpaste—thick enough to cling vertically but thin enough to spread smoothly. For extra-stubborn grime, add 1 tablespoon of salt for gentle abrasion. Apply the paste using a rubber spatula, working from top to bottom to prevent drips. Cover all interior surfaces except heating elements (if exposed), focusing on areas with visible carbon buildup. The paste should be 1/8-inch thick where grease is heaviest.
Let the paste work overnight—minimum 8 hours—for maximum effectiveness. During this time, baking soda penetrates baked-on layers, breaking molecular bonds through saponification (turning fats into soap). Check periodically; if the paste dries out completely, lightly mist with water to reactivate it. This passive dwell time eliminates 80% of the scrubbing effort, making the actual cleaning nearly effortless.
Neutralize and Wipe Away Residue Without Scrubbing
Most people ruin their oven’s finish by scrubbing too aggressively after the dwell period, not realizing the paste has already done the heavy lifting. The vinegar neutralization step creates a fizzy reaction that lifts remaining particles with minimal effort.
After the dwell period, spray white vinegar directly onto the dried paste—it will bubble vigorously as the acid neutralizes the alkaline baking soda and releases trapped grease. Wait 2 minutes for the reaction to complete, then wipe with a damp microfiber cloth using gentle circular motions. Work section by section, rinsing your cloth frequently in clean water to avoid redepositing grease. For persistent spots, reapply vinegar and let sit for 5 minutes before wiping.
Use your plastic scraper at a 45-degree angle for any remaining carbon deposits—never metal tools that scratch enamel. Check corners and crevices with a flashlight; residual paste left in seams causes smoking during first post-cleaning use. Wipe a final time with vinegar water (1:1 ratio) to remove any baking soda residue that could affect food flavor. Your oven walls should now feel smooth to the touch with no visible grease film.
Deep Clean Oven Racks Using the Overnight Soak Method
Oven racks require specialized treatment because their wire construction traps grease in hard-to-reach areas that standard wiping can’t address. The overnight soak method dissolves buildup without elbow grease.
Fill your bathtub with hot water to submerge racks completely, adding ¼ cup dish soap and ½ cup ammonia (for cast iron racks) or 1 cup baking soda (for chrome-plated racks). Cover the tub with a towel to contain fumes and prevent evaporation. Soak for 12 hours minimum—24 hours for neglected racks. The hot water softens grease while alkaline ingredients break down carbonized residue.
After soaking, scrub racks with a stainless steel brush using back-and-forth motions along the wire grain (not circular motions that leave scratches). Pay special attention to rack glide points where grease causes sticking. For stainless steel racks showing rainbow discoloration, make a paste of baking soda and hydrogen peroxide, apply for 30 minutes, then rinse. Dry completely before reinstalling to prevent rust spots.
Target Hidden Trouble Zones Professionals Never Skip

The areas most responsible for burning smells and uneven heating get overlooked in 90% of home oven cleanings. Addressing these zones prevents recurring issues between deep cleanings.
Clean the door gasket thoroughly with an old toothbrush dipped in vinegar water—trapped food here causes smoke during cooking. Inspect for tears that compromise the seal; replace if damaged. For interior glass, apply baking soda paste and cover with a vinegar-soaked paper towel for 30 minutes before wiping. Use a single-edge razor blade at 30-degree angle for stubborn spots on glass only—never on enamel surfaces.
Check the broiler compartment and flame ports on gas ovens, clearing obstructions with a paper clip. Vacuum out the oven’s convection fan housing if applicable—grease here causes loud noises and uneven air circulation. Wipe control panels with a barely damp microfiber cloth to prevent grease buildup that interferes with touch controls.
Maintain Your Oven’s Cleanliness With Smart Habits
Preventative maintenance reduces deep cleaning frequency from quarterly to biannually while preserving your oven’s performance. These simple habits take less than 2 minutes but save hours of future scrubbing.
Wipe spills immediately with a damp cloth while the oven is still warm (not hot)—never let them bake on. Place a baking sheet on the bottom rack when roasting fatty foods to catch drips. Use oven-safe containers with at least 1-inch clearance from walls to prevent splatter buildup. After each use, leave the door ajar for 15 minutes to reduce moisture that bonds grease to surfaces.
For ongoing freshness, keep an open box of baking soda on the bottom rack (replace monthly). Run a self-cleaning cycle for 1 hour every 6 months on moderate soil levels—never on heavily soiled ovens. Check and clean drip pans quarterly if your model has them. These small efforts prevent the overwhelming buildup that makes oven cleaning feel like a dreaded chore.
By following these precise methods for how to clean a kitchen oven, you’ll maintain optimal cooking performance while eliminating fire hazards. Your food will bake more evenly, your kitchen will smell fresher, and you’ll extend your oven’s lifespan significantly—all without harsh chemicals or professional costs. Implement the maintenance habits to keep your oven in top condition between deep cleanings, and you’ll never face that overwhelming grease buildup again. The key takeaway? Consistent, simple care beats infrequent, intensive scrubbing every time—your future self will thank you when dinner prep becomes effortless.


