
That stubborn smell of last week’s salmon or the greasy film clinging to your Cuisinart air fryer oven’s interior walls? It’s silently sabotaging your crispy fries and even cooking. When food residue builds up around the heating element or fan assembly, airflow chokes—turning “air fry” into “steam cook” and leaving you with soggy results. This guide cuts through the confusion with battle-tested cleaning steps that restore peak performance in under 30 minutes. You’ll learn exactly how to tackle baked-on grease without damaging non-stick coatings and prevent future buildup with simple daily habits.
Daily Cleaning After Each Use
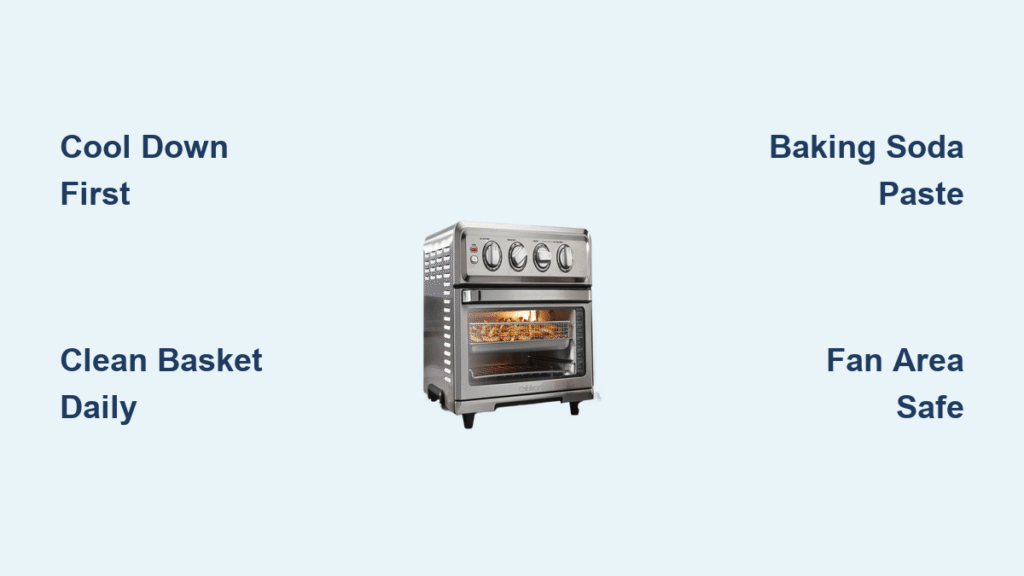
Cool Down First
Unplug immediately after cooking and wait 20 minutes for the unit to cool completely. Rushing this step risks burns and thermal shock to the non-stick interior—a common cause of coating degradation. During this cooldown period, food particles harden slightly, making them easier to remove without aggressive scrubbing. Never submerge the main unit in water or wipe hot surfaces, as moisture contact with heated components can cause electrical damage.
Quick Component Removal
Slide out the basket and lift the crumb tray in one fluid motion while the unit cools. These parts handle 90% of food spills and grease splatters. Your baking pan follows—rinse all three under warm running water immediately after removal. For sticky residues like melted cheese, soak components in soapy water for 2 minutes before wiping with a soft sponge. This prevents overnight hardening that turns minor messes into deep-cleaning emergencies.
Interior Wipe-Down
Use a damp microfiber cloth to swipe the non-stick interior walls while surfaces are still warm (not hot). The coating releases most spills effortlessly at this stage—transforming what could be a 10-minute scrub into a 30-second wipe. Focus on the floor where oil pools after cooking bacon or wings, and run the cloth along door seal edges where crumbs accumulate invisibly. Avoid paper towels; their fibers can scratch the non-stick surface over time.
Exterior Touch-Up
Wipe the stainless steel or matte finish exterior with a soft cloth dampened with mild dish soap. The smudge-resistant surface requires only light pressure—circular motions actually highlight fingerprints. Pay special attention to control knobs where grease transfers from hands during operation. Never spray cleaners directly onto the unit; overspray can seep into vents and damage electrical components. A dry microfiber polish afterward leaves a streak-free shine.
Deep Clean Baked-On Grease
:max_bytes(150000):strip_icc()/how-to-clean-toaster-4777498-13-d338f3c05ba34bbba6a96afae42452ec.jpg)
Flip for Access
Turn the unit upside down after complete cooling to expose the heating element and upper interior surfaces. This reveals hidden grease traps near the fan assembly—areas airflow concentrates residue but your eyes can’t easily see. Work on a towel-lined counter to cushion the unit, and inspect the inverted top for dark, shiny patches indicating carbonized grease buildup from frequent chicken wing cooking.
Baking Soda Power Paste
Mix two tablespoons baking soda with just enough water to form a spreadable paste. This alkaline solution breaks down baked-on grease without scratching non-stick coatings—unlike abrasive cleaners that compromise the surface. The paste works slowly but penetrates stubborn deposits safely, making it ideal for monthly deep cleans. Avoid vinegar solutions; acid can degrade non-stick materials over time.
Targeted Application
Coat the heating element with paste using a damp cloth, staying clear of electrical connections. Spread on interior walls with a soft silicone brush, focusing on corners where airflow creates grease patterns. Dab around the fan area using cotton swabs wrapped in microfiber—these navigate tight spaces without disassembly. Never force tools into vents; gentle pressure suffices since the paste does the heavy lifting.
Wait and Wipe
Let the paste sit for 15-20 minutes while you wash removable parts. This dwell time allows the alkaline reaction to dissolve carbonized residue. Wipe clean with damp cloths, rinsing them frequently to avoid reapplying grease. For persistent spots, reapply paste but never scrub aggressively—repeated pressure wears down non-stick coatings. Finish by wiping with a water-dampened cloth to remove baking soda residue.
Clean Fan Area Safely
Light the Way
Use your phone’s flashlight to inspect fan blades and housing after flipping the unit upside down. Grease buildup here reduces airflow by up to 30%, causing uneven cooking and lingering odors. You’ll spot dark, sticky patches near the fan’s edge where grease accumulates fastest during high-heat cooking. If residue feels tacky when touched with a clean finger, it’s ready for cleaning.
Flexible Tools Required
Silicone bottle brushes or pipe cleaners navigate narrow fan housing without scratching. Dip tools in baking soda paste, then gently scrub visible blades in small circular motions. Work systematically from the outer housing toward the center hub, checking progress with your flashlight after each pass. Replace cotton swabs every 2 minutes as they absorb grease and lose effectiveness.
No Water Zone
Keep liquids away from the fan motor and electrical components—this area is strictly dry-clean only. Moisture ingress can short-circuit the motor or cause rust. Focus solely on surface grease removal: dab paste onto residue, wait 5 minutes, then wipe with a dry microfiber cloth twisted to fit contours. Never spray cleaners near vents; even mist particles can damage internal mechanisms.
Dishwasher vs Hand Wash

Safe Dishwasher Items
Crumb tray and baking pan handle dishwasher cycles perfectly when placed on the bottom rack. Angle them slightly to prevent water pooling in crevices. The non-stick coating withstands standard dishwasher temperatures but avoid harsh detergents with bleach or citrus—these degrade coatings over time. Run these parts through a normal cycle after heavy grease sessions like roasting whole chickens.
Hand Wash Only
The air fryer basket requires hand washing—dishwasher detergents gradually erode its non-stick surface. Use warm, soapy water and a soft sponge with light pressure. For stuck-on food, soak the basket for 5 minutes before wiping. Never use steel wool or abrasive pads; microscopic scratches accelerate future buildup. Rinse thoroughly to prevent soap residue that causes smoking during next use.
Drying Strategy
Air dry completely for 30 minutes before reassembly. Any trapped moisture creates steam during operation, potentially damaging heating elements. Pat dry with clean towels first, then stand components upright to allow air circulation into corners. Reassemble only when all surfaces feel bone-dry to the touch—this prevents electrical hazards and maintains cooking precision.
Prevent Future Buildup
Immediate Action Protocol
Wipe warm spills within 10 minutes of cooking using a damp microfiber cloth. The non-stick coating releases food particles easily when slightly warm, preventing the hard carbonized residue requiring deep cleaning. Focus on the interior floor after fatty foods like bacon—this area collects drips that bake onto surfaces during subsequent uses.
Weekly Maintenance
Empty the crumb tray every 3-4 uses regardless of visible debris. Hidden grease accumulates fastest beneath the tray during high-fat cooking, especially with sausage or burgers. Rinse it under warm water and inspect the tray channel for stuck crumbs using a toothpick. This simple habit prevents smoke alarms from triggering during preheating.
Protective Measures
Line the crumb tray with perforated aluminum foil for messy roasts or fish. The foil catches drippings while maintaining airflow—just poke 5-6 small holes to prevent steam buildup. Replace foil after each use to avoid grease seepage. Never line the entire cooking chamber; this blocks critical airflow paths and creates fire hazards.
Troubleshoot Common Issues

Lingering Odors Persist
If smells remain after cleaning, run the unit empty at 400°F for 10 minutes. This burns off microscopic grease particles missed by the baking soda paste. Place a bowl of water inside to prevent overheating, and ensure kitchen ventilation is active. If odors persist, repeat the baking soda paste treatment with extended 30-minute dwell time.
Grease Spots Won’t Budge
For resistant spots, increase paste dwell time to 30 minutes and cover with plastic wrap to prevent drying. The extended contact breaks down year-old residue without harsh chemicals. After waiting, gently rub with a silicone brush using circular motions—never metal scrapers. If residue remains, it’s likely embedded in coating damage; replace the affected part.
Hard-to-Reach Areas
Cotton swabs on bamboo skewers extend your reach around fan blades without disassembly. Dip swabs in paste, then carefully clean heating element supports where grease loves to hide. Work methodically: start at 12 o’clock position, move clockwise, and replace swabs every 30 seconds. Check your phone’s camera for progress—most phones show details invisible to the naked eye.
Your Cuisinart air fryer oven rewards consistent care with years of flawless performance. Stick to the after-each-use wipe-downs and monthly deep cleans, and you’ll avoid the dreaded “scrub for an hour” scenario. Remember: that non-stick interior is your ally—gentle cleaning preserves its magic. Now fire up your unit for a test run; you’ll taste the difference in your next batch of crispy fries.


