
Commercial kitchen floors face constant challenges from spills, grease buildup, and heavy foot traffic. Without proper cleaning protocols, these surfaces become breeding grounds for bacteria and create serious slip hazards that endanger staff and violate health codes. The Centers for Disease Control estimates that improper floor cleaning contributes to nearly 15% of foodborne illness outbreaks in commercial settings. When you’re juggling service rushes and inventory management, floor maintenance might seem low priority—until a health inspector flags improper sanitation or, worse, someone suffers a serious fall. This guide provides the essential framework for developing a safe, effective commercial kitchen floor cleaning routine based on industry best practices.
Why Proper Floor Cleaning Matters Beyond Basic Sanitation
Preventing Cross-Contamination Pathways
Kitchen floors act as hidden reservoirs for pathogens that travel to food preparation areas through foot traffic and equipment movement. Grease buildup creates sticky surfaces that trap food particles and bacteria, creating continuous contamination cycles. Health inspectors routinely check for visible debris, grease accumulation, and proper drainage around floor edges during inspections. Establishments that treat floor cleaning as mere “mopping” rather than a critical sanitation step face higher risk of critical violations that can lead to temporary closures.
Reducing Workplace Injury Liability
Slip-and-fall accidents represent 16% of all nonfatal occupational injuries in food service according to OSHA records. Commercial kitchen floors become especially hazardous when improper cleaning techniques leave behind residue that creates deceptively slick surfaces. The average workers’ compensation claim for kitchen slip injuries exceeds $20,000, not including potential litigation costs. Establishing scientifically validated cleaning protocols protects both your staff and your business from preventable harm.
Essential Pre-Cleaning Preparation Steps

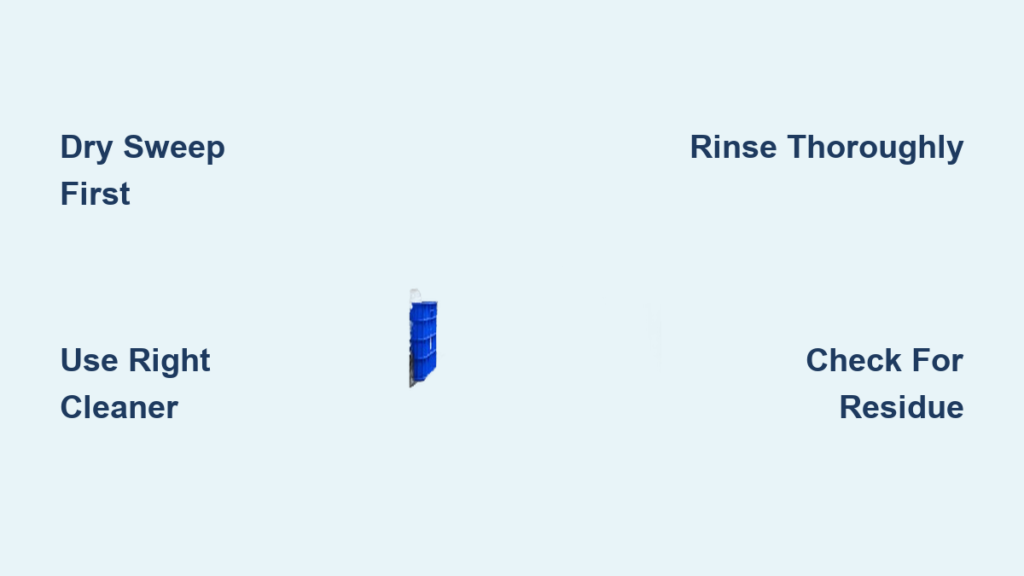
Clearing and Dry Sweeping Protocol
Begin by completely clearing the floor area of equipment, carts, and obstacles. Remove large debris using a dedicated dry sweeping technique—never wet mop over visible particles as this grinds contaminants deeper into flooring seams. Use color-coded brooms (typically red for high-risk areas) to prevent cross-contamination between zones. Pay special attention to corners, under equipment legs, and along wall edges where debris accumulates. This dry phase typically requires 10-15 minutes depending on kitchen size and should never be skipped, even during quick turnarounds.
Safety Equipment Requirements
Commercial floor cleaning demands appropriate personal protective equipment beyond standard kitchen gear. Staff must wear:
– Chemical-resistant gloves meeting ANSI/ISEA 105 standards
– Slip-resistant footwear with proper tread patterns
– Safety goggles when using concentrated cleaners
– Waterproof aprons for extended cleaning tasks
OSHA mandates proper ventilation during cleaning operations—never close off kitchen exhaust systems during floor maintenance. Establish clear signage protocols using “Wet Floor” indicators that meet ANSI Z535.1 visibility standards to prevent accidents during and after cleaning.
Selecting Appropriate Cleaning Solutions
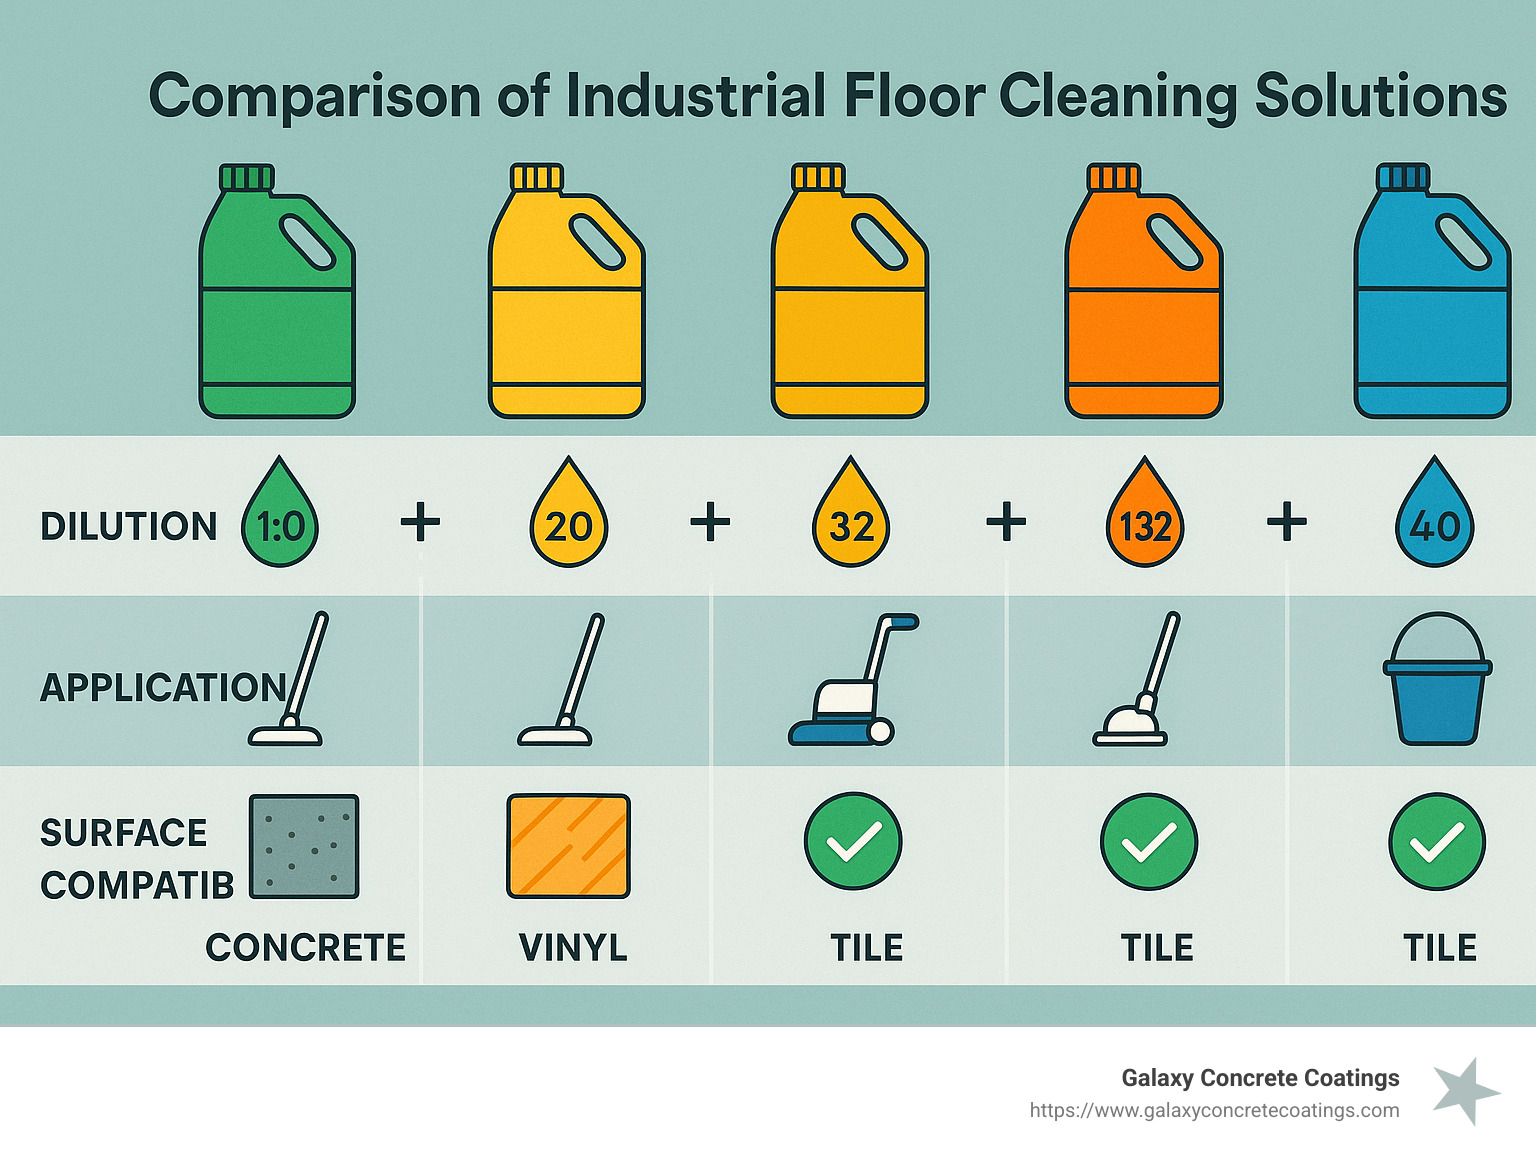
Understanding Floor Surface Requirements
Commercial kitchens utilize various flooring materials including seamless epoxy, quarry tile, luxury vinyl tile, and poured urethane—each requiring specific cleaning approaches. Acidic cleaners can etch epoxy surfaces while alkaline solutions may degrade certain vinyl compositions. Always consult your flooring manufacturer’s maintenance guidelines before selecting cleaning products. Health departments require documentation showing compatibility between cleaning agents and flooring materials during inspections.
Chemical Selection Criteria
Effective commercial kitchen floor cleaners must meet three critical requirements:
1. Emulsifying capability to break down grease without leaving residue
2. Appropriate pH level (typically 8.5-10.5 for most kitchen surfaces)
3. Food-contact surface approval (look for NSF certification)
Never use household cleaners in commercial settings—their formulations lack the necessary strength for industrial grease and often contain unsafe additives. Professional kitchen floor cleaners contain specialized surfactants that maintain effectiveness in hard water conditions common in commercial plumbing systems.
Step-by-Step Floor Cleaning Process
Proper Solution Preparation
Begin by filling your mop bucket with hot water (120-140°F) to maximize cleaning effectiveness—cold water causes grease to congeal rather than emulsify. Add cleaning solution according to manufacturer specifications; improper dilution either wastes product or leaves behind sticky residue. Most commercial kitchens require 3-4 ounces of concentrate per gallon of water, but always verify with product documentation. Use color-coded measuring containers to prevent chemical mixing errors.
Effective Mopping Technique
Apply solution evenly across a 10×10 foot section using an “S” pattern motion that ensures complete coverage without excessive pooling. Allow proper dwell time (typically 3-5 minutes) for the solution to break down grease—rushing this step renders cleaning ineffective. Use a dual-bucket system with clean rinse water to prevent redepositing soil. Change rinse water immediately when it becomes visibly cloudy. For stubborn grease buildup, employ a deck brush with stiff nylon bristles using moderate pressure to avoid damaging flooring seams.
Critical Rinsing Protocol
Rinsing represents the most frequently neglected yet crucial phase of commercial floor cleaning. Residual cleaner attracts more dirt and creates slippery conditions. Refill your rinse bucket with clean hot water and thoroughly rinse the entire area using the same section-by-section approach. Change rinse water multiple times until the water remains clear—this typically requires 2-3 full bucket changes for standard kitchen areas. Pay special attention to transitions between flooring types and near drain locations where residue accumulates.
Post-Cleaning Verification and Documentation
Visual and Tactile Inspection
After cleaning, perform a comprehensive inspection by:
– Running a gloved hand across seams and grout lines
– Checking under equipment casters for residue
– Examining high-traffic pathways for streaking
– Verifying no puddling occurs near drains
Properly cleaned commercial floors should feel smooth (not sticky or slippery) and appear uniformly clean without visible soil lines. Any tackiness indicates incomplete rinsing that requires immediate re-cleaning.
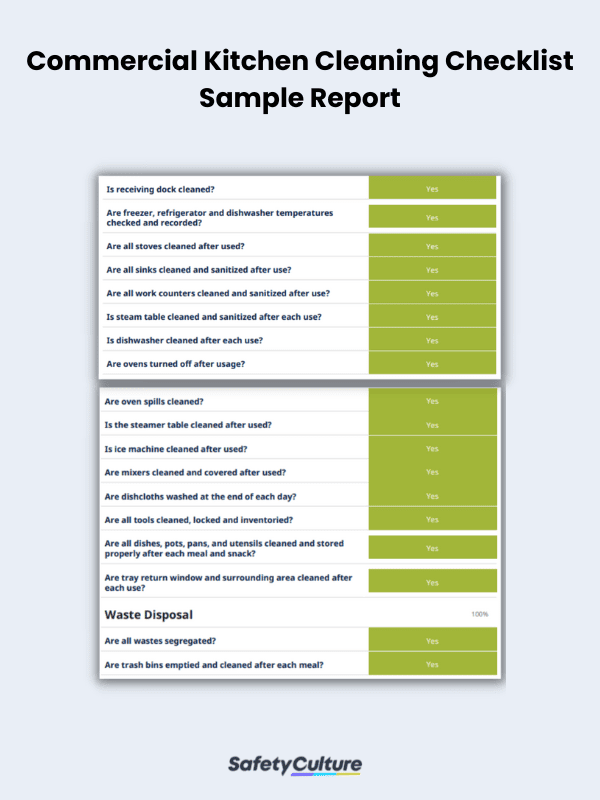
Maintenance Log Requirements
Health departments increasingly require documented cleaning records showing:
– Date and time of cleaning
– Staff member performing the task
– Product used with batch/lot numbers
– Verification signature
– Any issues encountered
Digital tracking systems with photo documentation provide the strongest compliance evidence during inspections. Establish a visible log sheet near cleaning supply storage that gets completed immediately after each cleaning session.
Preventing Common Cleaning Mistakes
Avoiding Cross-Contamination Hazards
Kitchen staff frequently transfer contaminants between zones through improper tool handling. Designate specific:
– Mop buckets by color-coded zones (red for high-risk areas)
– Mop heads for different surface types
– Squeegees for drainage channels
– Floor scrapers for stubborn debris
Never use the same cleaning tools for floors and food contact surfaces—a single instance can introduce dangerous pathogens into preparation areas. Store floor-specific equipment separately from other cleaning supplies in designated wall-mounted stations.
Temperature Control During Cleaning
Water temperature significantly impacts cleaning effectiveness. Water below 110°F fails to properly emulsify grease, while temperatures above 140°F can damage certain flooring materials and create steam hazards in enclosed spaces. Invest in a commercial-grade thermometer to verify water temperature before each cleaning session. During colder months, pre-rinse floors with warm water before applying cleaning solution to prevent grease from congealing during the process.
Establishing an Effective Cleaning Schedule
Frequency Guidelines by Area
Commercial kitchens require tiered cleaning schedules based on risk levels:
– High-risk zones (cooking lines, dish pits): Clean after each service period
– Medium-risk areas (storage, dry goods): Clean at least twice daily
– Low-risk spaces (offices, break rooms): Clean daily
During peak seasons or special events, increase cleaning frequency proportionate to traffic volume. Never allow more than 4 hours to pass between cleanings in high-traffic cooking areas—grease buildup becomes exponentially harder to remove after this threshold.
Nightly Deep Cleaning Protocol
End-of-day cleaning requires additional steps beyond routine maintenance:
1. Move all movable equipment completely off floors
2. Clean underneath stationary equipment bases
3. Treat stubborn grease spots with specialized degreasers
4. Perform grout cleaning in tiled areas
5. Apply floor protectant if recommended by manufacturer
Schedule deep cleaning during natural lulls in operations—never during active service periods when safety risks multiply. Allocate sufficient time (typically 45-90 minutes depending on kitchen size) to complete thorough cleaning without rushing.
Final Note: Proper commercial kitchen floor maintenance requires more than basic mopping—it demands scientifically validated procedures that protect food safety, staff wellbeing, and regulatory compliance. By implementing these structured protocols with appropriate products and verification steps, you create a foundation for consistent sanitation that withstands health inspections and prevents workplace injuries. Always consult your local health department’s specific requirements and flooring manufacturer guidelines to tailor these practices to your establishment’s unique needs. The investment in proper floor cleaning pays dividends through reduced liability, improved inspection scores, and a safer working environment for your entire team.


