
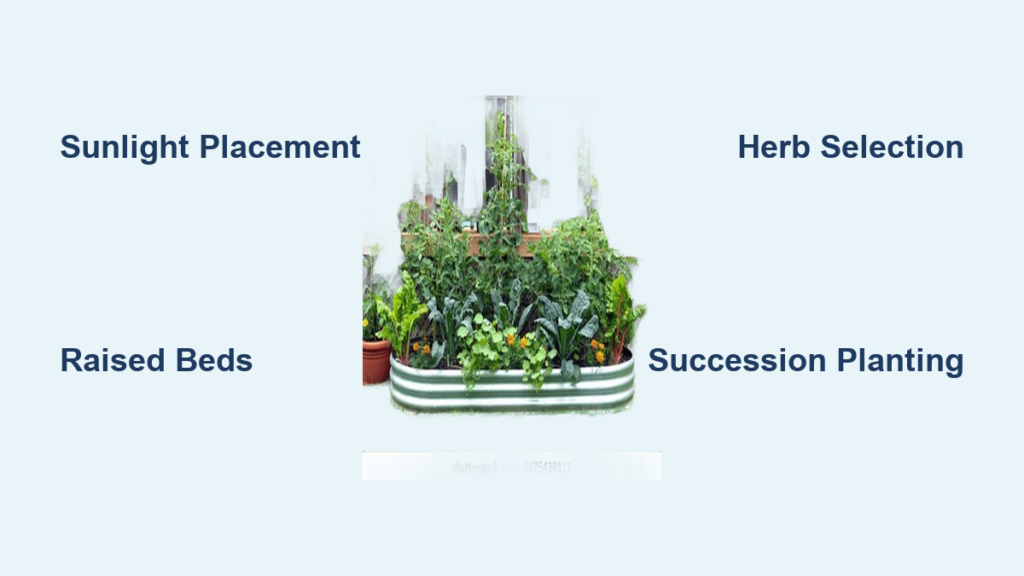
Imagine stepping outside your kitchen door to snip fresh basil for pasta sauce, pluck ripe cherry tomatoes for salads, or harvest crisp lettuce for sandwiches—all within arm’s reach of your stove. A well-designed kitchen garden transforms your cooking experience by providing hyper-fresh ingredients that store-bought produce simply can’t match. Unlike traditional vegetable gardens focused on preservation, a kitchen garden prioritizes daily harvests of high-flavor crops positioned for maximum convenience. Whether you have a sprawling backyard or just a sunny balcony, building a kitchen garden connects you directly to your food source while enhancing both your meals and your well-being. This guide delivers actionable steps to create your own productive kitchen garden, from selecting the perfect spot to harvesting your first crops, ensuring you establish a space that fits your lifestyle and culinary needs.
Position Your Garden for Maximum Sunlight and Convenience
Your kitchen garden’s location determines its success more than any other factor, so strategic placement is essential. Most culinary plants require six to eight hours of direct sunlight daily, making south-facing areas ideal in northern hemisphere gardens where they receive consistent light throughout the day. East-facing spots also work well, capturing gentle morning sun that helps plants dry dew quickly—reducing disease pressure while avoiding the harsh afternoon heat that can stress tender greens. Measure your potential garden areas with a sunlight calculator app or simply observe shadow patterns throughout the day to identify the sunniest spots before committing.
Proximity to your kitchen proves equally critical—gardens positioned within fifteen feet of your back door get harvested and maintained regularly, while distant plots often get neglected. A kitchen garden’s purpose is daily use, so prioritize convenience over perfection. If your sunniest spot is far from the house, consider installing a small satellite garden closer to your kitchen with your most frequently used herbs and salad greens. Evaluate water access too; your garden should have easy connection to a hose or irrigation system since consistent moisture is non-negotiable for productive plants. For problem areas with poor drainage, build raised beds or use containers to bypass soil limitations while gaining complete control over growing conditions.
Design a Layout That Matches Your Cooking Habits

Thoughtful layout design transforms a random collection of plants into a functional kitchen asset that streamlines your harvesting routine. Traditional kitchen gardens feature geometric bed arrangements with clear pathways, creating organized spaces that simplify planting, watering, and harvesting. Divide your garden into distinct zones based on how frequently you harvest—place high-use herbs like basil, parsley, and green onions within immediate reach of your garden path, while longer-season crops like tomatoes and peppers occupy slightly more distant positions. This “work triangle” concept, borrowed from kitchen design, minimizes unnecessary steps during harvesting.
For small spaces, maximize productivity with vertical gardening techniques that multiply your growing area without expanding your footprint. Train vining plants like cucumbers, pole beans, and small-fruited tomatoes up trellises, cages, or obelisks positioned along fence lines or against walls. The “three sisters” planting method—growing corn, beans, and squash together—creates a symbiotic relationship where corn supports climbing beans, beans fix nitrogen in the soil, and squash leaves shade the ground to retain moisture and suppress weeds. Before planting, sketch your layout on paper accounting for mature plant sizes to prevent overcrowding—most vegetable varieties need twelve to twenty-four inches of space between plants depending on their growth habit.
Build Raised Beds for Optimal Growing Conditions
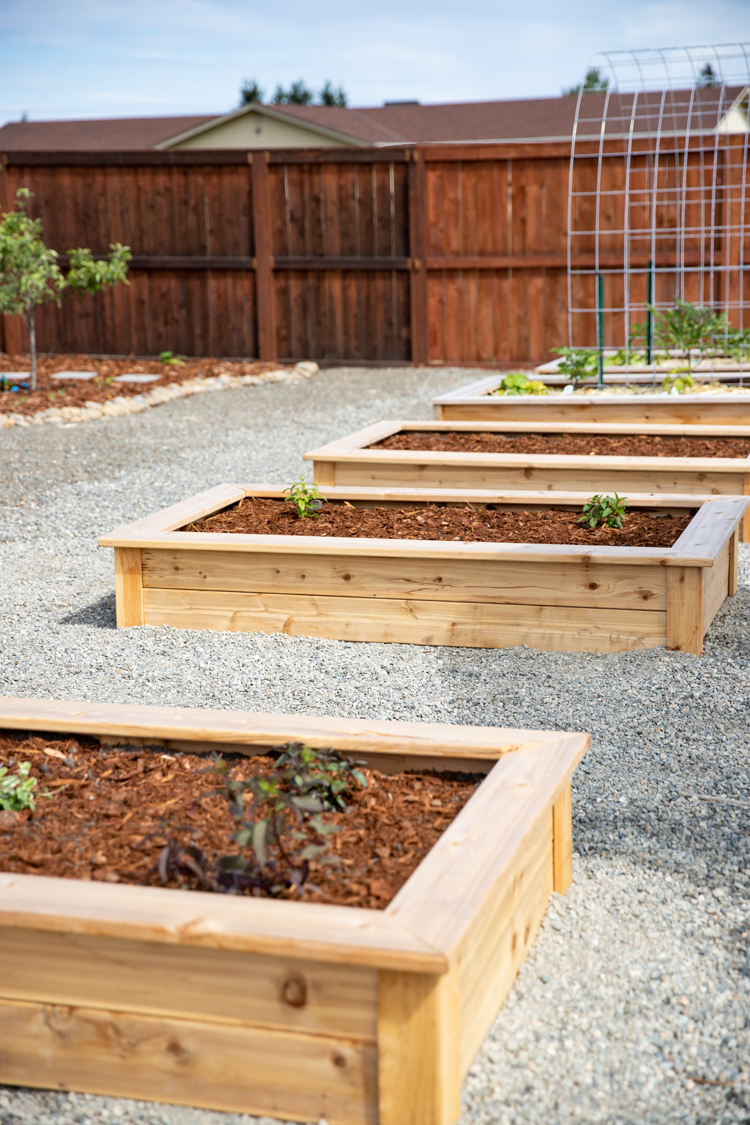
Raised beds form the foundation of most successful kitchen gardens, offering numerous advantages over traditional in-ground planting. They warm faster in spring, improving germination rates for cool-season crops, and provide superior drainage that prevents root rot during heavy rains. Construct raised beds from untreated cedar or redwood, which naturally resist decay without chemical treatments, using rot-resistant hardwood boards secured with galvanized screws. Standard dimensions of four feet wide (allowing comfortable reach from both sides) and eight to twelve feet long work well for most gardeners, with heights between twelve and eighteen inches providing ample root space while reducing back strain during maintenance.
Fill your raised beds with a carefully balanced soil mix that supports vigorous plant growth. Aim for a blend of forty percent topsoil, thirty percent finished compost, and thirty percent aged bark or coconut coir for optimal structure and fertility. This combination provides essential nutrients while ensuring proper drainage and moisture retention. Add a two-inch layer of compost to the bed surface each spring before planting to replenish nutrients depleted during the previous season. For gardeners with limited space or poor soil conditions, container gardening offers incredible flexibility—use pots at least twelve inches deep for most vegetables, ensuring they have adequate drainage holes and are filled with quality potting mix rather than garden soil.
Select High-Value Plants for Your Culinary Needs
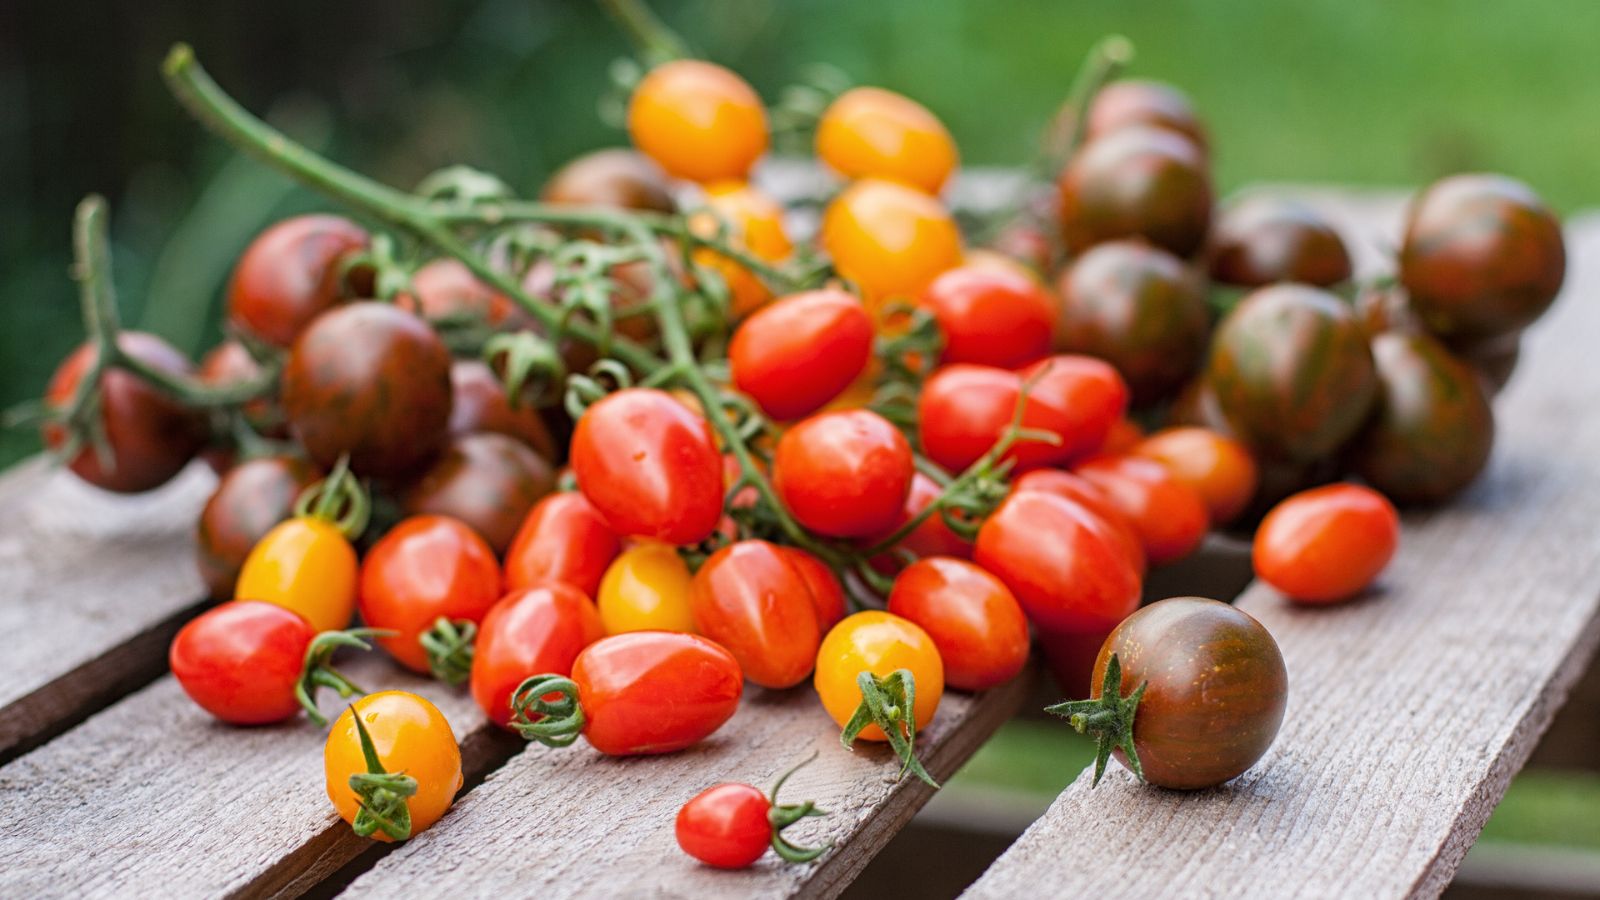
Your plant selection makes or breaks a kitchen garden’s usefulness, so prioritize varieties that deliver maximum flavor and harvest frequency rather than novelty or showiness. Focus on compact determinate tomatoes that ripen simultaneously for sauces, continuous-producing cherry tomatoes for salads, and bush varieties of cucumbers and squash that occupy minimal space while delivering abundant harvests. Include cut-and-come-again greens like lettuce, spinach, and arugula that yield multiple harvests from single plantings, ensuring continuous salad supplies throughout cool seasons.
Herbs deserve prominent positions since they offer exceptional return on investment—small plantings provide abundant flavor for cooking with minimal space requirements. Plant perennial herbs like thyme, rosemary, sage, and oregano at the garden’s edge where they won’t be disturbed by seasonal bed preparation, while annual herbs like basil, cilantro, dill, and parsley rotate through your planting schedule. Match your plant selection to your cooking habits: Italian cuisine enthusiasts should prioritize basil, oregano, and parsley; Asian cooking fans need Thai basil, lemongrass, and cilantro; Mediterranean diet followers require rosemary, thyme, and marjoram. Start with just five to seven essential plants that you regularly use in cooking rather than overwhelming yourself with too many varieties in your first season.
Implement Smart Planting Strategies for Continuous Harvests
Strategic planting schedules ensure your kitchen garden provides fresh ingredients throughout the growing season rather than overwhelming you with abundance followed by scarcity. Practice succession planting by sowing quick-maturing crops like radishes, lettuce, and bush beans every two to three weeks, ensuring continuous replacement as earlier plantings finish. Replace spent spring crops with summer transplants, then follow summer producers with fall plantings of cold-tolerant kale, spinach, and carrots that actually sweeten with frost exposure and continue producing well into winter in many climates.
Intercropping maximizes bed productivity by pairing fast-maturing plants with slower-growing varieties. Plant quick-growing radishes between slower beets or carrots—the radishes mature and clear space before the other crops need the room. Pair tall sunflowers with shade-tolerant lettuce, using the sunflowers’ canopy to protect salad greens from summer heat while the lettuce matures before the sunflowers fully leaf out. Start seeds indoors four to six weeks before your last frost date for tomatoes, peppers, and herbs, giving you a head start on the growing season. Label all plantings with variety names and planting dates to track performance and refine your schedule for future years.
Install Efficient Watering and Maintenance Systems
Consistent moisture proves essential for productive kitchen gardens, and installing appropriate irrigation saves time while improving plant health. Drip irrigation and soaker hoses deliver water directly to plant roots where it’s needed, minimizing evaporation loss and keeping foliage dry to reduce fungal diseases. Lay soaker hoses in parallel lines twelve to eighteen inches apart beneath mulch, connecting them to a timer for automated watering that ensures plants receive reliable moisture even during busy periods. Apply two to three inches of straw, shredded leaves, or wood chips as mulch to retain moisture, suppress weeds, and regulate soil temperature throughout the growing season.
Weekly maintenance keeps your kitchen garden productive and prevents small problems from becoming major disasters. Weed consistently before plants establish deep roots or go to seed—mulching significantly reduces weeding time while improving soil conditions. Inspect plants regularly for signs of pest damage or disease, catching problems early when they’re easier to manage through hand removal or organic treatments. Prune indeterminate tomatoes weekly by removing suckers that emerge between main stems and fruit-producing branches to direct energy into fewer, larger fruits. Feed heavy-feeding crops like tomatoes, squash, and cucumbers with compost tea every three to four weeks during active growth, supplementing the initial soil fertility.
Final Note: Building a kitchen garden requires an initial investment of time and resources but rewards you with years of fresh harvests, reduced grocery costs, and the profound satisfaction of growing your own food. Start small with a few essential herbs and vegetables that match your cooking habits, expand as you gain confidence, and remember that every experienced gardener once faced their first season of learning. Your kitchen garden grows alongside you, improving each year as soil builds, techniques refine, and your connection to food deepens—transforming not just what you eat, but how you experience the seasons and your relationship with nature.


