
Nothing makes your kitchen feel truly refreshed like a sparkling clean sink. Whether you’re dealing with stubborn coffee stains, lingering food odors, or just want to sanitize surfaces after handling raw meat, knowing how to bleach a kitchen sink properly transforms it from a germ hotspot to a hygienic centerpiece. Many homeowners make critical mistakes—using undiluted bleach that damages finishes, mixing chemicals that create toxic fumes, or skipping essential ventilation steps. This comprehensive guide reveals the exact method for safely bleaching stainless steel, porcelain, and composite sinks without causing discoloration or surface damage. You’ll learn precise dilution ratios, application techniques that target problem areas, and maintenance strategies to keep your sink looking factory-fresh between deep cleans.
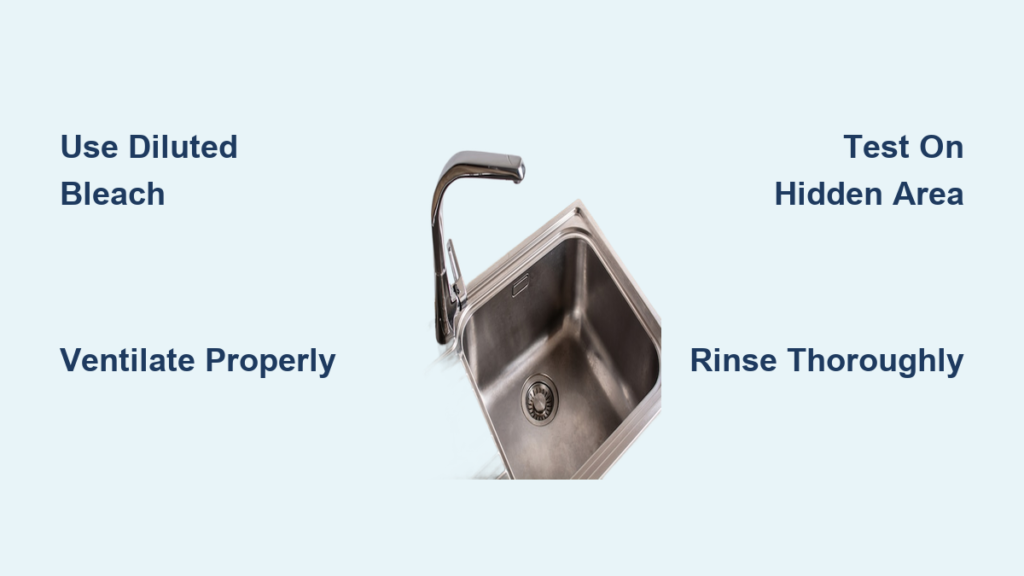
Gather Essential Bleach Cleaning Supplies Before Starting
Assemble everything you need before beginning the bleaching process to avoid interruptions that compromise safety and effectiveness. You must have standard liquid chlorine bleach with 5-6% concentration—the type found in grocery stores—measuring tools for accurate dilution, and protective rubber gloves to shield your skin from chemical burns. Safety goggles prevent accidental splashes from reaching your eyes, which could cause serious irritation. Prepare multiple clean microfiber cloths for application and drying, plus a soft-bristled brush specifically for scrubbing without scratching sink surfaces. Have a dedicated container for mixing solutions—never reuse food containers for bleach—and ensure your kitchen has proper ventilation through open windows or a running exhaust fan. Keep paper towels nearby for quick spill cleanup, and store all other cleaning products far from your workspace to prevent dangerous chemical mixing.
Why Proper Ventilation Matters During Bleach Application
Bleach fumes can cause immediate respiratory irritation, especially in enclosed spaces, making adequate airflow non-negotiable. Open at least two windows to create cross-ventilation or run your kitchen exhaust fan on high throughout the entire process. If you notice any coughing, eye watering, or throat irritation, stop immediately and spend more time ventilating the area before continuing. Never attempt to bleach your sink in a kitchen without functional ventilation—this isn’t just uncomfortable but potentially dangerous, particularly for people with asthma or other respiratory conditions.
Prepare Your Sink Surface for Effective Bleach Treatment
Clear all items from your sink basin before starting, including soap dispensers, sponges, and dish racks that might block access to stained areas. Remove visible debris from the drain opening using tongs or pliers—accumulated food particles can react poorly with bleach and create unpleasant odors. Rinse the entire sink with warm water to wash away loose food scraps and grease that would otherwise consume your bleach solution’s cleaning power. For heavily soiled sinks, apply dish soap with a non-abrasive sponge and give surfaces a preliminary scrub before rinsing thoroughly. Dry the sink completely with a clean towel since excess moisture dilutes your bleach mixture and reduces its effectiveness. Examine your sink carefully for cracks, chips, or worn finishes where bleach could penetrate and cause permanent damage—you may need alternative cleaning methods for compromised surfaces.
Mix the Perfect Bleach Solution for Your Sink Material

Achieving the correct bleach-to-water ratio determines whether you’ll sanitize effectively without damaging your sink’s finish. For routine sanitization and minor stain removal, combine one tablespoon of bleach with one gallon of warm water—this standard dilution kills 99.9% of household bacteria while being safe for most sink materials. When tackling stubborn stains or persistent odors, increase to one-quarter cup bleach per gallon but always test this stronger solution on a hidden area first. Never apply undiluted bleach directly to your sink—it will discolor porcelain, etch stainless steel, and corrode metal fixtures. Always pour bleach into water rather than water into bleach to prevent dangerous splashes and chemical reactions. Mix your solution in a non-reactive container using a plastic or wooden stirrer, and use it within one hour since diluted bleach loses potency rapidly.
How to Test Bleach Solution on Sensitive Sink Finishes
Porcelain and composite sinks require special caution since they’re more vulnerable to discoloration. Apply your mixed solution to an inconspicuous area like under the faucet base or along the back edge of the basin. Wait five minutes, then rinse thoroughly and inspect for any color changes. If you notice yellowing or dulling, further dilute your solution before proceeding with the full treatment. Stainless steel sinks generally tolerate standard dilutions but may develop water spots if not dried properly afterward.
Apply Bleach Correctly to Eliminate Stains and Bacteria
Pour your prepared solution directly into the empty sink basin, ensuring complete coverage of all surfaces including the sides, bottom, and areas around the drain. Use a microfiber cloth to spread the solution evenly, focusing extra attention on stained zones, water lines, and the ring around the faucet base where bacteria accumulate. Let the solution sit for five to ten minutes—enough time for disinfection but not so long that it dries and concentrates. For tough stains, apply additional solution with a soft brush and let it work for the full ten minutes while periodically agitating the area. Maintain ventilation throughout this stage by keeping windows open and fans running to disperse fumes. Absolutely never mix bleach with other cleaners, particularly ammonia or vinegar, as this creates toxic chloramine gas that can cause severe respiratory damage.
Target Problem Areas with Precision Bleach Application

Concentrate your efforts on high-traffic zones that standard cleaning often misses. The corner where your sink meets the countertop collects grime that breeds bacteria, requiring firm but gentle scrubbing with your soft brush. Around the drain opening, use circular motions to dislodge trapped food particles that cause lingering odors. Pay special attention to the base of faucet handles where hand oils and mineral deposits create stubborn rings. For hard water stains that resist plain bleach, make a paste of baking soda and water, apply it to affected areas, and scrub before rinsing. Check your work under bright light to confirm uniform cleanliness across the entire basin—reapply bleach solution only to problem spots if needed, rather than repeating the entire process unnecessarily.
Rinse Your Sink Thoroughly to Remove All Bleach Residue
Begin rinsing at the highest point of your sink and work downward, allowing clean water to carry away all traces of bleach solution. Run cool water continuously for at least two minutes, ensuring it flows through the drain to neutralize any residual bleach in your plumbing. Feel the sink surface with clean, damp fingers to detect any remaining film or stickiness that indicates incomplete rinsing. Continue until water runs completely clear with no visible suds or residue. Dry the sink immediately with a clean microfiber cloth, buffing stainless steel surfaces along the grain direction to prevent swirl marks. Give special attention to faucet fixtures, as water spots combined with bleach residue create unsightly white streaks on metal surfaces. Flush your drain by running water through it for another 30 seconds to eliminate any lingering bleach in the pipes.
Allow Proper Ventilation Time Before Using Your Sink Again
Keep windows open and exhaust fans running for at least thirty minutes after completing your cleaning to ensure all bleach fumes dissipate completely. Wait one full hour before using the sink for food preparation or dishwashing to allow surfaces to dry thoroughly and any residual chemicals to neutralize. If you have a garbage disposal, run it with cold water for 15-20 seconds to flush the system and prevent future dishes from absorbing bleach odors. For stainless steel sinks showing reduced shine after bleaching, apply a small amount of food-safe mineral oil with a soft cloth to restore luster and create a protective barrier against future staining. Monitor your sink closely for the next 48 hours for any unexpected discoloration or surface changes that might indicate chemical damage requiring professional attention.
Implement a Maintenance Routine to Reduce Future Bleaching Needs
Prevent heavy staining through daily habits that keep your sink looking fresh between deep cleanings. Wipe down surfaces each evening with a mild soap solution to remove food residues before they set. Never leave acidic foods like tomatoes, citrus, or vinegar sitting in the sink—they can etch into surfaces over time. Immediately clean up wine spills, coffee grounds, and food coloring that cause stubborn stains. Install a sink grid in stainless steel basins to prevent scratches from cookware that harbor bacteria. Schedule monthly light sanitizing with diluted bleach rather than waiting for quarterly deep cleans—this consistent approach keeps bacterial levels low while minimizing the need for intensive treatments. By establishing these simple routines, you’ll maintain a hygienic kitchen sink that requires less frequent bleaching and stays in excellent condition for years.


