
Adding a gas line to your kitchen requires careful planning and execution to ensure safety and code compliance. If your new gas range, cooktop, or oven lacks a proper gas connection, you might be considering a DIY installation. However, working with natural gas involves serious risks including potential leaks, fire hazards, and carbon monoxide exposure. Your local building codes likely require permits and professional inspections for any gas line modifications. This guide explains the proper process for adding a gas line to your kitchen, emphasizing why certain steps should only be handled by licensed professionals who can ensure your installation meets all safety standards and regulatory requirements.
Why Gas Line Installation Requires Professional Expertise
Gas line installation isn’t a typical DIY project due to the specialized knowledge and safety protocols involved. Natural gas systems operate under pressure and require precise connections to prevent dangerous leaks. Even small mistakes during installation can lead to gas escaping into your home, creating an explosion hazard or causing carbon monoxide poisoning. Local building departments maintain strict codes for gas piping materials, installation methods, and testing procedures that vary by municipality. Without proper licensing, you likely cannot obtain the necessary permits to legally modify your home’s gas system. Insurance companies may deny claims related to damages from unpermitted gas work, leaving you financially responsible for any incidents.
Critical Safety Concerns with DIY Gas Line Installation
Gas leaks can be deadly – Natural gas is odorless in its pure form, but utility companies add mercaptan to give it that distinctive “rotten egg” smell. If you smell this near your installation point, immediately evacuate and call your gas company from outside. Even small leaks can accumulate to dangerous levels in enclosed spaces. Carbon monoxide produced by improperly vented gas appliances can cause headaches, dizziness, nausea, and potentially death without noticeable symptoms. The pressure testing required after installation must be performed with specialized equipment to verify system integrity—something most homeowners don’t possess.
Legal Requirements and Insurance Implications
Most jurisdictions require licensed professionals to perform gas line installations and obtain necessary permits. Attempting this work yourself typically violates building codes and may result in fines. Worse, if an accident occurs, your homeowner’s insurance likely won’t cover damages from unpermitted gas work. During home sales, unpermitted gas modifications can delay transactions or require costly corrections before closing. Professional installers carry liability insurance that protects you if something goes wrong during the installation process—a protection you forfeit with DIY attempts.
Essential Planning Steps Before Installation

Before any work begins, you need a clear understanding of your kitchen layout, existing gas infrastructure, and local requirements. Determine the exact location of your new appliance and measure the distance from your existing gas line. Consider cabinet placements, flooring, and any obstacles that might affect routing. Contact your local building department to learn specific permit requirements and schedule necessary inspections. Research whether your municipality requires specific piping materials—many now mandate flexible stainless steel tubing (CSST) with proper bonding, while others allow copper with special restrictions.
Understanding Your Existing Gas System
Identify your main gas shut-off valve location before starting any work—this should be near your gas meter. Note the pipe material of your existing system (black iron, CSST, or copper) as you’ll need compatible materials for extensions. Check the available pressure at your current connection point; adding a new line might require a pressure regulator if your system can’t support additional appliances. Document the pipe diameter of your existing system—most residential lines use ½” or ¾” pipes, and improper sizing can cause performance issues with your appliances.
Professional Installation Process Breakdown

Licensed gas fitters follow a standardized process that ensures safety and code compliance at every stage. The work begins with obtaining required permits, which typically involves submitting detailed plans of the proposed installation. Professionals use specialized tools like pipe threaders, flaring tools, and leak detection equipment that most homeowners don’t possess. They understand proper routing techniques that minimize bends and maintain appropriate clearances from electrical wiring and other hazards. The installation concludes with mandatory pressure testing and documentation that satisfies building inspectors.
Step-by-Step Professional Installation Method
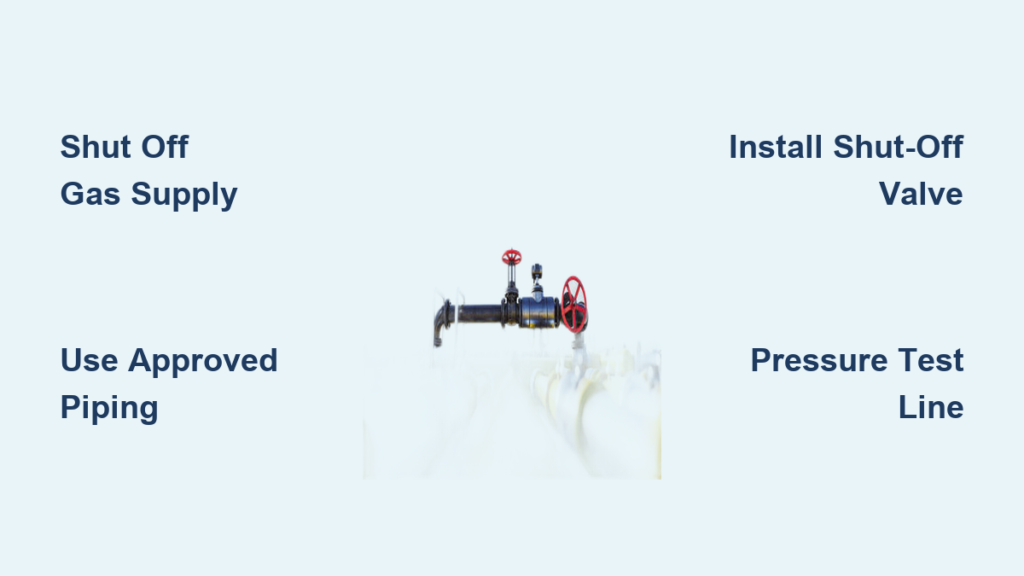
- Shut off main gas supply at the meter and verify no gas is flowing to the work area
- Install proper shut-off valve within 6 feet of the new appliance location, following code requirements
- Run new piping using approved materials with correct fittings and support intervals
- Apply proper sealant to threaded connections (never use standard plumber’s tape)
- Perform pressure test using a manometer to verify no leaks under operating pressure
- Document results for the required building inspection
Common Installation Mistakes to Avoid
Using inappropriate piping materials that degrade when exposed to gas is a critical error—PVC and other plastic pipes cannot be used for gas lines. Incorrect pipe threading creates weak points prone to leaks, while over-tightening fittings can crack connections. Failing to install proper shut-off valves within required distances of appliances violates safety codes. Neglecting proper pipe support causes stress on connections that can lead to future leaks. Skipping the mandatory pressure test is perhaps the most dangerous mistake, as it leaves potential leaks undetected.
Required Materials and Tools for Professional Installation

Professionals use specific materials that meet strict safety standards for gas applications. Black iron pipe remains common for permanent installations, while flexible stainless steel tubing (CSST) offers easier routing through finished walls. All fittings must carry the CSA or AGA certification specifically for gas use. Professionals use pipe dope formulated for gas lines—not standard plumbing compounds. Specialized tools include pipe threaders, flaring tools, leak detection solution, and precision manometers for pressure testing.
Gas-Specific Materials Checklist
- Approved piping: Black iron, copper (where permitted), or CSST
- Gas-rated fittings: Elbows, tees, couplings with proper certification
- Gas-specific sealant: Pipe dope or tape designed for gas applications
- Shut-off valves: Quarter-turn ball valves rated for gas
- Support hardware: Proper hangers and straps at code-specified intervals
- Testing equipment: Manometer and leak detection solution
Post-Installation Testing and Safety Verification
The pressure test is non-negotiable and must be performed before restoring gas service. Professionals isolate the new section and pressurize it to 1.5 times normal operating pressure (typically 15 psi) for at least 15 minutes while monitoring for pressure drops. They check every connection with leak detection solution, looking for bubble formation that indicates escaping gas. After passing the pressure test, they restore gas service and verify proper appliance operation, checking for correct flame color and burner performance. The installer documents all test results for the required building inspection.
Recognizing Proper Appliance Operation
A healthy gas flame should burn primarily blue with small yellow tips—excessive yellow or orange indicates improper combustion that could produce carbon monoxide. Listen for unusual hissing or popping sounds that might indicate pressure issues. Smell for gas around connections even after passing leak tests, as some leaks only appear under operating conditions. Professional installers use combustion analyzers to verify safe operation, something most homeowners cannot access.
Maintenance and Safety Monitoring After Installation
Schedule annual inspections of your gas system, especially after any modifications. Install UL-listed carbon monoxide detectors on every level of your home and near sleeping areas. Learn to recognize the smell of mercaptan (added to natural gas) so you can identify potential leaks. Keep the area around gas connections clear for easy access and visual inspection. Periodically check connections with leak detection solution, especially after home renovations that might have disturbed piping.
When to Call a Professional Immediately
Contact a licensed gas technician immediately if you notice: persistent gas odor even after ventilation, hissing sounds near gas lines, yellow or flickering appliance flames, moisture around gas fittings, or unexplained health symptoms like headaches that improve when leaving home. Never attempt to repair a suspected gas leak yourself—evacuate and call your gas company from outside your home.
Final Note: Adding a gas line to your kitchen requires professional expertise to ensure safety, code compliance, and proper functionality. While understanding the installation process helps you communicate effectively with licensed professionals, attempting this work yourself risks serious safety hazards and legal complications. Always hire a qualified gas fitter who can obtain necessary permits, follow local codes, and provide documentation for inspections. Your safety and peace of mind are worth the investment in professional installation services.


