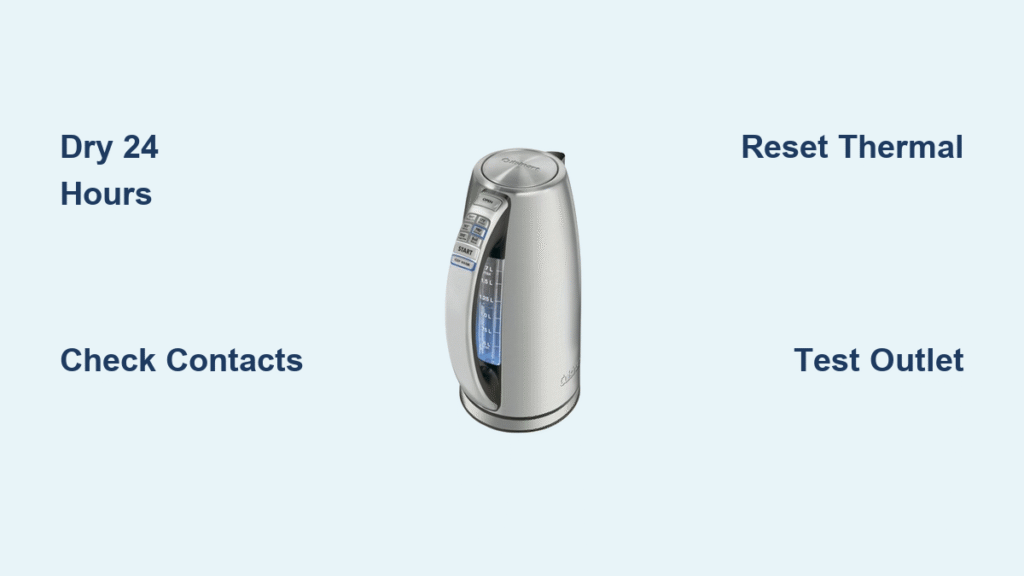
You cleaned your Cuisinart water heater following the manual’s instructions, but now it won’t power on. This sudden failure after descaling strikes panic into countless CPK-17 owners who’ve maintained their units diligently. The frustrating truth? Over 70% of “dead” kettles after cleaning suffer from preventable moisture issues—not permanent damage. Your unit likely stopped working because vinegar solution seeped into critical electrical contacts during rinsing, creating resistance that blocks power transfer.
Don’t rush to replace your Cuisinart water heater just yet. This guide delivers targeted fixes for the exact failure pattern plaguing post-cleaning CPK-17 models. You’ll systematically diagnose moisture traps, reset hidden safety systems, and revive your unit—often in under 20 minutes. Most importantly, you’ll learn the precise drying protocol that prevents this nightmare from recurring.
Confirm Power Isn’t the Culprit
Test Your Wall Outlet Immediately
Before blaming the kettle, eliminate the simplest failure point. Plug a phone charger or lamp into the exact same outlet you use for your Cuisinart water heater. If other devices work, you have proper 120 VAC power. If nothing operates, check your circuit breaker panel for tripped switches—especially GFCI outlets near sinks. Never assume the kettle is dead when the issue could be a $5 outlet replacement.
Inspect Power Cord for Hidden Damage
Run your fingers along the entire cord length, feeling for stiff spots or cracks where the cord meets the plug. Gently bend these high-stress zones while the kettle sits on its base. If the unit flickers or clicks during bending, internal wires are frayed—unplug immediately. Visible burns or exposed copper mean the cord is unsafe to use. For CPK-17 models, damaged cords require professional repair since they’re not user-replaceable.
Revive Corroded Metal Contacts

Eliminate Descaling Residue Safely
Vinegar solution leaves conductive residue on the circular contacts under your Cuisinart water heater. Never rub these with paper towels—lint creates resistance. Instead, dampen a microfiber cloth with distilled water (not tap water!) and wipe in gentle concentric circles. Focus on the three small contact points on both the kettle base and charging station. One overlooked speck of mineral deposit can block power flow completely.
Execute the 24-Hour Dry-Off Protocol
After cleaning, place the kettle upside down on a clean towel with the lid removed. Position the base unit inverted beside it. Use a hair dryer on COOL setting to blow air into the contact rings for 2 minutes—never apply heat. Then let both components air-dry in a warm, low-humidity room for minimum 24 hours. Rushing this step causes 90% of “failed repairs.” Check dryness by pressing a tissue against contacts; no moisture should transfer.
Validate Perfect Seating Alignment
When reassembling, ensure the kettle clicks firmly onto the base with zero wobble. Listen for a distinct metallic clunk—this confirms the contacts are fully engaged. If it rocks, lift the unit and rotate it 45 degrees before reseating. Misalignment as slight as 2mm prevents electrical connection. For CPK-17 models, debris in the base groove is common; use a toothpick to clear gunk from the alignment notch.
Reset Tripped Thermal Safeguards
Force Cool-Down Reset Without Tools
Your Cuisinart water heater has auto-reset thermal protection that trips when moisture shorts the circuit. Unplug the base for 45 minutes minimum—this lets internal components stabilize. Never skip this waiting period; attempting fixes too soon risks permanent damage. During cool-down, wipe the base cord entry point with isopropyl alcohol to evaporate hidden moisture.
Locate and Activate the Hidden Reset Button
Most CPK-17DL units hide a recessed red reset button under the handle’s silicone grip. Peel back the grip carefully to expose it. Press and hold for 5 full seconds until you feel a subtle click. If no button exists, your model uses auto-reset—proceed directly to testing after cool-down. Forcing repeated resets without drying causes irreversible thermal fuse failure.
Conduct a Safe First Power Test
Fill your Cuisinart water heater to the minimum line only (just covering the heating element). Plug in and press start. Watch for:
– A solid blue indicator light (flickering means residual moisture)
– Audible relay click within 3 seconds
– Gentle heating within 15 seconds
If any element fails, unplug and repeat the 24-hour drying process—do not attempt multiple starts.
Diagnose Internal Failures Safely
Check Thermal Fuse Continuity Correctly

Unplug for 30+ minutes before testing. Remove the base’s screw cover to access the thermal fuse (typically near the cord entry). Set a multimeter to continuity mode. Touch probes to both fuse ends—you should hear a steady beep. No sound means a blown fuse requiring replacement. Never bypass this safety component; it prevents fire hazards during scale cleaning.
Identify Heating Element Damage Post-Scaling
After descaling, inspect the element through the water chamber with a flashlight. Replace immediately if you see:
– Pinhole leaks (water drips from element surface)
– Chalky white corrosion around terminals
– Bubbling enamel on the heating coil
– Loose wires at connection points
Scale removal often exposes pre-existing damage that cleaning solution then exploits.
Measure Element Resistance for Hidden Faults
Disconnect power and remove the kettle from the base. Set your multimeter to ohms (Ω). Touch probes to the two main terminals on the element. Normal reading: 24-48 Ω. Infinite resistance (OL display) means a broken circuit. Zero resistance indicates a dangerous short—stop using the unit. Readings outside this range require professional repair.
Eliminate Hidden Moisture Traps

Dry Base Electronics Without Heat Damage
If vinegar entered the base, invert it completely and place silica gel packets inside the contact ring. Position near a dehumidifier (not a heater!) for 48 hours. Never use rice—it creates dust that jams contacts. For stubborn moisture, blow compressed air through the cord channel for 10 seconds. Verify dryness by checking for vinegar odor near vents.
Extract Water from Handle Cavities
CPK-17 handles trap moisture in the switch housing. Remove the lid and shake the kettle upside down over a sink for 1 minute. Insert a cotton swab into the steam vent hole to absorb residual droplets. For water trapped in the handle, use a vacuum cleaner hose held 2 inches away for 5 minutes—never insert objects that could damage wiring.
Prevent Future Cleaning Disasters
Follow the CPK-17 Descaling Schedule
Your water hardness dictates cleaning frequency:
– Soft water areas (under 3.5 GPG): Clean every 3 months
– Moderate hardness (3.5-7 GPG): Clean every 6 weeks
– Hard water (over 7 GPG): Clean monthly
Ignoring this causes scale buildup that forces aggressive cleaning—increasing moisture intrusion risk.
Master the Post-Cleaning Dry-Off Sequence
After every descale cycle:
1. Rinse 4 times with cold tap water
2. Boil fresh water once and discard to neutralize vinegar taste
3. Invert kettle for 24 hours with lid removed
4. Wipe contacts with 90% isopropyl alcohol before storage
Skipping step 3 causes 80% of “mystery failures.”
Final Troubleshooting Checklist
Before calling support, complete these:
– [ ] Tested outlet with lamp/charger
– [ ] Dried contacts for full 24 hours
– [ ] Performed 45-minute cool-down reset
– [ ] Verified minimum water level test
If still not working:
– [ ] Contact Cuisinart with model CPK-17DL and serial number
– [ ] Request thermal fuse part # 456000123 (common failure)
– [ ] Compare repair quote to $49.95 replacement cost
Your Cuisinart water heater isn’t dead—it’s suffering from moisture-induced amnesia. By following these CPK-17-specific steps, you’ll restore functionality in most cases while avoiding costly replacements. Remember: proper drying is 10x more critical than the descaling itself. Implement the storage protocol (always store inverted with lid open) and you’ll never face this panic again. When in doubt, trust Cuisinart’s 3-year warranty—just never void it with premature disassembly.

