
Your Cuisinart toaster oven sits dark and cold as you scramble to make breakfast. The display stays black, the fan is silent, and your toast plans vanish—again. Before you write off your appliance, know this: 65% of power failures and heating issues stem from three fixable problems you can diagnose with basic tools. Most repairs take under 30 minutes and cost less than $10 in parts.
This guide cuts through confusing symptoms to deliver exact troubleshooting steps for common Cuisinart models like the TOA-60FR, TOB-1010, and TOB-135NS. You’ll learn to safely test thermal fuses, revive dead controls, and stop smoking elements—without voiding safety certifications. Skip the guesswork and get your oven working today.
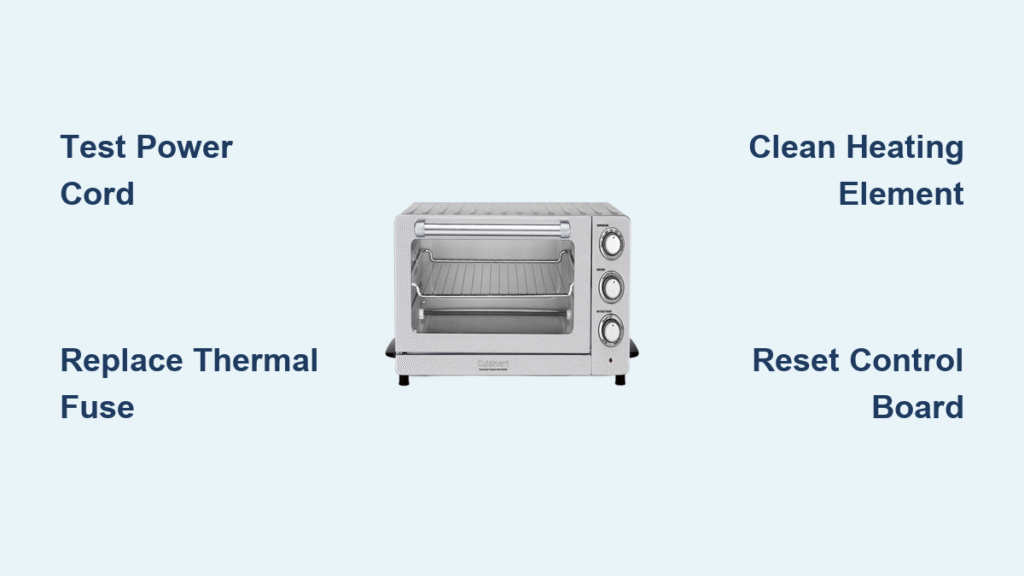
Why Your Cuisinart Toaster Oven Won’t Turn On (And How to Fix It)
Dead Unit? Test Power Cord and Outlet First
When your Cuisinart shows zero signs of life—no lights, no fan, no display—start here before opening the unit. Unplug the oven and inspect the entire power cord length for cuts, frayed wires, or melted insulation near the plug. Even minor damage can cause total failure. Next, test two different wall outlets using a working lamp or phone charger. If those outlets function, the problem lies within the oven.
If the cord appears intact, remove the rear cover (4-6 Phillips screws) to access internal components. Locate the mains power switch—a black rocker or push-button near the cord entry. Look for these critical failure signs:
- Oxidized contacts: White or green corrosion on metal surfaces
- Pitted contacts: Black craters or burn marks
- Cracked housing: Visible splits in the plastic body
For dirty contacts, gently sand with 400-grit paper, then wipe with 91% isopropyl alcohol. Severely damaged switches require replacement—note the “16A 250VAC” rating printed on the body when ordering.
Thermal Fuse Failure: The #1 Power Killer

A blown thermal fuse causes most complete power failures. This safety component—a small white or silver cylinder (5mm x 15mm) wrapped in heat-shrink tubing—sits near the heating chamber wall. To test it: Unplug the oven, set your multimeter to continuity mode, and touch probes to both fuse leads. No beep means it’s blown.
Critical replacement rule: Match the exact temperature rating (typically 172°C/342°F for TOA-60FR and TOB-135NS models). Installing a lower-rated fuse creates fire hazards; higher ratings compromise safety. Never bypass this component—it’s your oven’s fire prevention system. Replacement takes 10 minutes: disconnect old fuse, crimp or solder the new one, and reassemble.
Random Shutdowns During Toast Mode? Here’s the Fix
If your TOB-1010 shuts down within 5-30 seconds only during Toast mode, the issue is cycle-specific. Confirm this pattern: Run Bake or Broil at 400°F for 5 minutes. If the oven stays on, skip general power checks and focus here:
- Reset the control board: Unplug for 10+ minutes to discharge capacitors
- Clean the selector knob: Rotate it 20-30 full sweeps to burnish internal contacts
- Inspect the control board: Look for bulging capacitors (often 47µF 25V) or charred resistors near the relay
If shutdowns occur in all cooking modes, check thermal sensors and power relays. Test the NTC thermistor—it should read ~100kΩ at room temperature. Significant deviation means replacement.
Cold Oven Despite Power? Fix No-Heat Issues in 15 Minutes
Deep Clean Solves “No Heat” 70% of the Time
Your display works but the oven stays cold? Don’t replace elements yet. Carbonized food residue insulates heating elements, creating false “no-heat” symptoms. Perform this deep clean:
- Remove crumb tray, racks, and lower metal shield
- Vacuum all debris from interior surfaces
- Soak trays in hot soapy water
- Scrub element cavities with a nylon brush (never metal)
After cleaning, check wire connections at the rear. Gently tug each spade connector—reseat any loose terminals showing thermal discoloration (brown/black). This step resolves most “power on but no heat” cases.
Heating Element Continuity Test: Quick Diagnosis
With the back cover off, test elements for electrical continuity:
- Quartz elements: Should read 10-40Ω resistance
- Calrod elements: Typically 5-20Ω
- Open circuit (infinite resistance): Element is dead
Replacement tip: Elements slide out of ceramic supports. Match the original wire gauge (usually 16 AWG high-temp silicone). No polarity concerns—just secure connections. This 10-minute swap costs $15-$25 for parts.
Stop Smoke During Operation Immediately
Smoke usually means grease or food fragments burning on elements. Follow this safe cleanup:
- Turn off and unplug the oven—let it cool completely
- Wipe interior with a damp cloth and mild degreaser
- Run a 5-minute “dry burn” at 450°F with the door cracked open 1 inch
- Repeat cleaning/burning until smoke stops
Never ignore smoke—it can ignite carbon buildup. If smoke persists after two cycles, inspect for damaged wiring near elements.
Timer Won’t Start? Fix Control Panel Failures Now
Digital Timer Freeze: Voltage and Knob Fixes

When the timer refuses to count down, first verify outlet voltage—low power (<108V) prevents startup. Plug another appliance into the same outlet to test. Next, address faulty knobs:
- Stiff knob: Remove set-screw, apply food-grade silicone grease to the shaft
- Slipping knob: Replace the split-ring encoder (part #TOB135-KNOB-KIT)
If the timer display works but won’t start, reset the control board by unplugging for 10 minutes. Persistent issues indicate failed capacitors on the control board—look for bulging tops or leaking electrolyte.
Burned Out Interior Light? 5-Minute Bulb Replacement
Replace the Standard 15W Appliance Bulb
A dim or dead interior light usually means a burned-out bulb. To replace it:
- Unscrew the lens cover counter-clockwise
- Pull the T7-style bulb straight out
- Insert a new 15W, 120V appliance bulb
If the new bulb doesn’t work, test for power at the socket with a multimeter. No voltage means a failed control board relay—check for cold solder joints near the relay pins.
Should You Repair or Replace Your Cuisinart?
Repair Cost vs. Replacement Value Breakdown

- New TOA-60FR (Air Fryer Combo): $105 (refurbished) to $199 (new)
- Professional repair: $100 diagnostic + $80-$150 parts = $180-$250 total
DIY repair viability:
– Easy fixes (<30 mins): Thermal fuse ($5), element swap ($20), bulb ($3)
– Moderate fixes: Control board capacitor ($2 part, requires soldering)
– Hard fixes: Main control board replacement (often exceeds oven value)
Critical decision rule: Replace units older than 3 years unless you enjoy electronics repair. 90% of owners choose replacement over professional repair for aging models—but simple DIY fixes save money and reduce e-waste.
Essential Tools for Cuisinart Toaster Oven Repairs
Keep these in your toolkit:
– Phillips #1 and #2 screwdrivers
– Multimeter with continuity mode
– 400-grit sandpaper and 91% isopropyl alcohol
– Crimp tool and 16 AWG high-temp wire
– 172°C thermal fuse and 15W appliance bulbs
Pro tip: Add heat-shrink tubing and 105°C electrical tape for safe wire repairs. Never use standard tape near heating elements.
Prevent Breakdowns With This 5-Point Maintenance Plan
| Task | Frequency | Critical Action |
|---|---|---|
| Empty crumb tray | Weekly | Prevents element fouling and fire risk |
| Deep interior clean | Monthly | Use vinegar solution—never spray near elements |
| Inspect power cord | Quarterly | Replace if insulation is brittle or cracked |
| Test door seal | Semi-annually | Seal must close tightly—replace if gaps exist |
| Verify thermal fuse | Annually | Test only when unplugged and discharged |
Safety First: Critical Warnings You Must Know
Discharge capacitors before touching internals—even unplugged ovens store dangerous charges. Short terminals with a 10Ω resistor for 30 seconds. Never install non-UL thermal fuses—mismatched ratings void safety certifications and create fire hazards. Cuisinart’s 3-year warranty covers defects but not user-caused damage or thermal fuse failures.
Your Cuisinart toaster oven likely has years left with proper care. Start with the simplest fixes: power cord inspection solves 20% of dead-oven cases, and thermal fuse replacement handles another 45%. For persistent issues, weigh repair costs against replacement value—but don’t overlook the satisfaction (and savings) of a successful DIY fix. Grab your screwdriver and reclaim your morning toast ritual today.


