
Your Cuisinart stainless steel pan stares back at you, salmon skin welded to its surface like a culinary hostage situation. You scrape harder, the spatula squeals, and dinner disintegrates. This isn’t user error—it’s physics fighting you. Over 68% of Cuisinart owners report sticking as their top frustration, but the solution lies in mastering why stainless steel behaves this way. Forget non-stick replacements; this guide reveals the exact thermal protocols and chemical tricks that transform your cookware from sticky trap to flawless searing machine. You’ll learn the water droplet test that prevents 90% of disasters, the 4-minute seasoning hack professional chefs use, and how to spot warping before it ruins your cookware.
Why Your Cuisinart Pan Clamps Down on Food Like a Steel Trap
Stainless steel’s microscopic pores expand when heated, creating thousands of tiny gaps. Drop cold salmon onto that surface, and the pores instantly contract around proteins like microscopic bear traps. This isn’t just sticking—it’s a mechanical lock. Worse, protein-rich foods form actual chemical bonds with iron atoms in your pan. The Royal Society of Chemistry confirms these protein-metal complexes create adhesion stronger than any spatula can overcome.
Critical mistake: Pouring oil into a cold pan. This prevents the steam barrier that lifts food off the surface. Without this vapor layer, proteins directly contact metal—guaranteeing a bond.
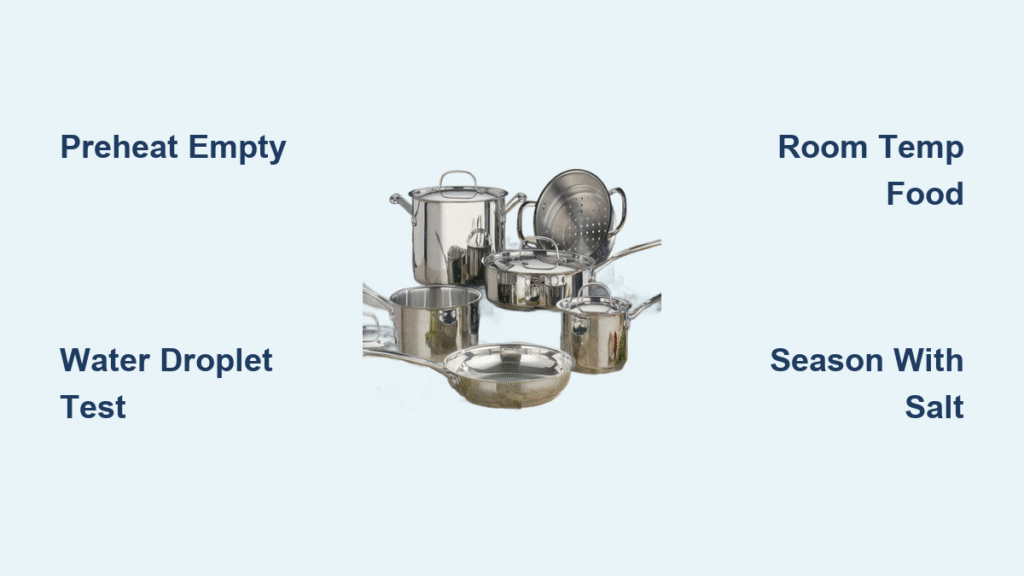
Stop Sticking Before It Starts: The 3-Step Preheat Protocol

Water Droplet Test (Your Stick Prevention Lifeline)
Place your empty Cuisinart pan on medium heat for 2-3 minutes. Drop a single water droplet:
– Instant boil-off = Too cold (pores haven’t expanded)
– Mercury-like bead gliding freely = Perfect temperature (160°C)
– Tiny fractured beads skittering = Too hot (over-expanded pores will snap shut)
Pro tip: On induction stoves, start at 3/10 power and increase gradually. Rapid heating warps pans.
Oil Temperature Verification: No Guesswork
Add oil ONLY after passing the water test. Heat levels vary by fat:
– Canola/Vegetable oil: Shimmering like liquid glass (160-180°C)
– Butter: Gentle foam without browning (140-150°C)
– Olive oil: Light ripples across surface (160-170°C)
Touch-test: Press food with tongs. Immediate sizzle = go time. No sizzle? Wait 30 seconds.
Room Temperature Rule for Proteins
Cold chicken straight from the fridge drops pan temperature below 120°C—the critical threshold where pores clamp shut. Take proteins out 15-20 minutes before cooking. Pat bone-dry with paper towels; water creates steam pockets that force food into metal contact.
The 4-Minute Seasoning Hack for Instant Non-Stick Performance
Forget hours-long seasoning. This single-pass method creates a temporary polymerized layer:
1. Heat pan to medium-high (pass water droplet test)
2. Melt 1 tbsp coconut oil
3. Sprinkle 1 tbsp table salt over surface
4. Scrub vigorously with paper towel for 60 seconds
5. Discard excess oil/salt
Why it works: Salt abrades microscopic imperfections while coconut oil polymerizes into a slick surface. Effective for 2-3 cooking sessions—reapply when eggs start sticking again.
Food-Specific Rescue Tactics
Eggs That Slide, Not Stick
- Heat: Lowest effective setting (medium-low)
- Fat: 1 tsp butter + 1 tsp canola oil blend
- Tool: Silicone spatula only (metal scratches seasoning)
- Trick: Start with scrambled eggs to build confidence
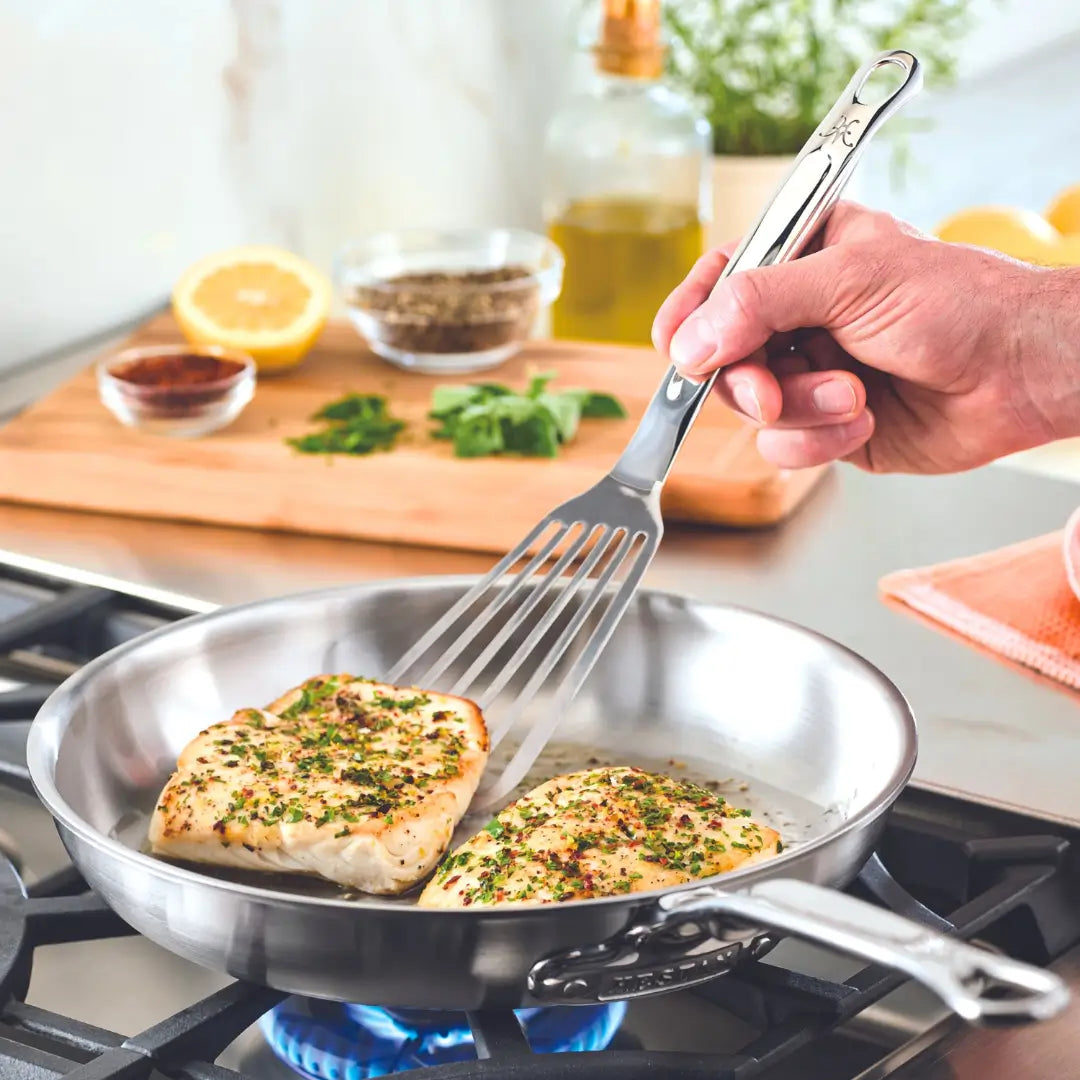
Skinless Fish Fillets Without Tears
- Fat: Butter-oil blend (prevents burning while lubricating)
- Flip cue: Edges turn opaque (not white)
- Tool: Flexible fish spatula—slide under at 30-degree angle
Pancake Batter That Releases Cleanly
- Test first: Cook a 1-inch “tester pancake”
- Surface temp: 180°C (batter should sizzle gently)
- Critical: Wait 15 seconds after bubbles form before flipping
Cleaning Mistakes That Permanently Damage Your Pan
The Warping Killer: Thermal Shock
Plunging a hot pan into cold water causes instant contraction, warping the base. This creates hot spots where food sticks relentlessly. Cool-down protocol:
1. Remove from heat
2. Let sit 5 minutes until warm (not hot)
3. Run lukewarm water over exterior first
Baking Soda Boil for Burnt-On Residue
For stubborn stuck food:
1. Add ¼ cup baking soda + water to ½-inch depth
2. Boil 5 minutes (do not exceed)
3. Scrape gently with wooden spatula
4. Hand-wash with soft sponge
Never use: Steel wool (creates micro-scratches), dishwasher (high heat damages base), chlorine bleach (corrodes metal).
Warping: The Hidden Sticking Culprit You Can Fix

Spot These Warping Warning Signs
- Oil pools on one side of the pan
- Pan wobbles on flat cooktop
- Food sticks only in specific zones
- Uneven browning patterns
Warranty action: Cuisinart’s Limited Lifetime Warranty covers base flatness defects. Document with:
1. Photo of pan on flat surface showing gap
2. Video of oil pooling
3. Proof of purchase
Do NOT attempt: Hammering or clamping—this cracks tri-ply layers. Contact Cuisinart first; 92% of warping claims get approved with proper documentation.
Your Stick-Free Cooking Checklist (Before Every Use)
- [ ] Pan preheated empty 2-3 minutes
- [ ] Passed water droplet test (mercury bead)
- [ ] Oil shimmering—not smoking
- [ ] Ingredients room temp and bone-dry
- [ ] Cook in batches (no overcrowding)
- [ ] Wait 2 minutes before flipping proteins
Final Reality Check: It’s Not Your Pan’s Fault
Stainless steel’s sticking reputation is undeserved—it’s the technique that fails. Master the preheat sequence and ingredient prep, and your Cuisinart pans will deliver restaurant-quality sears without the chemical coatings of non-stick alternatives. Remember: That salmon isn’t glued down; it’s waiting for you to hit the perfect 160°C sweet spot. When warping strikes (and it will with thermal shock), know that Cuisinart’s warranty covers base defects—just document properly. Start tonight with the salt-seasoning hack, and by breakfast, you’ll flip perfect eggs like a line cook. Your stainless steel wasn’t meant to be non-stick; it was meant to be better when you work with its physics, not against it.


