
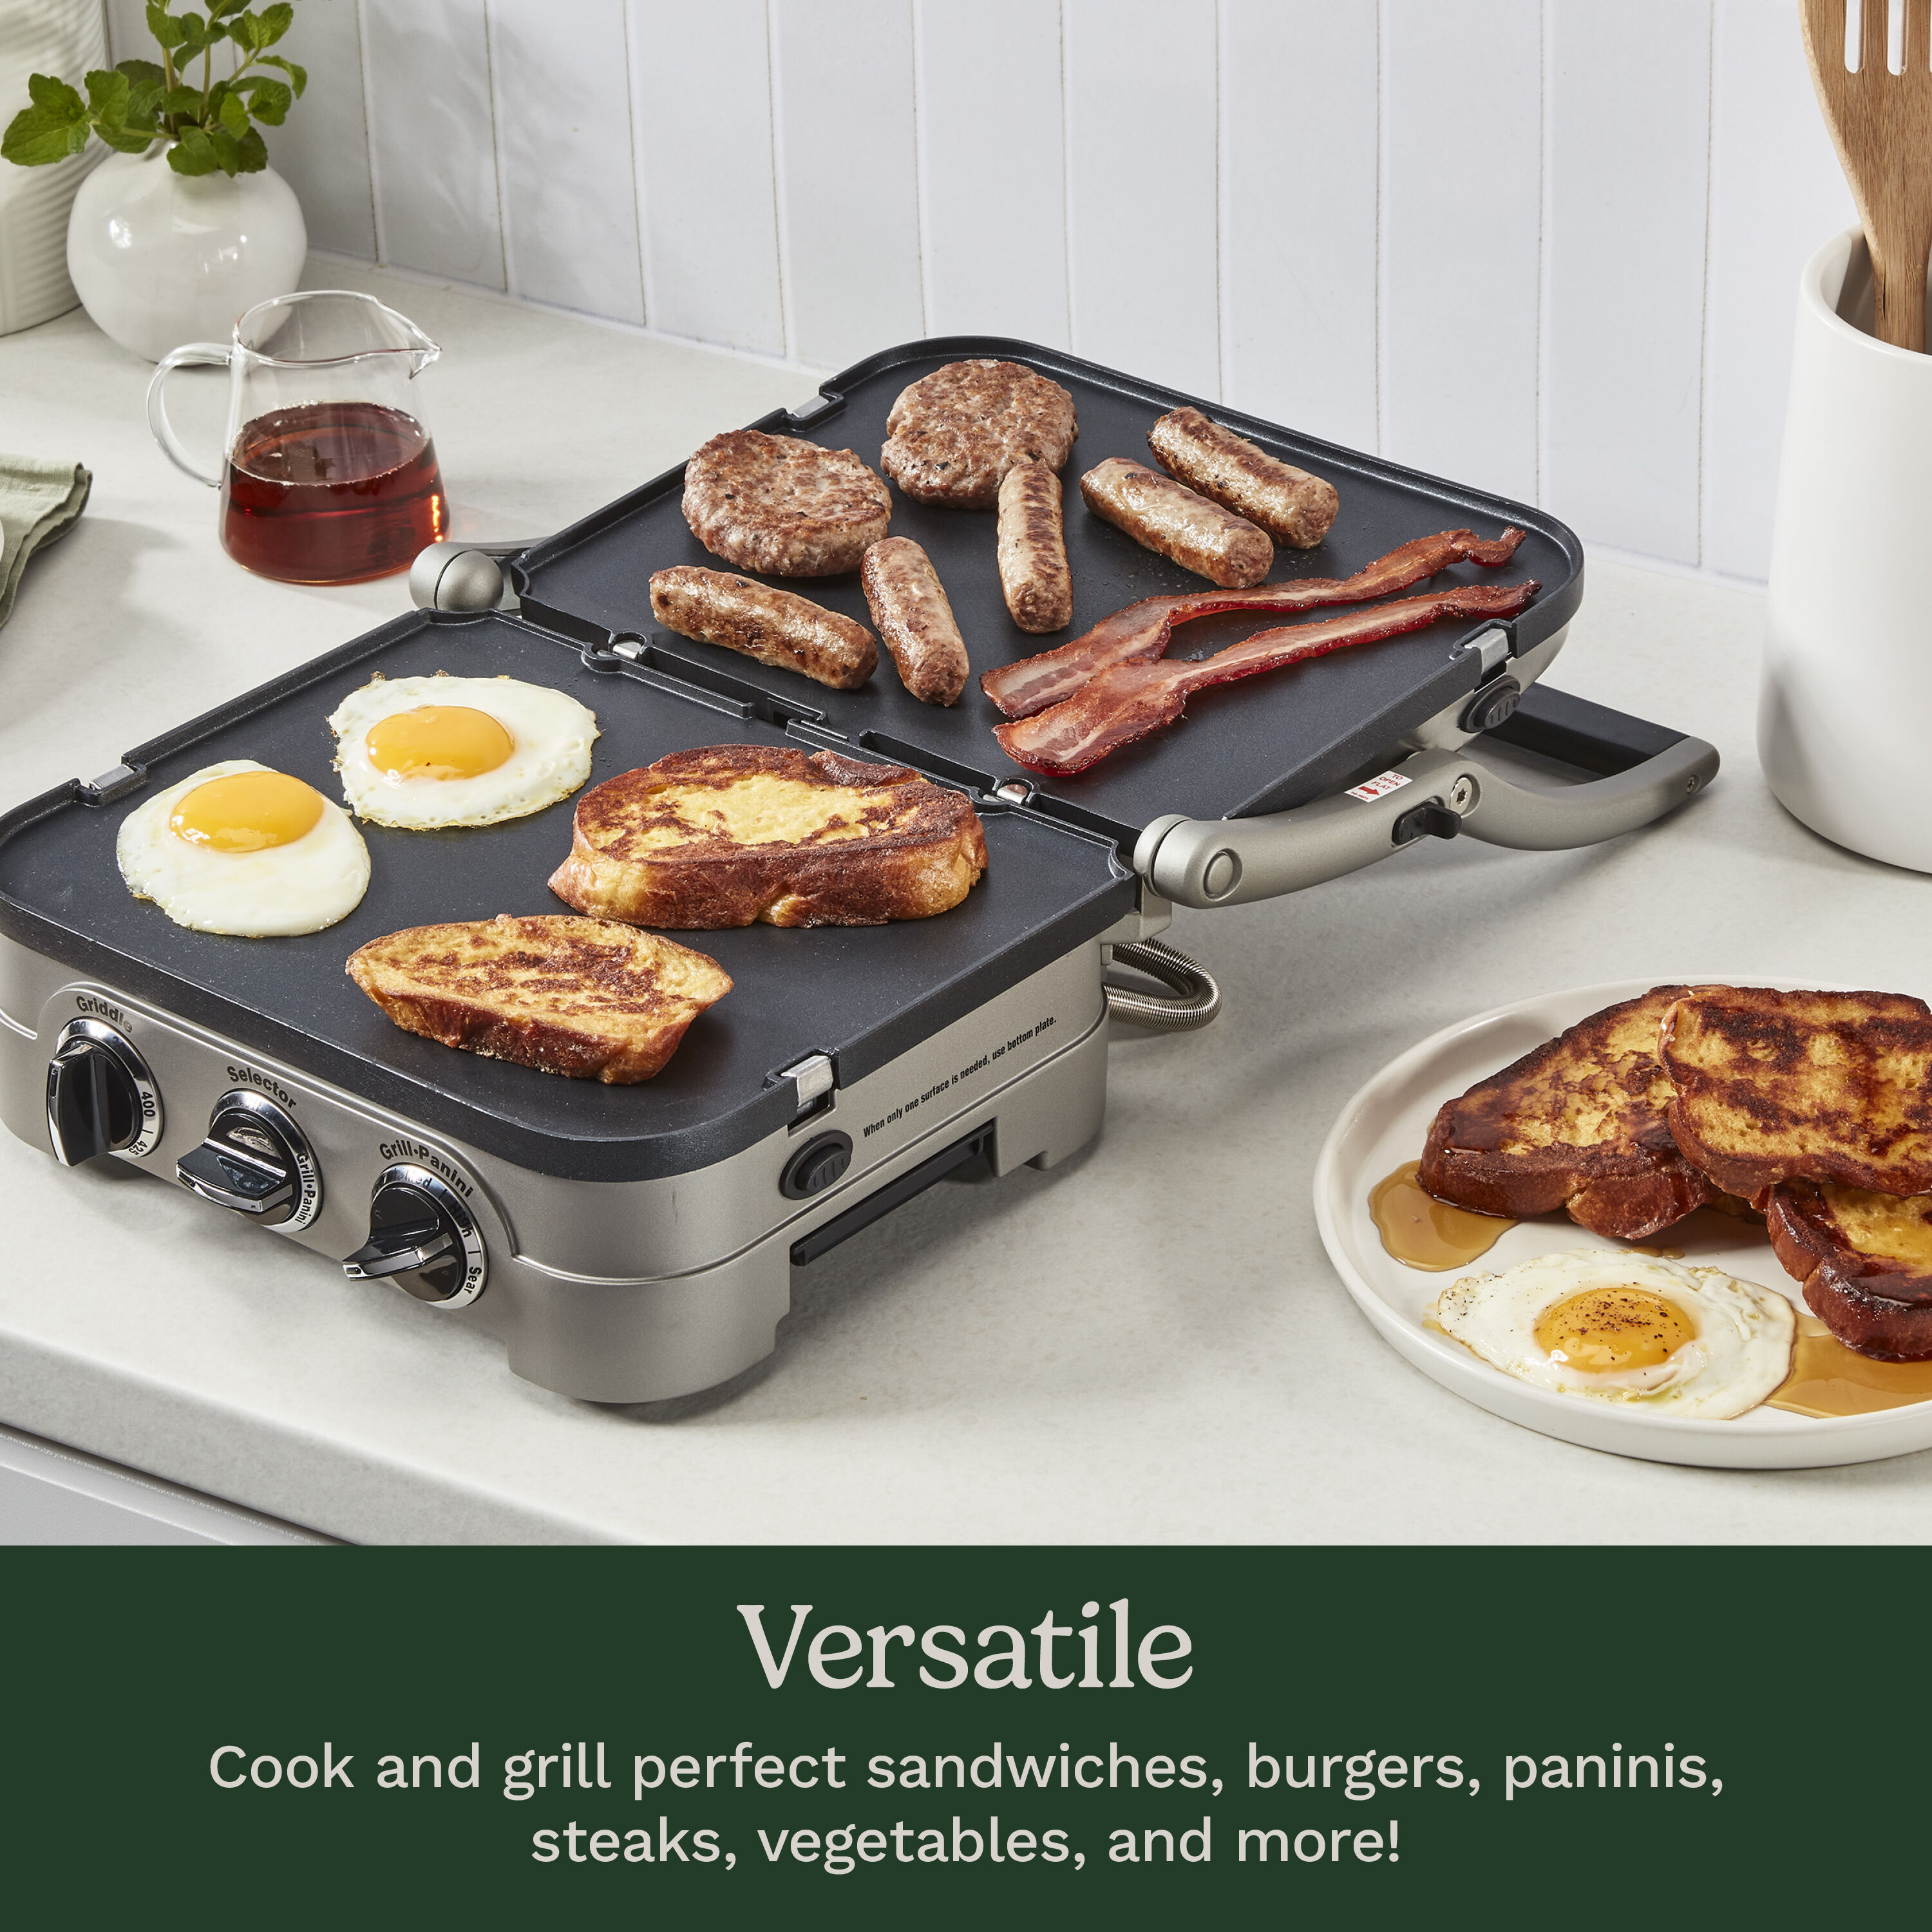
Your Cuisinart panini press isn’t just another countertop appliance—it’s a flavor accelerator capable of transforming pantry staples into restaurant-quality meals in under five minutes. When you own this versatile machine, soggy sandwiches and unevenly melted cheese become relics of the past. Tested specifically for Cuisinart’s dual-heating plates and adjustable temperature controls, these recipes deliver golden crusts and perfectly melted fillings every time. Skip the takeout menus and discover how to create everything from a foolproof Caprese Panini with leak-proof assembly to Korean BBQ beef fusions that rival your favorite food truck.
Stop Burning Your Sourdough: Bread Selection Secrets
Why Ciabatta Outperforms White Bread Every Time
Thick, airy ciabatta creates the ideal structure for wet ingredients like tomatoes and roasted peppers. Its open crumb absorbs moisture without becoming soggy, while the sturdy crust withstands high heat. For standard panini, slice ¾-inch thick—any thinner and fillings escape; thicker and the center stays cold. When using brioche for dessert panini, never exceed ½-inch slices; the high butter content scorches rapidly at 325°F+.
The 3-Second Bread Test That Prevents Sogginess
Press your fingertip firmly against bread for three seconds. If it springs back immediately, it’s too fresh and will compress into a brick. If it leaves a slight dent that slowly rebounds, it’s perfect for panini pressing. Stale bread? Revive it by sprinkling with water and toasting 30 seconds before assembling. Never use cold bread straight from the fridge—room temperature ensures even heating.
Caprese Panini That Doesn’t Leak: Assembly Breakthrough

Why Layer Order Determines Success or Disaster
Start with room-temperature mozzarella directly against the bread—this creates a moisture barrier against tomatoes. Place pat-dried tomato slices next (excess water is the enemy of crispness), then basil. Drizzle balsamic glaze only on the top bread slice to prevent steam buildup. Brush exteriors with olive oil using a pastry brush for even coverage—no pooling in crevices.
Exact Temperature for Melting Without Mess
Set your Cuisinart to 375°F (medium-high) for 3 minutes 15 seconds. Watch for the critical moment when cheese visibly melts from the edges—this means internal temperature hit 160°F. Over-pressing by 30 seconds turns beautiful mozzarella into a congealed mess. Pro tip: Place a paper towel under the press plate to catch minor drips without affecting cooking.
Grilled Cheese Revolution: Beyond Basic Cheddar
The Triple-Cheese Formula for Ultimate Melt
Ditch single-cheese sandwiches. Layer sharp cheddar (aged 18 months for tang), nutty Gruyère, and fontina in this exact order: cheddar against bread, then Gruyère, finished with fontina. Fontina’s high moisture content acts as a “glue” that binds the sandwich. Use softened—not melted—butter applied with upward strokes to avoid tearing bread.
Why Medium-Low Heat Wins Every Time
Set Cuisinart to 325°F (medium-low) for 5 minutes 30 seconds. High heat browns the exterior before cheese fully melts, creating cold spots. At this temperature, cheddar’s fat renders slowly while Gruyère’s proteins unwind into silky strands. Check at 4 minutes: perfect grilled cheese should ooze when cut diagonally, not pool on the plate.
Korean BBQ Beef Fusion: Press Settings for Kimchi
Avoiding the Kimchi Explosion (Critical Step)
Drain kimchi for 10 minutes between paper towels—excess liquid causes dangerous steam bursts. Mix bulgogi beef with ½ tsp gochujang off-heat to preserve flavor. Brush only the roll interior with sesame oil; oil on the exterior creates flare-ups. Never press kimchi directly against the plate—it sticks like glue.
Precise Timing for Caramelized Edges
Press at 375°F for 3 minutes 45 seconds. The sweet soy base in bulgogi needs this exact window to caramelize without burning. Watch for the 60-second mark: when the roll’s surface turns matte, it’s developing the perfect crust. Stop pressing when cheese melts visibly from the sides—provolone takes 45 seconds longer than mozzarella.
Dessert Panini Mastery: No More Burnt Marshmallows
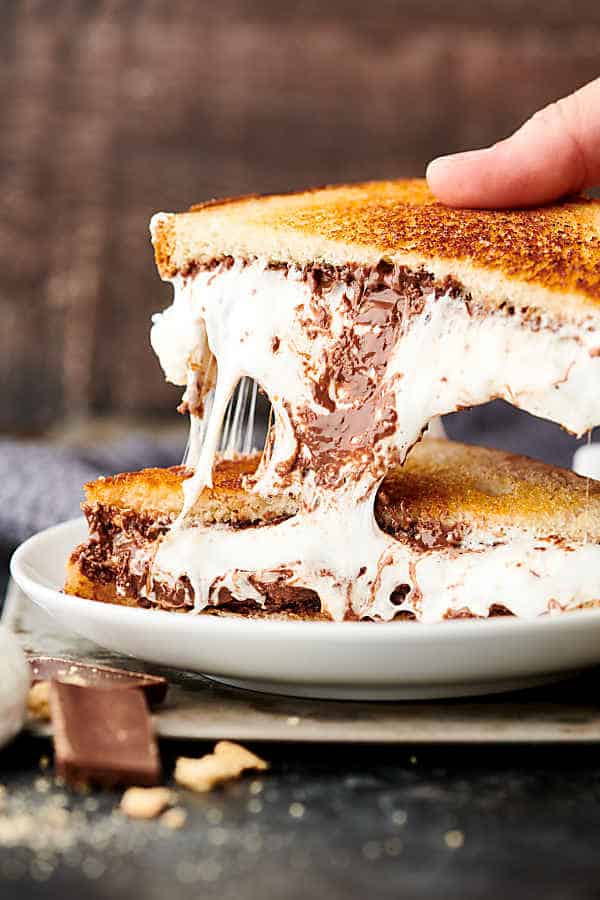
S’mores Technique That Prevents Chocolate Sludge
Place graham crackers butter-side down on the press. Layer chocolate first, then marshmallows. Buttering the exterior? Use a paper towel to wipe excess—grease causes sliding. Set Cuisinart to 300°F (low) and press 2 minutes 15 seconds. Marshmallows puff at 2:00; pulling them out at 2:15 ensures molten centers without carbonized edges.
Why Fresh Raspberries Beat Frozen in Chocolate Panini
Frozen berries release water vapor that turns chocolate into lumpy sludge. Toss fresh raspberries in 1 tsp cornstarch to absorb juices. Layer dark chocolate (70% cacao) directly against bread, then berries. Press at 325°F for 3 minutes 20 seconds—any longer and raspberry seeds burst, creating bitter notes. Dust with powdered sugar immediately after pressing; it won’t stick to cooled surfaces.
Flavor-Saving Cleaning Routine After Every Use
The 90-Second Wipe That Prevents Flavor Ghosting
While plates are warm (not hot!), wipe with a damp microfiber cloth—never cold water on hot surfaces. For cheese residue, use a plastic scraper in circular motions from edge to center. Skip metal tools; they scratch Cuisinart’s non-stick coating. Finish with a drop of oil on a paper towel to season plates. Skipping this causes burnt-on flavors in your next dessert panini.
When to Use Parchment (Hint: Always for Desserts)
Place parchment paper under all dessert creations. It catches drips without steaming the sandwich. For savory panini with oily ingredients like prosciutto, skip parchment—it prevents proper browning. Never use wax paper; it melts at 250°F.
Temperature Cheat Sheet for Perfect Results
| Recipe Type | Cuisinart Setting | Exact Time | Visual Cue for Doneness |
|---|---|---|---|
| Meat-heavy Panini | 375°F (Med-High) | 3:45 | Cheese visibly oozing from edges |
| Standard Grilled Cheese | 325°F (Med-Low) | 5:30 | Golden-brown crust with no pale spots |
| Dessert Panini | 300°F (Low) | 2:15 | Marshmallows puffed but not browned |
| Veggie Panini | 350°F (Medium) | 4:00 | Bread springs back when pressed |
Proven Layering Strategy for Zero Sogginess
- Base cheese layer: 2 slices against bottom bread (mozzarella/fontina work best as moisture barriers)
- Proteins: Turkey, beef, or chicken above cheese to absorb juices
- Veggies: Tomatoes or peppers pat-dried and placed above proteins
- Top cheese: Final slice to seal in moisture
- Condiments: Balsamic or mustard only on top bread slice
This order prevents steam from traveling downward—a single misplaced tomato slice can ruin crispness. For caprese panini, never place basil directly against hot cheese; it turns black in seconds.
Next-Level Flavor Hacks You Haven’t Tried
Add a pinch of smoked paprika to goat cheese before pressing for depth in roasted pepper panini. When making apple pie panini, toss apple slices with 1 tsp cornstarch to prevent soggy bread. For Greek gyro panini, layer tzatziki under feta—it creates a cooling barrier against hot chicken. Pressing time drops to 3:20 when using pre-warmed ingredients.
Your Cuisinart panini press becomes a culinary powerhouse when you master these model-specific techniques. Start with the triple-cheese grilled cheese at 325°F for 5:30—this builds confidence in timing control. Within a week, you’ll be pressing Korean BBQ beef fusions that impress even skeptical foodies. Remember: wipe plates warm, layer cheese first, and never skip the bread temperature check. These aren’t just recipes—they’re precision-engineered solutions for the 5-minute gourmet meal you deserve.


