Your Cuisinart microwave door locks shut mid-reheat cycle, trapping last night’s leftovers inside while you scramble for dinner. That stubborn latch failure hits when you’re busiest—often on models like the CMW-200 or CMW-2000. Before you book service or replace a perfectly functional appliance, know this: 90% of Cuisinart microwave repair cases involve a $12 latch lever fix or a 10-minute cleaning job. This guide delivers exact troubleshooting steps for your stuck-door emergency, verified against Cuisinart’s official parts catalog and technician field reports. You’ll diagnose the failure in 60 seconds and complete most repairs with basic tools before your takeout arrives.
Diagnose Your Cuisinart Door Failure in 90 Seconds
Press-Test Method Outcomes That Pinpoint the Problem
Unplug your microwave first—safety is non-negotiable. Press the door-release button while gently pulling the handle. Your resistance test reveals the culprit instantly:
- Sticky resistance followed by sudden release → Food debris jamming the latch hooks (80% of cases)
- Button sinks with zero feedback → Snapped plastic actuator arm behind the control panel
- Click sound but no door movement → Broken pop-spring or sheared latch hook
If the door won’t budge, don’t force it. Forcing strains fragile plastic components, turning a $10 fix into a $200 replacement.
Visual Confirmation Steps Through Vent Slots
Skip full disassembly with these targeted checks:
1. Shine a flashlight into the gap between button and chassis—dried spaghetti sauce or melted cheese creates tacky glue.
2. Wiggle the door while pressing the button; sudden release means a weak or broken return spring.
3. Remove the glass turntable and peer through bottom vent slots for dangling plastic shards (proving a broken linkage).
If you spot debris, proceed to cleaning. If you see broken parts, order replacements before disassembly.
Essential Safety Steps Before Opening Your Microwave

Power Down Protocol That Prevents Shock Hazards
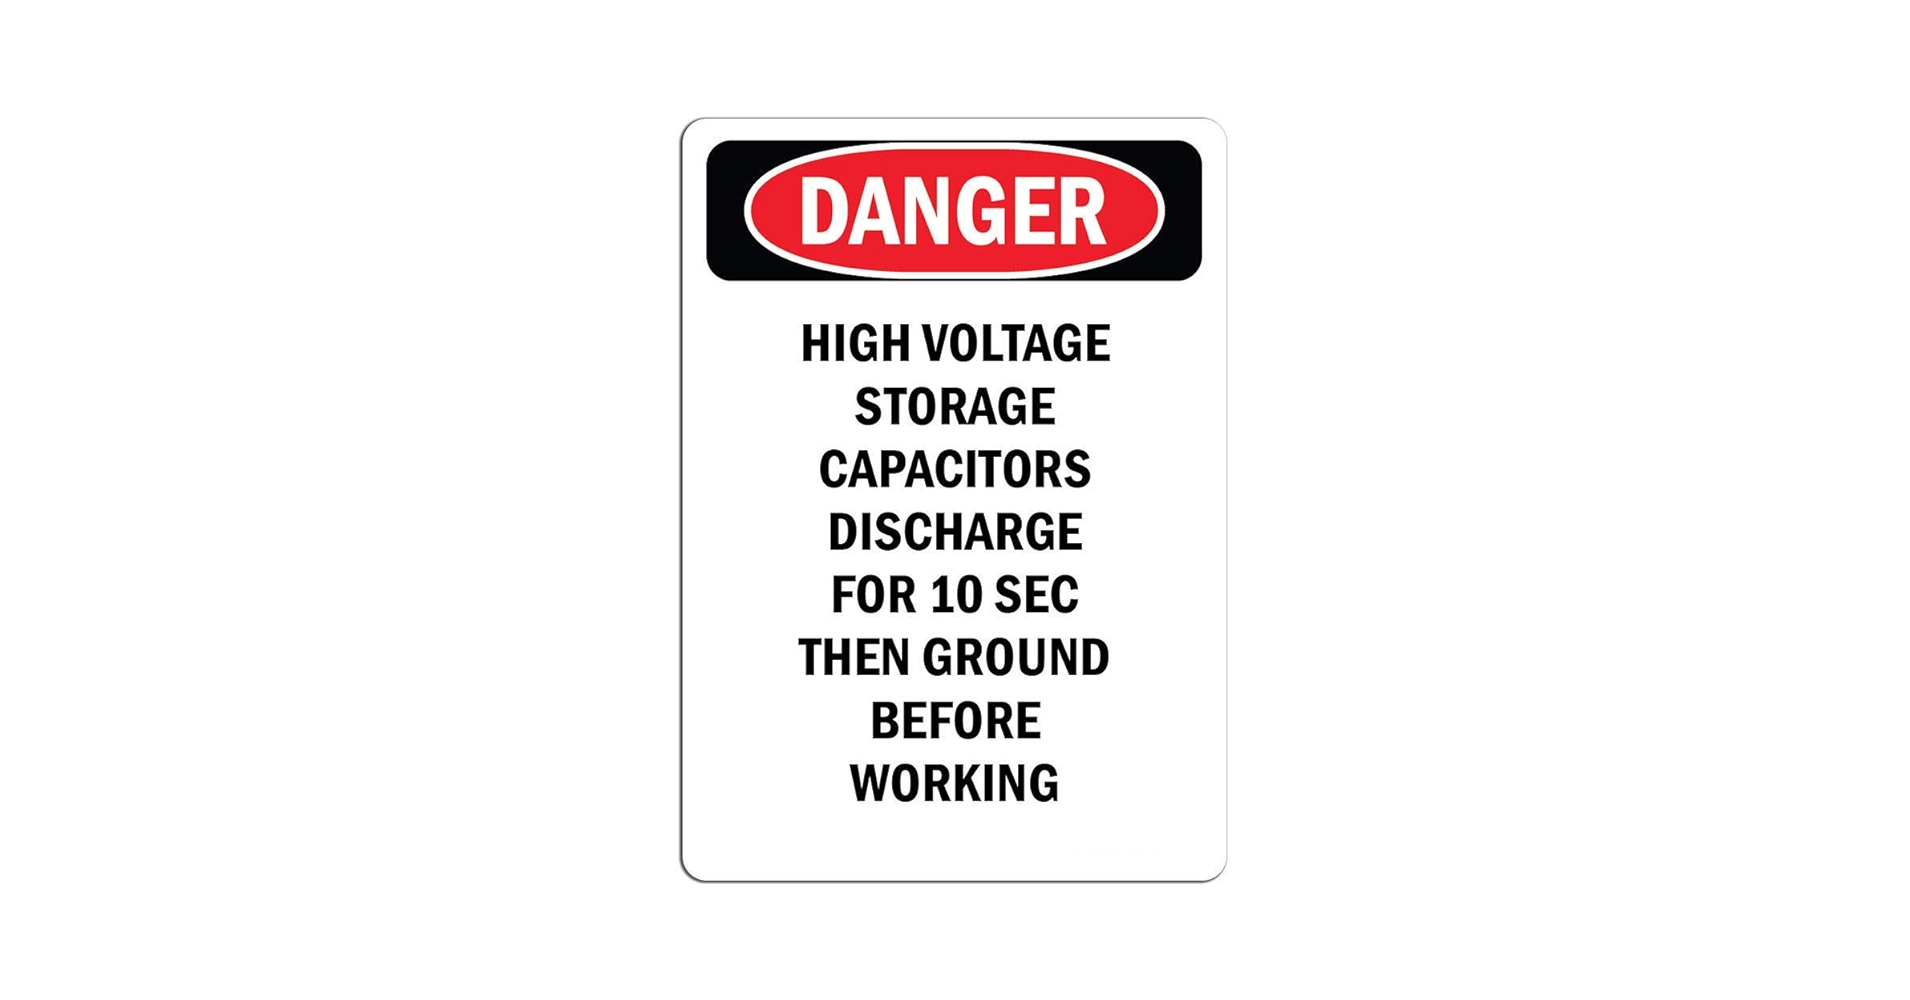
Unplug for 30+ minutes minimum—this drains the high-voltage capacitor that retains lethal charge. Never touch magnetron terminals, transformer wires, or capacitor leads. When probing internals, keep one hand in your pocket to avoid creating a shock pathway through your heart. Skip capacitor discharge unless you’re trained; improper handling risks severe injury. Always wear safety goggles and work gloves during disassembly.
Required Tools Checklist:
– Phillips #2 long-shaft screwdriver (for rear panel access)
– Small flat-blade screwdriver or plastic spudger (for clip release)
– Needle-nose pliers (for spring manipulation)
– 90% isopropyl alcohol and cotton swabs (for cleaning)
Working without these tools risks damaging fragile latches or causing electrical hazards.
CMW-2000 Disassembly: Exposing the Latch Assembly

Remove Outer Shell in 5 Critical Steps
Place the microwave front-facing on a padded surface. Remove all rear-panel screws (6–8 total), then slide the panel back ½ inch before lifting it away. Next, extract screws along the top edge and side flanges. Tilt the outer shell backward 30–45°—it lifts off as one U-shaped unit, revealing the latch assembly bolted to the front sub-chassis. Critical tip: Note screw locations—longer screws typically secure the rear panel, shorter ones hold side flanges.
Identify the 3 Failure-Prone Components
- White plastic lever: Hook at top shears off; pivot pin cracks at center; actuator arm snaps at bottom.
- Actuator arm: Thin plastic yoke connecting button to lever—breaks at pivot points under palm pressure.
- Return spring: Light coil spring that resets the lever—loses tension or detaches over time.
If the lever hook is intact but won’t rise, skip replacement—cleaning will likely resolve it.
Clean a Sticky Latch Assembly Without Replacing Parts
Isopropyl Alcohol Cleaning Technique That Works
Dip cotton swabs in 90% isopropyl alcohol. Scrub latch hooks, pivot points, and surrounding plastic channels. Manually rotate the lever 10 times while cleaning to work solvent into tight gaps. Dry thoroughly with a lint-free cloth—residual moisture attracts more debris. Never spray cleaners directly into the latch cavity; liquid seepage gums up internal linkages. For stubborn residue, use compressed air in short bursts after cleaning to blow out crumbs.
When to Skip Cleaning and Order Parts
If alcohol cleaning fails or you see broken plastic pieces through vent slots, replacement is unavoidable. Attempting repeated cleanings wastes time when the actuator arm is visibly snapped. Order parts before reassembly—most repairs stall because users disassemble without verified replacements.
Replace a Broken Door Button Linkage (CMW-2000 Specific)
Installing the CMW-2000-02-BUTTON Kit Correctly
After removing the outer shell, locate the white plastic actuator arm behind the control panel. If it’s disconnected or broken at the pivot pin:
1. Pop out the old arm with a flat screwdriver—photograph spring orientation first.
2. Insert the new CMW-2000-02-BUTTON kit (Amazon Prime eligible for $9).
3. Hook the return spring onto the plastic tab with needle-nose pliers.
4. Test lever movement manually—the hook must rise fully when pressed.
Critical mistake to avoid: Installing the spring backward causes immediate re-failure. Verify movement before reassembly.
Fix or Replace the Door Latch Lever Assembly

Temporary Epoxy Fix (With Realistic Expectations)
For cracked levers where replacement parts are delayed:
1. Clean fracture points with alcohol.
2. Apply two-part epoxy (like JB-Weld PlasticWeld).
3. Clamp for 30 minutes; cure 24 hours before use.
Field reality: This repair lasts 1–6 months depending on usage. Heavy loads accelerate failure—plan permanent replacement. Never epoxy sheared hooks; the leverage point requires OEM strength.
Permanent Latch Replacement for CMW-2000 Models
Order CMW-2000-01-LATCH through Cuisinart Parts (800-726-0190). To install:
1. Lift the pivot pin securing the old lever.
2. Insert the new lever in identical orientation (hook angle must match).
3. Reconnect the return spring to its plastic tab.
4. Cycle the latch 5 times—full travel confirms proper installation.
Pro tip: Universal substitutes like Whirlpool W10156813 work if the hook geometry matches—verify photos before ordering.
Where to Buy Cuisinart Microwave Repair Parts Fast
Verified Sources for CMW-2000-01-LATCH
- Cuisinart Direct: Call 800-726-0190 for unlisted parts (CMW-2000-01-LATCH ships in 7–10 days for $12).
- Amazon: Search “Cuisinart CMW-2000 latch lever”—filter for Prime-eligible kits under $15.
- RepairClinic.com: Enter model CMW-2000 for interactive diagrams; 365-day returns.
Price alert: Avoid $40 “genuine OEM” scams on eBay—Cuisinart’s official parts portal lists the latch lever at $12. Turntable rings cost $15.62; button kits run $9.
Prevent Future Cuisinart Microwave Door Failures
The Quarterly Cleaning Routine That Works
Every 3 months:
1. Wipe door seals and latch cavities with a damp microfiber cloth.
2. Immediately dry with a separate towel—no moisture retention.
3. Never press the release button with your palm—use one finger to avoid linkage stress.
Annual spring test: Open the door ¼ inch and release. If it doesn’t spring open briskly, replace the 10mm torsion spring ($3). Ignoring sluggish movement leads to sudden latch failure.
Warranty Protection During DIY Repairs
Cuisinart’s 3-year warranty covers parts/labor in year one (parts only years 2–3). Crucially, disassembly doesn’t void warranty—but visible glue, drilled holes, or stripped screws do. Authorized service centers (found via Cuisinart’s zip-code search) charge $79–$99 bench fees plus parts. For door issues, DIY repair is faster and cheaper than service center waits.
Troubleshooting Matrix: Symptom to Solution
| Symptom | Likely Cause | Skill Level | Fix Cost | Time Required |
|---|---|---|---|---|
| Door sticks with tacky feel | Food debris jam | Beginner | $0 | 10 min |
| Button flops with no click | Broken actuator arm | Intermediate | $9 | 25 min |
| Door clicks but won’t pop | Failed return spring | Beginner | $3 | 15 min |
| Intermittent release | Cracked latch lever | Intermediate | $12 | 30 min |
Final Takeaway: Most Cuisinart microwave repair nightmares stem from a $12 plastic lever or neglected cleaning. Keep a spare CMW-2000-01-LATCH in your toolkit, perform quarterly wipe-downs, and your microwave will outlast its warranty by years. When your door sticks tomorrow, remember: this isn’t a death sentence for your appliance—it’s a 25-minute fix that saves you $150 in replacement costs. Start with alcohol cleaning, proceed to part replacement only if needed, and never force a stuck mechanism. Your reheated leftovers await.


