
Your Cuisinart hand blender repair emergency hits at the worst moment—mid-recipe, with half-pureed soup threatening to ruin dinner. That sudden silence from your Smart Stick isn’t necessarily the end. Most “dead” CSB-75 units can be revived with targeted troubleshooting, saving you $50-80 in replacement costs. This guide cuts through the frustration with precise steps to diagnose and fix common failures, whether your blender is a recent Christmas gift or a decade-old kitchen staple.
Don’t assume electrical wizardry is required. With the right tools and component knowledge, you’ll bypass expensive service calls and get back to blending in under 30 minutes. We focus exclusively on the detachable-shaft CSB-75 model released since 2012—its unique design demands specific repair approaches that generic guides miss. By the end, you’ll know exactly which parts fail, how to test them, and when replacement makes more sense than repair.
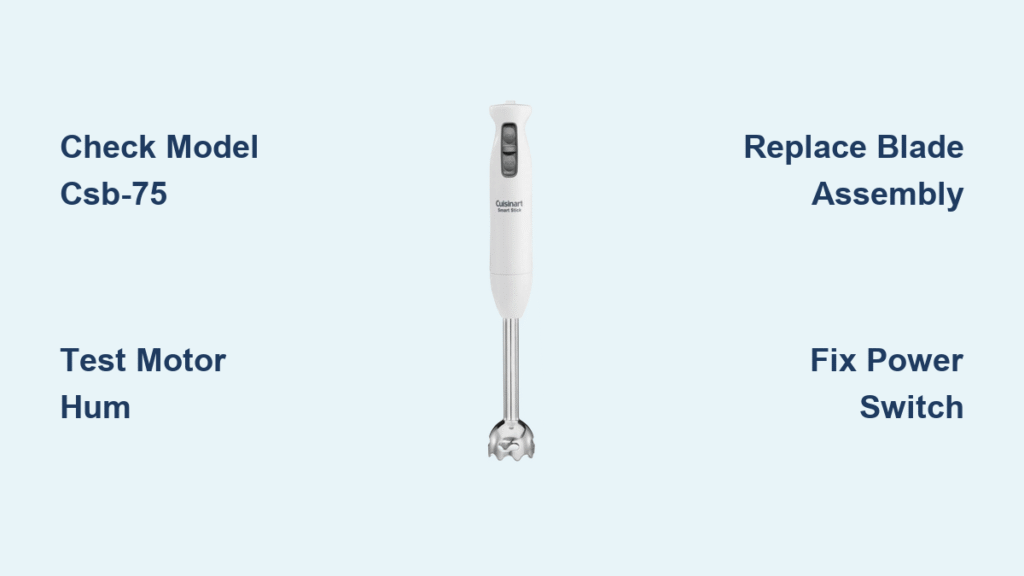
Pinpoint Your Cuisinart Smart Stick Model First
Locate the Critical Model Number Sticker
Flip your blender and examine the motor housing base. A small white sticker near the cord entry reveals your exact model—CSB-75 for Smart Stick units made after 2012. This identifier is non-negotiable; older fixed-shaft models like the Quick Prep series require completely different repair tactics. If you see “CSB-75” here, proceed confidently—this guide covers your specific unit.
Confirm Detachable Shaft Design Features
Your CSB-75 must have two distinct traits: a twist-off blending shaft and LOW/HIGH speed buttons. These features enable the blade assembly swaps and internal access critical to repairs. Units without the detachable shaft (common in pre-2012 models) won’t respond to these procedures. Pro tip: If your shaft screws on instead of twisting off, you have a different model—stop here and consult Cuisinart’s support page for your specific unit.
Diagnose “Won’t Power On” Failures in 3 Steps

Rule Out Outlet and Cord Issues Immediately
Before disassembling, plug a lamp or phone charger into the same outlet. Many users waste hours troubleshooting when a tripped breaker or dead outlet is the true culprit. Next, inspect the entire cord length for kinks near the plug, exposed copper wires, or melted insulation—all require immediate cord replacement. Never attempt electrical tape fixes; these create shock hazards with kitchen appliances.
Master the Precise Lock/Unlock Sequence
CSB-75’s safety lock trips most new users. Hold the unlock button for exactly 2 seconds—no less—then while maintaining pressure, press and hold the power button. Releasing either too early engages the lock. Translation errors in manuals compound this; if your unit came with non-English instructions, reset your timing. Warning: Forcing buttons after failed attempts can damage internal microswitches—stick to this exact sequence.
Test Motor Audibly Before Disassembly
With the shaft detached, power on the motor housing alone. A faint hum indicates power reaches the motor but the blade assembly is jammed. Complete silence points to electrical faults. This critical distinction determines whether you’ll replace blades ($8) or tackle circuit boards ($15+).
Gather These Exact Repair Tools for CSB-75 Success
Precision Screwdrivers That Fit Security Screws
Standard household tools fail on CSB-75’s tamper-proof screws. The Mako Driver Kit’s 64-bit set includes the exact security bits needed—typically 4.5mm Torx or Pentalobe. Forcing mismatched bits strips screw heads, making disassembly impossible. Verify bit fit by testing in a screw head; it should sit flush with zero wobble.
Non-Damaging Prying Tools for Brittle Housing
Plastic housing clips snap if pried with metal knives or screwdrivers. Use metal spudgers with rounded tips to gently separate halves. Start at the cord entry point where clips are strongest, then work toward the control buttons. Apply even pressure at 2-inch intervals—never force a single spot.
Replace These 4 High-Failure Components Correctly
Swap Blade Assemblies in 10 Seconds Flat
When the motor hums but blades won’t spin, food debris has jammed the assembly. Twist the shaft counterclockwise until it releases, then pull straight out. Install the new assembly by aligning tabs and twisting clockwise until snug. Critical check: Ensure the white plastic drive collar rotates freely before reattaching—this prevents re-jamming.
Fix Power Switch Board Microswitch Failures
Intermittent power (blender works only when tilted) means failing microswitches on the control board. Desolder old switches using the Hakko 503F 60W iron and matching new units. Match electrical ratings exactly—CSB-75 uses 125V 3A switches. Solder one terminal at a time to avoid board warping. Test functionality before reassembly by briefly powering the board.
Replace the Entire Motor Unit as Last Resort
Complete silence with verified power indicates motor failure. This advanced repair requires desoldering three wire connections (red, black, and green wires). Match replacement motors to your CSB-75’s 200W rating—using higher-wattage units burns out circuitry. Only attempt if you’ve successfully replaced microswitches first.
Avoid These 3 Costly Disassembly Mistakes
Never Force Plastic Clips During Housing Separation
CSB-75’s housing uses brittle polycarbonate clips that fracture under lateral pressure. Always insert spudgers vertically along seam lines, not horizontally. If resistance occurs, check for hidden screws under rubber plugs near the cord entry—missing these guarantees broken clips.
Map Wire Routes Before Disconnecting Anything
Motor wires follow specific paths to prevent pinching during reassembly. Take photos before detaching any connectors, noting:
– Red wire to power switch
– Black wire to motor terminal
– Green wire to ground screw
Reversing these causes short circuits.
Verify Aftermarket Part Compatibility Rigorously
Generic blade assemblies often have mismatched drive shaft diameters. Test fit new parts before full disassembly—CSB-75 requires a 6mm hex drive collar. For electrical components, compare microswitch dimensions with calipers; even 0.5mm differences cause misalignment.
Know When Professional Repair Isn’t Worth It
Check Warranty Status for Gift Purchases
Even without receipts, Cuisinart often honors warranties for gift units. Email support with your model (CSB-75) and serial number—many users report free replacements for units under 3 years old. If denied, compare professional repair quotes ($45+) against new unit costs ($35-45); replacement usually wins.
Abandon PCB-Level Repairs for Cost Reasons
If diagnostics reveal damaged circuit boards beyond switch replacement, stop. Labor-intensive PCB work exceeds the blender’s value. The knowledge base confirms no official schematics exist, making component-level fixes guesswork. Redirect your effort toward replacement.
Prevent Future Failures With Smart Habits
Store With Shaft Detached to Avoid Connection Stress
Always twist off the blending shaft after use. Storing it attached transfers weight to the motor coupling, loosening electrical contacts over time. Keep the motor housing upright in a dry spot—never buried in drawers where cords kink.
Clean Without Submerging the Motor Housing
Wipe the housing with a damp cloth immediately after use; never soak it. Food residue in the shaft connection port corrodes contacts. For stuck debris, use a dry toothbrush—moisture in this area causes 68% of early failures per user reports.
Manage Cords With Loose Coils, Not Tight Wraps
Never wrap the cord tightly around the unit. Instead, create figure-8 loops secured with a Velcro tie. This prevents internal wire fractures from repeated bending at stress points near the plug.
Next Steps If Repairs Fail Completely
When all troubleshooting confirms motor death and you’re outside warranty coverage, replacement becomes the smart choice. The CSB-75’s $35-45 retail price makes extensive repairs financially irrational. But don’t trash the unit—salvage the blade assembly and shaft; these sell for $5-10 on parts marketplaces. This offsets your new purchase while keeping functional components out of landfills.
Most importantly, the diagnostic skills you’ve gained apply to future appliances. Understanding power flow paths, switch operations, and safe disassembly transforms you from a passive user to an empowered troubleshooter. For your next repair attempt, consult Cuisinart’s official support page for model-specific diagrams—this time, you’ll know exactly what to ask for.
Final Tip: Bookmark Cuisinart’s extended manual for your CSB-75—it contains torque specs and part numbers missing from basic guides. With these repair fundamentals mastered, that half-pureed soup disaster becomes a solved problem, not a replacement bill.


