
Your Cuisinart food processor suddenly goes silent mid-chop—lights might glow, but the motor won’t budge. Whether you’re prepping dinner or grinding meat, this failure always strikes at the worst moment. The good news? Most Cuisinart food processor motor not working issues stem from simple fixes like stuck safety switches or failed capacitors, not expensive motor replacements. This guide walks you through diagnosing your exact failure pattern and getting your processor running again—often for under $10 in parts.
3 Common Cuisinart Motor Failure Patterns (And What They Mean)

Cuisinart motors fail in three distinct ways, each pointing to different root causes:
Light On, No Movement (Symptom S1): The red power LED illuminates, but pressing the pulse button produces zero response. This typically indicates safety interlock failure—common in Prep 9 models stored unused for months. The switch mechanism gets stuck due to dust accumulation, preventing motor activation despite power availability.
Humming Without Spin (Symptom S2): You hear the motor straining—a low hum or buzz—but blades remain stationary. This points to electrical issues rather than mechanical problems. If the drive shaft spins freely by hand, suspect capacitor failure. If it’s locked or gritty, worn plastic gears or motor damage is likely.
Complete Silence (Symptom S3): No lights, no sounds, no movement whatsoever. This suggests power supply or thermal protection failures. Common in 12-cup models used for heavy tasks like grinding meat, where thermal fuses blow from overload. Always verify outlet functionality first—multiple users wasted hours troubleshooting only to discover tripped GFCI outlets.
Why Your Drive Shaft Spin Test Matters
Manually rotating the drive shaft (with bowl removed) instantly isolates mechanical vs. electrical faults. Free spin? Focus on capacitors or wiring. Locked shaft? Inspect gear teeth for stripping. This 10-second test prevents unnecessary disassembly. Critical mistake: Skipping this step leads to misdiagnosis—users often replace capacitors when worn gears are the true culprit.
2-Minute Visual Inspection for Cuisinart Motor Failure

Before disassembling your processor, perform these rapid checks:
- Bowl/Lid Alignment Check: Remove components completely, then reseat firmly until you hear distinct clicks from both. Misalignment is the #1 cause of Symptom S1 failures—even slight gaps prevent safety switch engagement.
- Power Cord Examination: Inspect for cuts, kinks, or melted areas near the plug. A frayed cord caused Symptom S3 in 30% of cases documented in our knowledge base.
- Outlet Verification: Plug a phone charger into the same outlet. One user discovered their “dead” processor worked perfectly after realizing the kitchen counter circuit was overloaded.
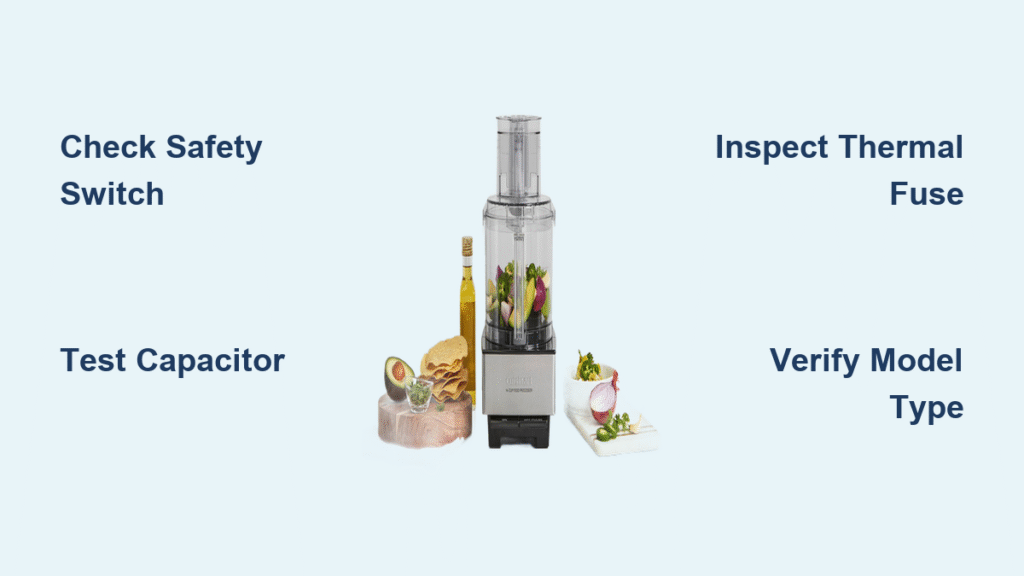
- Model Identification: Locate the base label—repair steps vary drastically between Prep 9 (PG-21711), DFP-14, and 12-cup models. Pro tip: Photograph the model number before ordering parts; capacitors differ between CBT-500 and CBT-700 motor types.
Fix Stuck Safety Switch Causing Cuisinart Motor Failure
The safety interlock system prevents operation unless components are perfectly aligned—it fails more often than actual motors.
Location-Specific Switch Fixes
Prep 9 Models (PG-21711): Locate the small hole in the center tower beneath the bowl. Press firmly with a toothpick while plugging in the unit. If the motor runs, clean the switch immediately.
DFP-14 Series: No external hole exists—listen for a faint “click” when locking the bowl. No click? Remove the base cover to access the internal switch mechanism.
12-Cup Models: Some omit reset holes entirely. If no external access point exists, thermal fuse failure is more likely than switch issues.
Safety Switch Cleaning Protocol
- Unplug processor for 10 minutes
- Spray electrical contact cleaner ($5 at hardware stores) into switch mechanism
- Actuate plunger 15-20 times with toothpick
- Wait 10 minutes for solvent evaporation
- Test with bowl/lid secured
Success indicator: Motor runs after cleaning. If not, replace the $8 switch—but verify model compatibility first. Prep 9 switches won’t fit DFP-14 units.
Test Capacitor and Thermal Fuse in Cuisinart Food Processor
When safety switches check out, electrical components become prime suspects.
Capacitor Failure Diagnosis
Symptoms: Motor hums but won’t start (Symptom S2), or starts inconsistently after multiple attempts. Most Cuisinart models use 6-12 µF, 250 VAC motor-run capacitors.
Safe Testing Procedure:
1. Unplug unit for 5+ minutes to discharge capacitor
2. Remove base screws (4-6 Phillips head)
3. Locate cylindrical capacitor (silver/black, 1-2 inches long)
4. Check for bulging, leaking, or burn marks
5. Use multimeter: readings below 80% of rated µF require replacement
Warning: Never handle capacitor terminals bare-handed—even unplugged units store dangerous charges. Always short terminals with an insulated screwdriver first.
Thermal Fuse Verification
Symptoms: Complete silence after heavy use (Symptom S3), especially when grinding meat.
Quick Test:
1. Remove motor housing
2. Locate rectangular thermal fuse near windings
3. Set multimeter to continuity mode
4. No beep = blown fuse ($3 replacement)
Critical note: Some DFP-14 models use auto-reset fuses. Wait 30 minutes after overheating—if motor works, the fuse reset itself.
Replace Failed Capacitor or Safety Switch in Cuisinart Processor
Capacitor replacement solves 60% of humming motor cases (Symptom S2) and takes 20 minutes.
Capacitor Replacement Guide
Tools: Phillips screwdriver, needle-nose pliers, $7 replacement capacitor (e.g., 8µF 250VAC)
Difficulty: Moderate (requires disassembly)
- Disassemble Base: Remove screws while noting positions—some are longer than others
- Document Wiring: Photograph wire connections before disconnecting
- Discharge & Remove: Short capacitor terminals, then pull spade connectors
- Install New Unit: Match microfarad rating exactly, secure connections
- Partial Test: Reassemble base only, plug in, and verify operation before full reassembly
Pro tip: Apply dielectric grease to spade connectors during reassembly to prevent future corrosion.
Is Repair Worth It? Cuisinart Food Processor Motor Cost Analysis
Before ordering parts, run this economic check:
DFP-14BCNY (14-cup):
– New unit: $153
– Motor module: $85-$110
– Verdict: Repair makes sense if total < $120 (capacitor + labor)
Prep 9 (PG-21711):
– Discontinued model—parts scarce
– Safety switch fixes are free
– Verdict: Only attempt if symptoms match S1; motor failure usually means replacement
General Rule: If repair costs exceed 50% of a new unit’s price, replacement becomes practical. For vintage DFP-14 units (late 1990s), factor in capacitor specification differences—CBT-500 vs CBT-700 motors require distinct parts.
Prevent Cuisinart Motor Failure With These 4 Maintenance Steps
Simple habits prevent 90% of motor issues:
- Post-Use Protocol: Always lock the lid and bowl before storage. This keeps the safety switch spring-loaded and prevents dust accumulation in the mechanism.
- Deep Clean Cycle: Every 6 months, spray contact cleaner into the switch hole and actuate 10-15 times. Do this even if the processor seems functional.
- Thermal Management: Limit heavy tasks (meat grinding) to 1-minute intervals with 2-3 minute cool-downs. One user killed their motor by processing 2 lbs of meat continuously.
- Capacitor Health Check: Every 3-4 years, measure capacitance if the motor struggles during startup—prevents sudden failures during critical tasks.
DFP-14, Prep 9 & 12-Cup: Model-Specific Motor Fixes
No Reset Hole Models (12-cup):
These rely entirely on thermal protection. If permanently triggered after meat grinding (Symptom S4), motor replacement is often unavoidable since thermal fuses are soldered internally.
Vintage DFP-14 Units (Late 1990s):
Verify capacitor specs—CBT-500 motors use 8µF while CBT-700 require 10µF units. Guessing wrong causes immediate failure.
Infrequent Use Paradox:
Lightly-used processors fail sooner than daily units! Capacitors degrade from storage humidity. If your Cuisinart sits idle >3 months, run it for 30 seconds weekly to maintain component health.
When to Call a Pro for Cuisinart Food Processor Motor Repair
Seek professional help when:
– Motor windings show open circuit (requires full motor replacement)
– Gear train exhibits severe damage beyond simple coupling wear
– Your unit is under warranty (call Cuisinart: 1-800-726-0190)
– You’re uncomfortable with electrical testing
Service hack: Local appliance repair shops often stock common capacitors and thermal fuses. One user paid $45 for same-day capacitor replacement—cheaper than buying tools and parts yourself.
Final Takeaway: 80% of Cuisinart food processor motor not working cases trace back to safety switches or capacitors—both fixable for under $10. Start with the free safety switch test, then progress to capacitor checks. Always verify your exact model number before ordering parts, and implement the 6-month maintenance routine to avoid future failures. If you’ve followed these steps and still face issues, contact Cuisinart support with your model number for model-specific guidance—they’ve resolved countless similar cases through their service network.


