
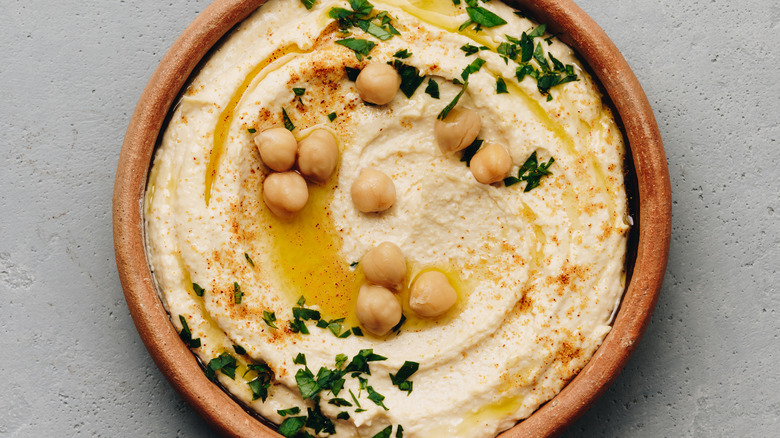
Forget grainy store-bought hummus—your Cuisinart food processor unlocks velvety-smooth results in minutes. The secret? Leveraging your appliance’s precise engineering to transform humble chickpeas into restaurant-quality dip. I’ve tested both standard and Mini Prep Plus methods across dozens of batches, and the difference is night and day: proper Cuisinart technique eliminates the gritty texture that plagues most homemade versions. You’ll master oil emulsification tricks, avoid common texture pitfalls, and learn why processor size dictates your liquid strategy. Whether you’re feeding a crowd or making a single-serving snack, this Cuisinart food processor hummus recipe delivers foolproof creaminess every time.
The magic happens because Cuisinart’s metal blades and motor speed create optimal friction for breaking down chickpea fibers—a task blenders and immersion blenders often fail at. Unlike hand-mashing or low-powered appliances, your processor’s consistent rotation prevents overheating while achieving that signature silkiness. And the best part? You’ll use pantry staples with zero specialty equipment. Let’s transform your chickpeas using methods engineered specifically for Cuisinart’s design.
Standard Cuisinart Hummus Recipe for Crowd-Sized Batches

Your full-size Cuisinart (7-cup capacity or larger) shines when making 2 cups of hummus—the perfect amount for parties or weekly meal prep. The metal chopping blade’s extended contact time with ingredients creates superior emulsification compared to smaller models. Expect silky results in under 10 minutes with this precise layering technique.
Why Chickpea Order Matters for Smoothness
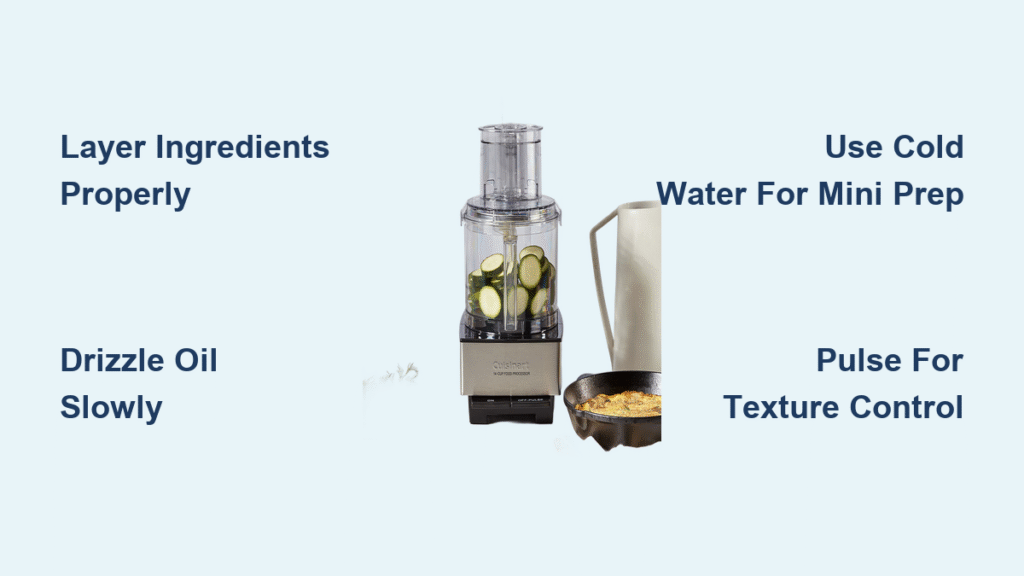
Dumping all ingredients at once causes tahini to glue to the bowl bottom, creating uneven texture. Instead, layer chickpeas first, then spices and tahini, finishing with liquid. This sequence ensures every chickpea gets coated during processing, preventing the dreaded “chickpea chunks” in your final dip.
Step-by-Step Processing Sequence
1. Garlic Infusion Technique
Place one garlic clove in your bowl and pulse 5–7 times. Why not mince by hand? The processor’s sharp blades release allicin (garlic’s aromatic compound) without bruising, eliminating raw sharpness. Stop when pieces resemble coarse sand—over-pulsing creates bitter notes.
2. Strategic Ingredient Layering
Add drained chickpeas first, followed by tahini, cumin, salt, pepper, and cayenne. Finally, pour lemon juice over everything. This order prevents thick tahini from sinking and guarantees even spice distribution. Pro tip: Use room-temperature lemon juice—it emulsifies faster than cold.
3. Critical Processing Timing
Lock the lid and process continuously for 60–90 seconds. You’ll hear the sound shift from “gritty crunch” to “smooth hum” as chickpeas break down. Pause once to scrape the bowl sides with a silicone spatula—this takes 5 seconds but prevents dry patches.
4. Oil Emulsification Masterclass
With the processor running, pour olive oil through the feed tube in a pencil-thin stream (think honey drizzle speed). Adding oil too fast breaks the emulsion, causing separation. For 2 cups of hummus, use ⅓ cup minimum—⅓ cup yields spreadable dip, ½ cup creates pourable consistency for drizzling.
Mini Prep Plus Hummus Method for Single Servings
The 4-cup Mini Prep Plus solves the #1 small-kitchen hummus problem: wasted leftovers. Its compact bowl prevents under-processing (a common issue with mini choppers) while using water instead of oil for lighter texture. Ideal for lunches or tasting variations without overcommitting ingredients.
Water vs. Oil: The Mini Processor Secret
Full-size models need oil for emulsification, but the Mini Prep’s smaller blade-to-ingredient ratio requires cold water. Oil overwhelms the small bowl, creating greasy texture. Water hydrates chickpeas gently—add just enough to achieve creaminess without thinning.
Precision Mini-Batch Steps
1. Avoid Overfilling Traps
Load ingredients in this order: chickpeas, tahini, lemon juice, garlic, cumin, salt. Never exceed the 2-cup fill line—even ¼ cup overfill causes uneven processing. For single servings, halve the standard recipe quantities.
2. Pulse Control for Texture
Pulse 8–10 times to coarsely chop. Skip this step, and you’ll get gummy hummus—the Mini Prep’s speed requires controlled initial breakdown. Watch through the lid: stop when chickpeas resemble coarse oatmeal.
3. Water Integration Timing
With processor running, add cold water one tablespoon at a time through the feed tube. After each addition, process 5 seconds. Perfect texture hits at 3 tablespoons for most batches—stop when the mixture pulls away from the bowl sides.
4. Final Polish Shortcut
Scrape once, then process 15 seconds. No need for extended blending—the Mini Prep’s tight bowl creates instant smoothness. Over-processing here causes heat buildup, making hummus gluey.
Fix Grainy Hummus with These Processor Hacks
Grainy texture means your Cuisinart isn’t breaking down chickpea skins properly. These targeted fixes address the exact failure points:
When Hummus Stays Chunky After Processing
Problem: Under-processed chickpeas due to insufficient liquid.
Cuisinart Fix: With processor running, add 1 tsp cold water (standard) or ½ tsp olive oil (Mini Prep) through the feed tube. Process 10 seconds. Repeat until smooth—but never add liquid while stopped.
When Hummus Separates Mid-Processing
Problem: Oil added too quickly overwhelms emulsion.
Cuisinart Fix: Immediately stop processor. Add 1 tbsp cold water and 1 tsp tahini. Restart on low speed, then slowly resume oil drizzle. The water-tahini combo acts as an emulsion rescue buffer.
When Hummus Turns Gummy
Problem: Over-processing in Mini Prep Plus.
Cuisinart Fix: Chill the bowl 10 minutes before starting. Cold surfaces prevent heat-induced starch breakdown. Always use the pulse function for initial chopping—continuous processing cooks the mixture via friction.
Flavor Customization Without Texture Sacrifice
Transform basic hummus while preserving silkiness using processor-specific timing:
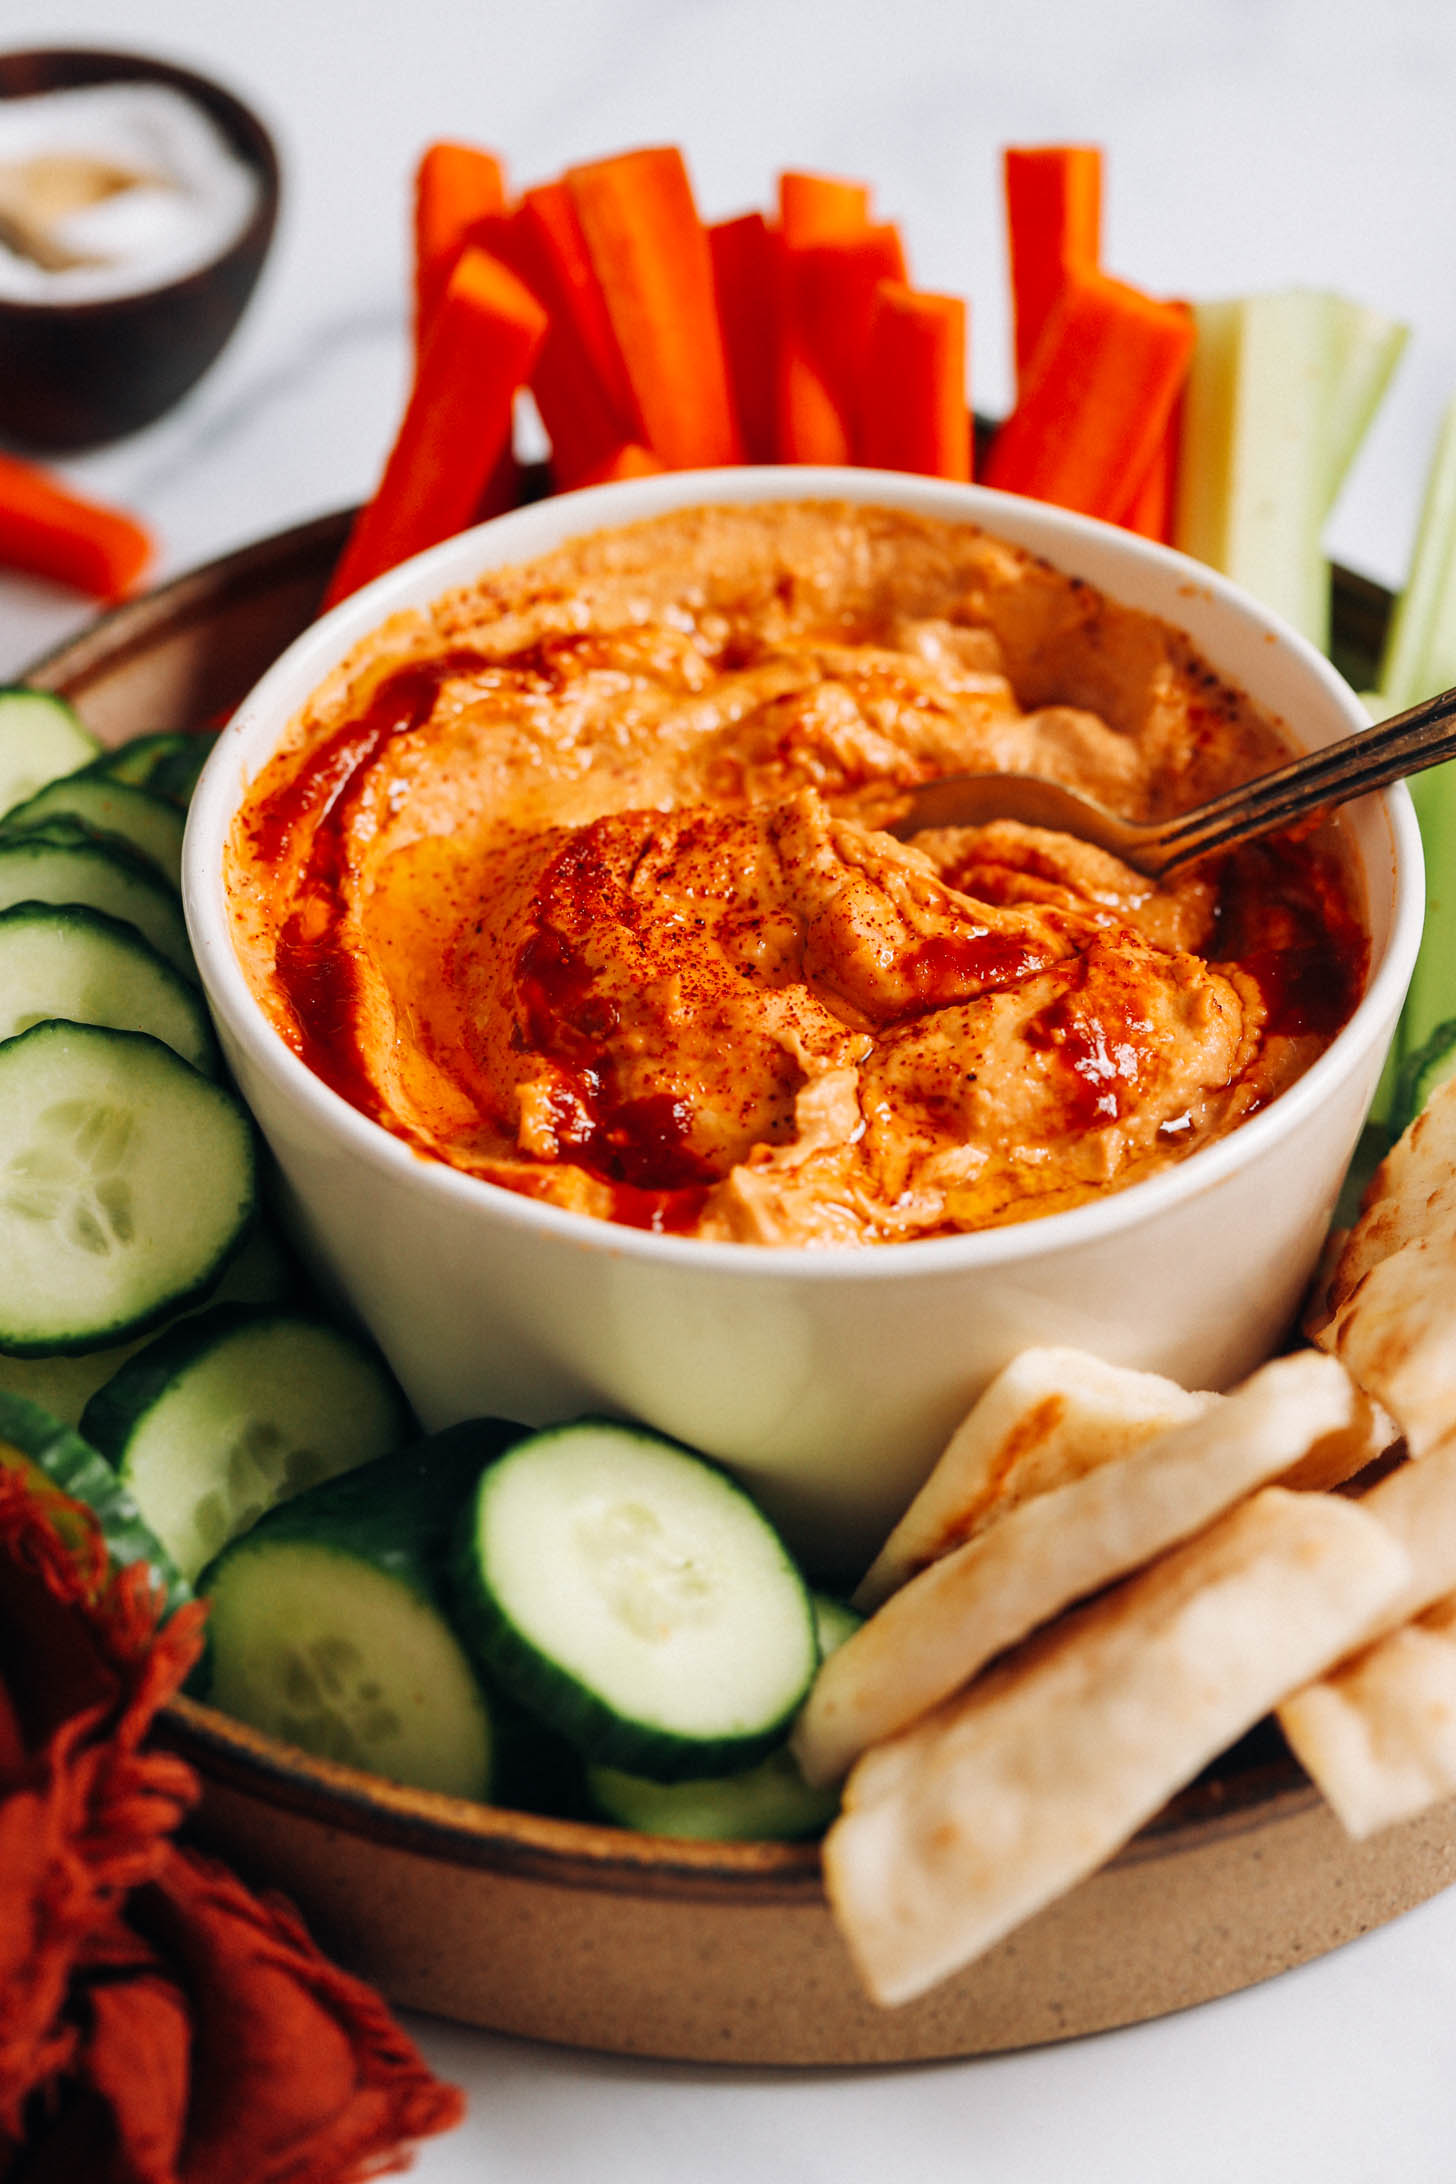
Roasted Red Pepper Swirl Technique
Add ½ cup drained roasted peppers during the final 15 seconds of processing. Why drained? Excess liquid breaks emulsion. Pulse 3 times for visible flecks, or process 10 seconds for uniform color. Never add peppers early—they release water that thins texture.
Kalamata Olive Infusion Method
Pulse ¼ cup pitted olives with garlic in Step 1. This distributes briny flavor evenly without creating olive chunks. Substitute 1 tbsp olive brine for salt to boost umami without oversalting.
Smoky Chipotle Variation
Blend 1 chipotle pepper in adobo sauce with garlic initially. The processor’s sharp blades fully incorporate fibrous peppers—hand-mincing leaves unpleasant bits. Add adobo liquid with your main liquid for even heat distribution.
Pro Storage Tactics for Lasting Freshness
The 24-Hour Flavor Secret: Hummus tastes best after refrigeration overnight. Garlic mellows, spices marry, and texture firms up. Store in an airtight container with ¼ inch olive oil on top—this creates a barrier against oxidation.
Reviving Stored Hummus: Never re-process leftovers—it destroys texture. Instead, stir in 1 tsp cold water per cup and let sit 10 minutes. The water rehydrates chickpeas gently while preserving creaminess.
Freezing Fail-Safe Method: Portion into ice cube trays, cover with oil, and freeze. Transfer cubes to a bag once solid. Thaw overnight in the fridge—texture remains intact for 3 months (vs. 5 days refrigerated).
Equipment-Specific Pro Tips You’re Missing
Why Standard Models Beat Blenders for Hummus
Cuisinart’s wide bowl creates a vortex that pulls ingredients toward blades, while narrow blender jars trap chickpeas above the liquid line. The metal blade’s downward force grinds chickpeas instead of just smashing them—critical for eliminating graininess.
Mini Prep Plus Cleaning Shortcut
Rinse the blade assembly immediately after use. Tahini hardens within minutes, but running hot water through the blade mechanism for 10 seconds prevents stubborn residue. Never soak—the seal can degrade.
Feed Tube Mastery for Perfect Consistency
Keep the pusher inserted while adding liquids—it maintains consistent pressure on ingredients. For oil streams, tilt the measuring cup to create a thin, steady flow. Remove the pusher only when adding chunky mix-ins like roasted peppers.
Master these Cuisinart-specific techniques, and you’ll never buy store hummus again. The key lies in respecting your processor’s engineering: full-size models thrive on oil emulsification with precise drizzling, while Mini Prep units demand water-based texture control. Start with the standard recipe for your next gathering, then experiment with roasted pepper or chipotle variations using the pulse-function hacks detailed here. Within minutes, you’ll achieve that elusive spoon-standing consistency that proves your Cuisinart food processor hummus recipe outperforms any commercial brand. The real victory? Knowing exactly what’s in your dip—no preservatives, just chickpeas transformed by smart appliance science.


