
Nothing beats tearing into a fresh, warm hamburger bun you made yourself—especially when your Cuisinart bread maker did the heavy lifting. This Cuisinart bread maker hamburger bun recipe delivers bakery-quality results with minimal hands-on effort, transforming simple ingredients into golden, pillowy buns that cradle juicy patties perfectly. Forget dense store-bought versions; in under two hours, you’ll have eight cloud-like buns with a delicate chew and crackly crust that elevate any burger night.
The magic happens because your Cuisinart handles the precise kneading and first rise while you focus on shaping and baking. This exact formula—tested across multiple Cuisinart models—ensures consistent results every time. You’ll learn the critical ingredient order, avoid common pitfalls like collapsed tops, and master freezer-friendly techniques for fresh buns anytime. Whether it’s game day or a weeknight dinner, these buns make your burgers unforgettable.
Cuisinart-Specific Recipe Formula for Perfect Buns
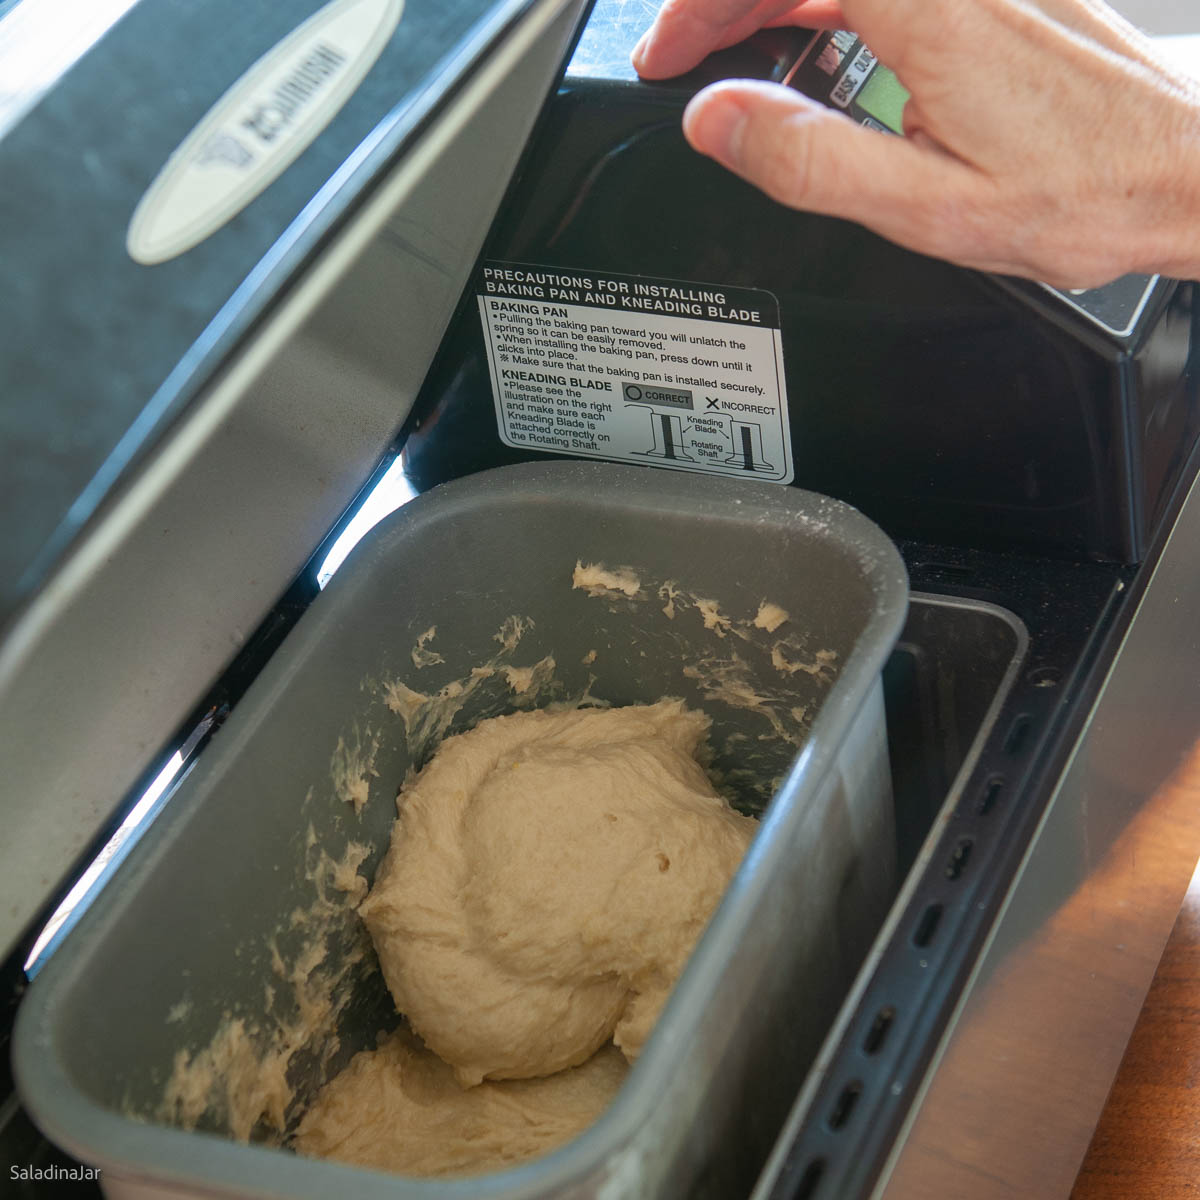
Load ingredients in this exact sequence to prevent yeast-salt contact and ensure optimal rise. Your Cuisinart’s paddle needs wet ingredients at the bottom to grip the dough properly during mixing.
Precise Ingredient Order and Measurements
Wet Ingredients First:
– ¾ cup whole milk warmed to 100–110°F (use a thermometer—too hot kills yeast)
– ½ cup water at matching temperature
– 1 large egg, lightly beaten (don’t skip warming it slightly)
– 4 tablespoons unsalted butter, softened but not melted (cold chunks won’t incorporate)
Dry Ingredients Next:
– 1 tablespoon sugar (activates yeast; reduce to 1 tsp for less sweetness)
– 1 teaspoon table salt (fine grains dissolve faster than kosher)
– 3 cups bread flour (425g—never scoop directly from the bag; spoon and level)
– 1 packet active dry yeast (2¼ tsp) poured into a shallow well in the flour if your model recommends it
Critical mistake to avoid: Adding yeast directly to wet ingredients. Always separate it from liquids with a flour barrier to prevent premature activation.
Correct Cuisinart Machine Settings
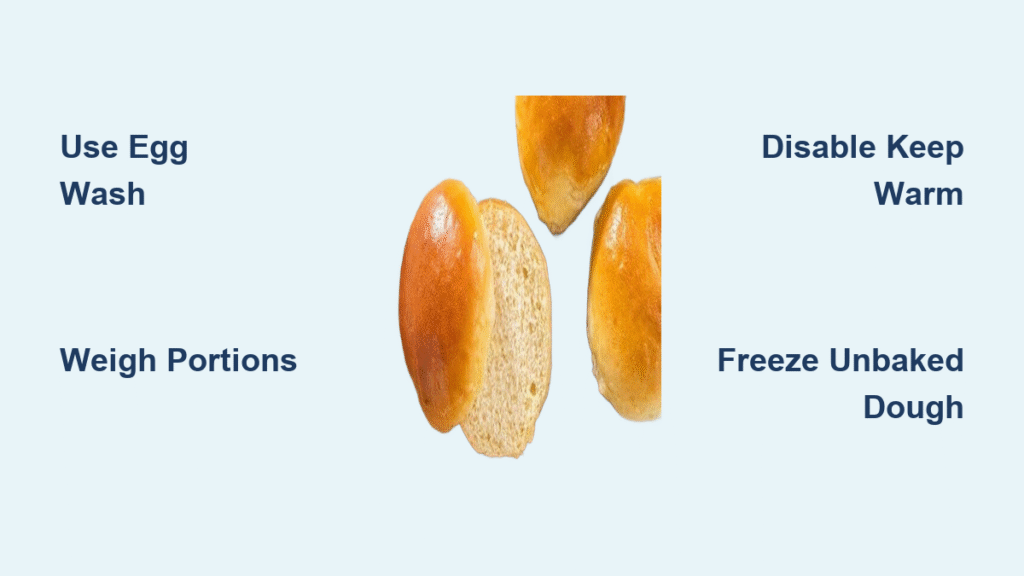
Select the DOUGH cycle—this combines mixing, kneading, and first rise without baking. Run time varies by model (90–110 minutes), but disable Keep Warm mode immediately after completion. Leaving it on causes over-proofing, making dough collapse when shaped. During the cycle, check at 15 minutes: dough should form a smooth ball. If too dry, add 1 tsp water; if sticky, add ½ tbsp flour. This single adjustment prevents 90% of failed batches.
Dough-to-Bun Transformation Steps
Your Cuisinart delivers perfectly proofed dough—now transform it into professional-looking buns with these bakery techniques.
Portioning for Uniform Baking
Turn dough onto a lightly floured surface—it should feel soft and slightly tacky (this moisture ensures tenderness). Weigh portions immediately using a digital scale:
– 2.5 oz (71g) for standard buns = 8 buns
– 3.4 oz (97g) for large “whopper” buns = 6 buns
– 1.7 oz (48g) for sliders = 12 buns
Skipping the scale guarantees uneven bakes—some buns burn while others stay doughy. Cut portions with a bench scraper (not a knife) to avoid compressing the dough.
Shaping Secrets for Dome Perfection
Roll each piece into a tight ball by stretching the top surface taut and pinching the seam underneath. Rest covered for 5 minutes—this relaxes gluten for easy flattening. Then press into ½-inch thick disks (not spheres!). Thicker centers cause flat buns; uneven edges create lopsided rises. Place on parchment-lined sheets with 2 inches between buns to prevent merging during proofing.
Foolproof Proofing and Baking

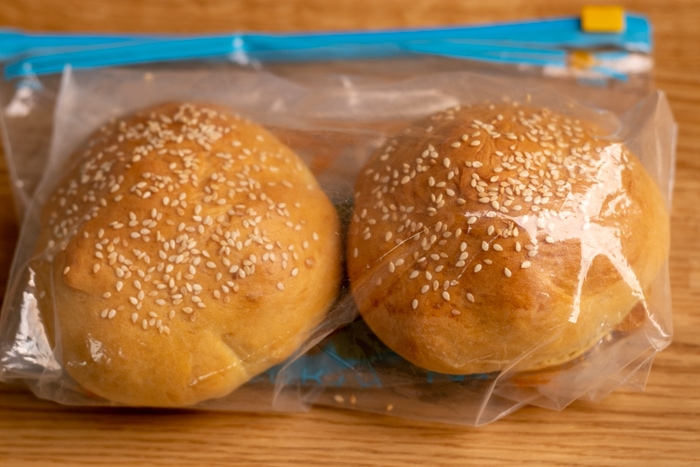
For the second rise: Heat your oven for 1 minute 45 seconds, then turn it OFF. Place trays inside with the light on for 30–45 minutes until buns look puffy and nearly doubled. Over-proofing warning: If indentations don’t spring back, reduce time by 5 minutes next batch. Brush with 1 egg + 1 tbsp water wash (no substitutions—milk wash won’t brown properly), add sesame seeds, then bake at 375°F:
– Standard: 12–13 minutes until deep golden
– Large: 15–18 minutes (check internal temp: 190°F)
– Sliders: 10–12 minutes
Cool on wire racks 10 minutes before slicing—cutting too soon collapses the crumb.
Size Options and Timing Guide
| Bun Size | Count | Dough Weight | Bake Time @ 375°F | Best For |
|---|---|---|---|---|
| Standard | 8 | 2.5 oz / 71g | 12–13 min | Classic cheeseburgers |
| Large | 6 | 3.4 oz / 97g | 15–18 min | Thick smash burgers |
| Slider | 12 | 1.7 oz / 48g | 10–12 min | Party appetizers |
Dairy-Free and Flour Substitutions
Buttermilk or Dairy-Free Swaps
Replace whole milk with 1¼ cups warm buttermilk for tangy, tender buns (reduce water to ¼ cup). For dairy-free: use oat milk + 2 tbsp neutral oil instead of milk/butter. Never use almond milk—its low fat content yields dry buns. All-purpose flour works if you extend kneading by 2 minutes in the DOUGH cycle, but expect slightly less chew.
Gluten Adjustments
If dough feels slack after the Cuisinart cycle, add 1 tbsp flour while shaping—never during machine mixing. Too much flour here causes dense buns. For whole wheat versions, substitute 1 cup bread flour with white whole wheat flour (not regular whole wheat—it absorbs too much liquid).
Freezer Storage That Preserves Freshness
Baked Bun Freezing Method
Cool buns completely, then wrap individually in plastic wrap + aluminum foil. Freeze up to 3 months. Revive like bakery-fresh: Thaw 30 minutes at room temperature, then warm 5 minutes at 300°F. Microwaving makes them rubbery—avoid it.
Unbaked Dough Freezing Hack
After shaping into disks, flash-freeze on trays for 2 hours, then transfer to freezer bags. To bake: thaw 4–5 hours at room temperature, proof until doubled (about 30 minutes), then bake as directed. These taste identical to fresh-made with zero quality loss.
Fixing Common Cuisinart Bun Failures
Why Your Buns Collapsed or Stayed Dense
Over-proofed dough (common with Keep Warm left on) causes collapse—reduce second rise by 5 minutes. Dense centers mean too much flour was added; weigh ingredients next time. If buns spread sideways, your dough was too wet—add 1 tsp flour during Cuisinart’s first mix.
Pale Crusts or Sticky Dough
No egg wash = pale buns. Always use the egg-water mixture—it creates the signature golden crust. For sticky dough during shaping, dust hands with flour sparingly; excess flour dries out buns. The slight tackiness is normal and ensures tenderness.
Flavor Variations for Next-Level Buns
Herb-Cheese or Hot Dog Buns
Knead ½ cup shredded cheddar + 1 tbsp dried herbs into dough before the first rise for gourmet breakfast sandwiches. For hot dogs: roll portions into 6-inch logs, place seam-side down, and proof. They’ll split perfectly when baked.
Slider Party Shortcut
Make 12 sliders using the slider weights, then brush with melted butter + garlic powder after baking. These disappear in minutes at gatherings and reheat better than full-size buns.
Complete Weeknight Timeline
3:00 PM – Load ingredients into Cuisinart, start DOUGH cycle
4:30 PM – Portion, shape, and begin second rise
5:15 PM – Apply egg wash, add toppings, bake
5:30 PM – Cool 10 minutes, slice, and serve warm
This hands-off schedule lets you prep toppings while buns bake—perfect for busy evenings.
Essential Equipment Checklist
Must-haves:
– Cuisinart bread maker with DOUGH cycle (any model works)
– Digital kitchen scale (critical for portion accuracy)
– Rimmed baking sheets + parchment paper (prevents sticking)
Game-changers:
– Bench scraper for clean cuts
– Pastry brush for smooth egg wash application
– Mesh cooling racks (prevents soggy bottoms)
Nutritional Snapshot Per Standard Bun
| Calories | Carbs | Protein | Fat | Sodium |
|---|---|---|---|---|
| 245 kcal | 38.5g | 7g | 6.5g | 360mg |
These buns strike the ideal balance—substantial enough to hold juicy burgers without overwhelming the meal. Freeze extras for guilt-free weeknight wins.
Your Cuisinart bread maker hamburger bun recipe succeeds when you respect the machine’s capabilities and master the post-cycle steps. Stick to precise measurements, never skip the egg wash, and use the freezer hacks for fresh buns anytime. Once you’ve nailed this base formula, experiment with seeds, cheeses, or whole grains to create your signature bun—your burgers (and guests) will thank you.


