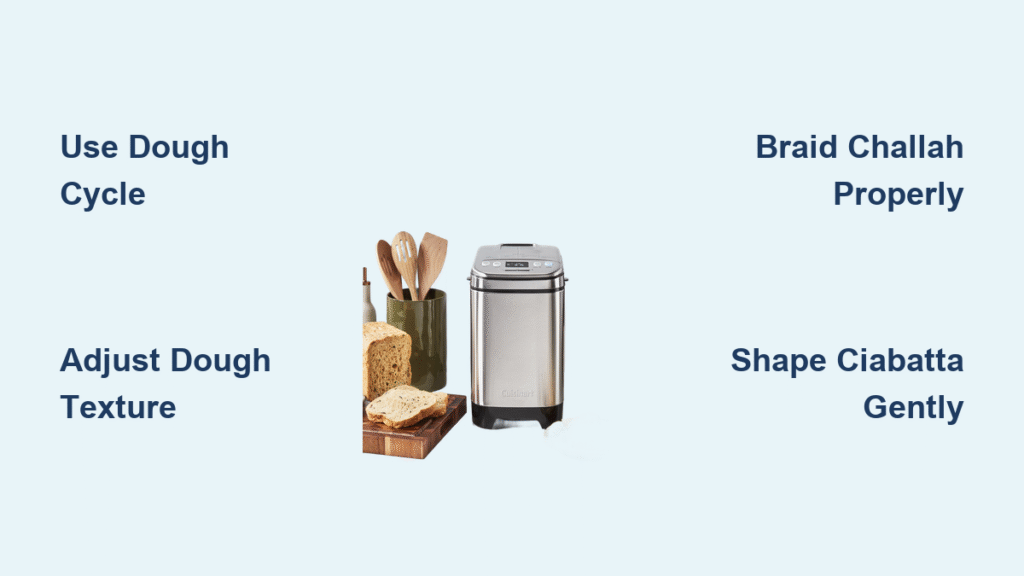
Your Cuisinart bread maker’s dough cycle is the secret weapon you’ve been overlooking. While most home bakers only use it for basic loaves, this versatile function creates flawless dough for everything from bakery-style cinnamon rolls to crusty French baguettes—without the exhausting hand-kneading. In just 15 minutes of active prep time per recipe, you’ll transform simple ingredients into professional-quality breads that impress family and guests alike.
These vegetarian-friendly Cuisinart bread maker dough recipes consistently yield four generous servings, making them perfect for weeknight dinners or weekend baking projects. The magic happens when you stop the machine after the dough cycle completes, then shape the dough by hand for specialty breads. Whether you’re craving pillowy cinnamon rolls, braided challah, or artisanal ciabatta, your bread maker handles the toughest part—developing that perfect gluten structure—while you focus on creative shaping and flavor variations.
Why Your Cuisinart Dough Cycle Beats Hand-Kneading Every Time
The dough cycle on your Cuisinart bread maker creates bakery-quality results through precise temperature control and consistent kneading action. Unlike hand-kneading where fatigue leads to underdeveloped dough, the machine maintains perfect pressure for 25-35 minutes until gluten strands align just right. This controlled fermentation process creates elastic, smooth dough that holds its shape during proofing and develops those beautiful air pockets in crusty European breads.
What Happens During the Dough Cycle
Your Cuisinart works through three critical phases you can’t replicate by hand: First, it mixes ingredients at optimal speed to hydrate flour without tearing gluten. Then, it kneads at precisely calibrated intervals—working the dough, resting it, then working again—to build strength gradually. Finally, it maintains a warm 80-85°F environment during the rise phase, creating ideal conditions for yeast activity without killing it.
Common Dough Cycle Mistakes to Avoid
Many home bakers sabotage their results by making these simple errors: Adding ingredients in the wrong order (liquids first, then dry ingredients), using cold ingredients that slow yeast activation, or walking away without checking the dough’s consistency during the first 10 minutes. If the dough looks too dry or sticky, now’s the time to adjust—add water teaspoon by teaspoon for dry dough, or flour in 1-tablespoon increments for sticky dough.
Challah and Zopf: Braiding Success with Dough Cycle
Stop struggling with tearing dough when attempting intricate braids. The Cuisinart dough cycle develops the strong, elastic structure challah and zopf require for clean separation into strands that hold their shape during braiding. Rich with eggs and sometimes oil, these enriched doughs need extra development to support their delicate structure.
Perfect Challah Braiding Technique
Remove the dough immediately after the cycle completes while it’s still warm and pliable. Divide into equal portions using a bench scraper (not a knife, which deflates the dough), then rest 10 minutes to relax the gluten. Oil your hands lightly—this prevents sticking without adding excess flour that toughens the final product. For a classic six-strand braid, roll each portion into even ropes about 12 inches long before beginning your pattern.
Pro Tip for Shiny Finished Braids
Beat an egg with 1 tablespoon water for the perfect wash that creates that professional golden sheen. Apply it gently with a pastry brush just before baking—too heavy a hand creates soggy spots that won’t brown evenly.
Ciabatta and French Bread: Creating Artisan Shapes After Dough Cycle

Your Cuisinart transforms simple flour-water-yeast-salt mixtures into the foundation for authentic European breads. The secret to ciabatta’s signature irregular holes lies in handling the wet, slack dough gently after the cycle completes—never punch it down. French bread dough, meanwhile, needs tight rolling to create that characteristic chewy interior.
Shaping Ciabatta Like a Professional
Turn the dough onto a heavily floured surface without deflating it. Fold the edges toward the center just once, creating a rough rectangle. Let it rest 5 minutes, then gently stretch the dough into its final shape. Use a bench scraper to lift and transfer it to a floured couche (linen proofing cloth) or parchment paper, creating folds that support its structure during the final rise.
French Baguette Rolling Technique
Divide dough into 250g portions (use a kitchen scale for accuracy). Pre-shape into tight cylinders by rolling on an unfloured surface with cupped hands, applying even pressure. Rest 20 minutes, then roll each portion into a 14-inch log, tapering the ends. Transfer to a baguette pan or couche for final proofing.
Cinnamon Rolls: Transforming Basic Dough into Gourmet Treats
The enriched sweet dough cycle creates the perfect foundation for cinnamon rolls—same base as Apple Chunk or Sour Cream Vanilla breads. What separates good rolls from great ones is proper rolling technique and consistent slice thickness.
Professional Rolling Method
Roll the dough into a precise 12×18 inch rectangle—measure with a ruler for accuracy. Spread softened butter (not melted) to within ½ inch of edges using an offset spatula. Mix cinnamon and sugar in a 1:4 ratio (1 tablespoon cinnamon to ¼ cup sugar) for balanced sweetness. Roll tightly from the long edge, pinching the seam closed. Chill the rolled log for 15 minutes before slicing—this prevents squishing and creates clean edges.
Avoiding Common Cinnamon Roll Problems
If your rolls spread sideways instead of rising up, your proofing temperature is too warm. If the filling leaks out during baking, you didn’t seal the edge properly. For sticky bottoms, line your pan with parchment paper and brush with melted butter before placing rolls.
Troubleshooting Your Cuisinart Dough Results

When your dough doesn’t perform as expected, these targeted fixes get you back on track immediately. Sticky dough after the cycle usually means hydration imbalance—Cuisinart models vary slightly in kneading action, so you may need to adjust liquid amounts by 1-2 tablespoons based on your specific machine.
Dense or Gummy Texture Solutions
This frustrating problem usually stems from one of three causes: under-proofed dough (let it rise until visibly doubled), incorrect yeast measurement (use a scale for precision), or cutting into bread too soon after baking (wait at least 20 minutes for crumb structure to set). For rye and whole wheat breads, which naturally have denser texture, add 1-2 tablespoons vital wheat gluten to improve rise.
Preventing Dough from Sticking to the Paddle
Always add a teaspoon of oil to the bottom of the pan before loading ingredients. After the cycle completes, immediately remove the dough while it’s still warm—waiting allows it to cool and adhere to the paddle. If dough remains stuck, run a rubber spatula around the edges and let the machine complete one more knead cycle to loosen it.
Make-Ahead Strategies for Busy Bakers
Refrigerate dough after the Cuisinart completes its cycle for next-day baking with zero extra effort. Wrap the entire dough ball tightly in plastic wrap, pressing out all air pockets. Refrigerate up to 24 hours, then let it sit at room temperature for 30 minutes before shaping. This slow fermentation actually enhances flavor development in rustic breads like sourdough or rye.
Freezing Dough for Emergency Baking
After shaping cinnamon rolls or dinner rolls, place them on a parchment-lined tray and freeze until solid (about 2 hours). Transfer to freezer bags with all air squeezed out. When craving fresh bread, thaw overnight in the refrigerator, then let rise at room temperature for 2-3 hours before baking. Frozen dough maintains quality for up to 3 months.
Essential Tools for Shaping Success
Your Cuisinart handles the heavy lifting, but these three inexpensive tools transform your results from good to professional: A bench scraper for clean cuts without deflating dough, a digital kitchen scale for precise measurements (flour compaction ruins more breads than expired yeast), and a thermometer to verify your dough’s internal temperature reaches 190°F for perfect doneness.
Game-Changing Baking Surface
Preheat a baking stone for 45 minutes before loading shaped loaves. The stone’s thermal mass creates instant oven spring and crisp crusts that mimic professional deck ovens. For steam crusts on French bread, place a metal pan on the oven floor and pour 1 cup boiling water into it right after loading your loaves.
Stop treating your Cuisinart bread maker as just a loaf machine. By mastering these dough recipes and techniques, you’ll create bakery-quality breads with minimal effort—perfect golden challah for Shabbat dinners, crispy baguettes for weekend brunches, and melt-in-your-mouth cinnamon rolls that become your signature dish. The dough cycle eliminates 90% of traditional bread-making labor while delivering superior results you’ll be proud to serve.
Start with basic white bread dough to learn your machine’s quirks, then progress to cinnamon rolls for impressive results with relatively simple shaping. Once comfortable, tackle braided challah—it’s the ultimate test of dough quality and will earn you serious baking street cred. Your journey to homemade bread mastery begins with that simple “Dough” button on your Cuisinart control panel.


