
Your kitchen cabinets looked beautiful when you moved in, but years of cooking have left them coated in layers of yellowed, cracked paint. You’ve tried scrubbing with degreasers, but the grime won’t budge. That sticky residue clinging to every surface isn’t just unsightly—it makes cabinets impossible to refinish properly. Without removing this buildup, any new paint or stain will peel within months. The good news? You don’t need expensive equipment or professional skills to restore your cabinets to bare wood. This guide reveals the most efficient paint-stripping technique that preserves wood integrity while cutting project time in half compared to traditional methods. You’ll learn exactly how to strip kitchen cabinets safely in your home kitchen without toxic fumes or surface damage.
Why Chemical Strippers Outperform Sanding for Cabinet Refinishing

Sanding seems like the obvious solution for removing cabinet paint, but it creates more problems than it solves. When you sand intricate cabinet doors with detailed grooves and raised panels, you’ll inevitably round over delicate edges and wear through thin veneers. Dust becomes a nightmare—fine particles infiltrate every kitchen appliance and settle on food surfaces for weeks. Most critically, sanding fails to remove paint from recessed areas, leaving you with an uneven surface that requires extensive filling and re-sanding.
Chemical stripping solves these issues by liquefying paint layers so they wipe away cleanly. Modern eco-friendly strippers penetrate multiple coats without harming the underlying wood grain. This method preserves intricate details on Shaker or raised-panel doors that sanding would destroy. You’ll complete the job in one-third the time with dramatically less physical strain.
How Gel Strippers Target Paint While Protecting Wood
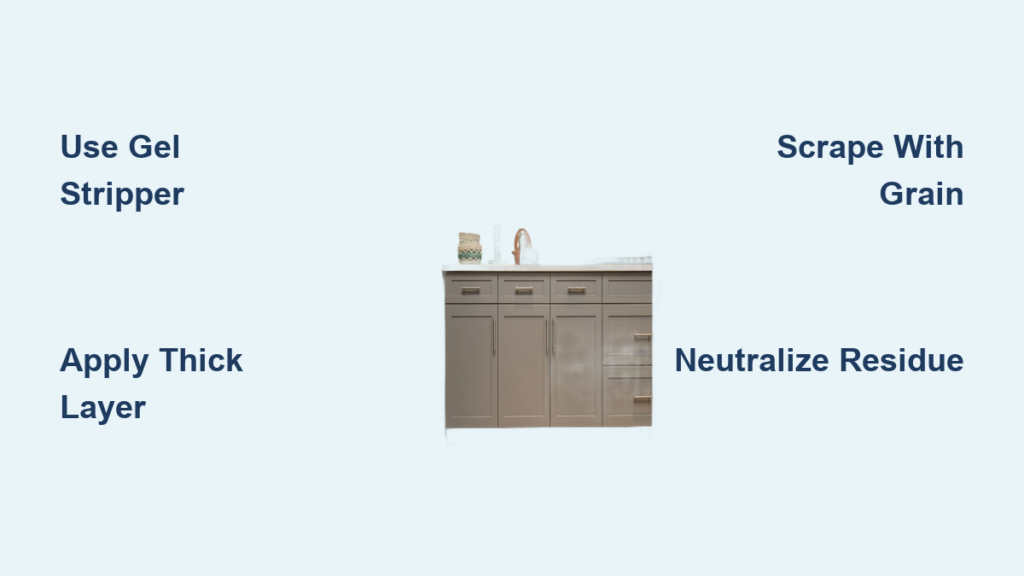
Gel-based strippers work through controlled chemical action rather than abrasion. Unlike liquid strippers that drip uncontrollably on vertical surfaces, gels cling to cabinet surfaces for optimal penetration. Apply a thick 1/8-inch layer using a cheap disposable brush—thicker than you’d use for paint. Wait precisely 15-20 minutes (check manufacturer instructions) until the paint bubbles and wrinkles. This reaction time is critical: too short and the paint won’t lift; too long and the stripper dries out, reducing effectiveness.
Pro Tip: Test stripper on an inconspicuous area first. Some exotic woods like cherry may discolor temporarily but return to normal after neutralizing.
Recognizing When Paint Is Ready for Removal
Watch for these visual cues before scraping:
– Paint surface develops a uniform alligator-skin texture
– Bubbles form consistently across the surface (not just in spots)
– Original wood color becomes visible through cracks in the paint
If paint remains hard after 20 minutes, apply a second coat directly over the first—never scrape hardened stripper. For stubborn latex layers, add a plastic wrap tent over the stripper to prevent evaporation and boost penetration.
Essential Safety Setup for Indoor Cabinet Stripping
Stripping cabinets in your kitchen requires specific precautions most DIY guides overlook. Toxic fumes from chemical strippers can linger for days in poorly ventilated spaces, contaminating food prep areas. Skip these steps and you risk respiratory irritation or chemical burns.
Must-Have Protective Gear Checklist
- Ventilated respirator mask (N95 masks won’t block chemical vapors)
- Nitrile gloves (latex dissolves in strippers)
- Safety goggles with side shields
- Old clothing you’ll discard afterward (stripper eats through fabric)
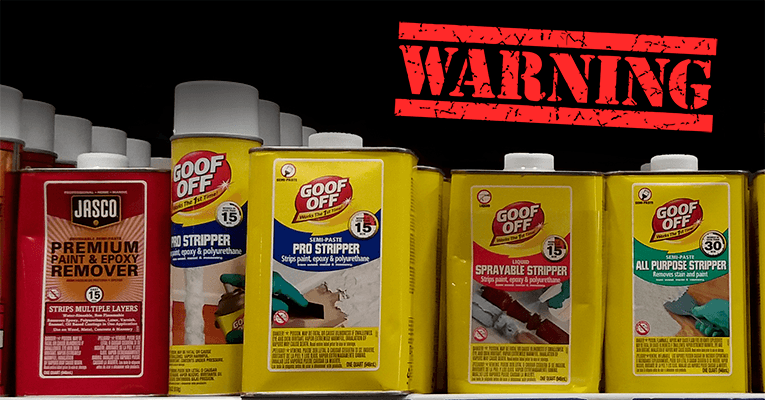
Critical Warning: Never use methylene chloride-based strippers indoors—they release carcinogenic fumes. Opt for citrus or soy-based formulas labeled “low VOC.”
Creating a Containment Zone in Your Kitchen
- Remove all food, small appliances, and dishware from the workspace
- Lay 6-mil plastic sheeting floor-to-ceiling around the entire kitchen
- Tape plastic to cabinet tops using painter’s tape (avoid duct tape residue)
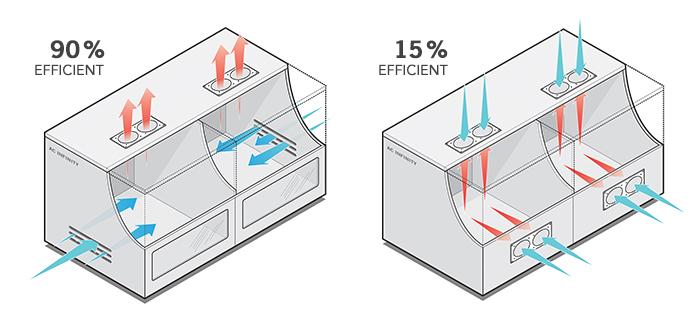
- Position two box fans in windows blowing OUTWARD to create negative air pressure
- Place a shallow pan of water near your work area to catch drips
This setup contains chemical mist and prevents cross-contamination to other rooms. Work in 2-hour increments with 30-minute ventilation breaks between sessions.
Step-by-Step Cabinet Stripping Process for Flawless Results
Follow this sequence to strip all cabinet components efficiently. Complete one entire section (doors, frames, drawers) before moving to the next to maintain workflow consistency.
Removing Cabinet Doors and Hardware
- Photograph hinge placements with your phone for reassembly reference
- Label each door with painter’s tape indicating its exact location (e.g., “Upper Left of Sink”)
- Remove all knobs, pulls, and hinges using appropriate screwdrivers
- Soak metal hardware in mineral spirits to dissolve paint buildup
Common Mistake: Skipping the labeling step. You’ll waste hours trying to match doors to their original positions later.
Applying Strippers to Cabinet Boxes and Frames
Work on one cabinet section at a time, starting from the top down:
1. Apply stripper in 2×2 foot sections using firm downward strokes
2. Maintain consistent thickness—thin spots won’t work, thick spots dry slowly
3. Immediately cover with plastic wrap to prevent evaporation
4. Wait 20 minutes, then test a small area with your scraper
For cabinet interiors, use a foam brush for precise application in tight corners. Avoid pooling stripper in crevices—it can seep into wood joints.
Scraping Paint From Detailed Cabinet Surfaces
Use the right tool for each surface type:
– Flat surfaces: 2-inch carbide scraper held at 30-degree angle
– Raised panels: Detail scraper with curved tip
– Grooves: Stiff-bristled nylon brush (never metal—it scratches wood)
Scrape WITH the wood grain using light pressure. If paint resists, reapply stripper rather than forcing the scraper. Stubborn spots in corners respond well to old toothbrushes dipped in mineral spirits.
Troubleshooting Common Stripping Problems
Even with perfect technique, unexpected issues arise. These solutions prevent project-killing mistakes.
Why Paint Won’t Lift After Stripping
- Cause: Evaporated stripper or insufficient dwell time
Fix: Reapply fresh stripper and cover with plastic wrap for 10 extra minutes - Cause: Latex paint over oil-based primer (common in newer homes)
Fix: Use a two-phase stripper designed for latex layers
Dealing With Sticky Residue After Paint Removal
This “gummy” film indicates incomplete stripping. Don’t sand yet—try these steps:
1. Wipe surface with mineral spirits on clean rags
2. If residue persists, apply fresh stripper for 5 minutes only
3. Scrape lightly with plastic putty knife
4. Final wipe with denatured alcohol
Sand only as last resort using 220-grit paper—aggressive sanding creates swirl marks visible under new finish.
Post-Stripping Wood Preparation Checklist
Skipping these steps guarantees finish failure. Bare wood must be perfectly prepped before staining or painting.
Neutralizing Chemical Residues
- Wipe all surfaces with mineral spirits using clean, lint-free rags
- Change rags frequently as they become paint-saturated
- Allow 24 hours drying time in well-ventilated area
- Test for residue by wiping small area with white cloth—no color transfer should occur
Sanding Only Where Absolutely Necessary
- Do sand: Rough spots, remaining paint flecks, or glue residue
- Never sand: Entire surfaces—this creates uneven absorption
- Use: 220-grit wrapped around small block for controlled pressure
- Check: Run bare hand over wood—should feel uniformly smooth
Pro Tip: Vacuum all wood pores with soft brush attachment before final wipe-down. Trapped dust causes “nibs” in new finish.
Preventing Future Stripping Nightmares With Proper Finishing
The best way to strip kitchen cabinets is to avoid needing to strip them again. Your final finish determines longevity.
Choosing the Right Protective Topcoat
- For high-moisture areas (near sink/dishwasher): 2 coats oil-based polyurethane
- For easy recoating later: Water-based poly with matte finish
- Avoid: “Paint & primer in one” products—they lack durability for cabinets
Apply finishes with foam roller for smoothest results. Allow 72 hours cure time before reinstalling hardware.
Maintenance Habits That Extend Finish Life
- Wipe spills immediately with damp microfiber cloth
- Never use abrasive cleaners (even “kitchen safe” ones)
- Apply furniture wax annually to high-touch areas
- Reglaze cabinet edges every 2 years before repainting
Final Note: Stripping kitchen cabinets takes 8-12 hours for an average kitchen when using the chemical gel method—half the time of sanding. The key to flawless results lies in precise stripper application timing and resisting the urge to sand unnecessarily. Always prioritize safety setup: proper ventilation prevents chemical exposure that could hospitalize you. Once stripped, your cabinets’ bare wood provides the perfect canvas for professional-looking refinishing. For best results, complete the entire stripping process in one weekend session before wood reabsorbs moisture from the air. When done correctly, your newly stripped cabinets will accept stain or paint evenly, giving you a kitchen transformation that lasts 10+ years.


