
Nothing transforms a kitchen faster than freshly painted cabinets. A professional-looking cabinet paint job can modernize your space for a fraction of the cost of replacement, but the difference between a finish that lasts years versus one that chips within months comes down to proper technique. Most DIY failures happen not from bad materials but from skipping critical preparation steps or using improper application methods. This guide reveals the best way to paint kitchen cabinets with professional results that withstand daily kitchen demands—no matter if you’re working with solid wood, laminate, or thermofoil surfaces.
The secret to cabinet painting success lies in understanding these surfaces face unique challenges: constant exposure to heat, moisture, grease splatters, and daily physical contact. Unlike walls, your cabinet finish must be both beautiful and battle-ready. When executed correctly with attention to detail at each stage, your painted cabinets will look stunning for 7-10 years or more. This comprehensive approach covers every critical phase from initial surface prep to final cure time, ensuring your investment of time and materials delivers maximum return.
Gather Essential Supplies and Materials
Your cabinet painting project’s success starts with the right tools and materials. Investing in quality supplies prevents frustration and delivers superior results that justify the slightly higher upfront cost. For paint selection, semi-gloss or satin finishes provide the ideal balance of durability and subtle sheen that hides minor imperfections while resisting kitchen grime. High-gloss offers maximum durability but magnifies every surface flaw and requires near-perfect application technique.
When choosing between oil-based and water-based paints, consider your priorities. Oil-based paints deliver exceptional hardness and smoothness but require mineral spirits for cleanup, emit strong fumes, and need 24+ hours between coats. Modern water-based acrylic paints have closed the performance gap significantly, offering 90% of oil’s durability with faster drying times (4-6 hours between coats), easier cleanup, and lower odor. For most DIYers, a high-quality water-based enamel like Benjamin Moore Advance or Sherwin-Williams Emerald Urethane offers the best balance of performance and manageability.
Don’t skimp on application tools. A 2-inch angled sash brush with synthetic bristles provides precise control for detailed areas, while 4-inch foam rollers eliminate brush marks on flat surfaces. You’ll need sandpaper in multiple grits: 120-grit for initial sanding and 220-grit for smoothing between coats. A random orbital sander dramatically speeds up surface preparation while minimizing swirl marks. Tack cloths or microfiber cloths are essential for removing dust particles that would otherwise become trapped in your finish.
Critical cleaning supplies include trisodium phosphate (TSP) or a dedicated degreaser like Krud Kutter to cut through years of kitchen grease. You’ll also need screwdrivers for hardware removal, a labeling system for tracking doors and drawers, and painter’s tape that won’t pull off existing finish when removed. For ventilation, a respirator mask rated for organic vapors is essential when using oil-based products or spray equipment.
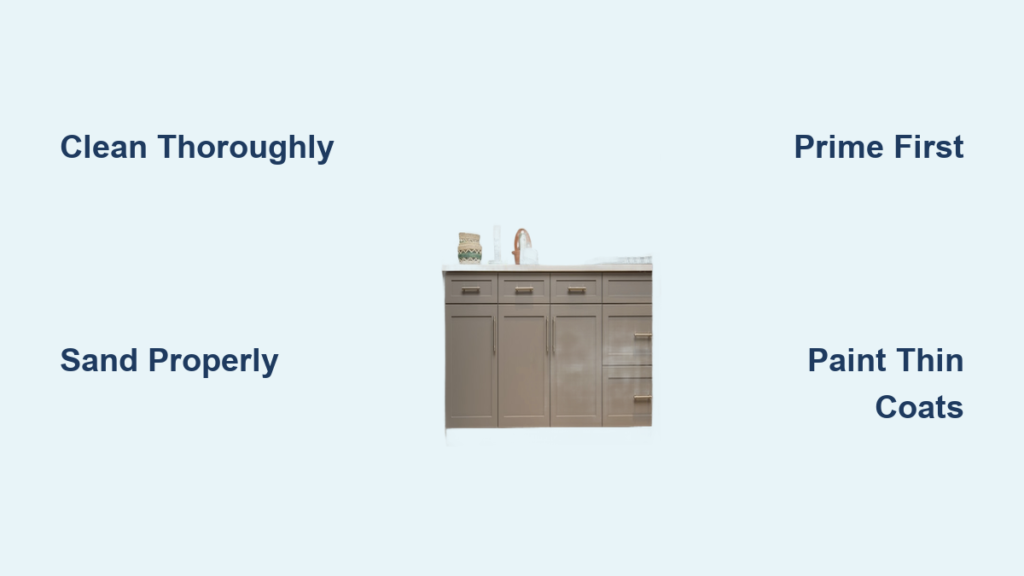
Remove Hardware and Clean Surfaces Thoroughly
Proper surface preparation accounts for 80% of your cabinet painting success. Rushing through cleaning and sanding guarantees premature failure regardless of paint quality. Begin by removing all doors, drawers, and hardware—this allows you to work on flat surfaces rather than awkward angles and ensures complete coverage without missed spots.
Use a screwdriver to carefully remove hinges, knobs, and pulls, placing each set in labeled bags or containers. Take photos before disassembly to reference during reinstallation, as hinge placement often varies between doors. Store hardware safely to prevent loss. With surfaces bare, you can properly address the invisible layer of cooking grease that prevents paint adhesion.
Mix TSP according to package directions (typically 1/4 cup per gallon of warm water) and scrub all surfaces thoroughly using a non-scratch sponge. Pay special attention to areas near stovetops, handles, and upper cabinets where grease accumulates most heavily. For stubborn grime, let the solution sit for 5-10 minutes before scrubbing. Rinse thoroughly with clean water and allow surfaces to dry completely—any residual moisture trapped under paint causes bubbling and adhesion failure.
After drying, inspect surfaces by running your hand across them. They should feel slightly rough, not slick. If you see shiny spots or notice primer beading up during application, repeat the cleaning process. This step often takes longer than DIYers anticipate but cannot be skipped—surfaces must be completely degreased for proper paint adhesion.
Sand and Prime for Maximum Adhesion
Sanding creates the microscopic texture that allows primer and paint to mechanically bond to cabinet surfaces. Even factory-finished cabinets benefit from light scuff-sanding. Start with 120-grit sandpaper on a random orbital sander, working in the direction of the wood grain with moderate pressure. Sand until surfaces appear uniformly dull rather than shiny—this typically takes 30-60 seconds per door panel.
For detailed areas where the sander won’t fit, fold sandpaper and work by hand, maintaining consistent pressure. Vacuum all dust thoroughly, then wipe surfaces with a slightly damp cloth followed by a dry microfiber cloth. Allow to dry completely before priming.
Priming seals the surface and creates a uniform base for your topcoat. For bare wood or previously painted surfaces, use a high-bonding primer like Zinsser Bulls Eye 1-2-3 or Kilz Adhesion. For laminate or thermofoil cabinets, which are particularly challenging to paint, a specialized bonding primer is essential—try INSL-X STIX or Zinsser Bondz. Apply primer with a brush for detailed areas and a foam roller for flat surfaces, maintaining a wet edge to prevent lap marks.
One coat of primer typically suffices, but heavily stained or porous surfaces may need a second coat. Allow primer to dry according to manufacturer instructions (usually 2-4 hours), then lightly sand with 220-grit sandpaper to remove any imperfections. Remove all dust with a tack cloth before painting—any particles left on the surface will become visible in your final finish.
Apply Paint with Proper Technique
The actual painting stage requires patience and technique. Apply thin, even coats rather than thick ones for superior results. Stir paint thoroughly before and during use to maintain consistent color and texture. Pour paint into a lined bucket for easier brush loading and cleanup.
Dip your brush about one-third of the way into paint and tap gently against the bucket side—don’t wipe, as this removes too much product. Apply paint using smooth, long strokes in the direction of the grain, maintaining a wet edge to prevent visible overlapping lines. For flat surfaces, load a foam roller lightly and roll in one direction, then lightly cross-roll to eliminate roller marks. Work in three-foot sections, maintaining a wet edge throughout.
Allow each coat to dry completely before applying the next—typically 4-6 hours for quality water-based enamels. Lightly sand between coats with 220-grit sandpaper to remove any imperfections, then remove dust with a tack cloth. Most cabinets require two to three topcoats for complete coverage and optimal durability. The second coat fills in any missed spots from the first, while the third provides maximum protection against wear.
Reassemble and Allow Proper Cure Time
Reassembly seems straightforward but requires attention to detail. Referencing your photos and labeled hardware bags, reattach hinges, knobs, and pulls. Ensure all hardware is properly aligned and tightened—loose hardware causes doors to hang improperly and appear uneven. Make minor hinge adjustments as needed to ensure doors close properly without gaps.
The curing process extends far beyond surface-dry time. While paint may feel dry within hours, chemical curing continues for 2-4 weeks. During this period, avoid aggressive cleaning or placing heavy items inside cabinets. Gentle cleaning with mild soap and water is acceptable after 72 hours, but avoid abrasive cleaners for at least two weeks.
Ideal curing conditions range from 65-75°F with 40-50% humidity. Extremely humid conditions slow drying significantly, while very dry conditions may cause paint to dry too quickly, potentially leading to cracking. Plan your project timeline to allow at least 14 days before heavy cabinet use for optimal durability.
Avoid Common Painting Mistakes

Understanding common pitfalls helps you navigate around them. Skipping proper preparation remains the most costly mistake—rushing cleaning, inadequate sanding, or skipping primer almost guarantees premature finish failure. Similarly, painting over loose or flaking existing finish without proper removal ensures your new paint follows the old finish into failure.
Using the wrong products undermines even careful preparation. Interior wall paint lacks the durability needed for cabinet surfaces and will show wear within months. Cheap brushes leave visible bristles and create inconsistent texture. Incorrect primer for your surface type prevents proper adhesion regardless of application quality.
Applying paint too thickly creates multiple problems: drips, extended drying times, and potential wrinkling as the surface dries before the underlying layers. Multiple thin coats build durability without sacrificing detail or creating application issues. Environmental factors also matter—painting in extreme temperatures, high humidity, or dusty conditions compromises results.
Maintain Your Newly Painted Cabinets
Proper maintenance preserves your beautiful finish. Clean regularly with mild soap and water using a soft cloth—avoid abrasive cleaners or scrubbing pads that wear down the protective surface. Immediately wipe up spills, especially acidic substances like tomato sauce or citrus, which can etch into paint if left sitting.
Handle doors and drawers gently to avoid stressing hinges, which can eventually cause paint cracking around hardware holes. Keep hardware tightened and make minor hinge adjustments as needed. When changing hardware styles, fill old holes with wood filler, sand smooth, prime, and repaint before installing new hardware to maintain a seamless finish.
Painting kitchen cabinets transforms your kitchen affordably when done correctly. By following this systematic approach—thorough preparation, quality materials, patient application, and adequate curing—you achieve professional results that withstand daily kitchen demands for years. The investment of time pays dividends every time you enter your kitchen, surrounded by beautiful cabinets reflecting your craftsmanship.


