
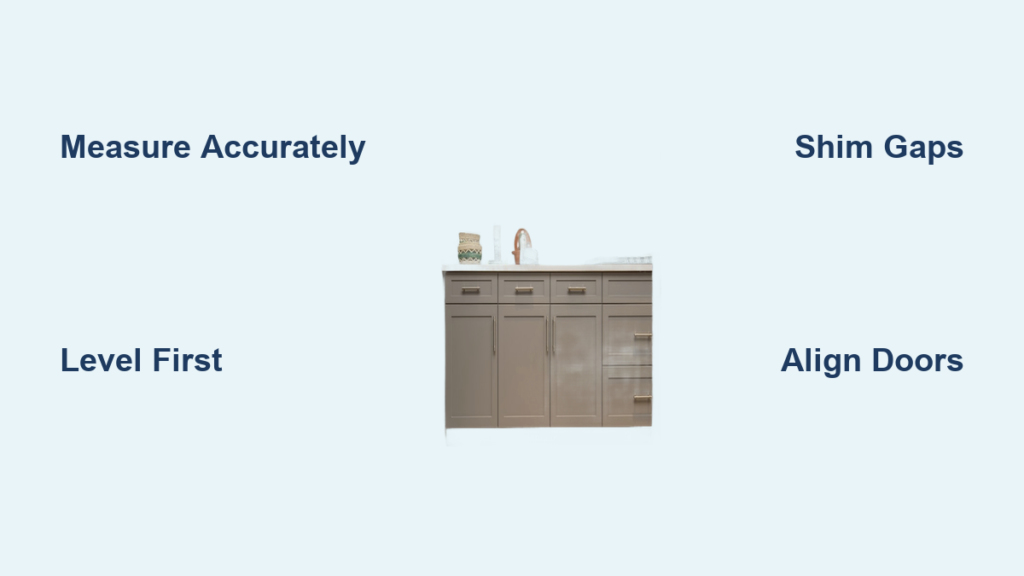
Nothing transforms a kitchen like perfectly installed cabinets—they’re the backbone of your cooking space, affecting both functionality and aesthetics. When you master the best way to install kitchen cabinets, you create a foundation for years of efficient meal preparation and entertaining. Most DIYers underestimate the precision required; a single misaligned cabinet throws off your entire layout and compromises door and drawer operation. This guide reveals professional techniques that ensure your installation looks factory-perfect while avoiding common pitfalls that send most beginners running to hire expensive contractors.
Plan Your Kitchen Cabinet Layout with Precision
Before unpacking a single cabinet, invest time in meticulous planning that accounts for your kitchen’s unique dimensions and workflow requirements. Measure every wall from corner to corner, noting exact dimensions from floor to ceiling and recording locations of electrical outlets, plumbing fixtures, windows, and doors. Create a scaled drawing either on graph paper or using free online design tools like SketchUp Free, plotting each cabinet’s position with millimeter accuracy. This planning phase typically requires 3-5 hours but prevents costly mistakes that could derail your project for days.
Your layout must adhere to standard cabinet dimensions while accommodating your specific needs. Base cabinets typically stand 34.5 inches tall with a 24-inch depth, while wall cabinets range from 12 to 42 inches in height with a 12-inch depth. Maintain consistent 18-inch spacing between the bottom of wall cabinets and countertop, though this may vary based on ceiling height and personal preference. Ensure adequate clearance for appliances—most refrigerators require 2 inches of side clearance, while dishwashers need 24 inches of front access space. Position your sink, refrigerator, and cooking surface in a triangular arrangement with sides no longer than 9 feet total and no single side shorter than 4 feet to optimize kitchen functionality.
Gather Essential Tools and Materials for Professional Results

Having every tool and material ready before installation begins prevents frustrating mid-project delays that break your workflow momentum. Essential tools include a high-quality stud finder with deep-scan capability, two levels (a 4-foot for long runs and 2-foot for cabinet checks), a drill with magnetic bit holder, jigsaw for cutouts, screwdrivers, precision tape measure, marking pencil, and rubber mallet for fine adjustments. You’ll need 2.5-inch cabinet screws for mounting to studs, construction adhesive for additional stability, and high-quality shims for precise alignment. A cabinet jack or second person to hold cabinets in position proves invaluable—wall cabinets can weigh 50-100 pounds when empty.
Your materials list should include all cabinets plus matching filler strips, scribe molding for wall gaps, wood filler matching your cabinet finish, and your chosen hardware. Purchase 10-15% extra materials to account for cutting errors and damaged pieces—this small investment prevents project delays. Organize materials by kitchen zone before starting: group upper cabinets by wall section, base cabinets by position, and hardware by type. This systematic organization saves 2-3 hours during installation when you’re constantly moving between different areas of the kitchen.
Prepare Your Workspace Thoroughly Before Installation
Proper workspace preparation sets the stage for successful cabinet installation and protects your investment. Remove all items from existing cabinets and clear the kitchen of unnecessary furniture and appliances. Cover countertops and floors with 6-mil plastic sheeting secured with painter’s tape to protect surfaces from scratches and debris. Turn off electricity to outlets within installation areas at the circuit breaker and remove outlet covers for easier access. If replacing existing cabinets, carefully detach them starting with doors and drawers, then removing cabinet boxes while preserving wall studs.
Check wall and floor conditions before installation begins—use your level to identify deviations from plumb or level exceeding 1/8 inch over 8 feet, which will require strategic shimming. Mark stud locations throughout the installation area with a pencil, spacing marks at 16-inch intervals since most homes use standard stud spacing. If your floor has significant unevenness (more than 1/4 inch over 8 feet), apply floor-leveling compound in low areas before installing base cabinets. Address any plumbing or electrical issues that affect cabinet placement, such as relocating outlets to accommodate new cabinet positions or adjusting water lines for different sink configurations.
Install Upper Cabinets First for Optimal Results
Professional installers consistently recommend starting with upper cabinets before base cabinets for practical advantages: you avoid damaging installed base cabinets while working overhead, and wall-mounted cabinets provide a clear reference line for base cabinet positioning. Begin by marking a level line across all walls at the designated height for cabinet bottoms—typically 54 inches from the floor for standard 36-inch base cabinets with 1.5-inch countertops. Use your 4-foot level to ensure this line is perfectly horizontal, adjusting as needed to account for floor irregularities.
Locate and mark all stud positions along your reference line, as these anchor points provide structural security. Pre-drill holes in upper cabinets’ back panels at stud locations, then have your helper hold each cabinet in position while driving 2.5-inch screws through the back panel into studs. Start with a corner cabinet or the cabinet at one end of your layout, ensuring it’s perfectly level and plumb before moving to adjacent units. Use shims behind cabinets to correct gaps between cabinet backs and walls—never leave cabinets unsupported. Connect adjacent cabinets using cabinet clamps or by driving screws through side panels into neighboring units, creating a unified installation that shares weight across multiple mounting points.
Mount Base Cabinets with Professional-Level Accuracy
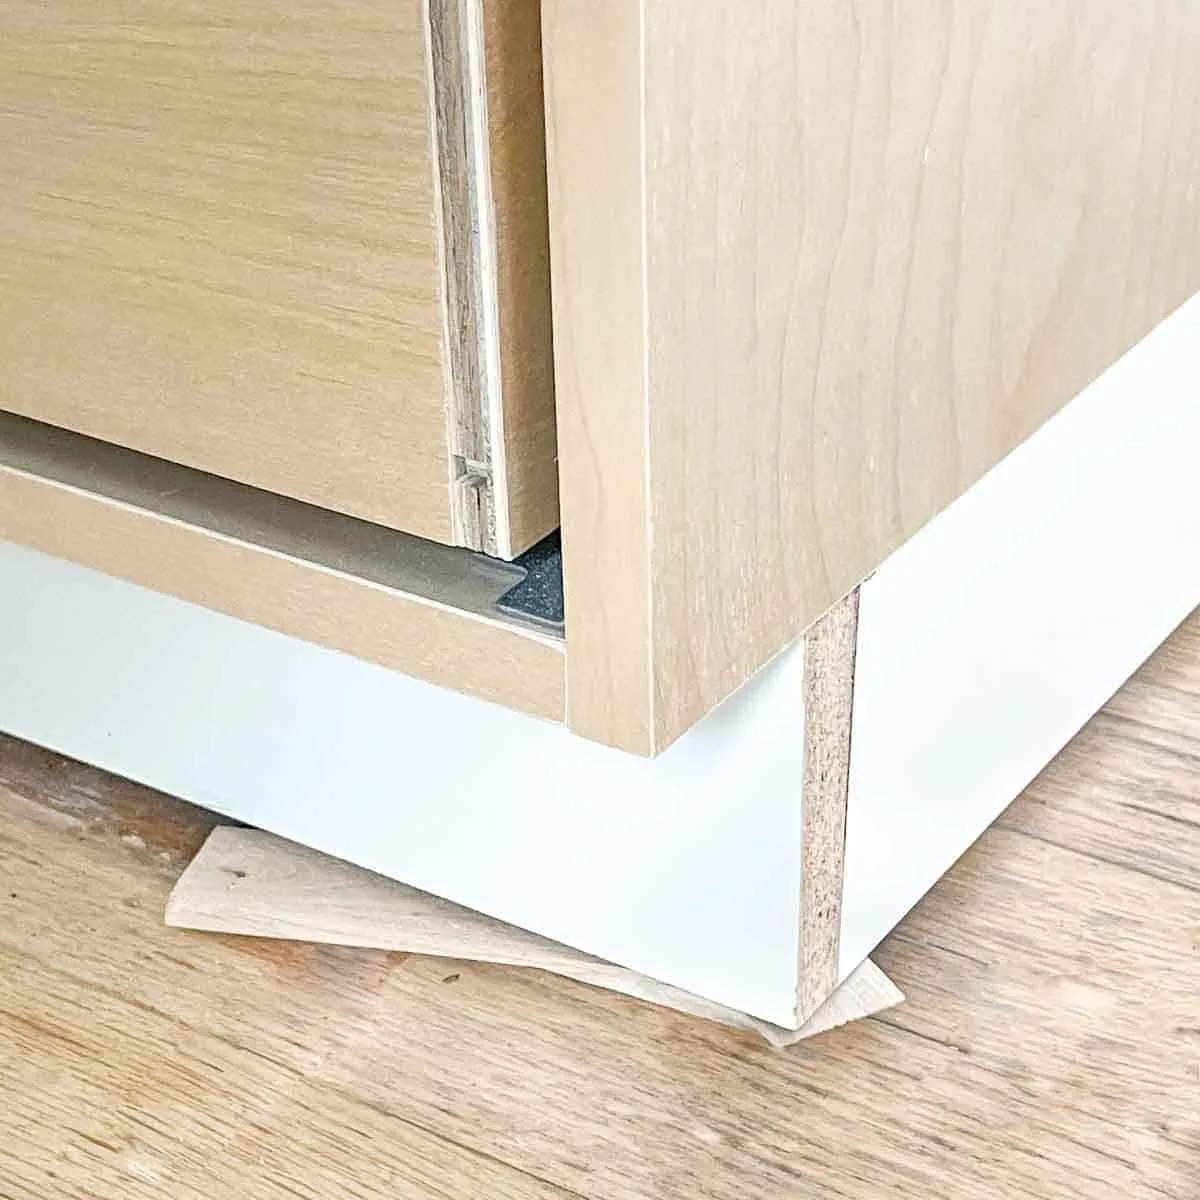
Base cabinet installation requires equal precision but presents different challenges due to weight and floor contact. Begin by marking a level line on the walls at the height of your cabinet tops (typically 34.5 inches from the floor). Position your first cabinet against the wall, checking for level from front to back and side to side. Shim under the cabinet as needed to achieve perfect levelness—critical for base cabinets since any deviation affects countertop installation and drawer operation. Secure the cabinet to wall studs through the back panel, then recheck level before moving to the next cabinet.
Connect base cabinets to each other using clamps and screws driven through side panels, creating a continuous run that distributes weight evenly. Pay special attention to corners where cabinets often require filler strips to bridge gaps caused by out-of-plumb walls. Install corner cabinets carefully, ensuring all connecting points align properly before tightening. Check the front of each cabinet run with your level to verify consistency, as even slight variations become immediately visible once doors are installed. Secure cabinets tightly to each other, eliminating gaps between adjacent units that compromise the finished appearance.
Handle Tricky Areas with Custom Fitting Techniques
Every kitchen presents unique challenges requiring adaptive problem-solving during installation. Inside corners present common difficulties where two cabinets meet at a 90-degree angle—use a lazy susan or blind corner cabinet configuration while ensuring 2-inch clearance for door swings and shelf access. Measure corners carefully using a sliding bevel gauge to capture exact angles, accounting for any obstructions that might limit functionality. When walls are out of plumb or floors uneven, use scribe molding cut to match gap profiles for clean transitions between cabinets and walls.
Around windows and obstacles, cut cabinet panels or use filler pieces to maintain consistent reveals and alignment. Measure twice and cut once when making modifications, using a jigsaw with a fine-tooth blade for curved cuts around window frames. Where cabinets meet appliances like refrigerators or dishwashers, maintain 1/8-inch clearance for doors and drawers while ensuring visual continuity. Handle the gap above cabinets reaching to the ceiling by installing crown molding or custom valance pieces that create a built-in appearance, filling space while adding architectural interest to your kitchen.
Install Doors, Drawers, and Hardware for Flawless Operation
With cabinet boxes securely mounted, focus shifts to functional components that bring your kitchen to life. Install drawer fronts first, ensuring they’re centered with 1/8-inch reveals on all sides before securing with screws from inside the drawer box. Adjust drawer runners according to manufacturer instructions, verifying smooth operation through full extension. Check that drawers sit flush with cabinet fronts and align perfectly with adjacent units, making micro-adjustments until appearance is uniform. Door installation requires similar attention to alignment, with hinges adjusted to control opening degree and maintain consistent 1/8-inch gaps between doors.
Hardware installation adds finishing touches that elevate your work from functional to professional. Pre-drill holes for handles using a template to ensure consistency across all doors, typically centering pulls horizontally and positioning them two-thirds up from drawer bottom edges. Use a cabinet hardware jig to maintain perfect alignment—this simple tool saves hours of frustration. Install door bumpers to prevent slamming and protect cabinet interiors. Take your time with this phase—rushed hardware installation creates misaligned handles that undermine all previous precision work.
Make Critical Final Adjustments for Perfect Results
The final phase involves systematic adjustment to achieve flawless operation and appearance. Check every door and drawer, making hinge adjustments to eliminate gaps, ensure even reveals, and prevent doors from drifting. Tighten all connecting screws between cabinets, rechecking alignment after adjustments. Verify that wall-securing screws are snug but not over-tightened, which could warp back panels. Test operation of specialty features like pull-out trays and soft-close mechanisms, making manufacturer-specified adjustments as needed.
Conduct a comprehensive visual inspection from multiple angles, identifying any gaps or misalignments requiring attention. Fill exposed screw holes with matching wood filler, allowing it to dry before sanding smooth. Reinstall outlet covers and trim pieces removed during installation. Clean cabinet surfaces of dust and fingerprints, inspecting for installation damage. Document remaining issues for touch-ups—this final review ensures your kitchen cabinets function perfectly and look professionally installed.


