
Your porcelain kitchen sink has lost its luster, covered in stubborn water spots, coffee stains, and that frustrating gray film that won’t budge no matter how much you scrub. You’ve tried baking soda and vinegar with mediocre results, and you’re worried about scratching the delicate surface with harsh cleaners. What you need is a proven method that safely restores that like-new shine without damaging your sink’s finish. Discover the best way to clean porcelain kitchen sink surfaces effectively using household items you already have, avoiding common mistakes that actually make stains worse, and implementing a simple daily routine that keeps your sink looking pristine for years.
Porcelain enamel sinks remain popular for their classic look and durability, but they’re vulnerable to scratches, stains, and etching from acidic substances. Unlike stainless steel, porcelain requires special care to maintain its smooth, non-porous surface. The best way to clean porcelain kitchen sink isn’t about brute force scrubbing—it’s about understanding the chemistry of stains and using the right techniques for different types of discoloration. In this guide, you’ll learn professional-grade cleaning methods that work for everything from light water spots to deep-set rust stains, plus a maintenance schedule that prevents buildup before it becomes a problem.
Why Standard Cleaning Methods Damage Porcelain Sinks
How Abrasive Cleaners Create Permanent Scratches
Most all-purpose cleaners contain micro-abrasives that seem harmless but actually create microscopic scratches in porcelain’s smooth surface. These tiny imperfections become trapping grounds for minerals and organic matter, accelerating future staining. When you notice your sink developing a “flat” appearance rather than a glossy finish, it’s likely from repeated use of Comet, Bar Keepers Friend (in powder form), or even overly aggressive scrubbing with a nylon brush. The best way to clean porcelain kitchen sink starts with recognizing which common household products to avoid—specifically anything labeled “scouring” or with gritty texture.
Acidic Cleaners That Etch Porcelain Over Time
Vinegar and lemon juice seem like natural cleaning heroes, but they’re actually enemies of porcelain enamel. These acids gradually eat away at the glaze, especially with frequent use, creating a rougher surface that stains more easily. After months of vinegar soaks for hard water stains, you might notice your sink looks duller and develops a chalky film that won’t rinse clean. This etching process is irreversible—once the glaze is compromised, stains penetrate deeper and become nearly impossible to remove completely.
Immediate Action Plan for Common Porcelain Sink Stains
Removing Coffee and Tea Stains Without Bleach
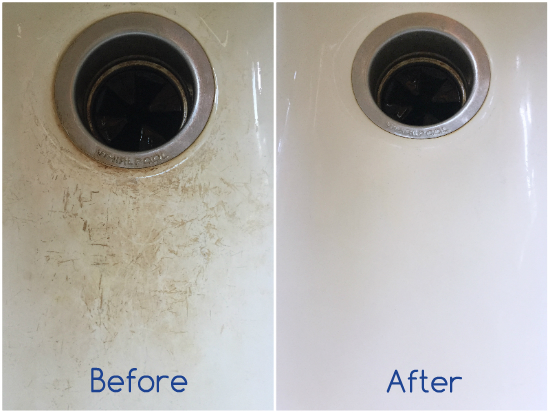
Coffee rings around your porcelain sink drain aren’t just unsightly—they indicate tannins bonding with minerals in your water. For fresh stains (less than 48 hours old), mix 2 tablespoons of oxygen bleach (not chlorine bleach) with 1/4 cup warm water to form a paste. Apply with a soft microfiber cloth using gentle circular motions, focusing on stained areas without pressing hard. Let sit for exactly 15 minutes (set a timer—overexposure damages glaze), then rinse thoroughly with cool water. For stubborn stains, repeat once but never leave oxygen bleach on porcelain longer than 20 minutes total.
Eliminating Hard Water Deposits Safely
That chalky white film around your faucet is mineral buildup that requires different treatment than organic stains. Create a pH-neutral solution by mixing equal parts water and hydrogen peroxide (3%) in a spray bottle. Spray generously on affected areas and cover with paper towels soaked in the solution. Let sit for 30 minutes—no longer, as peroxide can yellow porcelain over time. Gently wipe with a non-scratch sponge (blue Scotch-Brite works well), then rinse. For severe buildup around faucet bases, use an old toothbrush dipped in the solution to work into crevices without scratching.
Deep Cleaning Procedure for Severely Stained Porcelain Sinks
Step-by-Step Restoration Process
- Remove all debris – Clear your sink of dishes, soap dispensers, and drain covers
- Pre-rinse thoroughly – Run cool water for 30 seconds to wash away loose particles
- Apply cleaning paste – Mix 3 parts baking soda to 1 part water until forming a thick paste
- Gentle application – Using a soft cloth, rub paste onto entire sink surface with light pressure
- Target problem areas – Focus extra paste on stained zones but avoid vigorous scrubbing
- Let dwell properly – Allow paste to sit for 10-15 minutes (set timer)
- Rinse methodically – Start from highest points of sink, working downward with cool water
- Final wipe – Dry completely with a clean microfiber towel to prevent water spots
This baking soda paste method works because the mild abrasiveness lifts stains without scratching when used correctly. The key is maintaining paste consistency—too dry creates abrasion, too wet reduces effectiveness. Always test on a small inconspicuous area first if your sink has an unusual finish.
When to Use Hydrogen Peroxide for Yellowing
If your white porcelain sink has developed yellow tones, hydrogen peroxide offers the safest bleaching alternative. Mix 1 cup 3% hydrogen peroxide with 1/4 cup baking soda to form a paste. Apply to yellowed areas only (not entire sink), cover with plastic wrap to prevent drying, and let sit for 2 hours maximum. Rinse thoroughly and repeat weekly until discoloration fades. Never use chlorine bleach or color-safe bleach alternatives, which contain sodium hypochlorite that damages porcelain enamel permanently.
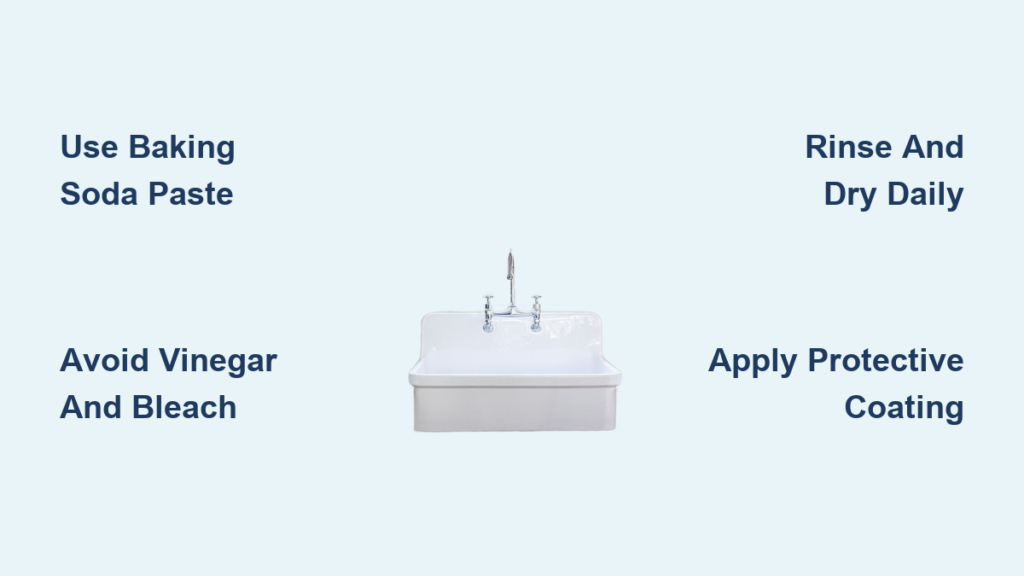
Daily Maintenance Routine That Prevents Buildup
The 30-Second Post-Use Protocol
The best way to clean porcelain kitchen sink long-term is preventing stains before they set. After each use:
– Rinse thoroughly with cool water (hot water sets proteins from food)
– Wipe dry with microfiber cloth (prevents mineral deposits from evaporating)
– Apply protective coating (see below)
This simple routine takes less time than washing your hands but prevents 90% of common staining issues. For households with hard water, keeping a dedicated microfiber sink towel near the faucet increases compliance with this critical step.
Protective Coating That Repels Stains
Once weekly, apply a barrier that prevents stains from bonding to your sink surface. Mix 1 cup water with 1 tablespoon cornstarch until smooth, then heat gently until thickened (like gravy). Let cool completely, then apply thin layer to entire sink surface with soft cloth. Allow to dry 15 minutes before rinsing. This creates a temporary non-stick coating that makes daily cleaning effortless. For quick touch-ups between deep cleans, use diluted carnauba wax (1 part wax to 4 parts water) applied with a soft cloth.
Troubleshooting Common Cleaning Mistakes
Why Your Sink Looks Dull After Cleaning
If your porcelain sink appears cloudy after cleaning, you’ve likely left behind residue from hard water or improper rinsing. Fix this immediately by mixing 1 part white vinegar with 4 parts water (only for this corrective step—never regular use). Spray on affected areas, let sit 2 minutes maximum, then rinse thoroughly with cool water followed by distilled water if possible. Dry immediately with microfiber to prevent new spots. For persistent cloudiness, the surface may be etched—consult a professional refinisher before attempting further DIY treatments.
Handling Scratches and Chips Properly
Small scratches can often be minimized with proper technique. For hairline scratches, make a paste of whiting powder (available at hardware stores) and water. Apply with cotton swab directly to scratch, let dry 10 minutes, then wipe clean. For chips exposing the metal substrate, purchase porcelain touch-up paint matching your sink color. Clean area thoroughly, apply thin coat with fine brush, and allow 24 hours to cure before light use. Never attempt to fill large chips yourself—improper filling creates breeding grounds for bacteria.
Professional-Grade Products Worth the Investment
Non-Scratch Cleaners That Deliver Results
While many household items work well, these specialized products justify their cost for porcelain maintenance:
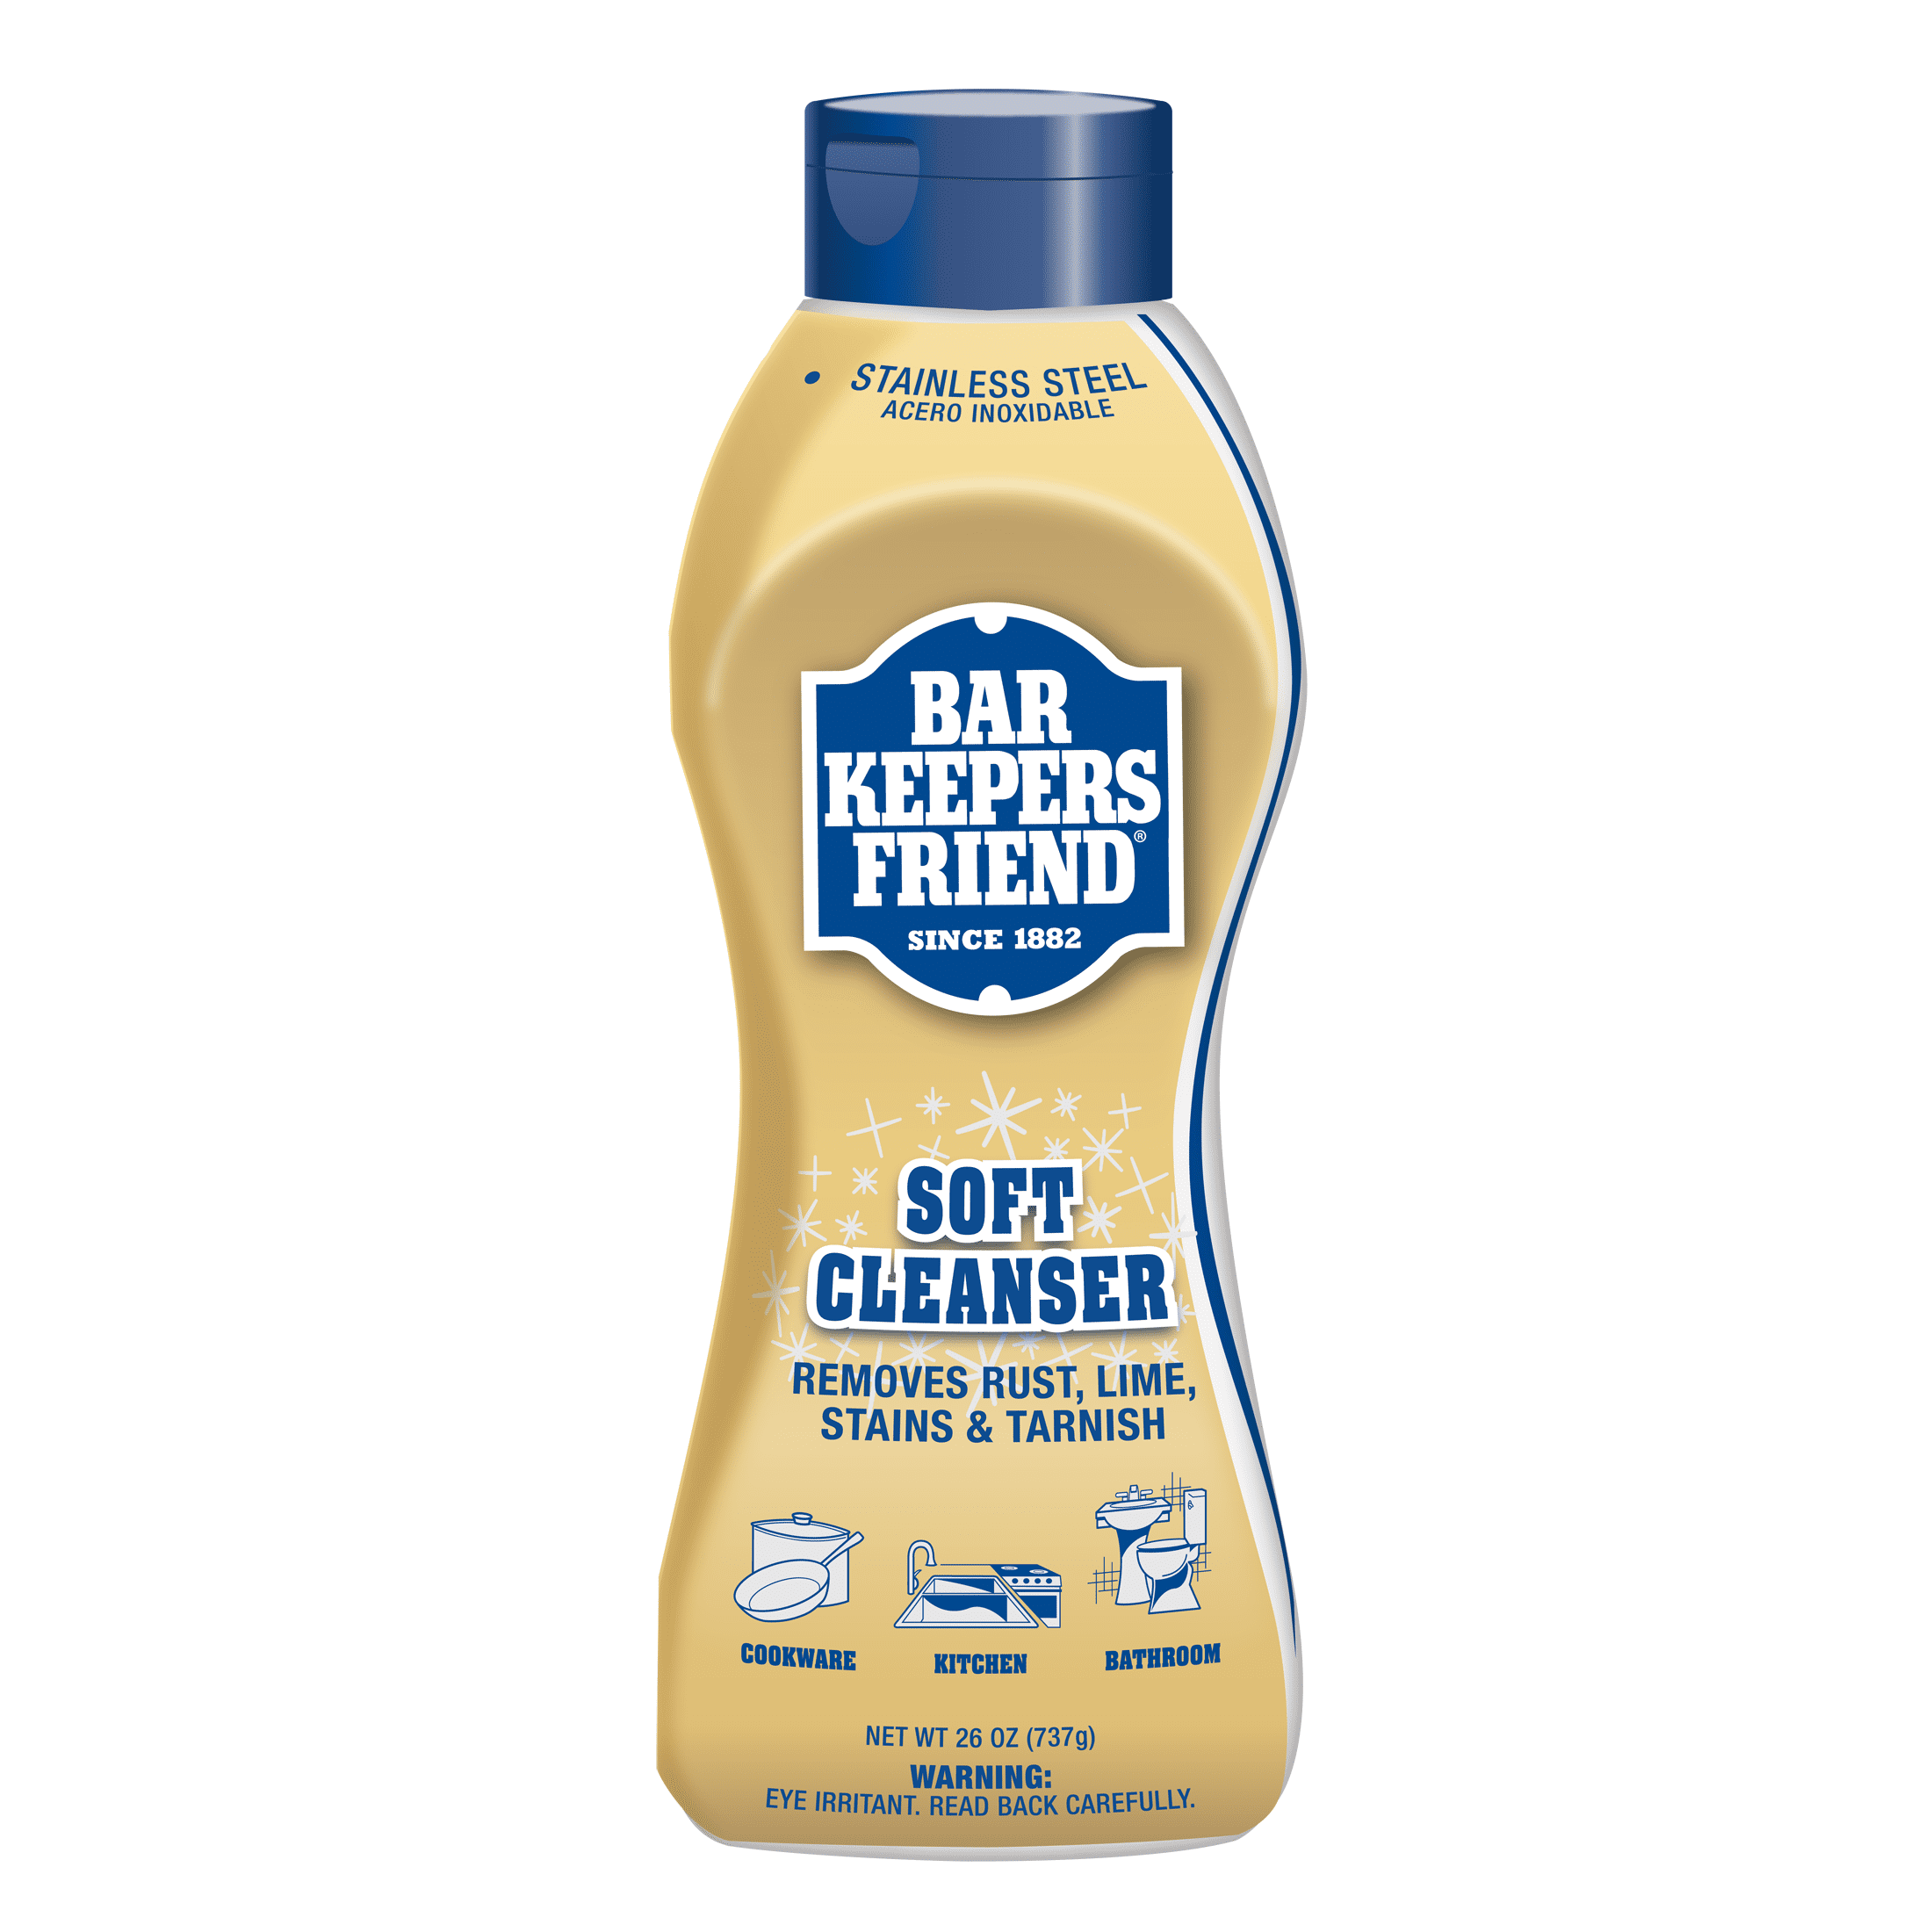
– Bar Keepers Friend Liquid Cleaner (not powder) – Contains gentle acids that dissolve stains without abrasives
– OxiClean Versatile Stain Remover – Oxygen-based formula safe for porcelain when used as directed
– Fuller Brush Marble and Porcelain Cleaner – pH-balanced specifically for glazed surfaces
Use these products according to label instructions, always testing in inconspicuous areas first. Apply with soft cloth rather than sponge for maximum control and minimal abrasion.
Long-Term Porcelain Sink Preservation Strategy
Implement a weekly cleaning schedule that prevents deep staining:
– Daily: Rinse and dry after each use
– Every 3 days: Baking soda paste treatment on problem areas
– Weekly: Full deep clean using recommended methods
– Monthly: Protective coating application
This layered approach requires minimal time investment while keeping your porcelain sink looking new for decades. Remember that the best way to clean porcelain kitchen sink isn’t about finding a magic product—it’s developing consistent habits that protect the surface from damage while addressing stains at their earliest stages.
By following these precise methods, you’ll maintain that beautiful, glossy finish porcelain sinks are known for, without the frustration of stubborn stains or the fear of causing permanent damage. Your kitchen’s focal point will gleam like new, making everyday tasks more pleasant while preserving your sink’s value for years to come.


